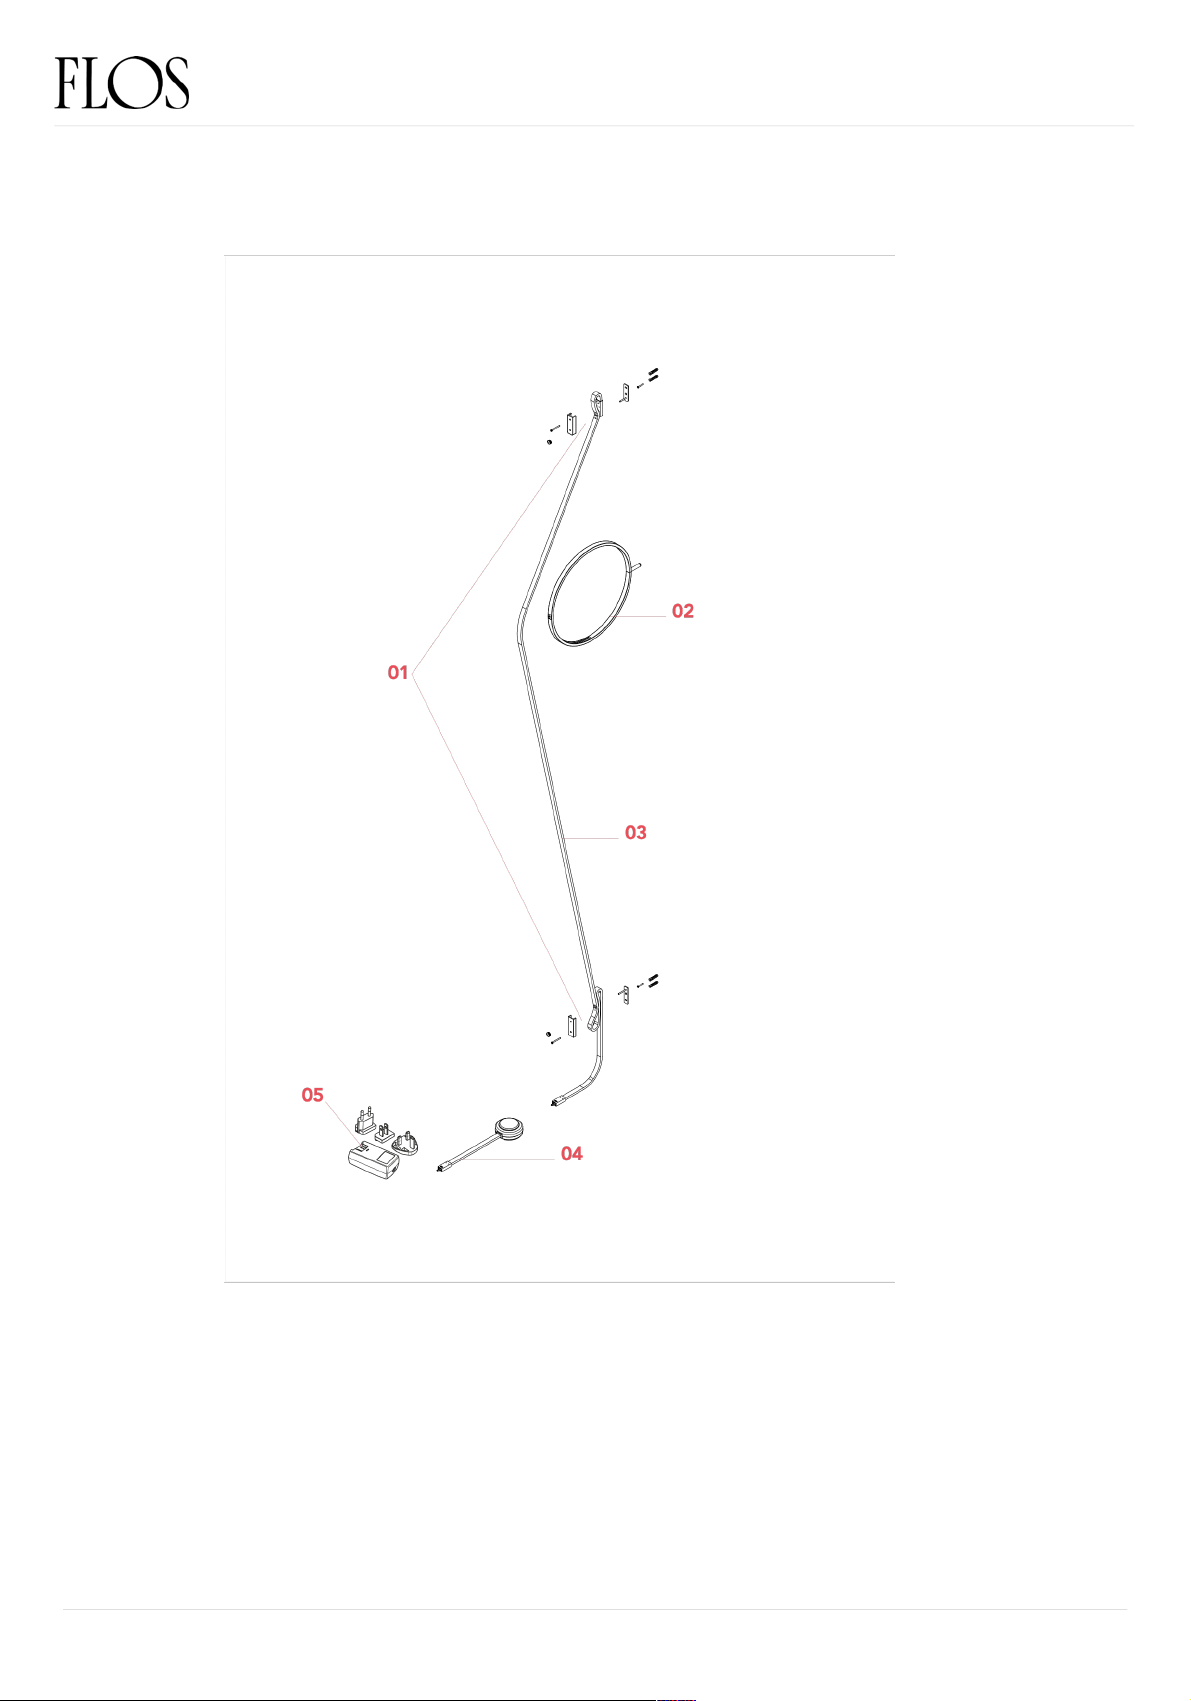
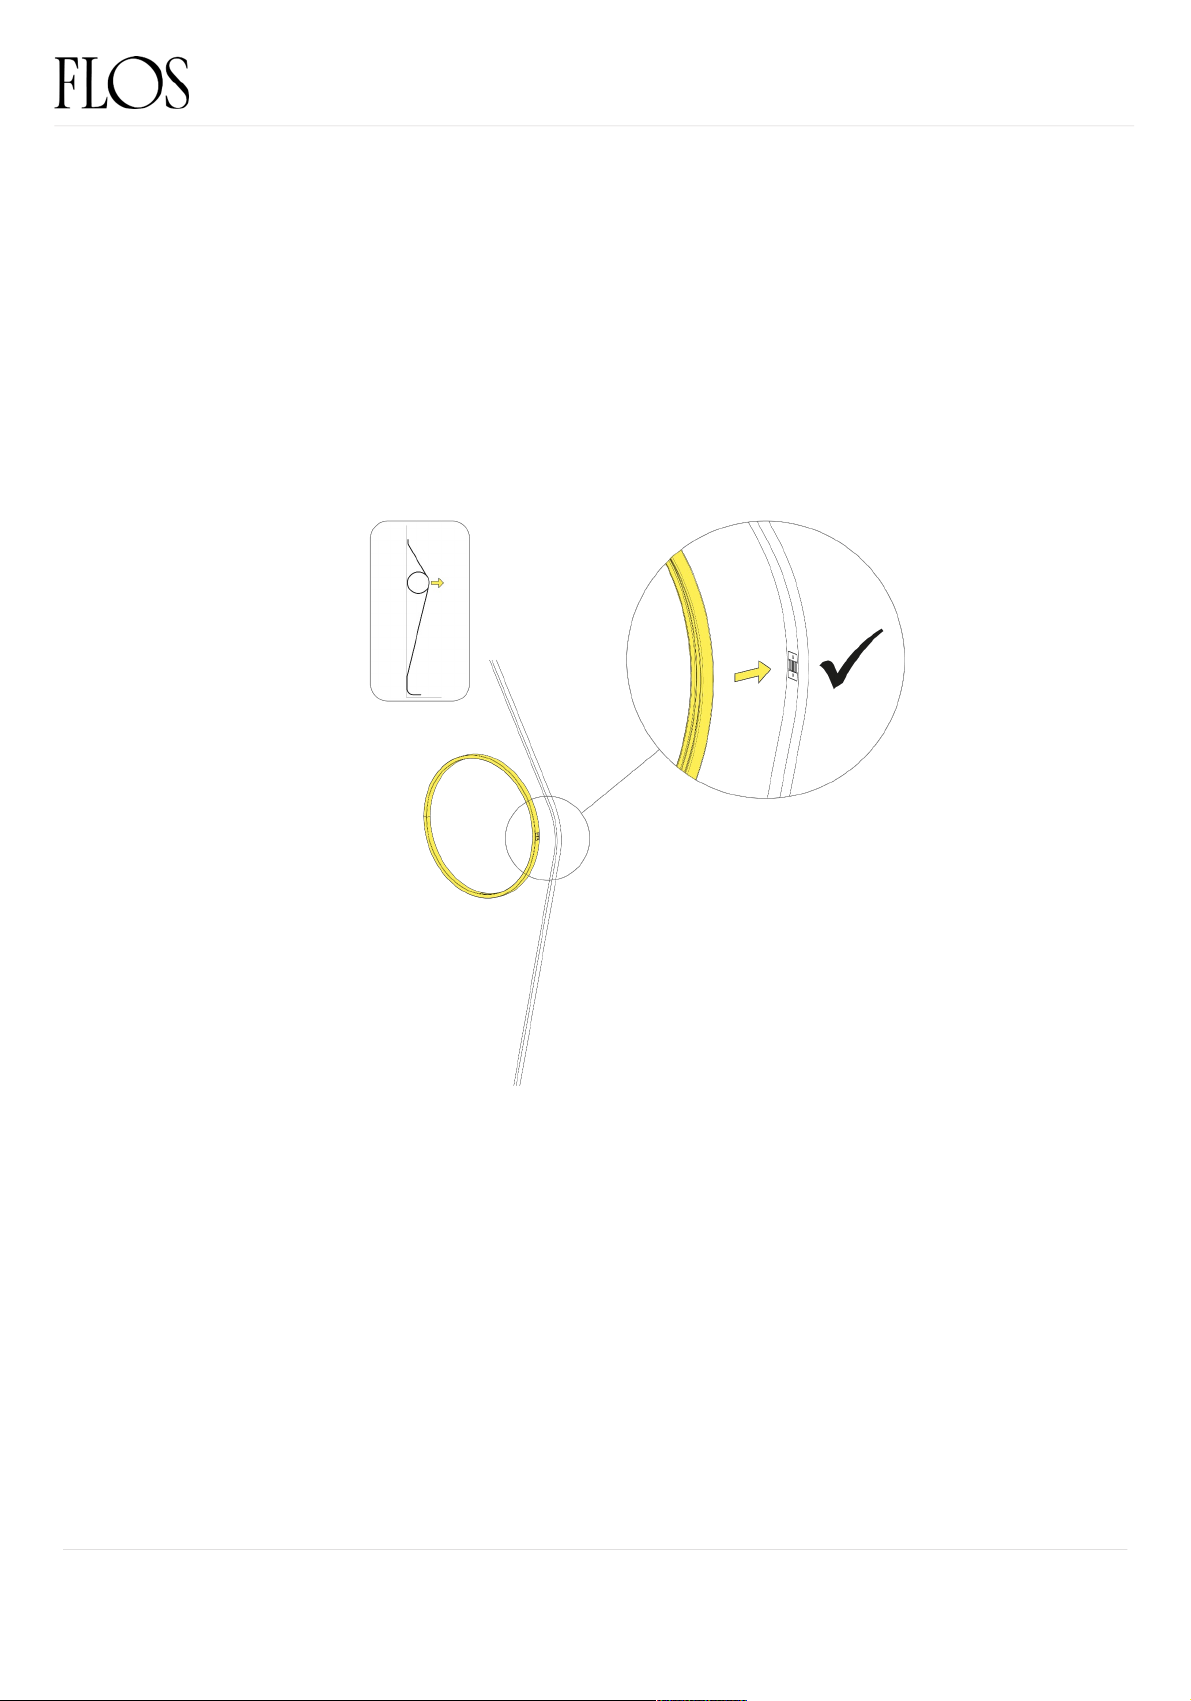
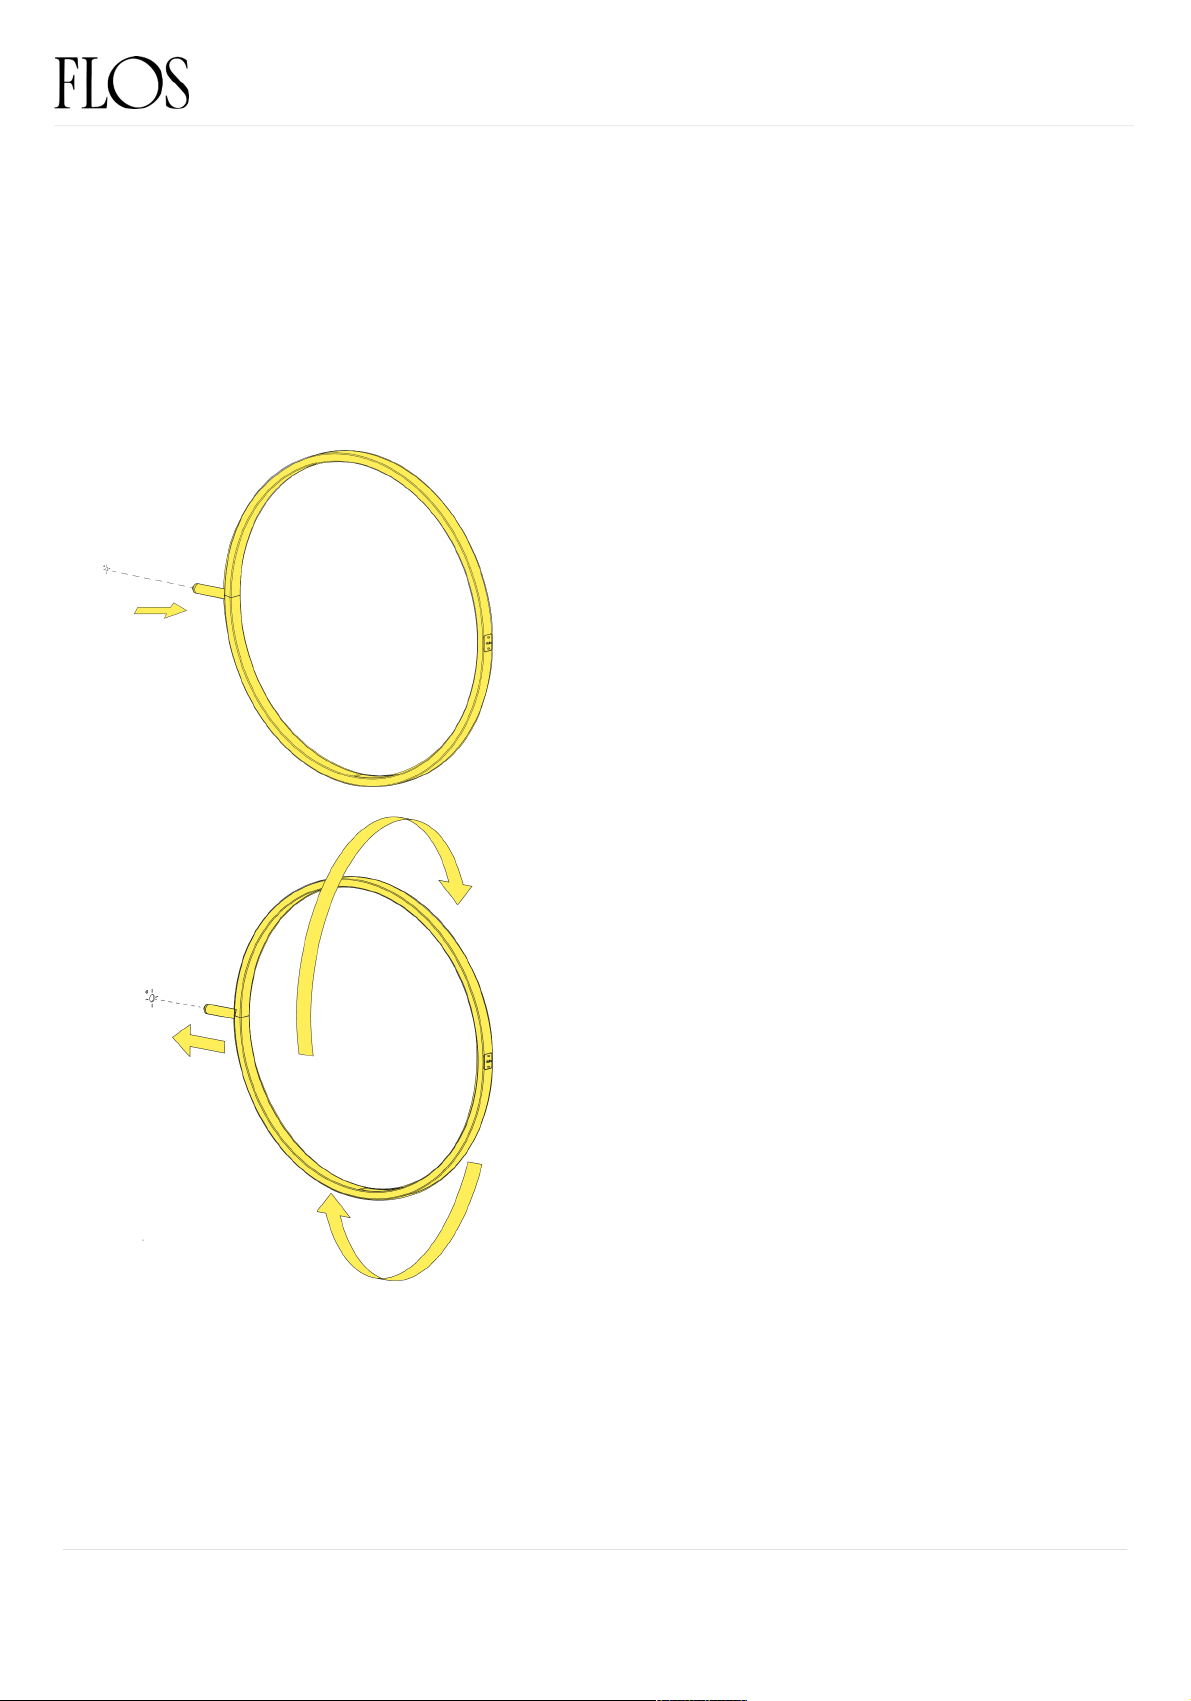
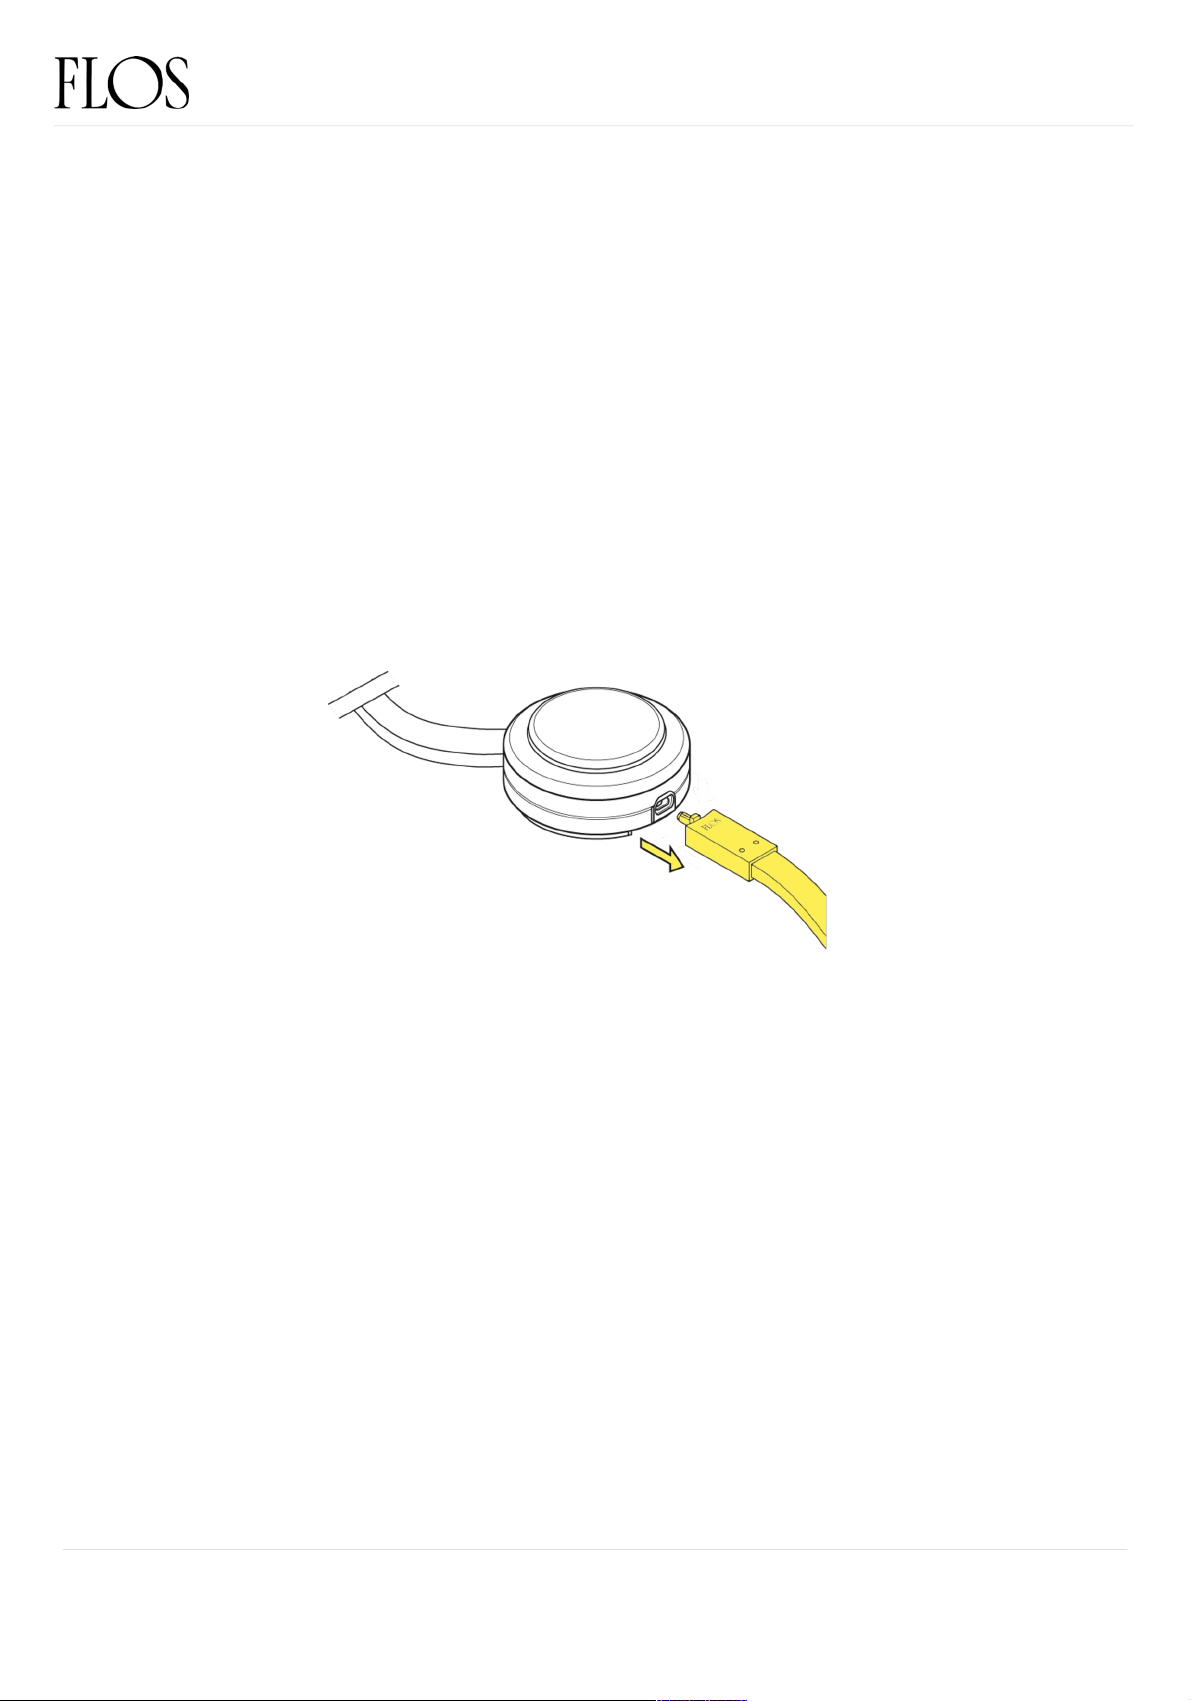
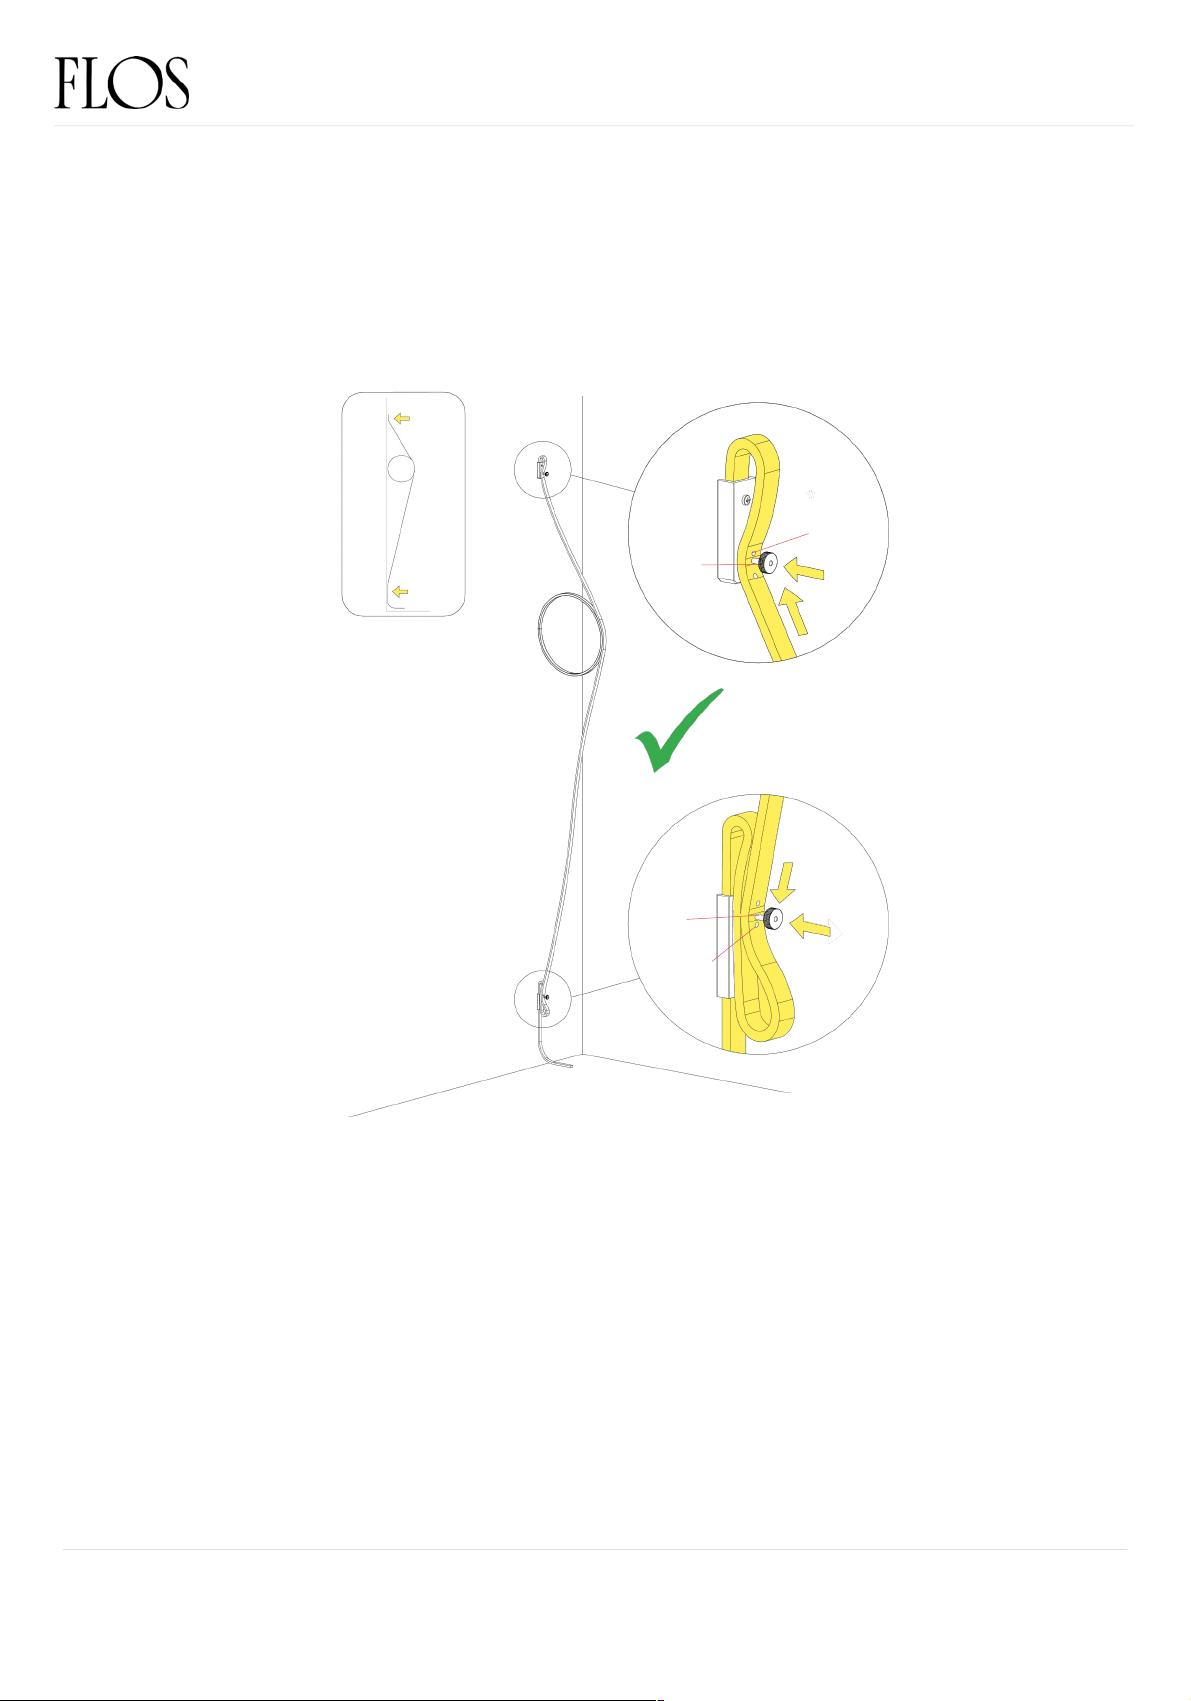
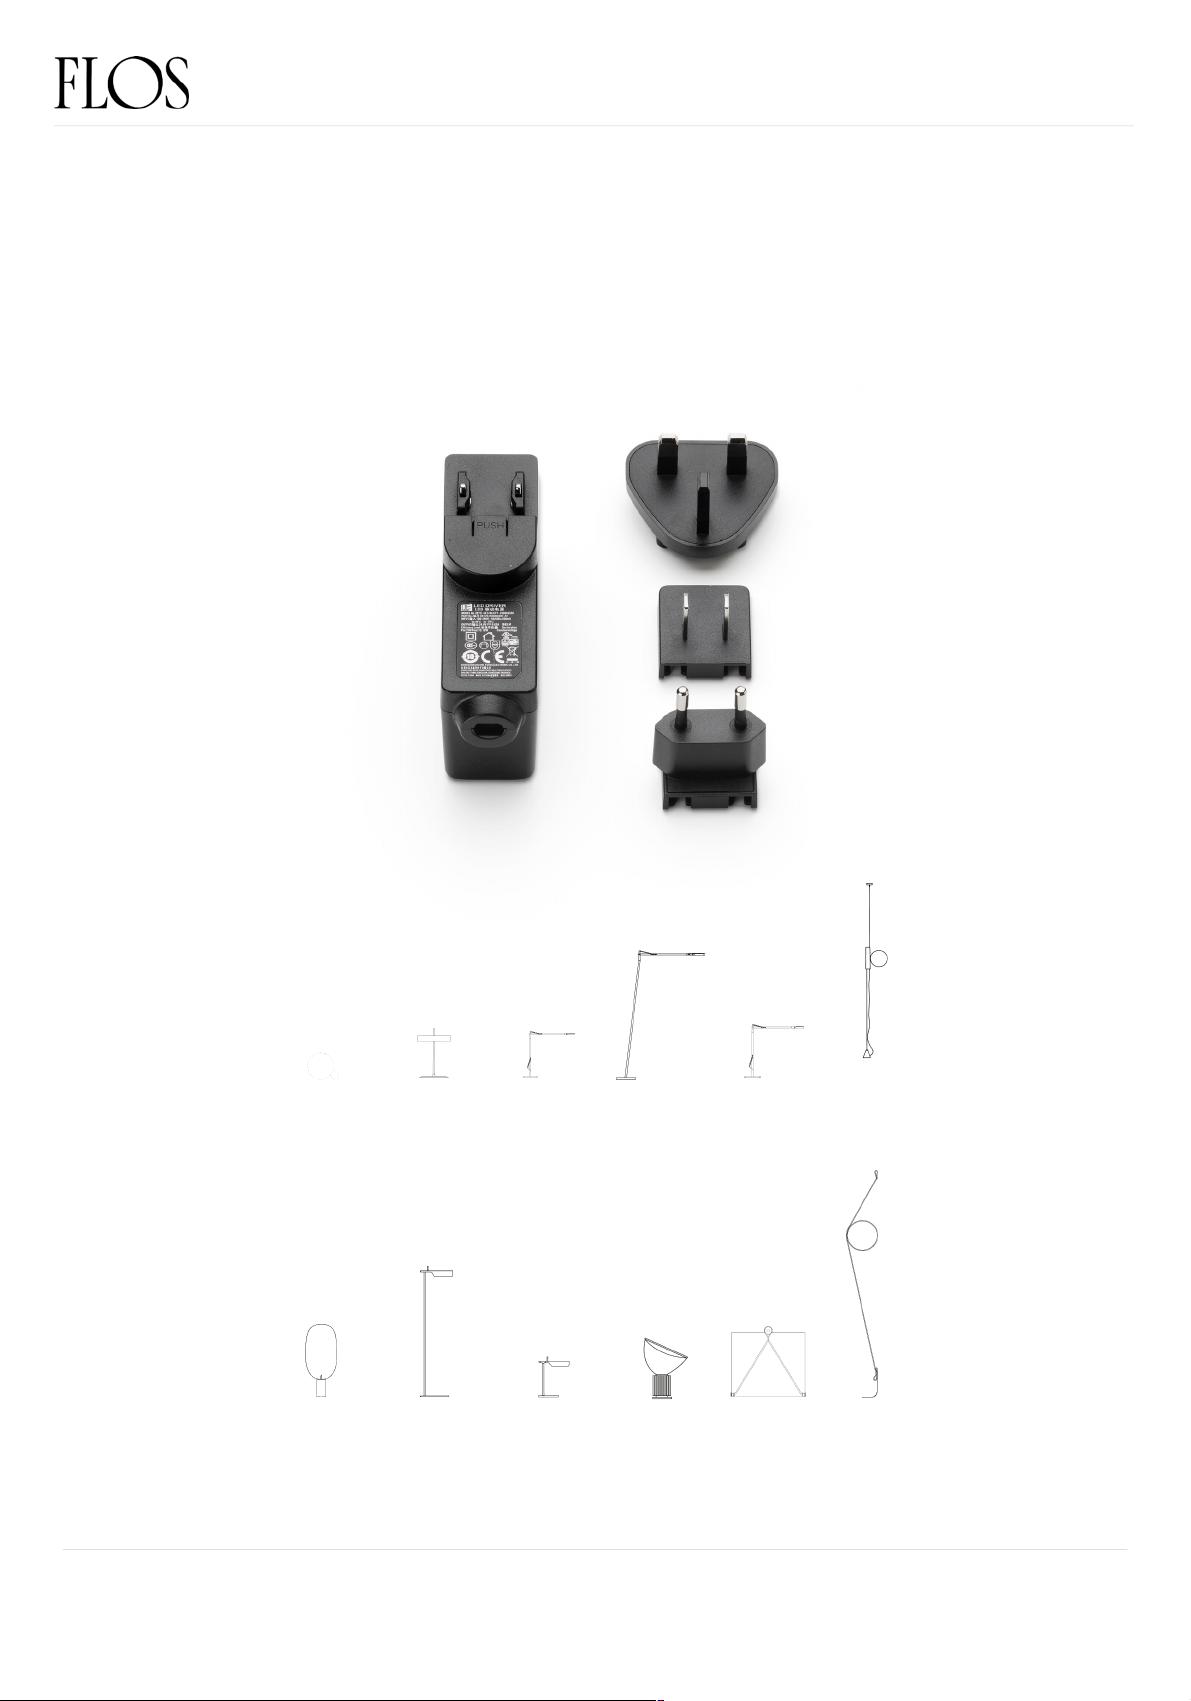
FLOS WIRERING F9512044 User manual


Other FLOS Lighting Equipment manuals

FLOS
FLOS POCHETTE F9705020 User manual

FLOS
FLOS IC C/W1 User manual

FLOS
FLOS PATRICIA URQUIOLA TATOU T1 User manual

FLOS
FLOS KELVIN LED F User manual

FLOS
FLOS WIRERING F9513009 User manual

FLOS
FLOS F1060026 User manual

FLOS
FLOS WIRERING F9512009 User manual

FLOS
FLOS F1584006 User manual

FLOS
FLOS F1583006 User manual

FLOS
FLOS Belvedere Spot wall User manual

FLOS
FLOS OK F4640009 User manual

FLOS
FLOS BELLHOP User manual

FLOS
FLOS FU317959 User manual

FLOS
FLOS BELLHOP User manual

FLOS
FLOS RF25606 User manual

FLOS
FLOS WIRERING F9513044 User manual

FLOS
FLOS SUPERLOON F6630030 User manual

FLOS
FLOS WIRERING F9514009 User manual

FLOS
FLOS ONTHEROCKS HL User manual

FLOS
FLOS BELLHOP User manual


Popular Lighting Equipment manuals by other brands


EuroLite
EuroLite LED Pixel Panel 16 DMX user manual

Command Light
Command Light SL445A manual

Shehds
Shehds 7X40W user manual

Larson Electronics
Larson Electronics EXP-EMG-2L-LE6 instruction manual

Clevertronics
Clevertronics L10 Cleverfit Pro Installation & maintenance instructions

modway
modway EEI-5298 Assembly instructions