manuals.online logo
Brands
  1. Home
  2. •
  3. Brands
  4. •
  5. FLOS
  6. •
  7. Lighting Equipment
  8. •
  9. FLOS F0303000 User manual

FLOS F0303000 User manual

REV. 1
DATE 10/06/2021
1
ARCO LED
Designed by Achille & Pier Giacomo Castiglioni, 1962
F0303000
©2021 Flos - All rights reserved - www.flos.com
Flos reserves the right to introduce any changes to its own models, without prior notice.
EN
2
ARCO LED
F0303000
©2021 Flos - All rights reserved - www.flos.com
Flos reserves the right to introduce any changes to its own models, without prior notice.
REV. 1
DATE 31/05/2021
















EN
3
ARCO LED
F0303000
©2021 Flos - All rights reserved - www.flos.com
Flos reserves the right to introduce any changes to its own models, without prior notice.
01. RF3320400 –48 V Power supply unit with plug kit
02. RF26383 –Switch dimmer 600mA for new version
03. RF0303600 –Switch dimmer 400mA assembly for old version
04. RF20805 –Middle electric cable with connectors
05. F0310000 –Marble base
06. RF0300100 –Fixing screw with joint
07. RF21041 –Inox stem
08. RF02970 –Long inox channel
09. RF0300200 –Screw rolls unit for inox channel
10. RF02971 –Medium inox channel
11. RF00797 –Polished reflector
12. RF0303400 –Small inox channel with grind and LED
13. RF0303200 –Optical LED diffuser with fixing screw
14. RF0303300 –Optical diffuser fixing screws
REV. 1
DATE 31/05/2021
















EN
4
WARNING! When installing and whenever acting on the appliance, ensure that the power supply has been switched off.
For the installation of the spare-part, it is necessary to consult a qualified electrician.
©2021 Flos - All rights reserved - www.flos.com
Flos reserves the right to introduce any changes to its own models, without prior notice.
RF3320400
POWER SUPPLY UNIT WITH PLUG KIT
REV. 1
DATE 31/05/2021
ARCO LED F0303000
5
WARNING! When installing and whenever acting on the appliance, ensure that the power supply has been switched off.
For the installation of the spare-part, it is necessary to consult a qualified electrician.
©2021 Flos - All rights reserved - www.flos.com
Flos reserves the right to introduce any changes to its own models, without prior notice.
EN
When installing and whenever acting on the appliance, ensure that the power
supply has been switched off.
For the installation of the spare-part, it is necessary to consult a qualified
electrician.
Insert the plug into the power unit. By using the guides, snap the plug inside its
apposite slot (use the correct type of plug for the country in which the device
must be installed).
Fig.2
REV. 1
DATE 31/05/2021
ARCO LED F0303000
RF3320400
POWER SUPPLY UNIT WITH PLUG KIT
EN
6
WARNING! When installing and whenever acting on the appliance, ensure that the power supply has been switched off.
For the installation of the spare-part, it is necessary to consult a qualified electrician.
©2021 Flos - All rights reserved - www.flos.com
Flos reserves the right to introduce any changes to its own models, without prior notice.
RF26383
SWITCH DIMMER 600mA FOR NEW VERSION
REV. 1
DATE 31/05/2021
ARCO LED F0303000
EN
7
WARNING! When installing and whenever acting on the appliance, ensure that the power supply has been switched off.
For the installation of the spare-part, it is necessary to consult a qualified electrician.
©2021 Flos - All rights reserved - www.flos.com
Flos reserves the right to introduce any changes to its own models, without prior notice.
REV. 1
DATE 31/05/2021
P
Q
Connect the plug (P) to the push button switch (Q) locking it by turning it 90º
clockwise.
Fig.1
ARCO LED F0303000
RF26383
SWITCH DIMMER 600mA FOR NEW VERSION
8
WARNING! When installing and whenever acting on the appliance, ensure that the power supply has been switched off.
For the installation of the spare-part, it is necessary to consult a qualified electrician.
©2021 Flos - All rights reserved - www.flos.com
Flos reserves the right to introduce any changes to its own models, without prior notice.
EN
Connect the plug (C) to the power unit (B) locking it in by rotating it 90°
clockwise.
Fig.2
REV. 1
DATE 31/05/2021
ARCO LED F0303000
C
B
RF26383
SWITCH DIMMER 600mA FOR NEW VERSION
EN
9
WARNING! When installing and whenever acting on the appliance, ensure that the power supply has been switched off.
For the installation of the spare-part, it is necessary to consult a qualified electrician.
©2021 Flos - All rights reserved - www.flos.com
Flos reserves the right to introduce any changes to its own models, without prior notice.
RF0303600
SWITCH DIMMER 400mA ASSEMBLY FOR OLD VERSION
REV. 1
DATE 31/05/2021
ARCO LED F0303000
10
WARNING! When installing and whenever acting on the appliance, ensure that the power supply has been switched off.
For the installation of the spare-part, it is necessary to consult a qualified electrician.
©2021 Flos - All rights reserved - www.flos.com
Flos reserves the right to introduce any changes to its own models, without prior notice.
EN
Unlock the plug (P) from the old version switch dimmer (Q) by turning it 90°
anticlockwise.
Fig.1
REV. 1
DATE 31/05/2021
P
ARCO LED F0303000
Q
RF0303600
SWITCH DIMMER 400mA ASSEMBLY FOR OLD VERSION
11
WARNING! When installing and whenever acting on the appliance, ensure that the power supply has been switched off.
For the installation of the spare-part, it is necessary to consult a qualified electrician.
©2021 Flos - All rights reserved - www.flos.com
Flos reserves the right to introduce any changes to its own models, without prior notice.
EN
Assemble now the new spare-part:
Connect the plug (P) to the push button switch (Q) locking it by turning it 90º
clockwise.
Fig.2
REV. 1
DATE 31/05/2021
P
ARCO LED F0303000
Q
RF0303600
SWITCH DIMMER 400mA ASSEMBLY FOR OLD VERSION
12
WARNING! When installing and whenever acting on the appliance, ensure that the power supply has been switched off.
For the installation of the spare-part, it is necessary to consult a qualified electrician.
©2021 Flos - All rights reserved - www.flos.com
Flos reserves the right to introduce any changes to its own models, without prior notice.
EN
Insert the plug into the power unit. By using the guides, snap the plug inside its
apposite slot (use the correct type of plug for the country in which the device
must be installed).
Fig.3
REV. 1
DATE 31/05/2021
ARCO LED F0303000
RF0303600
SWITCH DIMMER 400mA ASSEMBLY FOR OLD VERSION
EN
13
WARNING! When installing and whenever acting on the appliance, ensure that the power supply has been switched off.
For the installation of the spare-part, it is necessary to consult a qualified electrician.
©2021 Flos - All rights reserved - www.flos.com
Flos reserves the right to introduce any changes to its own models, without prior notice.
RF20805
MIDDLE ELECTRIC CABLE WITH CONNECTORS
REV. 1
DATE 31/05/2021
ARCO LED F0303000
14
WARNING! When installing and whenever acting on the appliance, ensure that the power supply has been switched off.
For the installation of the spare-part, it is necessary to consult a qualified electrician.
©2021 Flos - All rights reserved - www.flos.com
Flos reserves the right to introduce any changes to its own models, without prior notice.
EN
Insert the plug cable (A) through the channel (B) until the connector (C) comes
out from the upper part of the channel, as shown in the image. Place the
channel (B) in the housing (D), insert the joint (E) into the hole in the base (F), fix
the channel (B) to the base (F) with the screw (G) being careful to not damage
the cable with the head of the screw.
C
G
E
AFig.1
REV. 1
DATE 31/05/2021
ARCO LED F0303000
B
F
D
RF20805
MIDDLE ELECTRIC CABLE WITH CONNECTORS
15
WARNING! When installing and whenever acting on the appliance, ensure that the power supply has been switched off.
For the installation of the spare-part, it is necessary to consult a qualified electrician.
©2021 Flos - All rights reserved - www.flos.com
Flos reserves the right to introduce any changes to its own models, without prior notice.
EN
Insert the long channel (H) into the stem (B) paying attention to insert the cable
with connector (C) through the hole of the channel (H). Joint together the
medium channel with the rollers (I) according to the desired position.
Fig.2
REV. 1
DATE 31/05/2021
ARCO LED F0303000
II
CI
RF20805
MIDDLE ELECTRIC CABLE WITH CONNECTORS
16
WARNING! When installing and whenever acting on the appliance, ensure that the power supply has been switched off.
For the installation of the spare-part, it is necessary to consult a qualified electrician.
©2021 Flos - All rights reserved - www.flos.com
Flos reserves the right to introduce any changes to its own models, without prior notice.
EN
Place the reflector (L) on the grid (M), insert the connector (0) under the rollers
(I) of the medium conduit and secure the small channel to the rollers (I).
Fig.3
REV. 1
DATE 31/05/2021
I
O
I
ARCO LED F0303000
L
M
RF20805
MIDDLE ELECTRIC CABLE WITH CONNECTORS
17
WARNING! When installing and whenever acting on the appliance, ensure that the power supply has been switched off.
For the installation of the spare-part, it is necessary to consult a qualified electrician.
©2021 Flos - All rights reserved - www.flos.com
Flos reserves the right to introduce any changes to its own models, without prior notice.
EN
After having positioned carefully the electric cable (T) on the bottom channel,
connect the connector (N) to connector (0) of the cable coming from the stem
(B). Stretch the cable with the plug (A) paying attention to insert connectors (N)
and (0) into the stem (B) and then secure the cable clamp (U).
Fig.4
REV. 1
DATE 31/05/2021
ARCO LED F0303000
B
O
N
T
AB
RF20805
MIDDLE ELECTRIC CABLE WITH CONNECTORS
18
WARNING! When installing and whenever acting on the appliance, ensure that the power supply has been switched off.
For the installation of the spare-part, it is necessary to consult a qualified electrician.
©2021 Flos - All rights reserved - www.flos.com
Flos reserves the right to introduce any changes to its own models, without prior notice.
EN
Insert the plug (C) into the driver unit (D). Utilize the guides and snap it inside its
apposite slot (use the correct type of plug for the area in which the device must
be installed).
Fig.5
REV. 1
DATE 31/05/2021
ARCO LED F0303000
C
D
RF20805
MIDDLE ELECTRIC CABLE WITH CONNECTORS
19
WARNING! When installing and whenever acting on the appliance, ensure that the power supply has been switched off.
For the installation of the spare-part, it is necessary to consult a qualified electrician.
©2021 Flos - All rights reserved - www.flos.com
Flos reserves the right to introduce any changes to its own models, without prior notice.
EN
Connect the pin (P) to the push button switch (Q), then connect the device to the
main power.
Fig.6
REV. 1
DATE 31/05/2021
P
ARCO LED F0303000
Q
RF20805
MIDDLE ELECTRIC CABLE WITH CONNECTORS
EN
20
F0310000
MARBLE BASE
WARNING! When installing and whenever acting on the appliance, ensure that the power supply has been switched off.
For the installation of the spare-part, it is necessary to consult a qualified electrician.
©2021 Flos - All rights reserved - www.flos.com
Flos reserves the right to introduce any changes to its own models, without prior notice.
ARCO LED F0303000
REV. 1
DATE 31/05/2021
Arco
p. 26
Arco Led
p. 20

Other FLOS Lighting Equipment manuals
FLOS COPYCAT F1952044 User manual

FLOS

FLOS COPYCAT F1952044 User manual

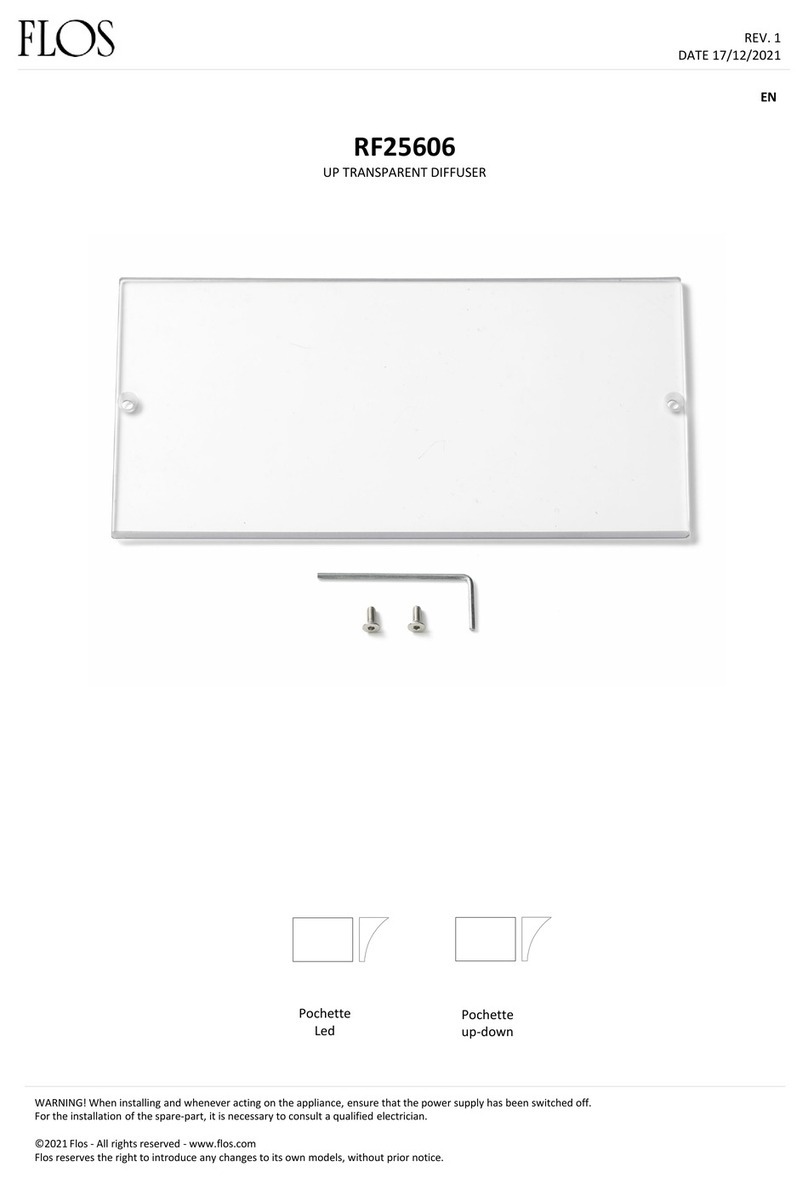
FLOS RF25606 User manual

FLOS

FLOS RF25606 User manual

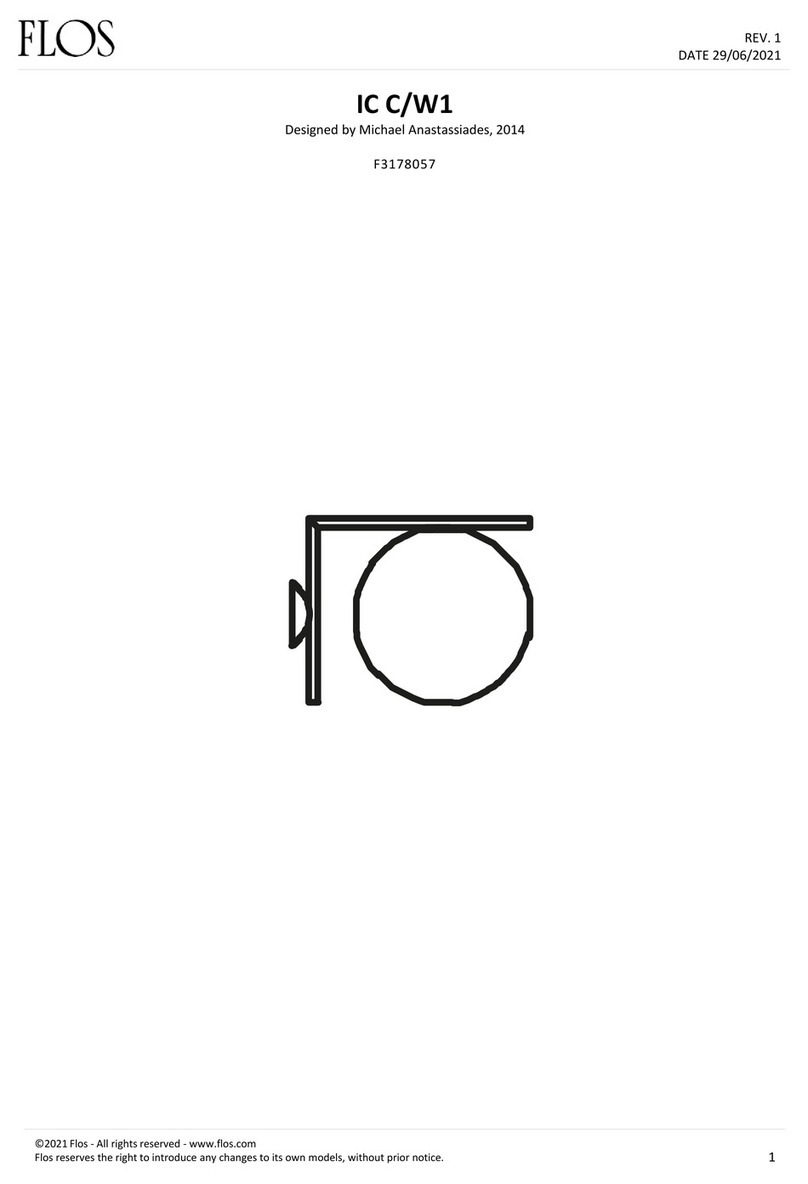
FLOS IC C/W1 User manual

FLOS

FLOS IC C/W1 User manual

FLOS F1584006 User manual

FLOS

FLOS F1584006 User manual

FLOS POCHETTE F9705020 User manual

FLOS

FLOS POCHETTE F9705020 User manual

FLOS ONTHEROCKS HL User manual

FLOS

FLOS ONTHEROCKS HL User manual

FLOS ZEPPELIN 1 F9800009 User manual

FLOS

FLOS ZEPPELIN 1 F9800009 User manual

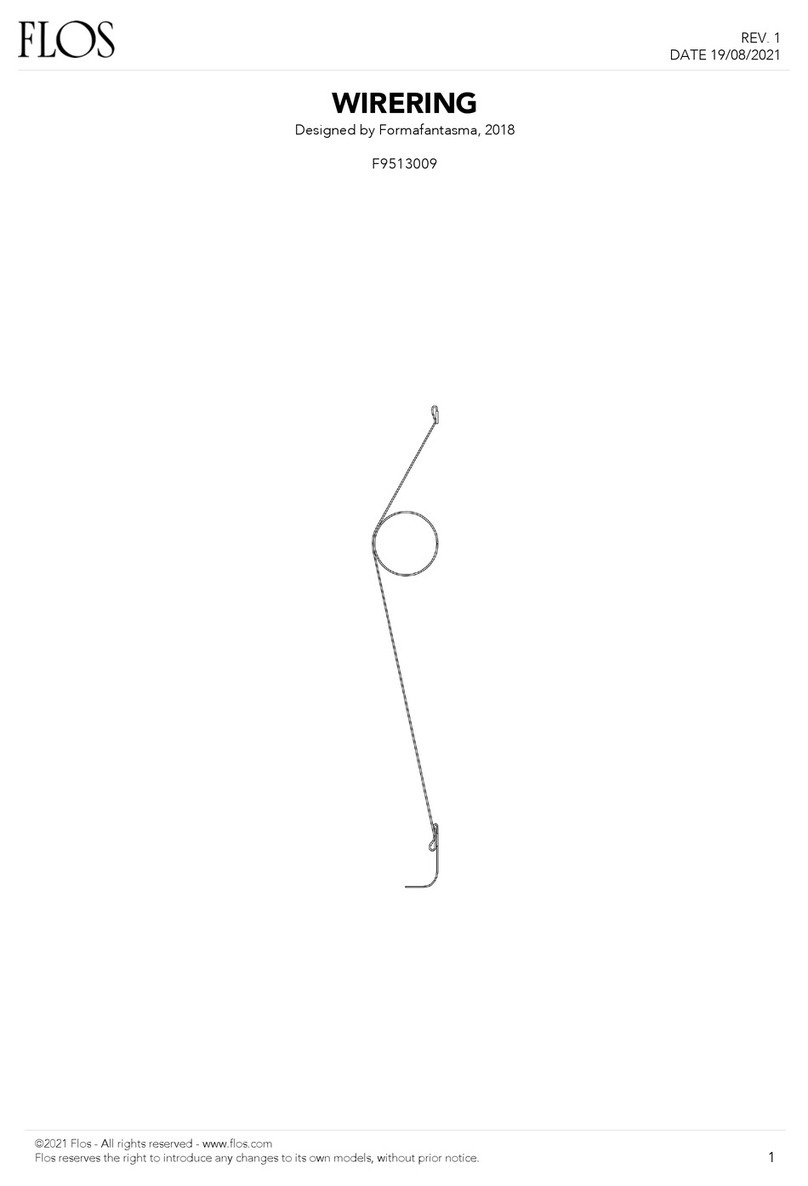
FLOS WIRERING F9513009 User manual

FLOS

FLOS WIRERING F9513009 User manual
FLOS OK F4640019 User manual

FLOS

FLOS OK F4640019 User manual

FLOS FU317959 User manual

FLOS

FLOS FU317959 User manual

FLOS OK F4640009 User manual

FLOS

FLOS OK F4640009 User manual

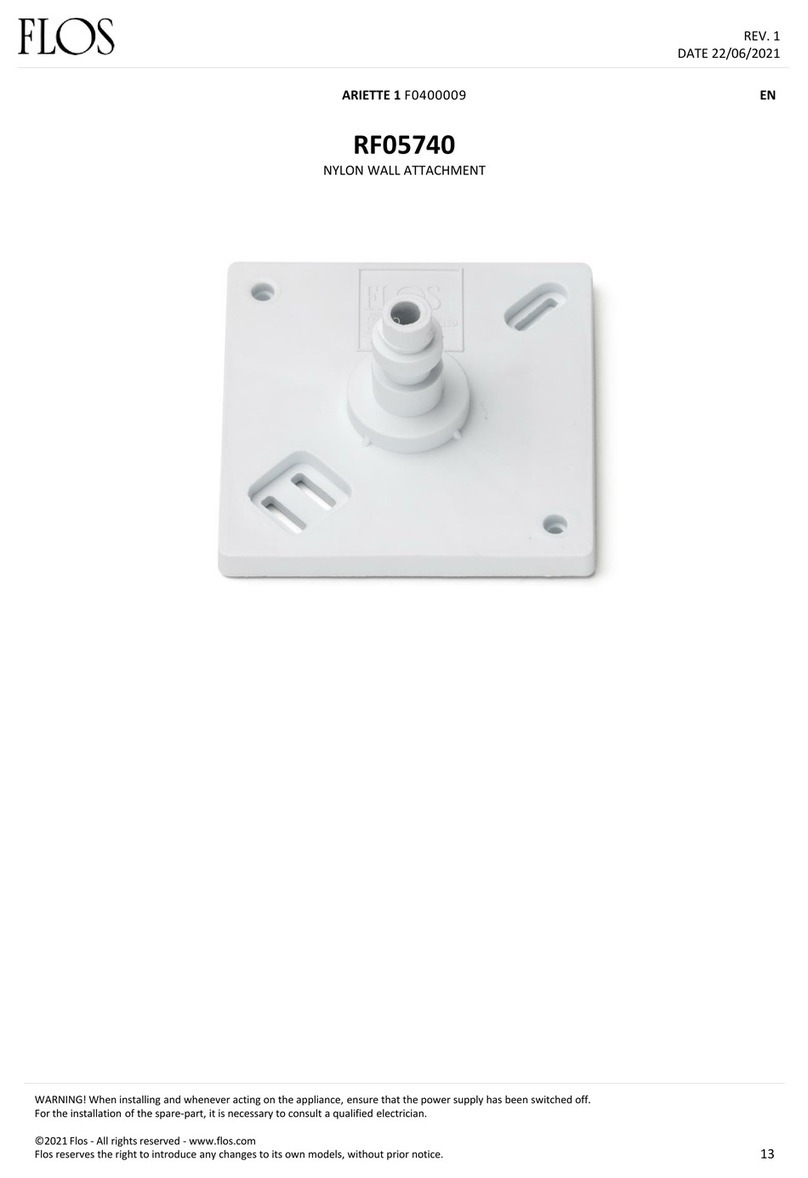
FLOS RF05740 User manual

FLOS

FLOS RF05740 User manual

FLOS WIRERING F9513034 User manual

FLOS

FLOS WIRERING F9513034 User manual

FLOS OK F4640030 User manual

FLOS

FLOS OK F4640030 User manual

FLOS BELLHOP User manual

FLOS

FLOS BELLHOP User manual

FLOS WIRERING F9512009 User manual

FLOS

FLOS WIRERING F9512009 User manual

FLOS BELLHOP User manual

FLOS

FLOS BELLHOP User manual

FLOS F1060026 User manual

FLOS

FLOS F1060026 User manual

FLOS PATRICIA URQUIOLA TATOU T1 User manual

FLOS

FLOS PATRICIA URQUIOLA TATOU T1 User manual

FLOS BELLHOP User manual

FLOS

FLOS BELLHOP User manual

FLOS WIRERING F9514009 User manual

FLOS

FLOS WIRERING F9514009 User manual

FLOS SERENA F6582015 User manual

FLOS

FLOS SERENA F6582015 User manual

FLOS BELLHOP F F1070026 User manual

FLOS

FLOS BELLHOP F F1070026 User manual

FLOS WIRERING F9513044 User manual

FLOS

FLOS WIRERING F9513044 User manual

Popular Lighting Equipment manuals by other brands
Future light PHB-300E Pro-Head-Beam user manual

Future light

Future light PHB-300E Pro-Head-Beam user manual

LCPRO SHARKi user manual

LCPRO

LCPRO SHARKi user manual

Cheyenne HAWK SPIRIT operating instructions

Cheyenne

Cheyenne HAWK SPIRIT operating instructions

Eliminator Lighting EX-6 quick start guide

Eliminator Lighting

Eliminator Lighting EX-6 quick start guide

MULTIQUIP GLOBUG GB12BW Operation and parts manual

MULTIQUIP

MULTIQUIP GLOBUG GB12BW Operation and parts manual

Robus RSD18CCT3M-01 instruction manual

Robus

Robus RSD18CCT3M-01 instruction manual

Bresser SG Series instruction manual

Bresser

Bresser SG Series instruction manual

Code DL10492BKS-4 Use and care guide

Code

Code DL10492BKS-4 Use and care guide

EuroLite LED OPEN operating instructions

EuroLite

EuroLite LED OPEN operating instructions

ProLights LUMIPAR7QPRO user manual

ProLights

ProLights LUMIPAR7QPRO user manual

American DJ Blade User instructions

American DJ

American DJ Blade User instructions

GTV AE-BPW3GS-80 Notes for Installation and Setting up

GTV

GTV AE-BPW3GS-80 Notes for Installation and Setting up

Larson Electronics EPLFL-26W-P-LED-25 instruction manual

Larson Electronics

Larson Electronics EPLFL-26W-P-LED-25 instruction manual

Chauvet SlimPAR PRO VW user manual

Chauvet

Chauvet SlimPAR PRO VW user manual

Triton Blue RGB3256-480 user manual

Triton Blue

Triton Blue RGB3256-480 user manual

ADJ ALLEGRO Z6 User instructions

ADJ

ADJ ALLEGRO Z6 User instructions

Elation Landscape Lighting user manual

Elation

Elation Landscape Lighting user manual

EMG 808-X Installation information

EMG

EMG 808-X Installation information

manuals.online logo
manuals.online logoBrands
  • About & Mission
  • Contact us
  • Privacy Policy
  • Terms and Conditions

Copyright 2025 Manuals.Online. All Rights Reserved.