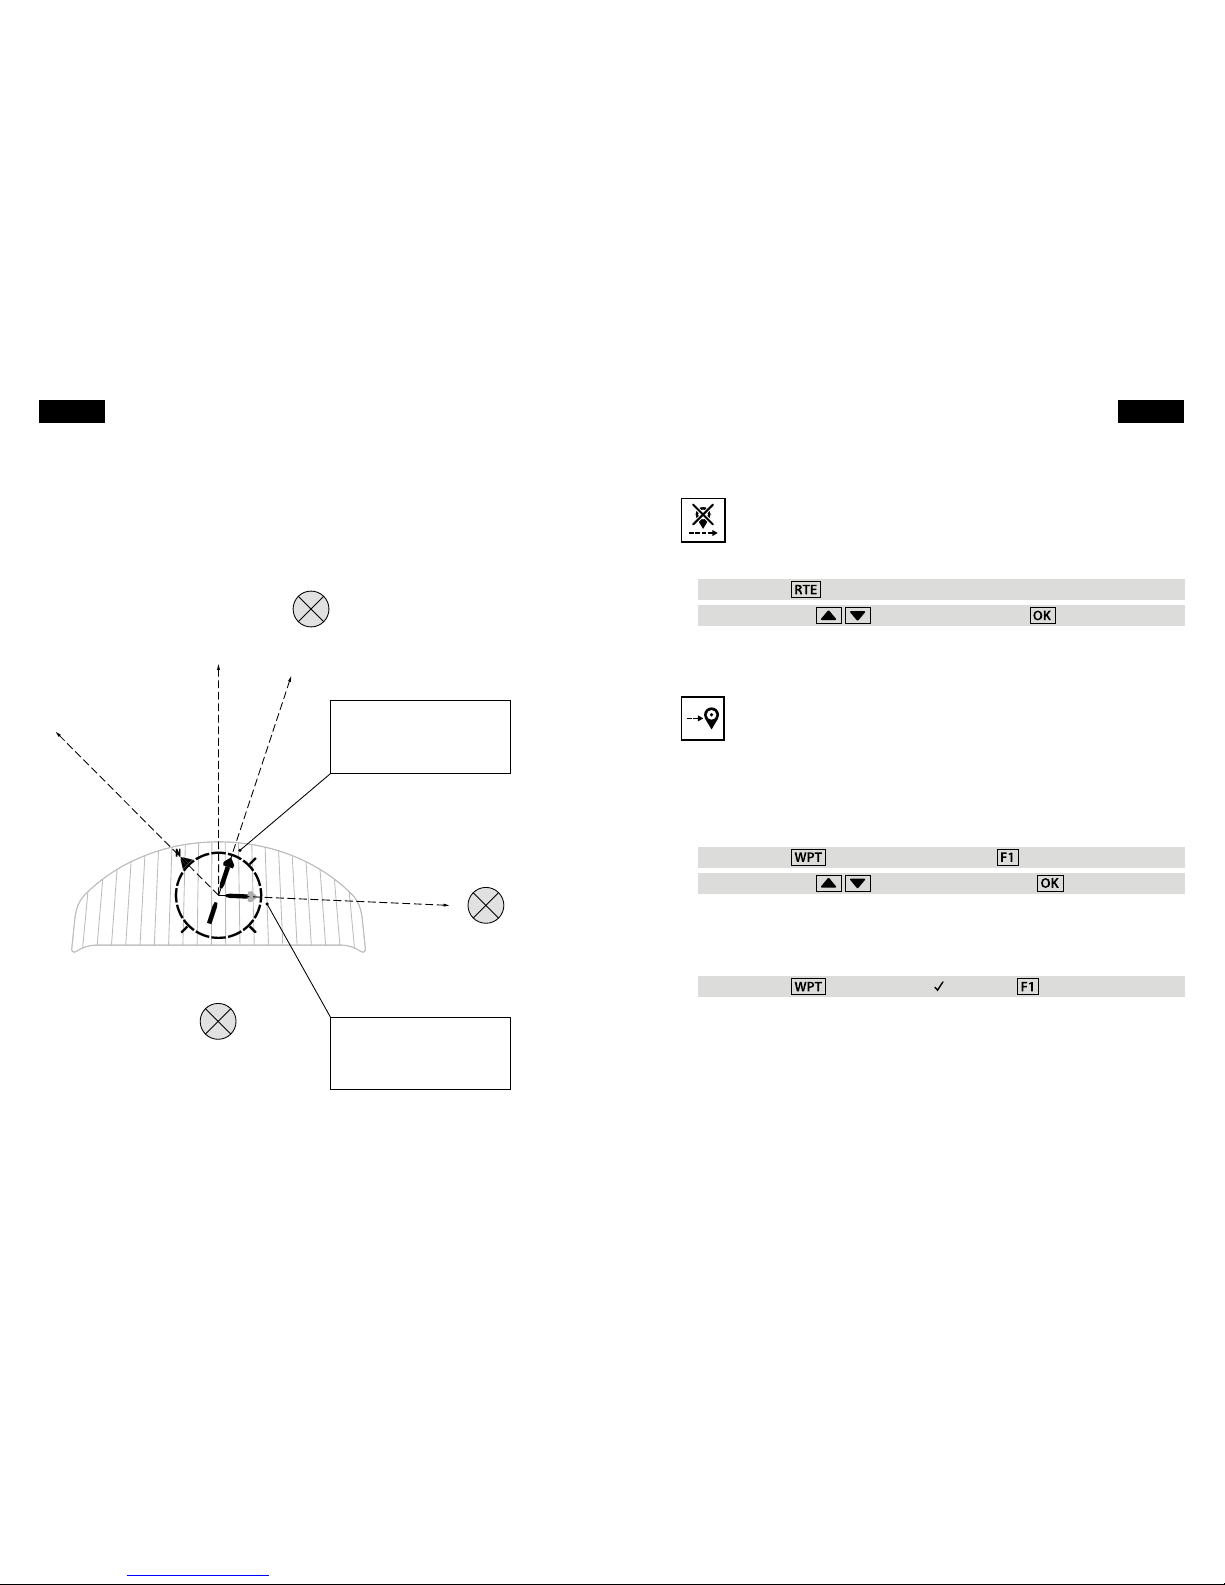
2.3 After navigating
Erasing waypoints and route
The route will remain in active mode until you deactivate it, even if you
switch o your Element. You cannot edit the route until you deactivate it.
Press and hold . Deactivate Route by pressing .
Your waypoints list and route are stored separately in the device's memory. Therefore,
deleting the route will not erase the waypoints from your stored waypoints list.
Similarly, deleting individual waypoints from your waypoints list will not remove them
from a saved route.
To delete a route:
Press and hold , then select Route. Press .
Use the arrow keys to select Delete. Press .
You will see the prompt Delete route? Press .
The route will be erased, but your Element will retain the waypoints in its list.
Erasing waypoints is easy. To erase waypoint HouseThermal:
Press and hold , then use the arrow keys to select
Waypoints. Press .
Select Edit and press .
Use the arrow keys to select HouseThermal.
Press to delete.
Your waypoint HouseThermal has been deleted from the waypoints list. If your saved
route includes HouseThermal, the route will still contain this waypoint.
16 Navigation
3. General information
Firmware update
Flytec will also issue rmware updates from time to time to improve your
Element's performance and to update you with new features, such as
airspace support. These will be easy to install, drag-and-drop les just like your
tracks. Check the Flytec Element product page for the latest rmware and news about
your Element.
Changing language
At the moment the Element ships with three rmware editions for German,
French, and English ready for installation in the update folder. The stored
rmware versions end in ._pg and to activate another language, simply rename the
le ending to .upg. For future language changes, just download the newest rmware
in your preferred language and drop it into the update folder.
Batteries
If you choose to power your Element with NiMH rechargeable batteries, it is
important to congure the power supply setting on the device.
Press and hold , then use the arrow keys to select
Instrument settings. Press .
Select Battery type and press .
Use the arrow keys to select NiMH. Press .
Press to return to the Main Setup Menu.
Never remove the batteries until you rst switch o your Element. We do not
recommend using NiCad rechargeable batteries.
Do not keep your Element plugged into the computer for a prolonged time after
exchanging les with it. Keeping it plugged in drains the instrument’s battery.
General information 17
English English