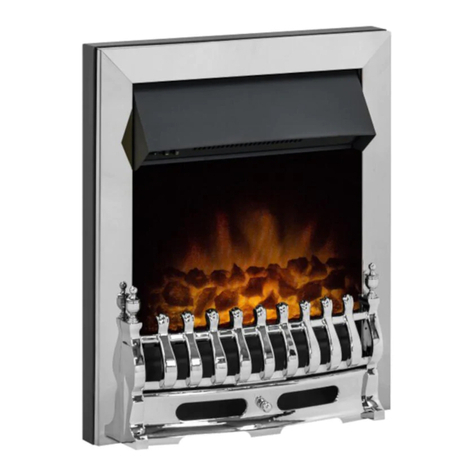
Focal Point HANNINGTON BRASS F500310 Assembly Instructions


This manual suits for next models
1
Table of contents
Other Focal Point Indoor Fireplace manuals

Focal Point
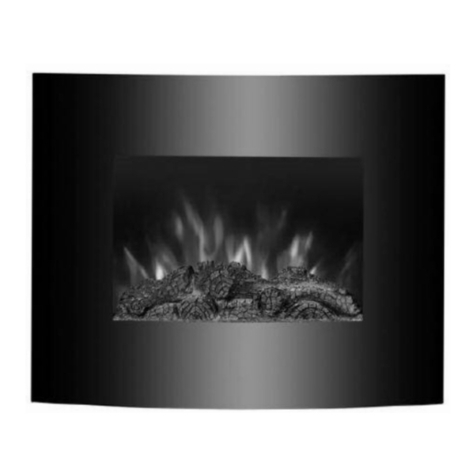
Focal Point L30 PIANO Assembly Instructions
Focal Point
Focal Point LEXINGTON EF655SLB-E Assembly Instructions

Focal Point
Focal Point BLENHEIM STYLE ELEGANCE Guide
Focal Point
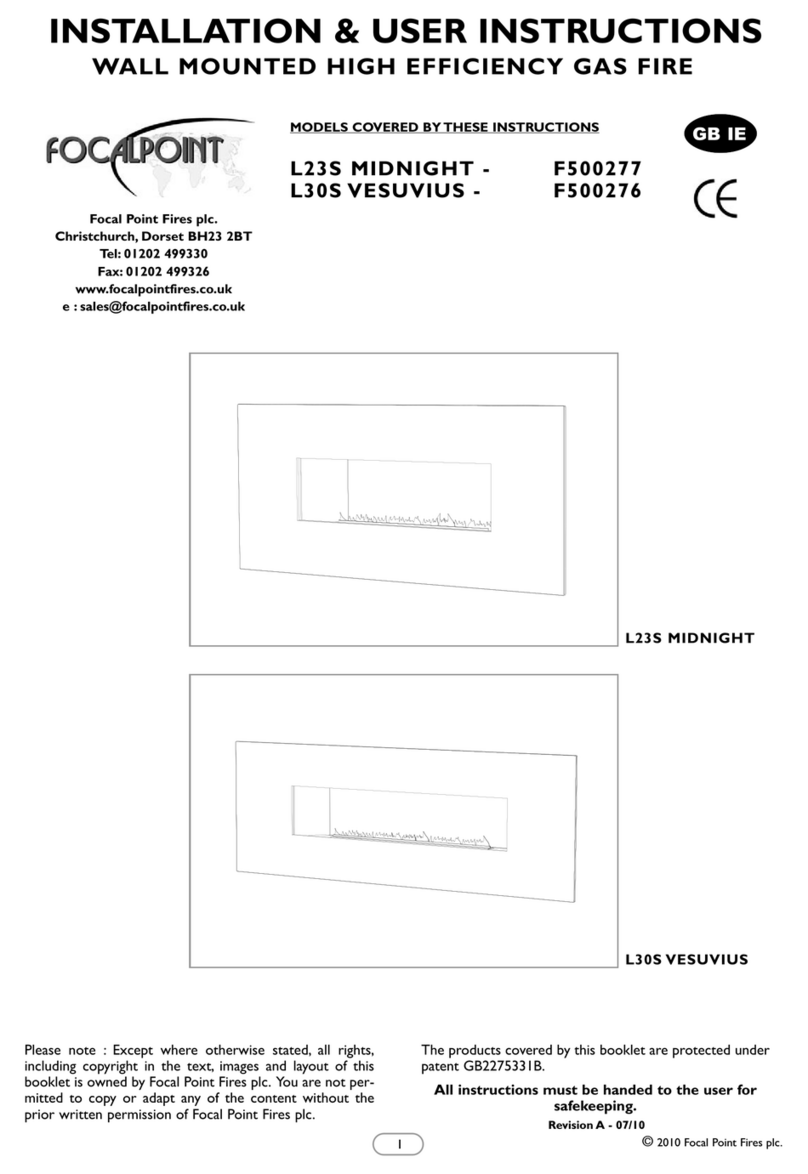
Focal Point L23S MIDNIGHT Assembly Instructions
Focal Point
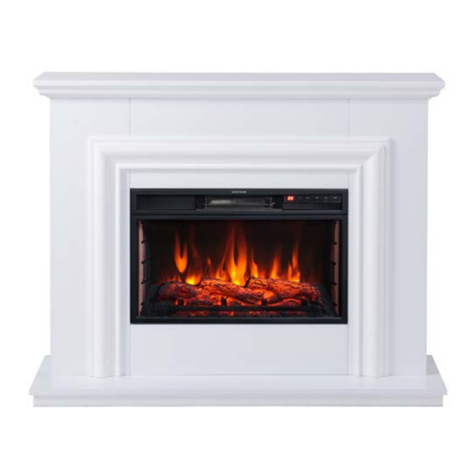
Focal Point AMERSHAM LED ELECTRIC SUITE Assembly Instructions

Focal Point
Focal Point HORIZON Assembly Instructions

Focal Point
Focal Point F820804 Programming manual

Focal Point
Focal Point FPFBQ390 WICHITA FIRE SURROUND WHITE Programming manual

Focal Point
Focal Point L23 Series Assembly Instructions
Focal Point
Focal Point Charmough Assembly Instructions

Focal Point
Focal Point COMO L23 User manual

Focal Point
Focal Point F500241 Assembly Instructions
Focal Point
Focal Point LULWORTH LPG Guide
Focal Point
Focal Point F500115 User manual

Focal Point
Focal Point KAVACHI F500181 Assembly Instructions
Focal Point
Focal Point ExcelsiorRadiant MAN User manual

Focal Point
Focal Point Excelsior Expanse Guide

Focal Point
Focal Point OBLIQUE Guide

Focal Point
Focal Point Fuego User guide

Focal Point
Focal Point BLENHEIM HE Assembly Instructions
Popular Indoor Fireplace manuals by other brands
Travis Industries
Travis Industries 616 Diamond-Fyre GSR2 owner's manual
Backyard Creations
Backyard Creations L-OF144PST Assembly instructions
Valor
Valor 739CLK Classic Log Kit installation manual

Element4
Element4 Sirius User and installation manual
Heatilator
Heatilator Gas Fireplace GDCL4136I owner's manual

Pacific energy
Pacific energy z25 owner's manual

Phoenix
Phoenix MERIT User instructions

Morso
Morso 5660 B Standard Installation and operating instructions

Archgard
Archgard CHALET 1800 Installation, operation and maintenance manual

höfats
höfats SPIN manual
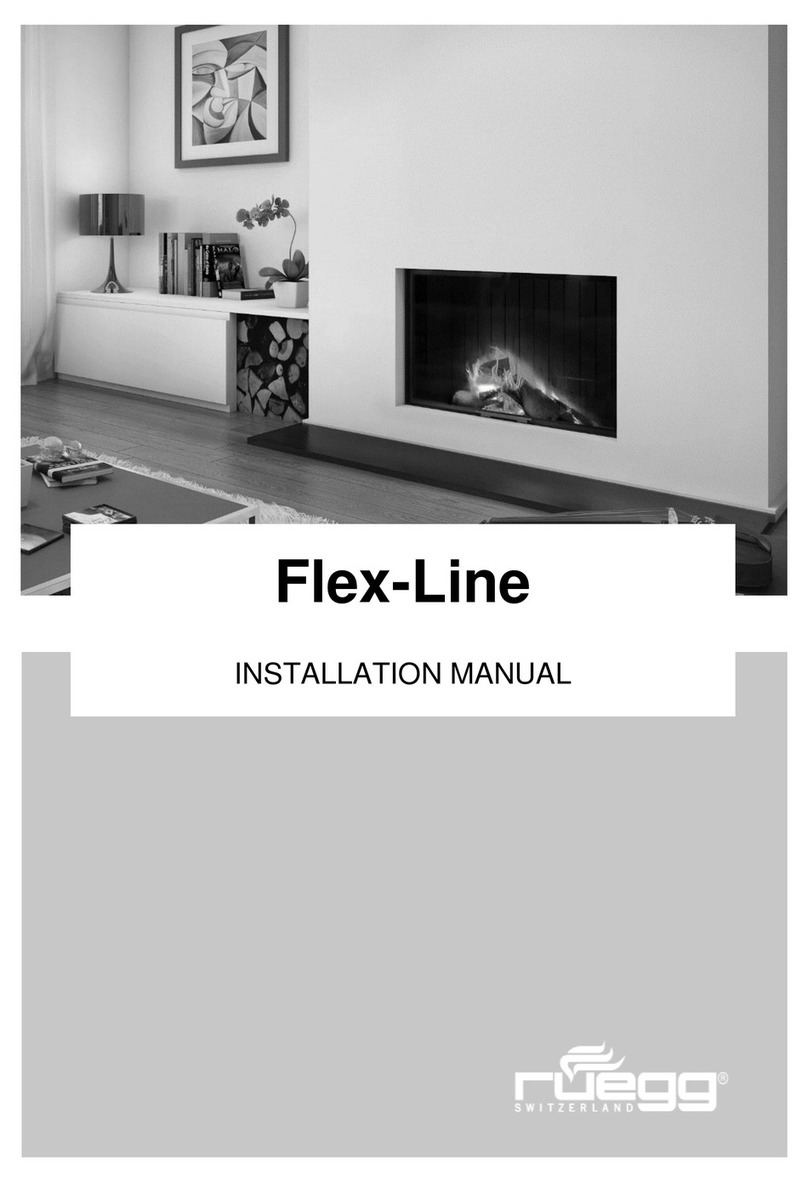
ruegg
ruegg Flex-Line series installation manual

Archgard
Archgard EURO-25 Installation and operation instructions

Efiamma
Efiamma Good 10 C Use and maintenance manual

M Design
M Design LUNA 700H Instructions for installation and use
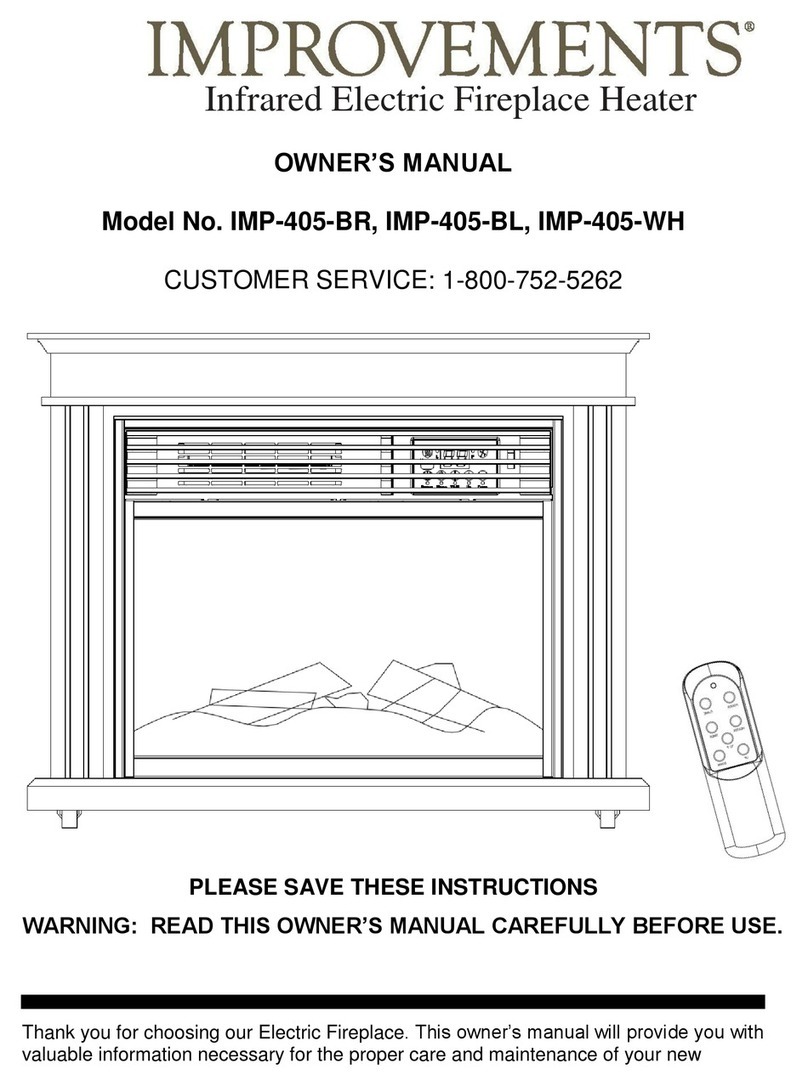
Improvements
Improvements IMP-405-BR owner's manual
Lennox Hearth Products
Lennox Hearth Products Merit CPF-38 Homeowner's care and operation instructions

Napoleon
Napoleon Madison GD80NT Installation and operating instructions
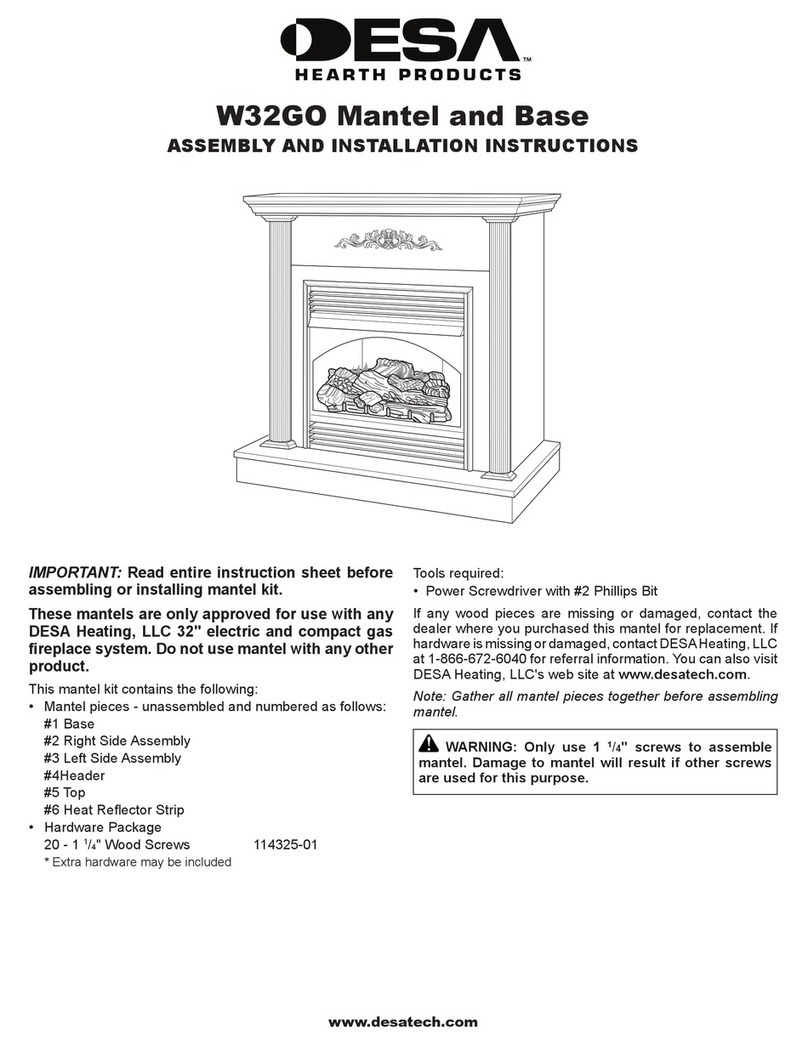
Smoky Mountain
Smoky Mountain W32GO Mantel Assembly and installation instructions

