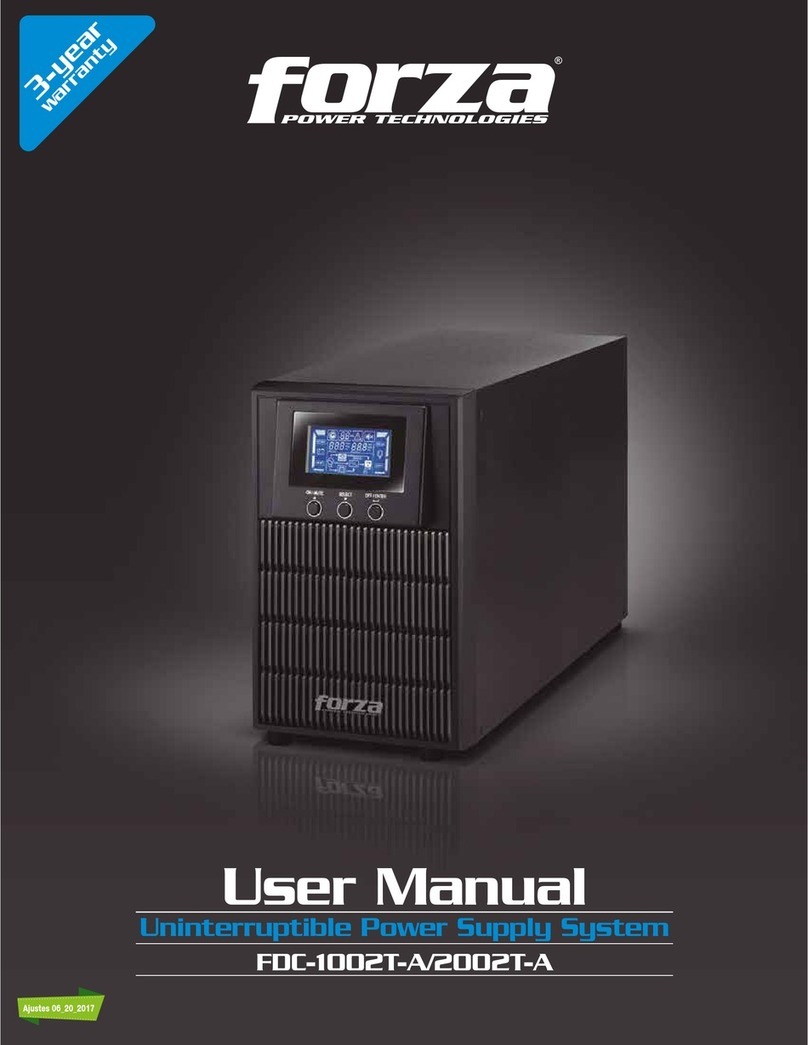
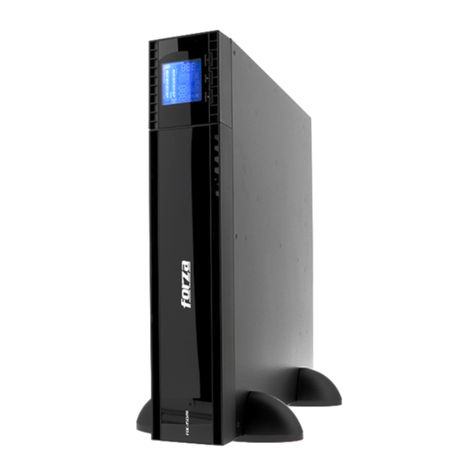
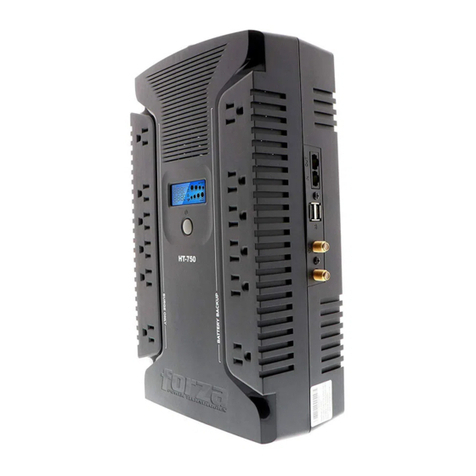
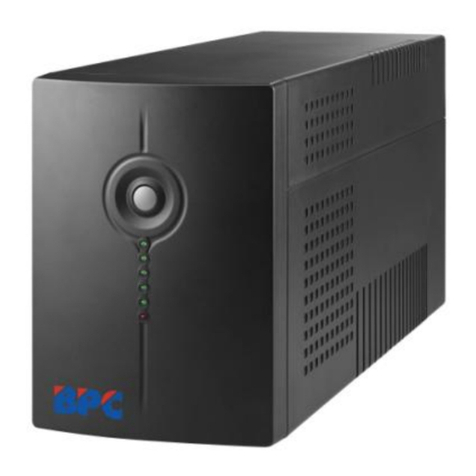
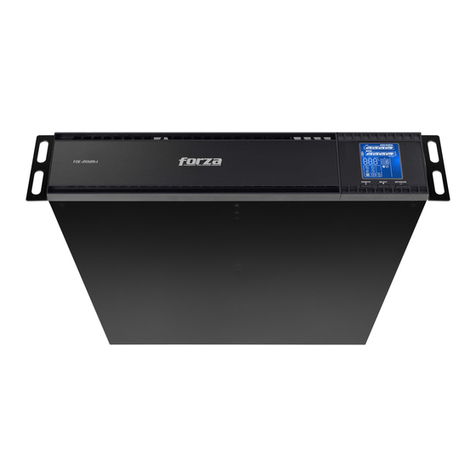
Forza FDC-RT1000VA User manual

2-year
warranty
User Manual
Online UPS
FDC-RT1000VA

1. INTRODUCTION
1-1. Transportation
1-2. Preliminary steps
1-3. Initial setup
1-4. Important safety instructions
Thank you for purchasing the Forza FDC-RT1000VA Online UPS. To enjoy all the features and benefits of this unit,
please read and follow all installation and operation instructions thoroughly before unpacking, installing or opera-
ting this device. After you have read this manual, keep it in a safe place for future reference.
The information contained in this manual covers the 1000VA uninterruptible power system, its basic functions,
operating procedures, options available and troubleshooting guide. It also includes information on how to ship,
store, handle, and install the equipment.
• Make sure to transport the UPS system only in the original package to protect it against shock and impact.
Water condensation may occur if the UPS is unpacked in a very cold environment and then moved to a warmer
location.
The UPS must be thoroughly dry before being installed. Failure to do so may increase the risk of electric
shock.
Do not install the UPS system near water or in moist environments.
Do not install the UPS system where it would be exposed to direct sunlight or near a heater or heating vent.
Do not block ventilation holes in the UPS housing.
•
•
•
•
•
Do not connect appliances or equipment that may overload the UPS system (such as a laser printer) to the
output sockets.
Place cables in such a way that no one can step on or trip over them.
Do not connect domestic appliances, such as hair dryers, to the UPS output sockets.
Connect the UPS system only to an earthed shockproof outlet which must be easily accessible and close to
the UPS system.
Use CE-marked cables for connections between mains, the UPS and equipment (shockproof outlet).
Use CE-marked power cables to connect the loads to the UPS system.
During the installation of this equipment, make sure that the sum of the leakage currents of the UPS and the
connected loads shall not exceed 3.5 mA.
Do not disconnect the mains cable on the UPS system or the building wiring outlet (shockproof socket outlet)
at any time, since this would cancel the protective earth of the UPS system and of all connected loads.
Connect the UPS only to a grounded socket that meets electrical safety guidelines.
Locate the UPS near a wall socket. Do not use an extension cord between the UPS and the socket.
In the event of an emergency, press the OFF/Enter button and disconnect the power cord from the AC mains
to properly disable the UPS. Do not allow any kind of liquid or foreign object to enter this UPS unit.
Do not place beverages or any other containers with liquid on or nearby the unit.
The UPS can be operated by any individual with no previous experience.
•
•
•
•
•
•
•
•
•
•
•
•
•
1-5. Maintenance, service and faults
2. OPERATION
The voltage used by this UPS may be hazardous. The unit contains no user serviceable parts; do not attempt to
disassemble the unit. Only qualified service technicians can perform maintenance on the unit. Failure to adhere to
this could cause personal injury or equipment malfunction and void the warranty.
Caution - risk of electric shock. Even after the unit is disconnected from the mains, components inside the UPS
system are still connected to the battery packs which are potentially dangerous.
Before carrying out any kind of service and/or maintenance, disconnect the batteries and verify that no current is
present and no hazardous voltage exists in the terminals of high capacity capacitors, such as BUS-capacitors.
Servicing of batteries should be performed or supervised by experts who possess the knowledge to closely
follow all required precautions.
Caution: potentially hazardous voltages from the battery can still be present even after disconnecting the UPS
from the AC mains. Therefore, the positive and negative terminals of the battery shall de disconnected prior to
performing any maintenance or repair inside the unit.
A battery can present the risk of short-circuit current and electrical shock. The following precautions should
be taken:
- remove wristwatches, rings and other metal objects
- use only tools with insulated grips and handles
•
•
•
•
•
When replacing the battery, make sure to use the same type and number of sealed lead-acid batteries specified.
Do not dispose of batteries in a fire. Batteries may explode if exposed to high temperatures.
Never try to open a battery. The cell contains a toxic electrolyte which is harmful to the skin and eyes.
Replace the fuse only with the same type and amperage in order to avoid fire hazards.
Do not dismantle the UPS system.
•
•
•
•
•
One UPS unit
One user manual
One USB cable
•
•
•
2-1. Unpacking and inspection
Carefully inspect the UPS to check for any damages that may have occurred during shipping. Should any evidence
of damage be found or if some parts are missing, do not turn the UPS on; you must immediately notify the carrier
or dealer where you purchased the unit.
Rear panel view
Front view
2.3. Installation procedure
2-4. UPS connections
2-4.1 UPS input connection
2-4.2 UPS output connection
Choose location
Communication port:
3. Turning the UPS on and off
Press and hold the On/Mute button to turn on the UPS.
Initially, all LEDs will light up briefly. Then only LED1, LED2, LED3 and LED4 will blink for a few seconds. When in
AC mode, the LED4 will turn solid green, along with LED5 to indicate this mode is active.
In battery mode, LED1, LED2, LED3 and LED4 light up instead, to show the current battery level.
•
•
•
2-2. UPS diagram
Install the UPS unit in any protected environment that provides adequate airflow around the unit, and free from
excessive dust, corrosive fumes and conductive contaminants. Do not operate your UPS in an environment where
the ambient temperature or humidity is high. For best performance, keep the indoor temperature between 32°F
and 104°F. Place the UPS unit at least 7.9in away from monitors to avoid interference.
To allow for unattended UPS shutdown/start-up and status monitoring, connect one end of the communication
cable to the USB/RS-232 port, and the other end to the communication port of your PC. With the monitoring
software installed, you can schedule UPS shutdown/start-up and monitor its status through a PC.
Note: The USB and RS-232 ports cannot be used at the same time.
Note: The battery charges fully during the first five hours of normal operation. Do not expect full battery run
capability during this initial charge period.
Plug the UPS into a two-pole, three-wire, grounded receptacle only. Avoid using extension cords or adapter plugs.
• For socket-type outputs, simply connect devices to the outlets.
1. LED indicator panel
2. On/Mute button
3. Selector button
4. Off/Enter button
5. AC power cord
6. Input circuit breaker
7. USB communication port
8. RS-232 communication port
9. Output receptacles
1
2
3
4
USB port RS-232 port
7 8
9
6
5

To turn off the UPS unit, press and hold the OFF/Enter button.
The unit will shut off completely if in battery mode or go to standby mode for charging, as long as it remains
connected to utility power.
•
•
Press the Select button on the front panel to switch the displayed information between battery level and load
capacity.
In bypass, AC or ECO mode, the load capacity will be displayed as default.
In battery or test mode, the default indicator will switch to battery level.
•
•
•
4. Advanced operation
4.1 LED status indicators
LED ColorFunction
LED1
LED2
LED3
LED4
LED5
LED6
LED7
LED8
LED9
LED10
Green
Green
Green
Green
Green
Yellow
Yellow
Red
Red
Red
Battery level < 25% Load capacity >76%
Battery level 26~50% Load capacity 51~75%
Battery level 51~75% Load capacity 26~50%
Battery level >76% Load capacity <25%
Line mode indicator
Bypass mode indicator
Battery mode indicator
Battery voltage is low or the unit is defective
Warning or fault
Overload
Operation mode ActionLED
Standby mode
Bypass mode
Online mode
ECO mode
Battery mode
Self-test
Solid
Solid
Solid
Solid
Solid
Blinking
LED1, LED2, LED3 LED4 indicating battery level
LED6
LED5
LED5, LED6
LED7
LED7
4.2 Mode indicators
Condition LED
Short circuit
Overload fault
Bad battery
Charger under voltage
Charger over voltage
Charger failure
Inverter fault
Power factor correction (PFC) fault
DC/DC fault
Over-temperature
DC BUS over voltage
Output over voltage
Battery disconnected
Over charging
Low battery
Overload warning
Out of bypass range
Overload
Other warning
LED9 turns on and LED10 blinks
LED10 turns on
LED8 turns on
LED1 and LED8 turn on
LED4 and LED8 turn on
LED1-LED4 all on and LED8 on
LED1, LED5 and LED9 turn on
LED2, LED5 and LED9 turn on
LED1, LED7 and LED9 turn on
LED5, LED7 and LED9 turn on
LED3 and LED9 turn on
LED4 and LED9 turn on
LED8 and LED9 blink
LED1 and LED8 blink
LED8 blinks
LED10 blinks
LED6 blinks and LED9 turns on
LED1 through LED4 blink
LED9 blinks
4.3 Warning and fault indicators

ForzaTracker is a new generation of UPS monitoring software, which provides user-friendly interface to monitor
and control your UPS. This unique software provides safe auto-shutdown for multi-computer systems during
power failures. With this software, users can monitor and control any UPS on the same LAN no matter how far they
might be from the UPS.
Based on your operating system, select and download the correct version of the ForzaTracker from our website:
http://www.forzaups.com/us/driver-downloads.
The following steps are based on a Windows setup.
Open the software and follow the on-screen instructions to install it.
When you finished downloading all required files, enter the serial N° (installation password):
5242-87f6-64re-di8d-986u to install the software (include the hyphens).
In order to access as Administrator, input the password: 111296.
When your computer restarts, the management software will appear as a light blue round icon located in the
system tray, near the clock.
5. ForzaTracker monitoring software
6. Troubleshooting
4.3.1 Audible alarm
Installation procedure:
Condition Alarm
Battery mode
Low battery
Overload
Fault
Sounds every 4 seconds
Sounds every second
Sounds twice every second
Continuous sound
Problem Solution
Possible cause
LED fails to turn on
The UPS remains
in battery mode
Plug the power cord into the wall outlet or
press ON/Mute button to cold start the UPS
Allow the battery to recharge for at least 6 hours
Replace the battery.
Replug the power cord into the wall outlet
Allow the battery to recharge for at least 6 hours
The UPS is not on
Power cord is loose
Battery voltage is too low
Remove the least critical loads. Verify that the
load matches the UPS capability specified in
the specs before reconnecting the equipment
Overload
Replace the battery when it is weak or its
performance degraded
Defective battery
The UPS emits a
sustained alarm tone
Backup time shorter
than expected
Contact your dealer
Please check the fault code
for LED indicator description
Battery voltage is too low
Battery fault
1.
2.
3.
4.
5.
6.
Note: For Mac and Linux users, please refer to the ForzaTracker user guide found in our website.
If the UPS fails to operate normally, please refer to the following table to solve most common installation and
operation problems.
If any other abnormal situation not listed above should occur, please call our service department for
further assistance.

General
Capacity
Topology
Input
Nominal voltage
Frequency
AC plug style
Output
Nominal voltage
Frequency (synchronized)
Frequency (battery)
Efficiency (AC mode)
Waveform
Total outlets
Transfer time (line to battery)
Transfer time (inverter to bypass)
Power factor
Battery
Battery type and quantity
Backup time
Recharge time
Alarms/Indicators
Visual indicators
Audible
Physical appearance
Communication ports
Cord length
Dimensions
Weight
Additional information
Warranty
1000VA/700W
Double conversion
110/120VAC
60Hz
NEMA 5-15P
120VAC
60Hz
60Hz
83% - 86% ~100% load
Pure sine wave
3 NEMA 5-15R
0ms
4ms typical
0.7
12V / 7Ah (2)
50 min.**
4 hours typical
LED
Battery mode: sounds every 4 seconds
Low battery: sounds every second
Overload: sounds twice every second
Fault: continuous sound
Bypass mode: sounds every 10 seconds
RS232, USB
4.2ft
11.1x5.7x8.6in
18.7lb
3 years*
7. Technical specifications
MPN FDC-RT1000VA
Aspectos generales
Capacidad
Topología
Entrada
Tensión nominal
Frecuencia
Tipo de enchufe
Salida
Tensión nominal
Frecuencia (sincronizada)
Frecuencia (batería)
Eficiencia (modo de CA)
Forma de onda
Número total de salidas
Tiempo de transferencia (de línea a batería)
Tiempo de transferencia (de inversor a derivación)
Factor de potencia
Batería
Tipo y cantidad de baterías
Tiempo de autonomía
Tiempo de recarga
Alarmas/Indicadores
Indicadores visuales
Audible
Características físicas
Puertos de comunicación
Longitud del cable
Dimensiones
Peso
Información adicional
Garantía
1000VA/700W
Doble conversión
110/120VCA
60Hz
NEMA 5-15P
120VCA
60Hz
60Hz
Con 83% - 86% ~100% de carga
Onda sinusoidal pura
3 NEMA 5-15R
0ms
4ms típico
0,7
12V / 7Ah (2)
50 min.**
4 horas típico
LED
Modo de batería: se activa cada 4 segundos
Bajo voltaje: se activa cada segundo
Sobrecarga: se activa dos veces por segundo
Falla: sonido continuado
Modo de derivación: se activa cada 10 segundos
RS232, USB
1,3m
282x145x220mm
8,5kg
3 años*
7. Especificaciones técnicas
MPN FDC-RT1000VA
*2 years on batteries
**Calculated with single PC plus monitor
* Límite de 2 años en las baterías
** Calculado con una computadora individual más monitor
Table of contents
Other Forza UPS manuals

Forza
Forza HT-752LCD-C User manual

Forza
Forza FIO-P11K12 User manual

Forza
Forza SL402UL-C User manual

Forza
Forza HT-750LCD User manual

Forza
Forza Elipse Series User manual

Forza
Forza XG-1201LCD User manual

Forza
Forza FDC-1001RUL User manual

Forza
Forza DC-140USB User manual

Forza
Forza FDC-1002T-C User manual

Forza
Forza FDC-1000T User manual

Forza
Forza HT-650LCD User manual

Forza
Forza FDC-106KMR-ISO User manual

Forza
Forza Elipse Series User manual

Forza
Forza SL-802UL-A User manual

Forza
Forza FDC-106K User manual

Forza
Forza FDC-1002T-A User manual

Forza
Forza FX-1500LCD User manual

Forza
Forza Atlas 2-3KVA User manual

Forza
Forza FDC-2012R-I User manual

Forza
Forza FDC-1502R User manual