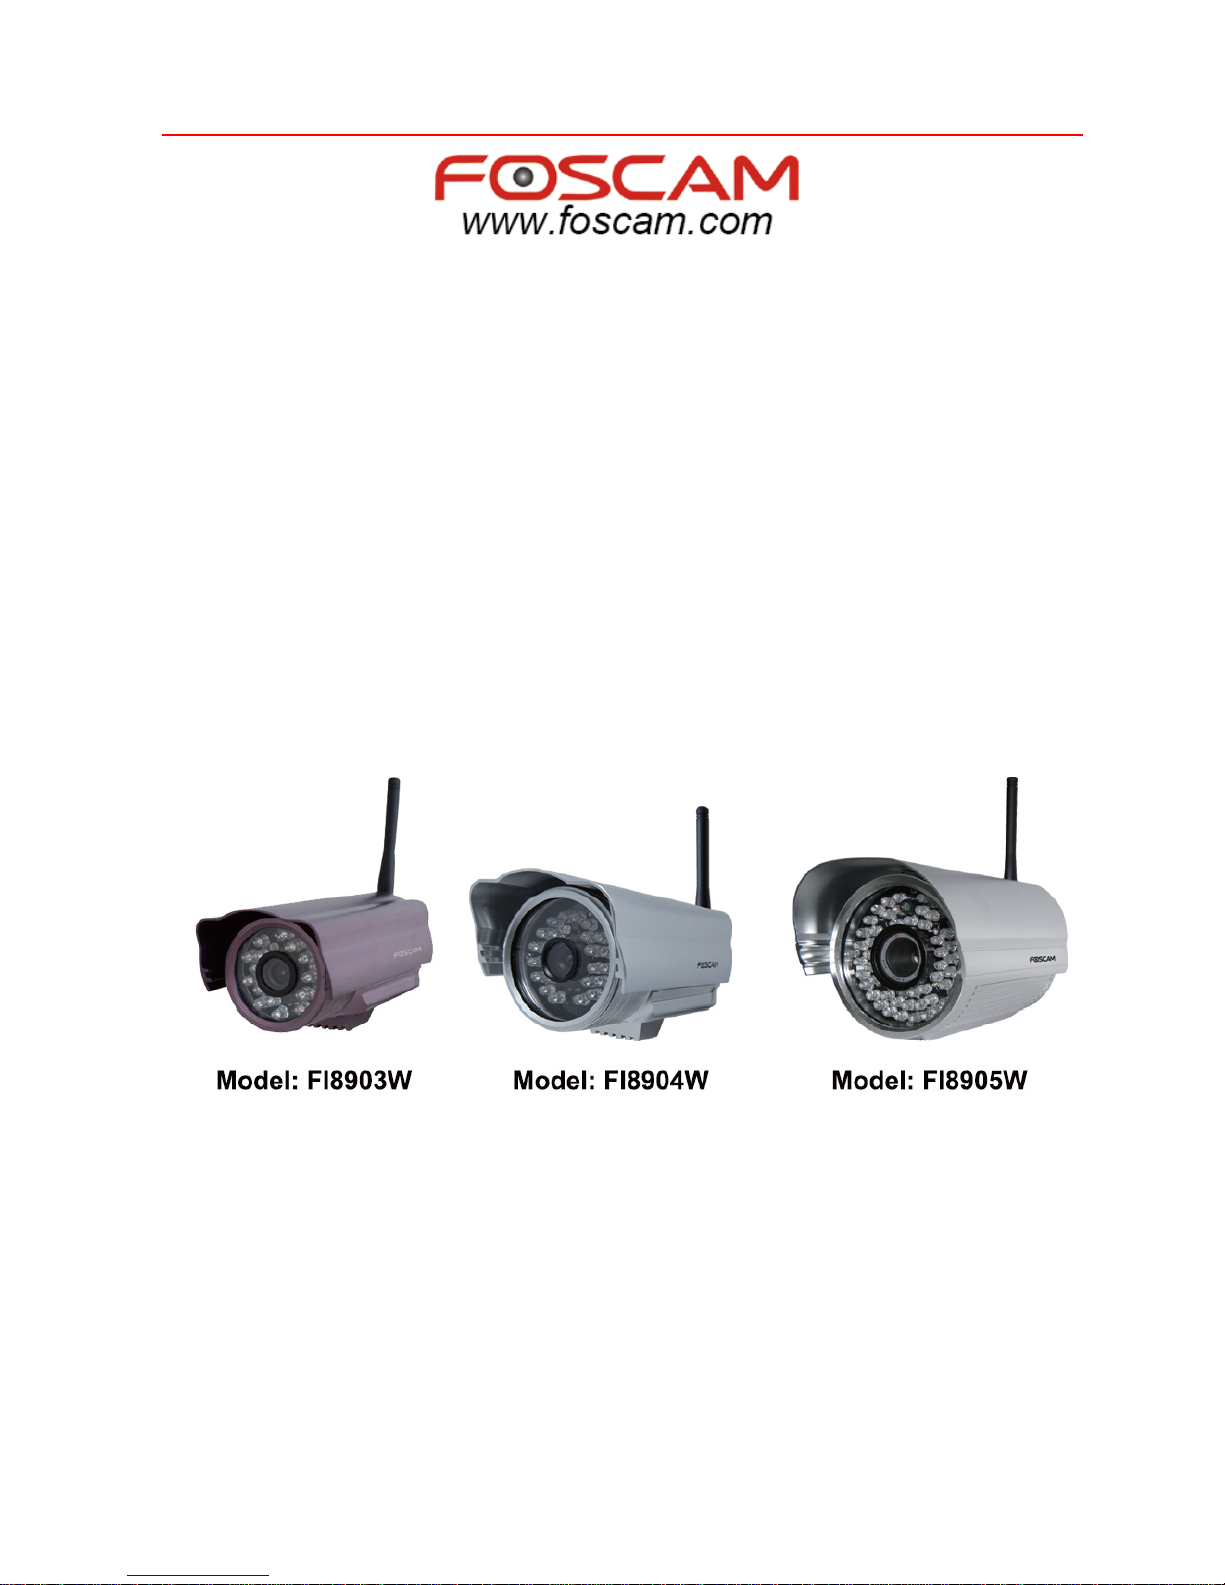
Foscam FI8903W User manual

V38.01
IP Wireless / Wired Camera
Quick Installation Guide
(For Windows OS)
ShenZhen Foscam Intelligent Technology Co., Ltd

FI8903W/FI8904W/FI8905W Quick Installation Guide
www.foscam.com - 1 -
Quick Installation Guide
PackingList
1) IP CAMERAX 1 2) Wi-Fi Antenna (only available for wireless model)
3) DC Power Supply X 1 4) Network Cable X 1
5) Mounting bracket ×1 6) CD X 1 (Includes user manual、IP camera tool)
7) Quick Installation Guide X 2(For Mac OS X1, For Windows OS X1)
8) Warranty Card X 1
Quick Installation Guide Flow Chart
1 Hardware Installation
(1) Open the package
Software Installation
Login the camera
Wireless LAN Settings
DDNS Service Settings
Hardware Installation

FI8903W/FI8904W/FI8905W Quick Installation Guide
www.foscam.com - 2 -
(2) Connect the antenna.
Screw the antenna to the back of the camera, make sure it is attached securely.
Figure 1.1
(3) Plug the network cable and power.
Connect the network cable to your camera and to your router. Plug in the power.
The small green light on RJ45 will turn on, the small orange light will blink.
Figure 1.2
2SoftwareInstallation
Insert the CD in your CD drive of your computer and find the folder “For Windows
OS”. Select the IP Camera Tool folder. Double click IPCamSetup.exe and install
the software per instructions.

FI8903W/FI8904W/FI8905W Quick Installation Guide
www.foscam.com - 3 -
Figure 1.3
Click Next to complete the software installation.
Figure 1.4

FI8903W/FI8904W/FI8905W Quick Installation Guide
www.foscam.com - 4 -
Figure 1.5
An icon will appear on your desktop after the IP Camera Tool software installation
has successfully completed.
3Loginthecamera
Double click the IP Camera Tool icon and the following screen should appear
(Figure 1.6):
Figure 1.6
The IP camera tool should find the camera’s IP automatically after you plug in the
network cable. If not, please make sure that DHCP is enabled on your router.
Don’t enable MAC address filter or disable any firewall or antivirus on your

FI8903W/FI8904W/FI8905W Quick Installation Guide
www.foscam.com - 5 -
computer.
Double click the IP address on the IP Camera Tool which will display the login UI.
Figure 1.7
Note: If you use IE browser, please choose the first login mode (ActiveX Mode)
to login. If you use other browsers, such as Firefox, Safari or Google Chrome,
please choose the second login mode (Server Push Mode) to login.
You will see a live video after you login.
If you use IE browser, choose here to login
If you use Firefox, Google Chrome, Safari,
choose here to login

FI8903W/FI8904W/FI8905W Quick Installation Guide
www.foscam.com - 6 -
Figure 1.8
If you are unable to see a live video, please make sure to allow the activeX
running when prompted. (for more details: see user manual)
If you only see a black screen with a red cross in the center, please try another
port number instead of the default “port 80”. You may want to try port 85, 8005,
etc.
If you are still unable to see a live video, try shutting down any firewall or anti-virus
software on your computer.
4WirelessLANSettings
(1) Please choose “For Administrator” and click “Wireless LAN Settings”.
Then choose “Using Wireless LAN”.
Click the Scan button and the camera will detect all WIFI devices around the
area.
It should also display your router in the list. (Figure 1.9)
If the camera is unable to detect any WIFI device, click the scan button again.
Make sure to wait 1 to 2 minutes before selecting the scan button again.
Figure 1.9
(2) Click the SSID of your router in the list, the corresponding information (SSID &
Encryption) will be filled in the following boxes automatically.
You will only need to fill in the share key. Make sure that SSID, Encryption and
share key you filled in for the camera are exactly the same for your router.

FI8903W/FI8904W/FI8905W Quick Installation Guide
www.foscam.com - 7 -
Figure 2.0
Figure 2.1

FI8903W/FI8904W/FI8905W Quick Installation Guide
www.foscam.com - 8 -
Figure 2.2
(3) Please click on the Submit button after all settings have been entered. The
camera will reboot.
After the camera has completed the reboot process, wait 10 seconds and
disconnect the network cable.
The camera should work through your wireless router.
Note: If your camera could not connect through WIFI, please see FAQ in user
manual.
5DDNSServiceSettings
5.1 Static IP user
Static IP users do not need to set DDNS service settings for remote access.
When finished the connection of Camera in LAN and port forwarding,(Figure
3.5/3.6) you can access the camera directly from the Internet by the WAN IP and
port number. There are two ways to obtain your WAN IP.
zObtain the WAN IP from public website
To obtain your WAN IP address, enter the following URL in your browser:
http://www.whatismyip.com.The webpage at this address will show you the current
WAN IP.

FI8903W/FI8904W/FI8905W Quick Installation Guide
www.foscam.com - 9 -
Figure 2.3
zObtain the WAN IP address from the router
You can find the WAN IP from your router. Normally, it is in system status.
For example, here are the steps for the LINKSYS WRT54G router:
1) Obtain the IP address of the router(LAN gateway address),user name and
password for login the router from the network administrator,
2) Enter the LAN IP address of the router (LINKSYS WRT54G, default LAN IP
is 192.168.1.1) in the address bar of the IE to login the router; Open the Status
page to find out the WAN address of the router. In this example, the address is
183.37.28.254.
Access the IP Camera from the Internet
You can access the IP Camera from the Internet. (remote access) Enter the WAN
IP address and port number in IE browser or other browsers you use. For
example, Http:// 183.37.28.254:85
Note: Make sure the Port mapping (or also known as port forwarding) is
successful. You can do port mapping in two ways.
1) Enter the setting page of the router to enable UPNP function. Then login
the camera as administrator, choose UPnP Settings to enable UPNP and make
sure the state is “UPnP success”.
2) Do port forwarding manually. (details: Figure 3.5/3.6)
If your router has Virtual Server, it will do port mapping. Please add the camera’s

FI8903W/FI8904W/FI8905W Quick Installation Guide
www.foscam.com - 10 -
LAN IP and port which you set in basic network settings to the Virtual map list.
Note: If you plug the camera in a router, it will have dynamic IP address and you
need to set DDNS service settings to view it remotely.
5.2 How to configure DDNS Service Settings (For dynamic IP
user)
(1) Visit www.dyndns.com to get an account.
Choose Sign up FREE to get a free account.
Figure 2.4
Please set as the following picture.

FI8903W/FI8904W/FI8905W Quick Installation Guide
www.foscam.com - 11 -
Figure 2.5
Then choose Add To Cart.
Figure 2.6
Set the following information as the picture below.
Click here after you finish the settings above

FI8903W/FI8904W/FI8905W Quick Installation Guide
www.foscam.com - 12 -
Figure 2.7
The website will send you an email to your mailbox to activate your account.
Figure 2.8
Click the link in your email to activate your account.
You may copy the link and paste it to IE or other browser you use to activate the
account. Make sure that your account was activated or DDNS settings will fail.
Fill in user name,password and email address
Click here to create account

FI8903W/FI8904W/FI8905W Quick Installation Guide
www.foscam.com - 13 -
Figure 2.9
You will see the following picture. Click Activate services>>
Figure 3.0
All settings are saved and the following screen appears. (Figure 3.1)
Your host name will be displayed in the list.
Note: Please remember the host name, user name and password; they are
needed when you set DDNS service settings of your camera.
Figure 3.1

FI8903W/FI8904W/FI8905W Quick Installation Guide
www.foscam.com - 14 -
(2) Basic Network Settings
A static IP for the camera is needed when configuring the DDNS service settings.
Login your camera and set basic network settings as the picture below.
Figure 3.2
Make sure that your camera is in the same subnet as your router. In other words,
keep the first three sections the same as your router or your computer.
Gateway is your router’s LAN IP. You can find DNS server in your router, if you
don’t know the DNS server; you can also find it in local area connection of your
computer. (for more details: see user manual—Basic network settings)
Normally, it contains your computer’s LAN IP, gateway, DNS server.
Click submit after entering these settings, the camera will reboot.
(3) DDNS service settings
Set DDNS service settings as follows. Use the DDNS domain name you got from
the DynDns website.
Figure 3.3
Click Submit after entering in all the information. The camera will reboot.

FI8903W/FI8904W/FI8905W Quick Installation Guide
www.foscam.com - 15 -
Login the camera again to check if the DDNS settings show “Succeed”.
Figure 3.4
(4) How to configure port forwarding.
Login your router and locate the port forwarding settings.
For example, the Linksys router has the following configuration settings:
Set the port forwarding fields as follows.
Figure 3.5
You can also choose port range forwarding.
In order to forward the port successfully, we recommend you set both of the start
port and end port as the same port number. Add the camera’s LAN IP and port
(Figure 3.6) in the list of port forwarding page.

FI8903W/FI8904W/FI8905W Quick Installation Guide
www.foscam.com - 16 -
Figure 3.6
Do not forget to save these settings when you are finished.
(5) You can now use the DDNS domain name and port number to login your
camera from anywhere.
For example, use strings http://cyjun321.dyndns.org:8090 to login the camera.
Here cyjun321.dyndns.org is the DDNS Host, 8090 is camera’s port.
Figure 3.7
Use DDNS domain name and port to login

FI8903W/FI8904W/FI8905W Quick Installation Guide
www.foscam.com - 17 -
Conclusion
Other detail settings, please consult the user manual.
ShenZhen Foscam Intelligent Technology Co., Ltd
Other manuals for FI8903W
6
This manual suits for next models
2
Table of contents
Other Foscam IP Camera manuals

Foscam
Foscam FI8910W User manual

Foscam
Foscam FI9820W User manual

Foscam
Foscam FI8910W User manual

Foscam
Foscam FI9826P User manual

Foscam
Foscam FI8904W User manual

Foscam
Foscam FI9828P User manual

Foscam
Foscam FI9821W User manual

Foscam
Foscam FI8918W User manual

Foscam
Foscam FI8910W User manual

Foscam
Foscam FI8919W User manual

Foscam
Foscam C2 User manual

Foscam
Foscam FI8905W User manual

Foscam
Foscam FI9831P User manual

Foscam
Foscam FI9821W User manual

Foscam
Foscam FI8601W User manual

Foscam
Foscam FI8909W User manual

Foscam
Foscam FI8918 User manual

Foscam
Foscam FI8918W User manual

Foscam
Foscam FI9828P User manual

Foscam
Foscam FI9828P User manual