FI8910W Quick Installation Guide
www.foscam.com - 9 -
Step
Step
Step
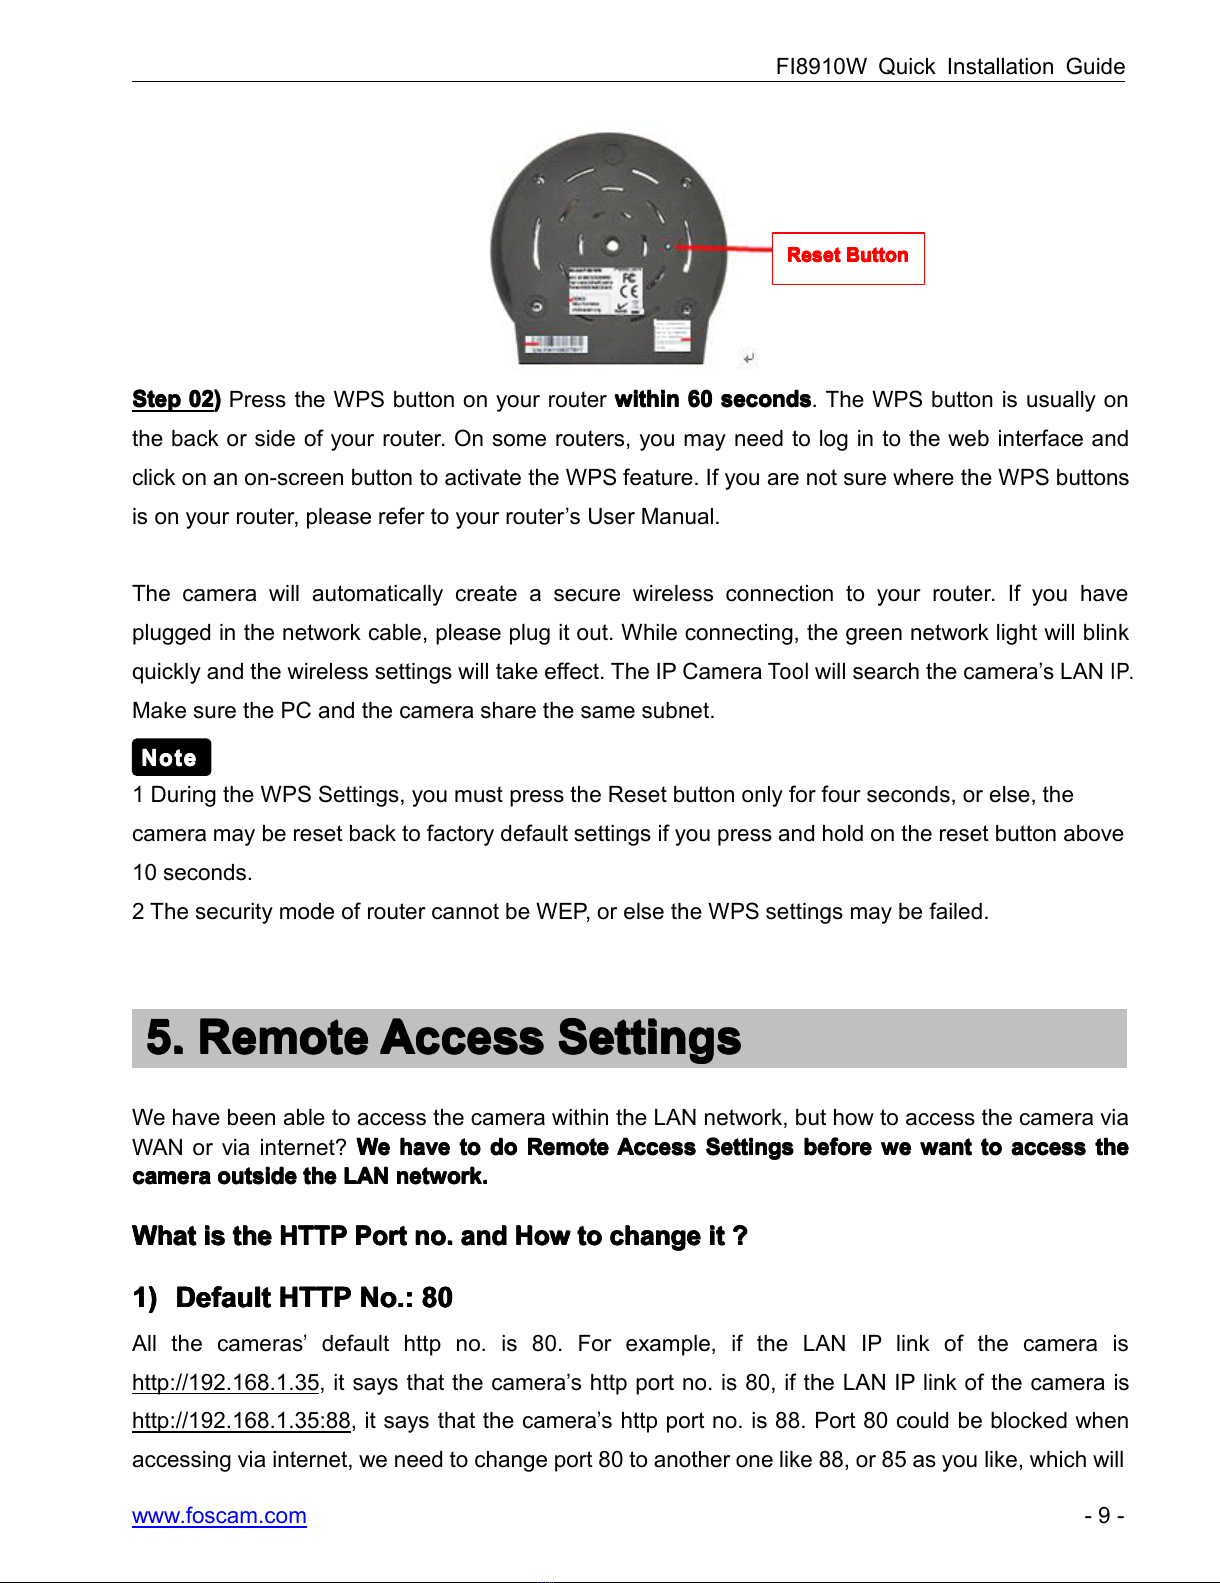
Step 02
02
02
02 )
)
)
)Press the WPS button on your router within
within
within
within 60
60
60
60 seconds
seconds
seconds
seconds . The WPS button is usually on
the back or side of your router. On some routers, you may need to log in to the web interface and
click on an on-screen button to activate the WPS feature. If you are not sure where the WPS buttons
is on your router, please refer to your router
’
s User Manual.
The camera will automatically create a secure wireless connection to your router. If you have
plugged in the network cable, please plug it out. While connecting, the green network light will blink
quickly and the wireless settings will take effect. The IP Camera
Tool
will search the camera
’
s LAN
IP.
Make sure the PC and the camera share the same subnet.
1 During the WPS Settings, you must press the Reset button only for four seconds, or else, the
camera may be reset back to factory default settings if you press and hold on the reset button above
10 seconds.
2 The security mode of router cannot be WEP , or else the WPS settings may be failed.
We have been able to access the camera within the LAN network, but how to access the camera via
WAN or via internet? We
We
We
We have
have
have
have to
to
to
to do
do
do
do Remote
Remote
Remote
Remote Access
Access
Access
Access Settings
Settings
Settings
Settings before
before
before
before we
we
we
we want
want
want
want to
to
to
to access
access
access
access the
the
the
the
camera
camera
camera
camera outside
outside
outside
outside the
the
the
the LAN
LAN
LAN
LAN network.
network.
network.
network.
What
What
What
What is
is
is
is the
the
the
the HTTP
HTTP
HTTP
HTTP Port
Port
Port
Port no.
no.
no.
no. and
and
and
and How
How
How
How to
to
to
to change
change
change
change it
it
it
it ?
?
?
?
1)
1)
1)
1) Default
Default
Default
Default HTTP
HTTP
HTTP
HTTP No.:
No.:
No.:
No.: 80
80
80
80
All the cameras
’
default http no. is 80. For example, if the LAN IP link of the camera is
http://192.168.1.35 , it says that the camera
’
s http port no. is 80, if the LAN IP link of the camera is
http://192.168.1.35:88 , it says that the camera
’
s http port no. is 88. Port 80 could be blocked when
accessing via internet, we need to change port 80 to another one like 88, or 85 as you like, which will
5.
5.
5.
5. Remote
Remote
Remote
Remote Access
Access
Access
Access Settings
Settings
Settings
Settings
Reset
Reset
Reset
Reset Button
Button
Button
Button
Note
Note
Note
Note