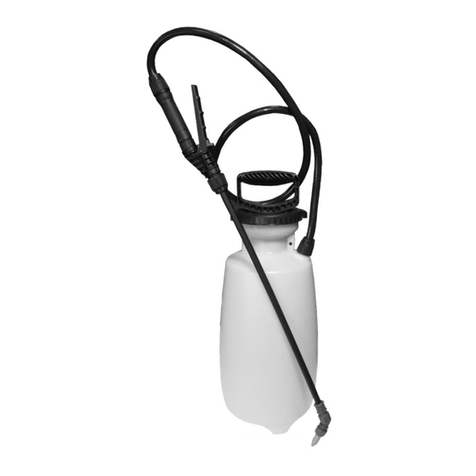
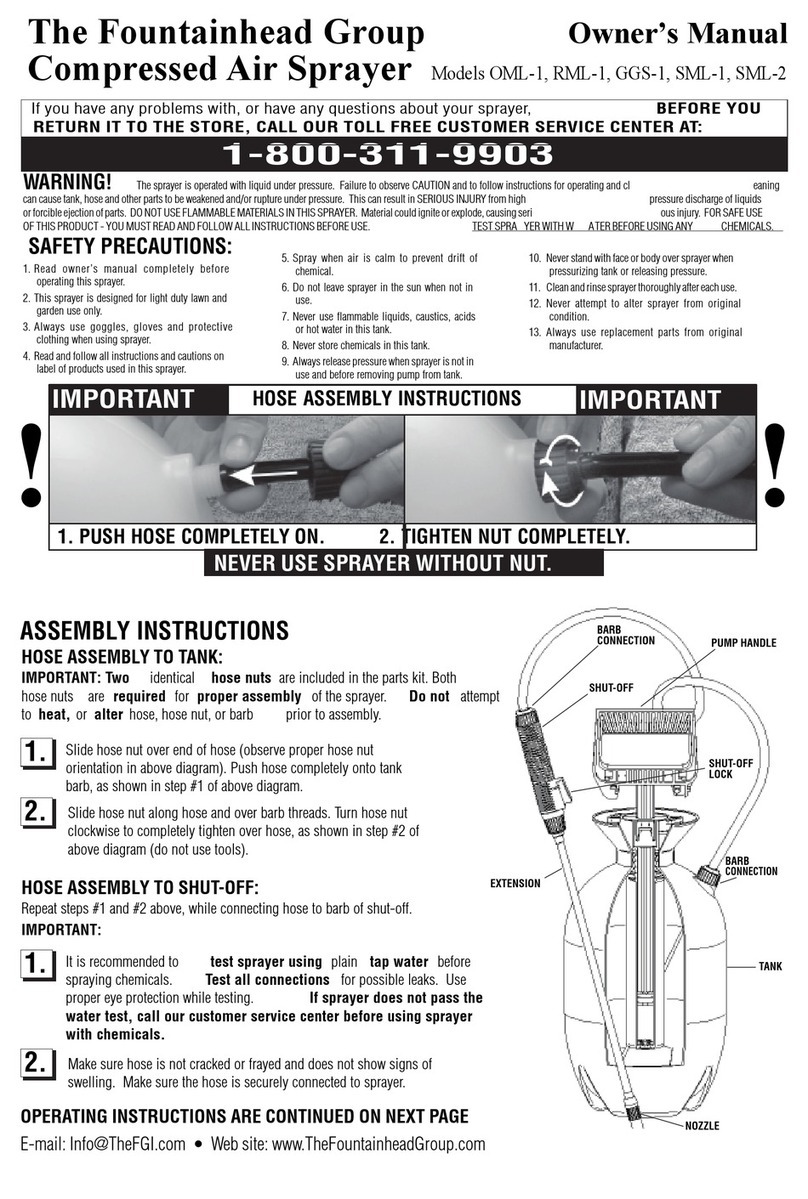
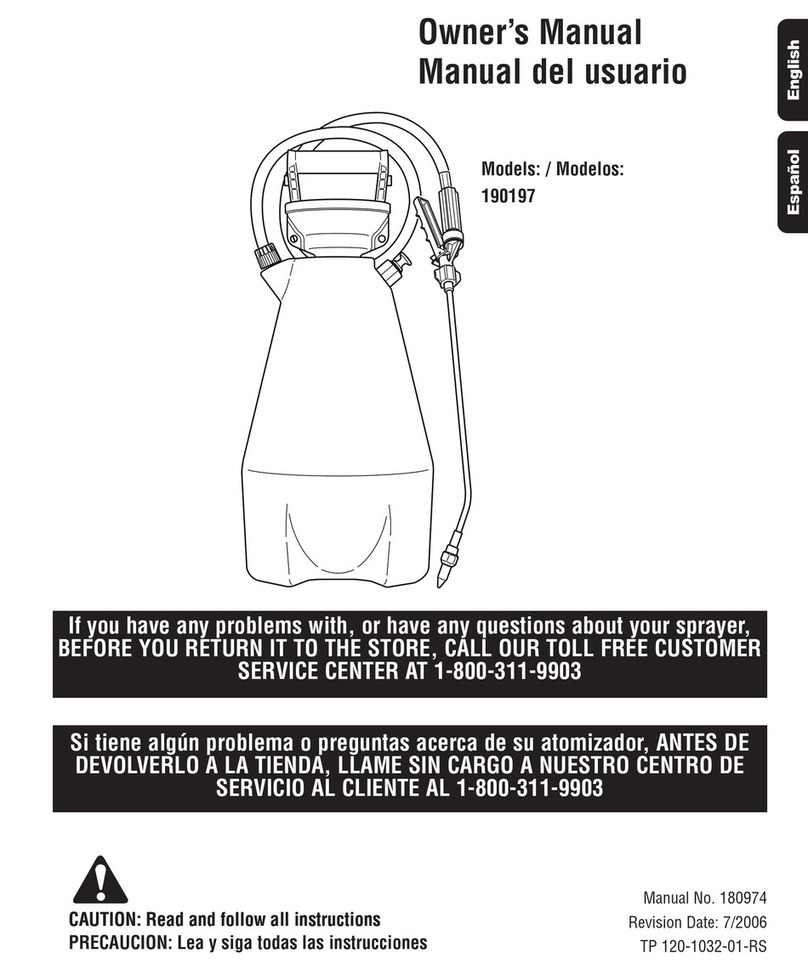
Fountainhead OMLB-2 User manual

BARB
CONNECTION
SHU T-OFF
EXTENSION
BARB
CONNECTION
TANK
NOZZLE
PUMP HANDLE
SHU T-OFF
LOCK
ASSEMBLY INSTRUCTIONS
Owner’s Manual
The Fountainhead Group
Compressed Air Sprayer
1-800-3 11-9903
Owner’s Manual
OMLB-2, OMLP-2, RMLB-2, RMLP-2
WARNING! The sprayer is operated with liquid under pressure. Failure to observe CAUTION and to follow instructions for operating and cleaning
can cause tank, hose and other parts to be weakened and/or rupture under pressure. This can result in SERIOUS INJURY from high pressure discharge of liquids
or forcible ejection of parts. DO NOT USE FLAMMABLE MATERIALS IN THIS SPRAYER. Material could ignite or explode, causing serious injury. FOR SAFE USE
OF THIS PRODUCT - YOU MUST READ AND FOLLOW ALL INSTRUCTIONS BEFORE USE. TEST SPRAYER WITH WATER BEFORE USING ANY CHEMICALS .
SAFETY PRECAUTIONS:
1. Read owner’s manual completely before
operating this sprayer.
2. This sprayer is designed for light duty lawn and
garden use only.
3. Always use goggles, gloves and protective
clothing when using spraye r.
4. Read and follow all instructions and cautions on
label of products used in this sprayer.
5. Spray when air is calm to prevent drift of
chemical.
6. Do not leave sprayer in the sun when not in
use.
7. Never use flammable liquids, caustics, acids
or hot water in this tank.
8. Never store chemicals in this tank.
9. Always release pressure when sprayer is not in
use and before removing pump from tank.
10. Never stand with face or body over sprayer when
pressurizing tank or releasing pressure.
11. Clean and rinse sprayer thoroughly after each use.
12. Never attempt to alter sprayer from original
condition.
13. Always use replacement parts from original
manufacture r.
1-800-3 11-9903
If you have any problems with, or have any questions about your sprayer,
BEFORE YOU
RETURN IT TO THE STORE, CALL OUR TOLL FREE CUSTOMER SERVICE CENTER AT:
HOSE ASSEMB LY INSTRUCTIONS
11 22
11
1. PUSH HOSE COMPLETELY ON. 2. TIGHTEN NUT COMPLETEL Y.
! !
NEVER USE SPRAYER WITHOUT NU T.
1 .
2 .
1 .
2 .
3 .
HOSE ASSEMBL Y TO TANK:
IMPORT ANT : Ahose nut is included in the parts
kit. The hose nut is required for proper assembly
of the sprayer. Do not attempt to heat, or alter
hose, hose nut, or barb prior to assembly.
Slide hose nut over end of hose (observe
proper hose nut orientation in above
diagram). Push hose completely onto tank
barb, as shown in step #1 of above diagram.
Slide hose nut along hose and over barb
threads. Turn hose nut clockwise to
completely tighten over hose, as shown in
step #2 of above diagram (do not use tools).
Remove protective cap from end of shut-off
assembl y.
Screw extension onto end of shut-off
assembly until firmly attached.
Select a nozzle, using NOZZLE SELECTION
CHAR T. Screw selected nozzle onto
extension until firmly attached, making sure
#171092 (o-ring) is in place on end of
extension.
When using flat fan nozzles, make sure tabs
on nozzle tips are fitted into slots on end of
extension. Tip can be installed to produce a
vertical or horizontal flat fan.
4 .
EXTENSION ASSEMBL Y TO SHUT -OFF
E-mail: Info@TheFGI.com • Web site: ww w .TheFountainheadGroup.com • 1-800-3 11-9903
FILTER CLEANING ((See SPRAYER
MAINTENANCE PAGE 2)
OPER ATING INSTRUCTIONS
FILLING
1 .
2 .
Remove pump by turning pump handle
counterclockwise.
Fill tank to desired level (always refer to
chemical manufacturer for proper mixture)
Place pump into tank opening and turn handle
clockwise to tighten.
3 .
Make sure shut-off lock is not engaged (if
shut-off lock is engaged while pressurizing,
the unit will immediately start spraying)
Pressurize sprayer by pumping handle in a
smooth up and down motion. When desired
pressure is achieved, lock handle onto pump.
PRESSURIZING
Point nozzle away from you. Press shut-off
button to begin spraying. Release button to
stop spraying. When using adjustable nozzle,
adjust spray pattern by turning nozzle tip.
(Note: Flat fan nozzle is not adjustable).
For continuous spraying, squeeze shut-off
handle and rotate lock toward the sprayer tip.
1 .
2 .
S P R A Y I N G
1 .
2 .
Direct nozzle away from you and press
handle on shut-off until unit stops spraying
(this will release pressure in tank).
Turn pump handle counterclockwise to
remove pump.
Empty any remaining liquid according to
product disposal directions. Clean sprayer as
directed under CLEANING SPRAYER .
FINISHING
1 .
2 .
PN 180568 2003
3 .
ALWAYS ENSURE PRESSURE IS RELEASED
FROM TANK BEFORE FILLING OR SERVICING.
Squeeze shut-off handle and hold down until
the unit stops spraying. Then, and only then, it
is safe to remove pump.
IMPORTANT!
Filter Hose Assembly
Shut-Off
Assembly

Lawn Insects
Insects on Roses
& Ornamental Plants
Insects on Fruit &
Vegetables
Insects and Diseases
on Roses & Ornamental
Plants
Insects and Disease
on Fruit Trees
Home-Invading Pests in
Lawn & Around
Perimeter of Home
Dormant Season
Spraying for Insect
Control on Fruit Trees &
Woody Ornamentals
14 178024 Extension-Curved-14”-Poly
180343 Extension-Straight-Brass 14”
180352 Extension-Curved-Brass 14”
15 178054 Nozzle Cap-Poly
180340 Nozzle Cap-Brass
16 178052 Nozzle Base
17 178055 Nozzle Assembly-Poly
180344 Nozzle Assembly-Brass
18 171092 O-Ring
19 180298 Pump Handle
20 180337 Parts Kit
21 180299 Pump Gasket
22 180320 Filter (If Equipped)
23 178083 Hose Adapter
1 180482 2 Gallon Tank-ML-2, Yellow
180507 2 Gallon Tank-ML-2, Natural
2 180292 Funnel
3 180294 Pump Barrel
4 180296 Pump Cap (2 required)
5 180449 Hose Assembly
6 180448 Shut-off Assembly
7 178085 Shut-off Body
8 178090 Shut-off Lever
9 178087 Plunger
10 178088 Shut-off Spring
11 178089 Retainer
12 178086 Diaphragm
13 180386 Hose 32”
KEY
NO. PART # DESRCRIPTION KEY
NO. PART # DESCRIPTION KEY
NO. PART # DESCRIPTION
24 178084 O-Ring
25 180011 Lock
26 180007 Fan Tip Set
27 180097 High Volume Fan Tip (Red)
28 180168 Low Volume Fan Tip (Yellow)
29 178067 Cap Nut
30 180300 O-Ring, Pump
31 180305 Pump Assembly
32 180513 Outlet Tube
33 180364 Nut
34 171015 Check Valve
180568 Parts List / Instructions
35 180266 Foaming Nozzle
NOTE: MODELS OMLP-2 AND RMLP-2 ARE EQUIPPED WITH POLY EXTENSIONS AND NOZZLES.
MODELS OMLB-2 AND RMLB-2 ARE EQUIPPED WITH BRASS EXTENSIONS AND NOZZLES.
Remove pump as described in FINISH
section.
Fill tank with tap water. Replace pump and
turn clockwise to tighten. Agitate tank to rinse
chemical off tank wall and pump.
Remove pump and empty contents into gravel
or bare soil.
Refill tank with tap water.
Check to be sure pump is free of debris and
place pump into tank. Turn handle clockwise
to tighten pump.
Pressurize tank. Follow all instructions in
PRESSURIZING section.
Point nozzle away from you and spray for
approximately 30 seconds to clean hose and
shut-off.
Release pressure as outlined in OPERA TING
and FINISH sections. Empty contents as in
step 3.
Repeat steps 4 thru 8 until thoroughly cleaned.
Note: It is best to keep 2 sprayers: One for
herbicides and one for other products, such
as fertilizers or insecticides.
CLEANING SPR AYER SPRAYER MAINTENANCE
Pump should be periodically oiled by dropping 10 to 12 drops of light oil
down pump rod through opening in cover.
If nozzle clogs: remove nozzle assembl y, disassemble nozzle and clean
openings of any obstructions.
Never use any tool to remove pump if there is pressure in sprayer.
If filter clogs: remove and clean filter as shown on page 1 underFILTER
CLEANING .
Sprayer tank should be hung upside down, with pump removed,
in a warm, dry location.
Do not store or leave any solution in tank after use.
Store in a warm dry location out of direct sunlight.
KEEP SPRAYER OUT OF REACH OF CHILDREN.
NOZZLE
SELECTION
CHART
1.
2.
3.
4.
5.
6.
7.
8.
9.
E-mail: Info@TheFGI.com • Web site: www.TheFountainheadGroup.com • 1-800-3 11-9903
1.
2.
3.
4.
SPRAYER STORAGE
1.
2.
3.
4.
Broadleaf Weeds in Lawn
Grassy Weeds in Lawn
Brushy Weeds (Such as
Poison Oak, Poison Ivy,
Kudzu, Wild Blackberry)
Weeds in Non-Planted
Areas
(Mulch, Gravel, etc.)
Spot Control of Weeds in
Flowerbeds, around Trees
& Shrubs
Disease Control on
Vegetables
Disease Control on Fruit
Trees
Ortho®Weed-B-Gon®Weed Killer For
Lawns, Ortho®Weed-B-Gon®
Chickweed, Clover & Oxalis Weed
Killer For Lawns
Ortho®Weed-B-Gon®Crabgrass
Killer For Lawns
Ortho®Brush-B-Gon®Poison Ivy,
Poison Oak & Brush Killer
Roundup®Weed & Grass Killer
Ortho®Garden Disease Control
PROBLEM
Ortho®Termite & Carpenter Ant
Killer, Ortho®Bug-B-Gon®Multi-
Purpose Insect Killer
Ortho®Bug-B-Gon®Multi-
Purpose Insect Killer, Ortho®
SystemicInsect Control
Ortho®Bug-B-Gon®Multi-
Purpose Insect Killer
Ortho®Orthenex®Garden Insect
& Disease Control
Ortho®Orthenex®Garden Insect
& Disease Control
Ortho®Termite & Carpenter Ant
Killer, Ortho®Bug-B-Gon®Multi-
Purpose Insect Killer
Ortho®Volck®Oil Spray
SOLUTION PROBLEM SOLUTION
HIGH
VOLUME
FAN
(RED)
ADJUSTABLE
CONE
LOW
VOLUME
FAN
(YELLOW)
HIGH
VOLUME
FAN
(RED)
ADJUSTABLE
CONE
LOW
VOLUME
FAN
(YELLOW)
X
X
X
X
X
X
X
X
X
X
X
X
X
X

ASSEMBLY & REPAIR PARTSPlease Refer To The Parts List On Bottom Of Previous Page
1-800-3 11-9903
If you have any problems with, or have any questions about your sprayer,
BEFORE YOU
RETURN IT TO THE STORE, CALL OUR TOLL FREE CUSTOMER SERVICE CENTER AT:
CUT ON DOTTED LINE
180340
171015 Check Valve $1.23
178024 Extension-14” $3.40
180352 Extension-Curved-14” Brass $3.40
180343 Extension-Straight-14” Brass $3.40
178055 Nozzle Assembly-Poly $3.20
180344 Nozzle Assembly-Brass $3.20
180449 Hose Assembly $11.75
180448 Shut-off Assembly $9.35
180007 Fan Tip Set $2.80
180097 Fan Tip - Red $0.60
180168 Fan Tip - Yellow $0.60
180568 Part List N/C
180292 Funnel $1.80
180299 Pump Gasket $1.25
180300 O-Ring, Pump $1.01
180305 Pump Assembly $10.00
180482 2 Gallon Tank, ML-2, Yellow $12.00
180507 2 Gallon Tank, ML-2, Natural $12.00
180513 Outlet Tube $1.85
180364 Nut $1.60
180337 Parts Kit $6.09
COST
SUBTO TAL
8.25% TAX (NY ONLY)
SHIPPING & HANDLING
GRAND TO TAL
$3.00
20
NOZZLE ASSEMBLY INSTRUCTIONS
Fan Nozzle Adjustable Nozzle Extension 14
18
Note: Assemble O-Ring into the end of
the extension to prevent leaking
5
13
25
8
11
10
9
12
18 7 24 23
6
SHUT-OFF ASSEMBLY
How To Assemble and Disassemble
for Maintenance
STEP 1
To remove lever, lift up
on rear of lever until
lever snaps off pivot pin.
STEP 2
Place lever on plunger,
turncounterclockwise
and lift out.
Turn clockwise to seal.
STEP 3 and 4
To replace lever, position forked end of lever
under head of plunger and push down until lever
snaps on pivot pin.
Call 1-800-3 11-9903
with any questions.
(3)
or
1

Expiration Date:_______________
CUT ON DOTTED LINE
Send Check payable to:
The Fountainhead Group, Inc.
23 Garden Street • New York Mills, NY 13417 • Telephone: (800) 3 11-9903 or (315) 736-0037 • FAX: (315) 768-4220
E-mail: Info@TheFGI.com • Web site: www.TheFountainheadGroup.com
NAME PHONE
ADDRESS
CITY ZIPSTATE
Method of payment VISA MASTERCARD
$10.00 minimum on all credit card orders.
Acct.
No.
LIMITED WARRANTY
1-800-3 11-9903
If you have any problems with, or have any questions about your sprayer,
BEFORE YOU
RETURN IT TO THE STORE, CALL OUR TOLL FREE CUSTOMER SERVICE CENTER AT:
180568
PRICES SUBJECT
TO CHANGE
We warrant that each product sold by
us will be free from defects in material
and workmanship for a period of one
year from the date of shipment by us
for models OMLP-02 and RMLP-02,
and 3 years from the date of shipment
by us for models OMLB-02 and RMLB-
02. We make no other express
warranties, and all implied warranties
including fitness and merchantabilit y,
are limited to one year from the date of
shipment by us for models OMLP-02
and RMLP-02, and 3 years from the
date of shipment by us for models
OMLB-02 and RMLB-02. Within the
warranty period, we will repair or
replace any part found to be defective
upon our examination but will not pay
shipping costs or other expenses. To
obtain warranty service, write us at The
Fountainhead Group, Inc., 23 Garden
STreet, New York Mills, New York
13417, or call toll free (800) 311-9903
or (315) 736-0037. Merchandise may
not be returned without prior
permission and must be returned to us
prepaid. This warranty service is an
exclusive remedy and we are not
responsible for any consequential or
incidental damages or injury to person
or property. This warranty shall not
apply to any product which has been
subject to misuse, negligence or
accident, or been damaged in
shipment, or misapplied, or which has
been modified or repaired by
unauthorized persons. This warranty
only applies to products owned by
persons purchasing directly from us or
from our approved distributors and
merchandisers. The right is reserved
to incorporate subsequent design or
parts changes after publication and
without re-issue of descriptive literature
or catalogs.
NOTE: Limitations on duration of
implied warranty and/or
consequential damages may not
apply to you if your state does not
permit them. This warranty gives
you specific legal rights which you
may have under state law.
This manual suits for next models
3
Table of contents
Other Fountainhead Paint Sprayer manuals

Fountainhead
Fountainhead Indian Fire Pumps 400 FER User manual

Fountainhead
Fountainhead DDS-1 User manual

Fountainhead
Fountainhead DDS-1 User manual

Fountainhead
Fountainhead OML-1 User manual

Fountainhead
Fountainhead 190197 User manual

Fountainhead
Fountainhead PumpZero User manual

Fountainhead
Fountainhead D.B.Smith User manual