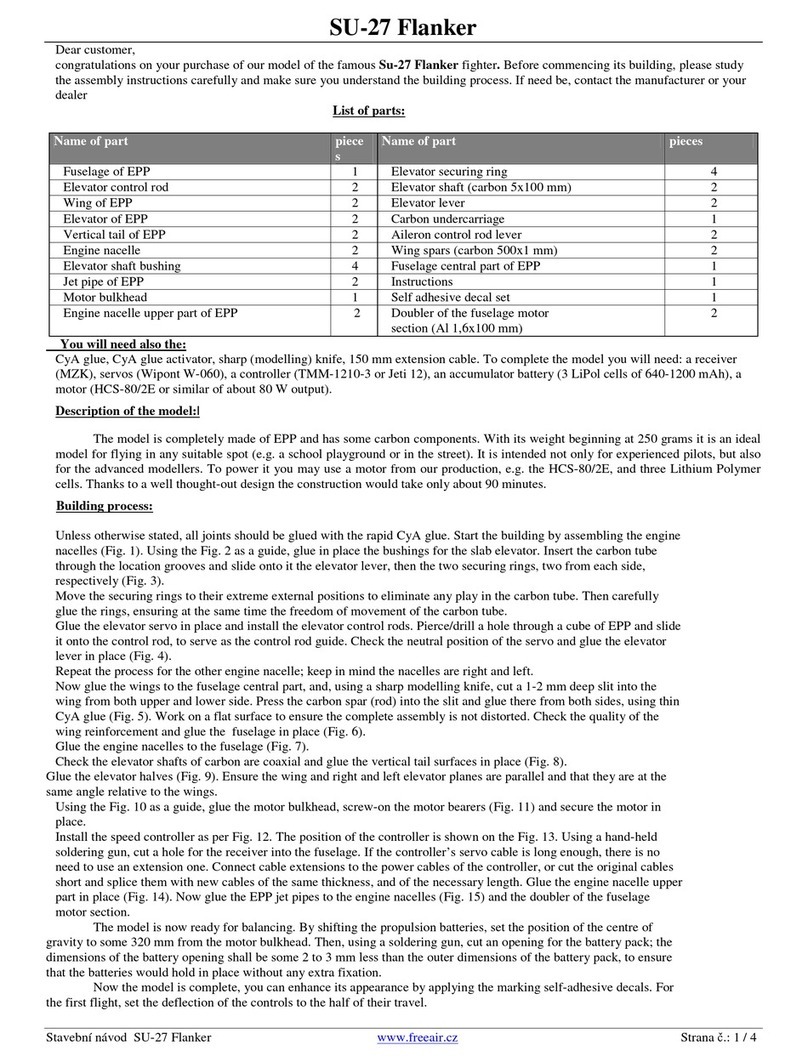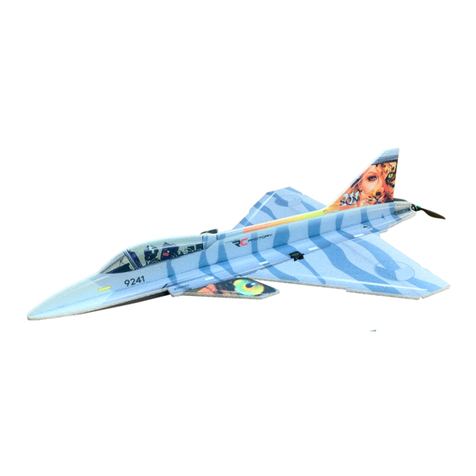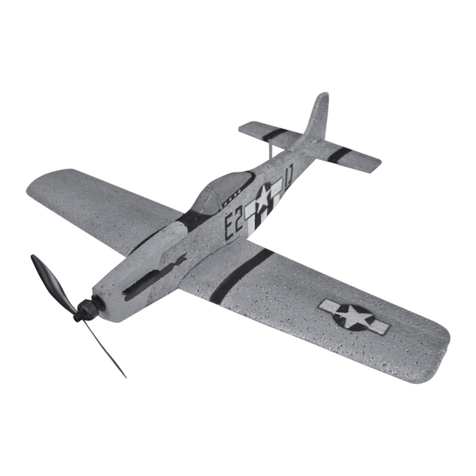
the PIPE
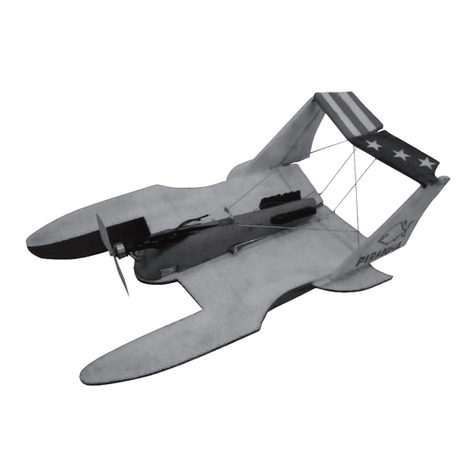
Dear Customer, You have bought the Pipe, a competitive indoor aerobatic plane. Before
you start building the plane, read carefully the instructions and make sure you understand the
sequence of operations. In case of difficulties, contact your vendor or the manufacturer.
DESCRIPTION OF THE MODEL:
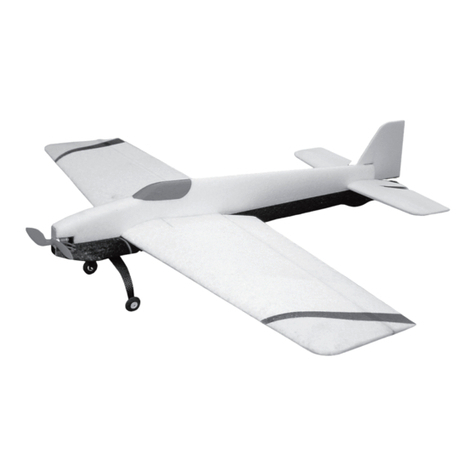
The fuselage is made of EPP, the wings, rudder and elevator are made of depron. The
plane is suitable for competitive indoor flying in the F3P category. With its AUW from 135 it
is an ideal model to fly both competitive and traing indoor aerobatics. It is suitable for both
experienced pilots and beginners, because of its good flying characteristics and its durable
EPP fuselage. You can use motor from our production, e.g. HCS C 40/2 and 2 LiPol cells. The
building should take about 240 minutes.
BUILDING PROCESS:
First cut the carbon wires to smaller pieces according to the following table (use sharp
tongs and sand the ends of the rods)
Put the fuselage main part on a straight bench. In the place of the lower and upper wing
connecting columns, cut a shallow grove and glue 2 carbon pieces 1x166 mm so that they
protrude 3 mm below the fuselage Fig2
Put the EPP side former on the fuselage; use ruler to keep it straight. Shorten in the back
as necessary, attach with a drop of CA glue (fig 3, 4). Into this cut by a sharp knife a few
milimetres bellow the axis of elevator a shallow frove Fig.5. In this press and glue carbon 690
mm Fig. 6,7.
Turn the fuselage over and cut slots for the servos. Connect all electric instalation and test its
functionality! It will become part of the plane with limited possibility of removal. 3 servos with
receiver and ESC insert into the fuselage and and glue the elevator and rudder servos in Fig 8.
Attach the second side former and attach at several points using CA glue. Cut a shallow grove
along the former and glue in 690 mm carbon wire.
In the front part of both side formers, cut out wedge shaped pieces of EPP 3 x 60 mm Fig
9. Press the side former to the fuselage and glue. Control that the fuse is straight and glue
the side formers and carbon wires all the way along the fuselage. Clean cut the front of the
fuse, attach the carbon firewall. Do not forget to route the ESC cables and solder them to your
motor. Insert the motor into the firewall, set a right thrust of 3-5°and fix by a CA glue. Cut
out the stabilizer slot from the side formers Fig 11. Bevel the elevator leading edge, use clear
tape to attach to the stabilizer.
Insert the elevator and stab into the slot, check the geometry and glue in using styro CA Fig
12. In a similar way proceed with the rudder fig 13, 14. Cut and glue control horns. Install
carbon pushrods fig 15, 16.
Recommended: most carbon rods can be bent after heating up. Use lighter or soldering iron
for 1 to 2 seconds to soften the resin and bend the carbon wire Fig 17. Now we have a flexible
joint that can be used for instance to join the ailerons (further in this document) Fig 18. To
stiffen the joint and create a fixed bend, use drop of CA glue Fig 19.
Use 2 carbon rods with bends at their respective ends to make one complete pushrods. Glue
together with cca 20 mm overlap to achieve the right lenght of the bend. Such junction can
be always split apart using hobby knife and readjusted. The pushrods are routed through EPP
guides. Fig 15.
Cut out ailerons from the wings, bevel their leading edges and reattach them using transparent
tape.Fig 20
Cut a servo hole in the lower wing. Lay the lower wing on a straight bench. Attach the fuselage
using styro CA Fig 21 Glue the wing struts to the lower wing Fig 22. Glue the EPP „saddle“
5x5x150 mm to the upper wing Fig 23. Put the upper wing, the „saddle“ down, on the
protruding carbon rods, attach to the wing struts. Glue at several points Fig.24.
Use sand paper to sharpen the „flying wires“ carbon rods at one end. Pierce the rods through
the wing at the top of the strut, towards the fuselage. Also from the middle of the upper wing
down to the strut at the lower wing Fig 25, 26. Check the geometry and use drops of styro
CA to fix the flying wires. Install the aileron servo Fig 27. Install control horns into the lower
ailerons. Use 4 pieces of carbon 1x60 mm to make the aileron pushrods, adjust the lenghts
and glue together Fig 28, 29. Use 4 carbons 1x130 to connect the upper wing ailerons.
Use heat to bend them some 30 mm from their ends – you will get a flexible joint, that will
work as a hinge Fig 30. Sand the shorter end sharp and run it into the aileron. Adjust the right
lenght and glue together the upper and lower rods together. After a control use a drop of styro
CA to attach it to the aileron Fig 31, 32. Increase the wheel axis holes to 1,6 mm diameter.
„Heat bend“ the landing gear legs 1,5x20mm, fix the bend by a drop of CA. Install the wheels,
use a drop of CA to prevent the wheels falling off. Fig 33. Again, sharpen the other end of
the legs. String the carbon pad on the leg and run the leg into the fuselage side former. Fig
34. Check the lenght and geometry of the landing gear and glue everything into place. The
battery slot shall be cut into the side formers after maiden flight and finding the right centre of
gravity. The recommended C of G is 100 to 110 mm from the wing leading edge. For the first
flights use velcro or double sided adhesive tape to mount the battery.
Lots of fun and many happy landings wishes FreeAir.
PARTS LIST
Part name Pcs Part name Pcs
3mm depron wing 2 rudder 2
EPP fuselage 1 elevator 2
Building instructions 2 Control horn 4
Carbon wing joiners
(1x 130 mm carbon) 4 EPP fuselage reinforcement 2
Reinforcement of EPP fuselage sides
(carbon 1x690mm) 2 EPP pushrod ducts 5x5x10 mm 6
Elevator and rudder pushrods
(carbon 1x380mm) 2 Carbon firewall 1
Wing reinforcements (1x330) 4 Elevator pushrods (1x60 mm) 4
Fuselage reinforcement (carbon 1x166) 2 Landing gear legs (carbon 1,5x200) 2
Depron wing braces 2 20 mm landing gear wheels 2
Landing gear formers 2 Upper wing EPP „saddle“ 5x5x150 mm 1
Rudder pushrod ending (carbon 1x160) 1 Elevator pushrod ending (carbon 1x90) 1
You will need the following tools and materials:
CA glue, CA styro glue, CA activator, sharp hobby knife, transparent adhesive tape 10 mm.,
receiver (MZK), 3 micro servos (Waypoint W-038 or W-060), ESC (TMM 0710-3 or Jeti 04),
battery pack (2 to 3 cell LiPol 340-400 mAh), motor (HCS 40/2 or similar, power cca 40W,
propeller GWS 8x4.
2
the PIPE www.freeair.cz
Number of carbon wires Diameter Cut 1 Cut 2 Cut 3 Cut 4 Cut5 Cut6 Cut7 Cut8
2 x 1000mm 1 690 166 130
1x 1000mm 1 130 130 60 60 60 60 380 90
1x900mm 1 380 330 160
1x400mm 1.5 200 200
