manuals.online logo
Brands
  1. Home
  2. •
  3. Brands
  4. •
  5. Freelap
  6. •
  7. Transmitter
  8. •
  9. Freelap TX JUNIOR PRO User manual

Freelap TX JUNIOR PRO User manual

TX JUNIOR PRO
INSTRUCTION FOR USE
VERSATILE TRANSMITTER OF
FREELAP AUTOMATIC TIMING SYSTEM
FURTHER INFORMATION
3
BATTERY AND BATTERY LIFE
Your Tx Junior Pro has 2 LR6 (AA) batteries (included), with a battery life
of 300h. It has an automatic shutdown function after 12h, in order to
save the battery.
> Low battery indicator: When the battery becomes low, the "PWR" led
of your Tx Junior Pro turns red.
> To change the batteries: Turn the cover on the back of the device to the
right to unlock it, then remove it. Remove used batteries, and insert 2 new
LR6 (AA) batteries. Put back the cover with the gasket, then turn it to the
left to lock it.
TECHNICAL SHEET
• Weight: 220 g with batteries
• Dimensions: 115 x 115 x 150 mm
• Compatibility: FxChip / FxChip BLE
• Transmitter with 3 codes: Start / Lap / Finish
• Detection field: 1.5 meters
• Minimum distance between 2 transmitters: 10 meters
• Minimum time between 2 transmitters: 0,7 second
• Accuracy: 2/100 of a second
• Batteries: 2 x LR6 (AA) + battery indicator, automatic shutdown after 12h
• Battery life: 300 hours
• Water resistance: 3ATM
• Operating temperatures: -20°C to +50°C
/! \ Your FxChip and FxChip BLE transponders have a temporary memory
of 10 Laps. It means that your track must contain a maximum of 11
transmitters.
TECHNICAL SUPPORT
Our FAQ (Frequently Asked Questions), as well as other manuals and user
guides, can be found on our website at:
http://www.freelap.com/support/
If you cannot find the answers to your questions, please contact your
Freelap dealer. Find the list of Freelap dealers at:
http://www.freelap.com/freelap-contact/
AFTER-SALES SERVICE & WARRANTY
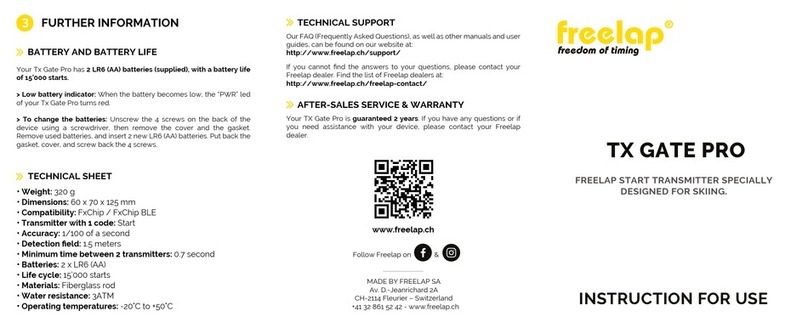
Your TX Junior Pro is guaranteed 2 years. If you have any questions or if
you need assistance with your device, please contact your Freelap
dealer.
MADE BY FREELAP SA
Av. D.-Jeanrichard 2A
CH-2114 Fleurier – Switzerland
+41 32 861 52 42 - www.freelap.ch
Follow Freelap on &
www.freelap.com
Congratulations on the purchase of your Tx Junior Pro transmitter ! This
device has been designed to be convenient and simple to use. In this guide
you will find all the information about how it works.
OVERALL FUNCTIONING
1
USE OF YOUR TX JUNIOR PRO
2
YOUR TX JUNIOR PRO
The Tx Junior Pro is the versatile transmitter of the Freelap system. It can
be quickly set as start, lap, or finish transmitter. Thus, it lets you get both
your lap times and your split times.
It emits a magnetic field automatically detected by your FxChip or FxChip
BLE transponder during its passage.
PREREQUISITES
Your Tx Junior Pro transmitter is part of the Freelap system. In order to
make it work, you must attach transponder(s) to the athlete(s) and use
the MyFreelap app (consult the corresponding user manuals for more
details).
SIMULTANEOUSLY USE TX JUNIOR PRO ON ADJA-
CENT LANES
The Tx Junior Pro can cover 2 lanes: 1 lane of 1.22m on each side of the
transmitter. Athletes can run at the same time on 2 adjacent lanes.
To time more lanes, you can add transmitters.
/! \ Do not superimpose magnetic fields:
If you want to time on 4 lanes, 2 transmitters are enough: 1 to cover the
lane n°1 and n°2, and 1 other to cover the lanes n°3 and n°4.
.
ASSOCIATE IT WITH OTHER TRANSMITTERS
To make Freelap system work, you must have a transmitter set with the
code "Finish" on your track.
The Tx Junior Pro is a versatile transmitter, so you can use several Tx
Junior Pro on your track (set as start, lap or finish transmitter). You can
also use it in combination with other Freelap transmitters (e.g.: you can
use the Tx Touch Pro transmitter as start transmitter).
Transmitters must be spaced at least 10m apart, with a minimum space
time of 0.7 second.
BUTTON AND LEDS OF YOUR TX JUNIOR PRO
TURN ON AND SET YOUR TX JUNIOR PRO
• To turn on the transmitter simply press the central "ON" button for 1
second.
• Once the transmitter is on, press the central button again to select the
desired code (Start = for start transmitter/ Lap = for intermediate transmit-
ter/ Finish = for finish transmitter). Each press of the central button
switches you to the next code. The LED of the selected code flashes.
PLACE YOUR TX JUNIOR PRO ON THE TRACK
• Place the Tx Junior Pro on the ground (do not raise it) .
• The transmitter has a detection field of 1.5m, so it must be placed:
- at the edge of the track, less than 1.5m from the athlete's pass (so that
the transponder of the athlete crosses the detection field).
- Tx Junior Pro transmitters must be at least 10m apart (between them, or
with other transmitters).
- For an optimal accuracy, you should start to run 20m before the start
transmitter (or at least 5m before).
> LEDS :
2. PWR: indicates that the device is on, and
turns red when the battery is low.
3. START: Indicates that the transmitter is
set as “Start” transmitter.
4. LAP: Indicates that the transmitter is set
as “Lap” transmitter.
5. FINISH: Indicates that the transmitter is
set as “Finish” transmitter.
2 3 4 5
1
> BUTTON :
1. ON/OFF BUTTON : To turn on / off the transmitter, and set the desired
code (start / lap / finish).
/!\ Placing the transmitter at any other location or position may result
in inaccuracies or non-detection.
Example : Timing 30m - Flying start
START FINISH
20m 30m
1
2
Other Freelap Transmitter manuals

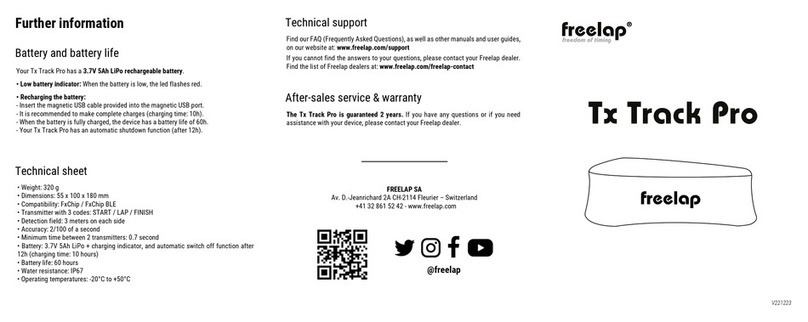
Freelap TX TRACK PRO User manual

Freelap

Freelap TX TRACK PRO User manual

Freelap TX GATE PRO User manual

Freelap

Freelap TX GATE PRO User manual

Freelap Tx Gate Pro User manual

Freelap

Freelap Tx Gate Pro User manual

Freelap Tx Track Pro User manual

Freelap

Freelap Tx Track Pro User manual

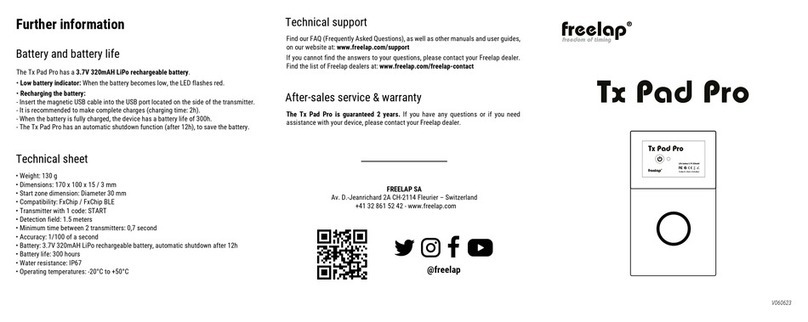
Freelap Tx Pad Pro User manual

Freelap

Freelap Tx Pad Pro User manual

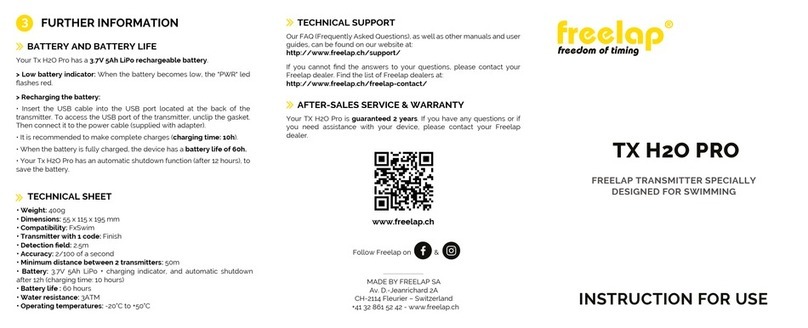
Freelap TX H2O PRO User manual

Freelap

Freelap TX H2O PRO User manual

Freelap TX TOUCH PRO User manual

Freelap

Freelap TX TOUCH PRO User manual

Freelap PowerUnit User manual

Freelap

Freelap PowerUnit User manual

Popular Transmitter manuals by other brands

Sony 3-873-945-12 (1) operating instructions

Sony

Sony 3-873-945-12 (1) operating instructions

Cameron BARTON 753A user manual

Cameron

Cameron BARTON 753A user manual

Vaisala HUMICAP HMT310 user guide

Vaisala

Vaisala HUMICAP HMT310 user guide

Sony TMR-BR100 Specifications

Sony

Sony TMR-BR100 Specifications

Noding P 12 operating instructions

Noding

Noding P 12 operating instructions

One Forall Cordless Audio Video Sender user guide

One Forall

One Forall Cordless Audio Video Sender user guide

Metrix ST5491E installation manual

Metrix

Metrix ST5491E installation manual

ACE RC Sky Commander T4A 8418 instruction manual

ACE RC

ACE RC Sky Commander T4A 8418 instruction manual

Fly Sky FS-RM005 user manual

Fly Sky

Fly Sky FS-RM005 user manual

Waudio UHF user manual

Waudio

Waudio UHF user manual

Tek-Trol TEK-BAR 3800XP instruction manual

Tek-Trol

Tek-Trol TEK-BAR 3800XP instruction manual

IMG STAGE LINE TXS-871HSE instruction manual

IMG STAGE LINE

IMG STAGE LINE TXS-871HSE instruction manual

Black Box FiberPath AC444A Specifications

Black Box

Black Box FiberPath AC444A Specifications

Digi-Code 5060 installation instructions

Digi-Code

Digi-Code 5060 installation instructions

j5 create ScreenCast JVAW62 quick start guide

j5 create

j5 create ScreenCast JVAW62 quick start guide

I.SOUND WIRELESS FM TRANSMITTER datasheet

I.SOUND

I.SOUND WIRELESS FM TRANSMITTER datasheet

esky ET6I instruction manual

esky

esky ET6I instruction manual

globalwater WL750 manual

globalwater

globalwater WL750 manual

manuals.online logo
manuals.online logoBrands
  • About & Mission
  • Contact us
  • Privacy Policy
  • Terms and Conditions

Copyright 2025 Manuals.Online. All Rights Reserved.