manuals.online logo
Brands
  1. Home
  2. •
  3. Brands
  4. •
  5. Freelap
  6. •
  7. Transmitter
  8. •
  9. Freelap TX GATE PRO User manual

Freelap TX GATE PRO User manual

TX GATE PRO
INSTRUCTION FOR USE
FREELAP START TRANSMITTER SPECIALLY
DESIGNED FOR SKIING.
FURTHER INFORMATION
3
BATTERY AND BATTERY LIFE
Your Tx Gate Pro has 2 LR6 (AA) batteries (supplied), with a battery life
of 15’000 starts.
> Low battery indicator: When the battery becomes low, the “PWR” led
of your Tx Gate Pro turns red.
> To change the batteries: Unscrew the 4 screws on the back of the
device using a screwdriver, then remove the cover and the gasket.
Remove used batteries, and insert 2 new LR6 (AA) batteries. Put back the
gasket, cover, and screw back the 4 screws.
TECHNICAL SHEET
• Weight: 320 g
• Dimensions: 60 x 70 x 125 mm
• Compatibility: FxChip / FxChip BLE
• Transmitter with 1 code: Start
• Accuracy: 1/100 of a second
• Detection field: 1.5 meters
• Minimum time between 2 transmitters: 0.7 second
• Batteries: 2 x LR6 (AA)
• Life cycle: 15’000 starts
• Materials: Fiberglass rod
• Water resistance: 3ATM
• Operating temperatures: -20°C to +50°C
TECHNICAL SUPPORT
Our FAQ (Frequently Asked Questions), as well as other manuals and user
guides, can be found on our website at:
http://www.freelap.ch/support/
If you cannot find the answers to your questions, please contact your
Freelap dealer. Find the list of Freelap dealers at:
http://www.freelap.ch/freelap-contact/
AFTER-SALES SERVICE & WARRANTY
Your TX Gate Pro is guaranteed 2 years. If you have any questions or if
you need assistance with your device, please contact your Freelap
dealer.
MADE BY FREELAP SA
Av. D.-Jeanrichard 2A
CH-2114 Fleurier – Switzerland
+41 32 861 52 42 - www.freelap.ch
Follow Freelap on &
www.freelap.ch
Congratulations on the purchase of your Tx Gate Pro transmitter ! This device
has been designed to be convenient and simple to use. In this guide you will
find all the information about how it works.
OVERALL FUNCTIONING
1
USE OF YOUR TX GATE PRO
2
YOUR TX GATE PRO
Your Tx Gate Pro is the Freelap start transmitter specially designed for
skiing. This gate triggers the start of the transponder very accurately.
When the skier crosses the gate (at the moment when his shins move the
stick to 10 ° according to the FIS standard), the Tx Gate Pro emits a magnet-
ic field (code “START”) that triggers the start of the transponder.
PREREQUISITES
Your Tx Gate Pro transmitter is part of the Freelap system. In order to make
it work, you must attach transponder(s) to the skier(s), turn on and place
your other transmitters and your Relay Coach BLE, and use the
MyFreelap app (consult the corresponding user manuals for more details).
ASSOCIATE IT WITH OTHER
FREELAP TRANSMITTERS
• To make Freelap system work, you must
have a transmitter set with the code
"Finish" on your track.
• The Tx Gate Pro is a start transmitter. You
must also have at least one finish transmitter
on your course (e.g.: Tx Track Pro transmitter
set with the code "Finish").
• You can also use it in combination with
other Freelap transmitters (e.g.: Tx Track
Pro transmitter set with the code “Lap”).
/! \ Your FxChip and FxChip BLE transpon-
ders have a temporary memory of 10 Laps. It
means that your track must contain a
maximum of 11 transmitters.
• The Tx Gate Pro must be placed at a
minimum of 0.7 second from any other
transmitter.
PLACE YOUR TX GATE PRO AND TAKE THE START
> PLACE YOUR TRANSMITTER :
• Plant a wooden stake ideally 4x4cm (not supplied) at the start area.
• Attach your Tx Gate Pro to your stake using the Velcro straps on your
transmitter. The stick should be placed at shins height (the snow-to-stick
distance should be between 35 and 50 cm), parallel to the ground. The
face of the case of your transmitter must be turned towards the track.
> TURN ON YOUR TRANSMITTER :
The Tx Gate Pro does not have any buttons. It turns on automatically, in a
fraction of a second, when the skier takes the start (when the stick is
moved by the skier). It turns off automatically after each start.
• Put yourself in starting position, both shins just
in front of the stick.
• Start by crossing the gate (pushing the stick with
your shins). The Tx Gate Pro emits a signal that
triggers instantly the start of the FxChip transpon-
der. It will also make a sound that confirms that the
gate has been triggered.
• The fiberglass stick automatically returns to its
initial position after each start.
1. STICK : Triggers the start.
2. VELCRO STRAPS : To attach it to a stake.
3. “PWR” LED : Indicates that the device is on, and indicate a low
battery (red light).
1
23
FINISH
LAP
START
> TAKE THE START :
/!\ Placing the transmitter at any other location or
position may result in inaccuracies or non-detection.
PARTS OF THE DEVICE
Other Freelap Transmitter manuals

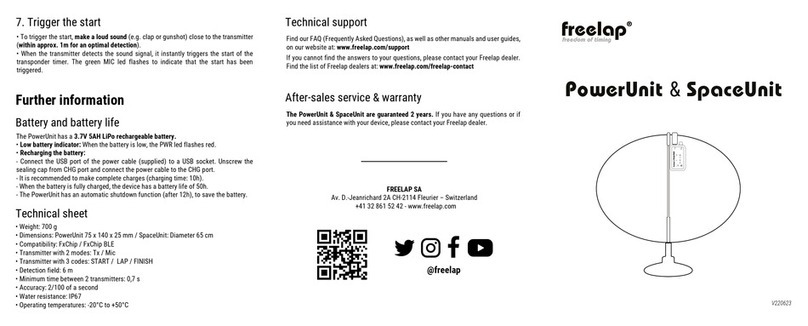
Freelap PowerUnit User manual

Freelap

Freelap PowerUnit User manual

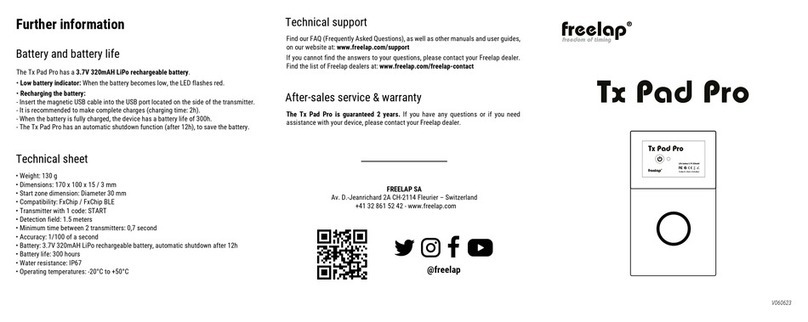
Freelap Tx Pad Pro User manual

Freelap

Freelap Tx Pad Pro User manual

Freelap TX JUNIOR PRO User manual

Freelap

Freelap TX JUNIOR PRO User manual

Freelap TX TOUCH PRO User manual

Freelap

Freelap TX TOUCH PRO User manual

Freelap TX H2O PRO User manual

Freelap

Freelap TX H2O PRO User manual

Freelap Tx Gate Pro User manual

Freelap

Freelap Tx Gate Pro User manual

Freelap TX TRACK PRO User manual

Freelap

Freelap TX TRACK PRO User manual

Freelap Tx Track Pro User manual

Freelap

Freelap Tx Track Pro User manual

Popular Transmitter manuals by other brands

EUTECH INSTRUMENTS ALPHA PH 500 - REV 6 manual

EUTECH INSTRUMENTS

EUTECH INSTRUMENTS ALPHA PH 500 - REV 6 manual

LAUREL LTS6 Series owner's manual

LAUREL

LAUREL LTS6 Series owner's manual

TESTO 6682 instruction manual

TESTO

TESTO 6682 instruction manual

Emerson Micro Motion 9739 MVD Configuration and Use Manual

Emerson

Emerson Micro Motion 9739 MVD Configuration and Use Manual

Q5X QT-5100 user manual

Q5X

Q5X QT-5100 user manual

Logic3 IP163 instruction manual

Logic3

Logic3 IP163 instruction manual

Autonics TPS20 Series manual

Autonics

Autonics TPS20 Series manual

WIKA IS-20-S operating instructions

WIKA

WIKA IS-20-S operating instructions

Q5X QT-300 user manual

Q5X

Q5X QT-300 user manual

Linear MVP installation instructions

Linear

Linear MVP installation instructions

Hanna Instruments HI 504910 instruction manual

Hanna Instruments

Hanna Instruments HI 504910 instruction manual

BD Sensors DMP 303 operating manual

BD Sensors

BD Sensors DMP 303 operating manual

MTT MS3710-01 user manual

MTT

MTT MS3710-01 user manual

Keystone T-931-MH Programming instruction manual

Keystone

Keystone T-931-MH Programming instruction manual

Siemens SITRANS F M Intermag 2 operating instructions

Siemens

Siemens SITRANS F M Intermag 2 operating instructions

PR electronics PRetop 5331 owner's manual

PR electronics

PR electronics PRetop 5331 owner's manual

elero Invio-868 operating instructions

elero

elero Invio-868 operating instructions

Blackweb BWA17AV003 user manual

Blackweb

Blackweb BWA17AV003 user manual

manuals.online logo
manuals.online logoBrands
  • About & Mission
  • Contact us
  • Privacy Policy
  • Terms and Conditions

Copyright 2025 Manuals.Online. All Rights Reserved.