manuals.online logo
Brands
  1. Home
  2. •
  3. Brands
  4. •
  5. Freelap
  6. •
  7. Transmitter
  8. •
  9. Freelap TX TOUCH PRO User manual

Freelap TX TOUCH PRO User manual

TX TOUCH PRO
INSTRUCTION FOR USE
FREELAP TRANSMITTER SPECIALLY
MADE FOR TRACK AND FIELD STARTS
FURTHER INFORMATION
3
BATTERY AND BATTERY LIFE
Your Tx Touch Pro has a CR2032 Lithium battery, with a battery life of
15’000 starts, easily replaceable.
> Low battery indicator: When the battery becomes low, the LED of your
Tx Touch Pro turns red.
> Replace the battery: Unscrew the 2 screws on the back of the device
using a screwdriver, then remove the cover and the gasket. Remove the
used battery, and insert a new Lithium CR2032 battery. Put back the
gasket and cover, and screw back the 2 screws.
TECHNICAL SHEET
• Weight: 50 g
• Dimensions: Diameter: 82 mm, height: 10 mm
• Compatibility: FxChip / FxChip BLE
• Transmitter with 1 code: Start
• Accuracy: 1/100 of a second
• Detection field: 1.5 meters
• Minimum distance between 2 transmitters: 1.5 meters
• Minimum time between 2 transmitters: 0.7 seconds
• Battery: Lithium CR2032 (user-replaceable battery) + Low
battery indicator
• Battery life: 15’000 starts
• Water resistance: 3ATM
• Operating temperatures: -20°C to +50°C
TECHNICAL SUPPORT
Our FAQ (Frequently Asked Questions), as well as other manuals and user
guides, can be found on our website at:
http://www.freelap.ch/support/
If you cannot find the answers to your questions, please contact your
Freelap dealer. Find the list of Freelap dealers at:
http://www.freelap.ch/freelap-contact/
AFTER-SALES SERVICE & WARRANTY
Your TX Touch Pro is guaranteed 2 years. If you have any questions or if
you need assistance with your device, please contact your Freelap
dealer.
MADE BY FREELAP SA
Av. D.-Jeanrichard 2A
CH-2114 Fleurier – Switzerland
+41 32 861 52 42 - www.freelap.ch
Follow Freelap on &
www.freelap.ch
Congratulations on the purchase of your Tx Touch Pro transmitter ! This
device has been designed to be convenient and simple to use. In this guide
you will find all the information about how it works.
OVERALL FUNCTIONING
1
USE OF YOUR TX TOUCH PRO
2
YOUR TX TOUCH PRO
Your Tx Touch Pro is the Freelap transmitter specially made for track
and field starts. It triggers the start of the transponder very accurately.
When the athlete releases the button, the FxChip BLE transponder starts
instantly.
PREREQUISITES
Your Tx Touch Pro transmitter is part of the Freelap system. In order to
make it work, you must attach transponder(s) to the athlete(s) and use
the MyFreelap app (consult the corresponding user manuals for more
details).
SIMULTANEOUSLY USE TX TOUCH PRO TRANS-
MITTERS ON ADJACENT LANES
If multiple athletes use Tx Touch Pro simultaneously on adjacent lanes,
they each must be placed on the furthest side of the other athlete, in
order to not trigger the transponder timer of the other lane (leave at least
1.5 meters between each Tx Touch Pro).
ASSOCIATE IT WITH OTHER TRANSMITTERS
To make the Freelap system work, you must have a transmitter set with
the code "Finish" on your track.
The Tx Touch Pro is a start transmitter. You must also have at least one
finish transmitter on your track (e.g. : Tx Junior Pro transmitter set with the
code "Finish").
You can also use it in combination with other Freelap transmitters (e.g.:
Tx Junior Pro transmitter set with “Lap” code).
/! \ Your FxChip and FxChip BLE transponders have a temporary memory
of 10 Laps. It means that your track must contain a maximum of 11
transmitters.
The Tx Touch Pro must be placed at a minimum of 0.7 seconds of any
other transmitter.
Tip : for track and field, the minimum distance between transmitters is 10m.
PARTS OF THE DEVICE
PLACE YOUR TX TOUCH PRO ON THE TRACK AND
TAKE THE START
• Place the Tx Touch Pro on the ground, on the start line.
• Put yourself in the starting position by keeping your thumb pressed on
the central button. The green LED lights up (2 seconds). Then it starts
flashing to indicate that the device is ready to trigger the start and that the
button can be released.
• Release the button and start the race. The Tx Touch Pro will emit a
confirmation "beep" and instantly start the timer of your transponder.
.
13
2
1. LED : Indicates if the device is on and ready to trigger the start. Also
indicates if the battery is low (red light).
2. “ON” BUTTON : Turns on the device and triggers the start (when
released).
3. BATTERY : Powers the device.
Example :
20 m
20. 8 m
40 m
40 .8 m
60 m
60.8 m
.
1 2
START
LAP LAP FINISH
/!\ Placing the transmitter at any other location or position
may result in inaccuracies or non-detection.
Other Freelap Transmitter manuals

Freelap TX H2O PRO User manual

Freelap

Freelap TX H2O PRO User manual

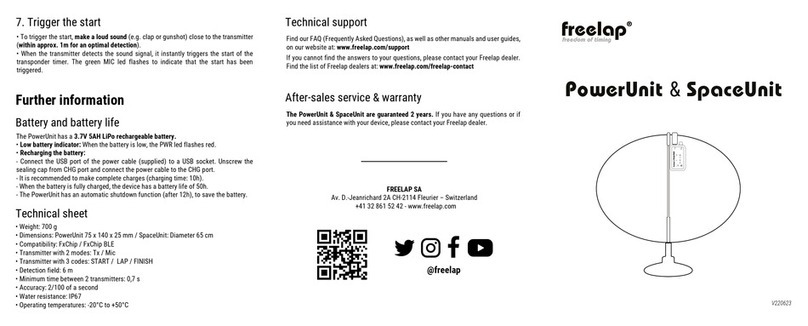
Freelap PowerUnit User manual

Freelap

Freelap PowerUnit User manual

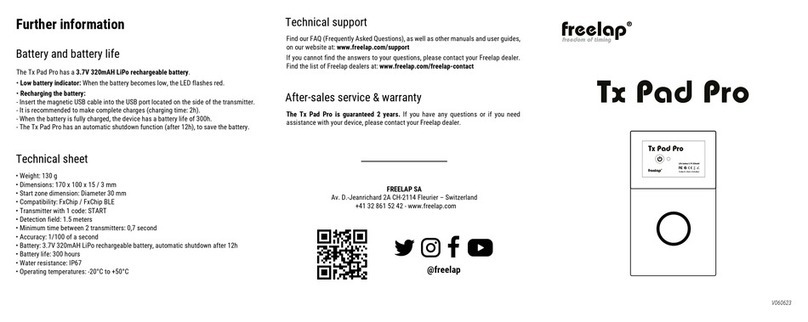
Freelap Tx Pad Pro User manual

Freelap

Freelap Tx Pad Pro User manual

Freelap TX JUNIOR PRO User manual

Freelap

Freelap TX JUNIOR PRO User manual

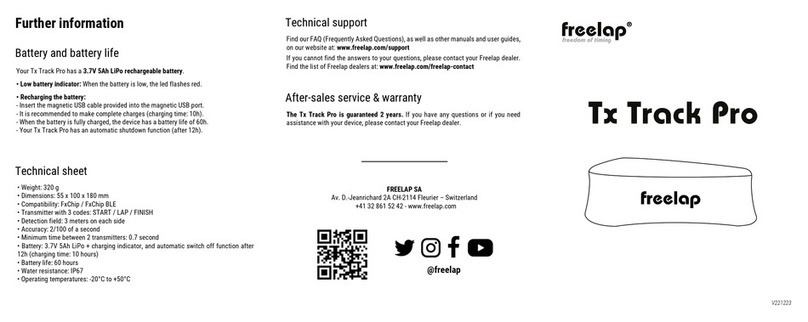
Freelap Tx Track Pro User manual

Freelap

Freelap Tx Track Pro User manual

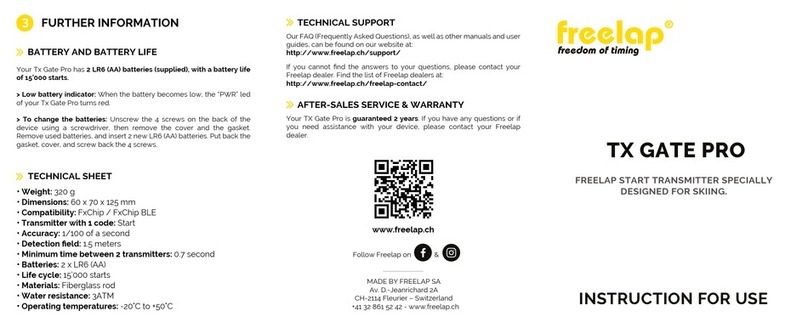
Freelap Tx Gate Pro User manual

Freelap

Freelap Tx Gate Pro User manual

Freelap TX GATE PRO User manual

Freelap

Freelap TX GATE PRO User manual

Freelap TX TRACK PRO User manual

Freelap

Freelap TX TRACK PRO User manual

Popular Transmitter manuals by other brands

Seneca K120RTD installation manual

Seneca

Seneca K120RTD installation manual

Nautel GV40 installation manual

Nautel

Nautel GV40 installation manual

HumanTechnik cm-light operating instructions

HumanTechnik

HumanTechnik cm-light operating instructions

INOR APAQ C130 TC User instructions

INOR

INOR APAQ C130 TC User instructions

Linear DXS-64 operating instructions

Linear

Linear DXS-64 operating instructions

FeinTech ABT00102 instruction manual

FeinTech

FeinTech ABT00102 instruction manual

Geo Web Pack quick start guide

Geo

Geo Web Pack quick start guide

Inovonics EchoStream EN1210W installation instructions

Inovonics

Inovonics EchoStream EN1210W installation instructions

IKONNIK KA-6 quick start guide

IKONNIK

IKONNIK KA-6 quick start guide

Rohde & Schwarz SR8000 Series System manual

Rohde & Schwarz

Rohde & Schwarz SR8000 Series System manual

Audio Technica UniPak ATW-T93 Installation and operation

Audio Technica

Audio Technica UniPak ATW-T93 Installation and operation

NIVELCO EasyTREK SCA-300 Series Programming manual

NIVELCO

NIVELCO EasyTREK SCA-300 Series Programming manual

Honeywell 5816WMBR installation instructions

Honeywell

Honeywell 5816WMBR installation instructions

Kamstrup READy MTU Installation and operation guide

Kamstrup

Kamstrup READy MTU Installation and operation guide

Omega ZW Series user guide

Omega

Omega ZW Series user guide

ABB Field 264H Instructions for installation

ABB

ABB Field 264H Instructions for installation

Dejero EnGo 3x manual

Dejero

Dejero EnGo 3x manual

Rosemount 4600 Reference manual

Rosemount

Rosemount 4600 Reference manual

manuals.online logo
manuals.online logoBrands
  • About & Mission
  • Contact us
  • Privacy Policy
  • Terms and Conditions

Copyright 2025 Manuals.Online. All Rights Reserved.