Page1of20
Contents
ContentsandSpecifications.................................1
SafetyPrecautions...........................................2‐3
Assembly.............................................................4
Operation........................................................5‐6
Technique............................................................7
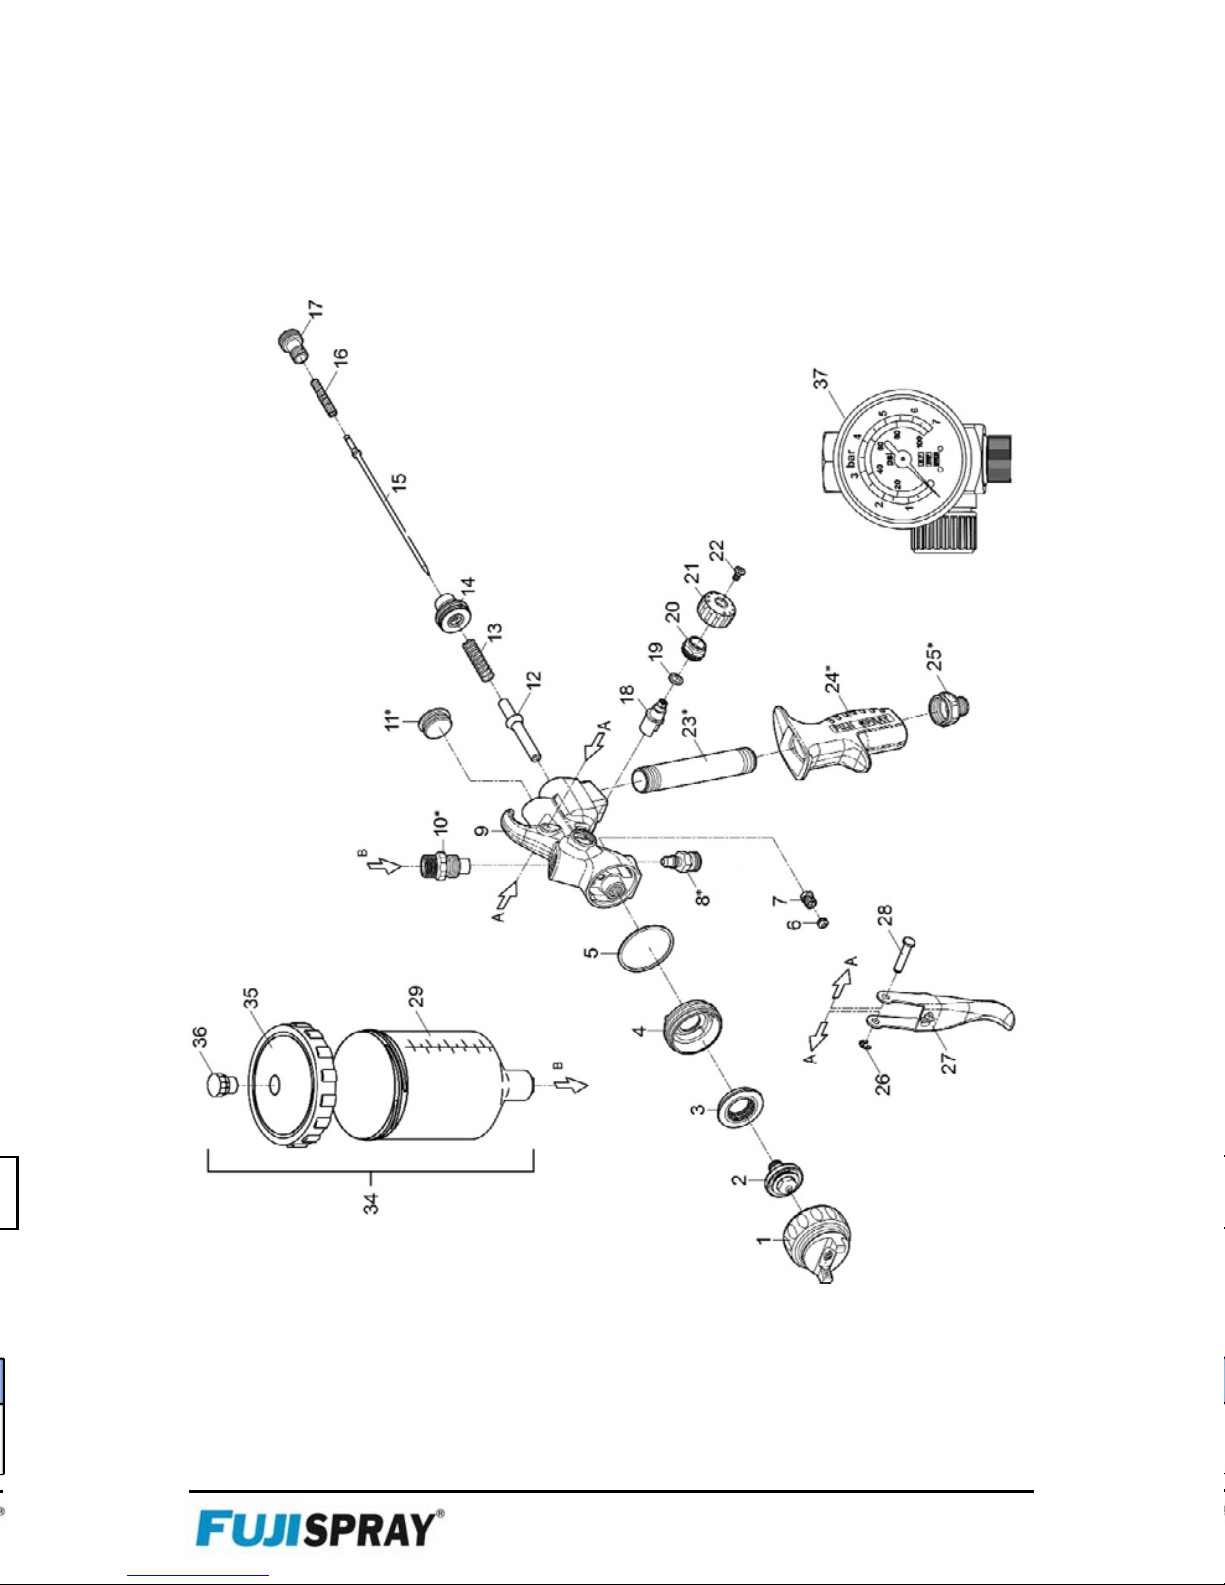
PartsDiagram..................................................8‐9
ViscosityGuide...................................................10
FinishProblems..................................................11
Troubleshooting..........................................12‐13
NeedlePackingNut............................................1 4
GeneralCleaning.........................................15‐16
ThoroughCleaning.............................................1 6
Reassembly........................................................17
WarrantyInformation........................................18
ServiceInformation............................................19
Notes..................................................................20
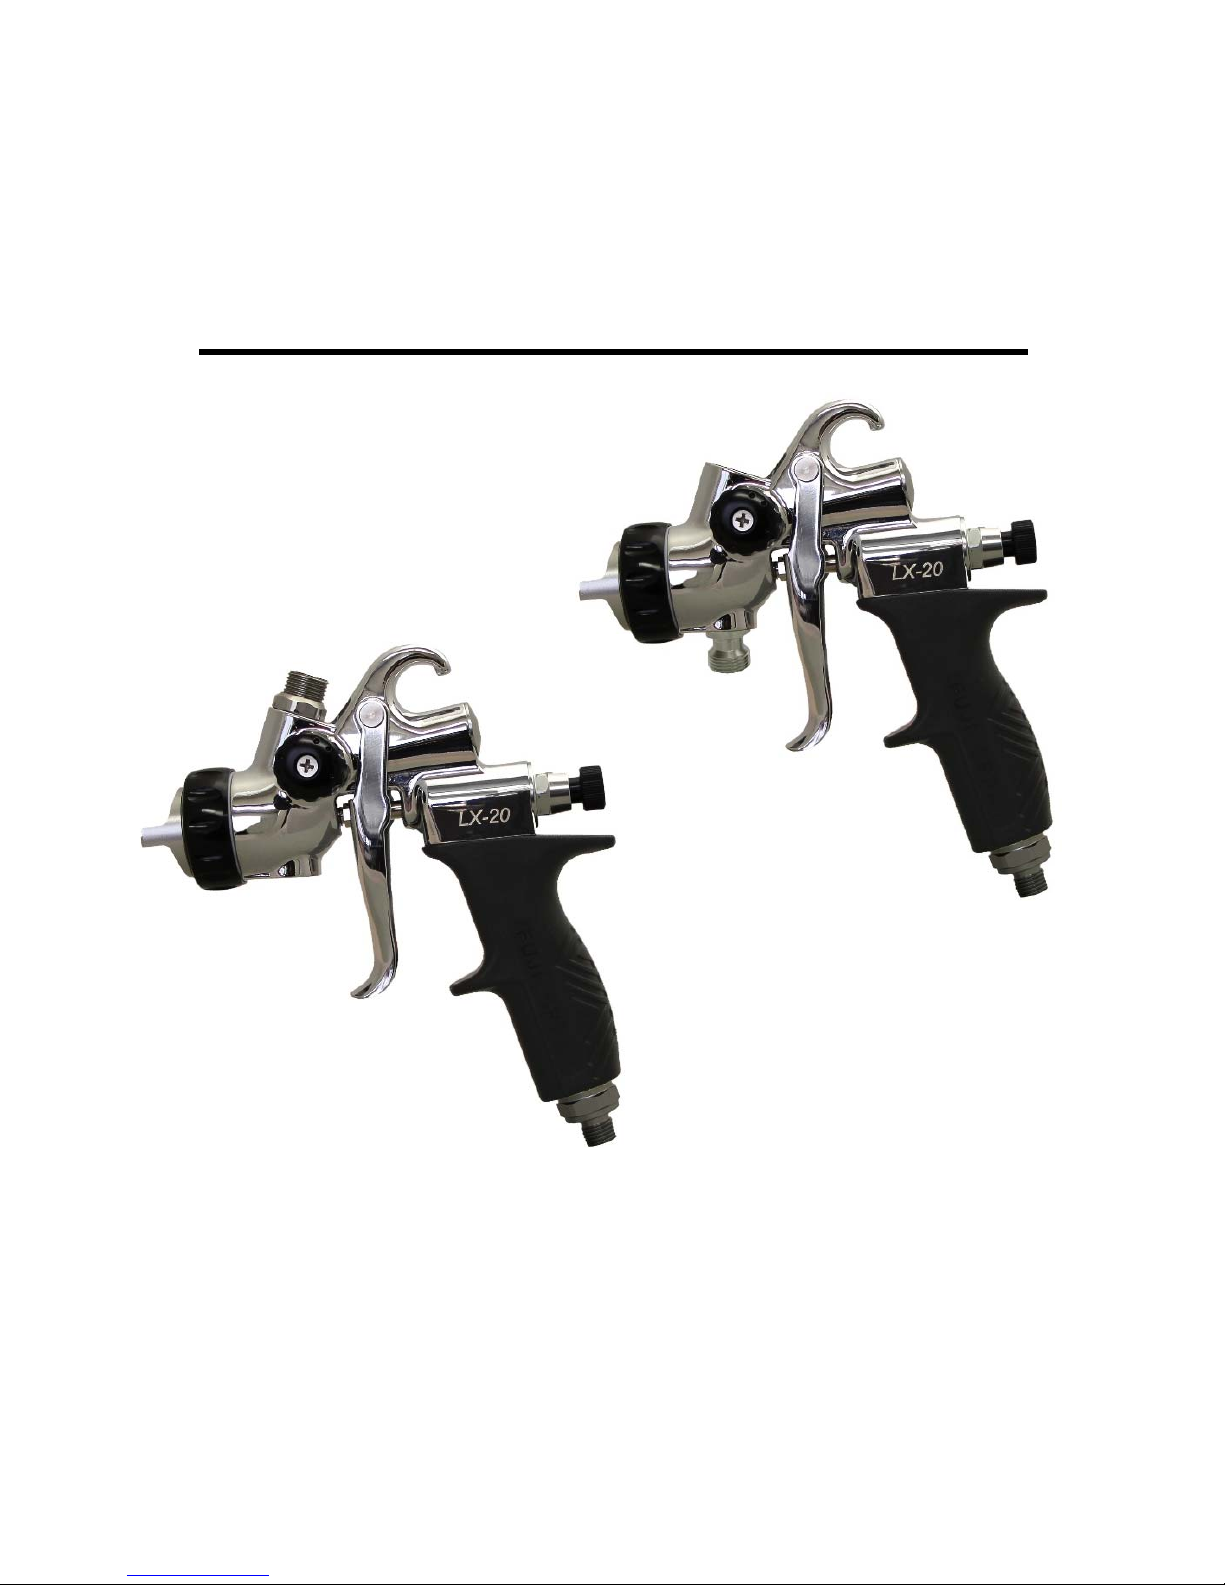
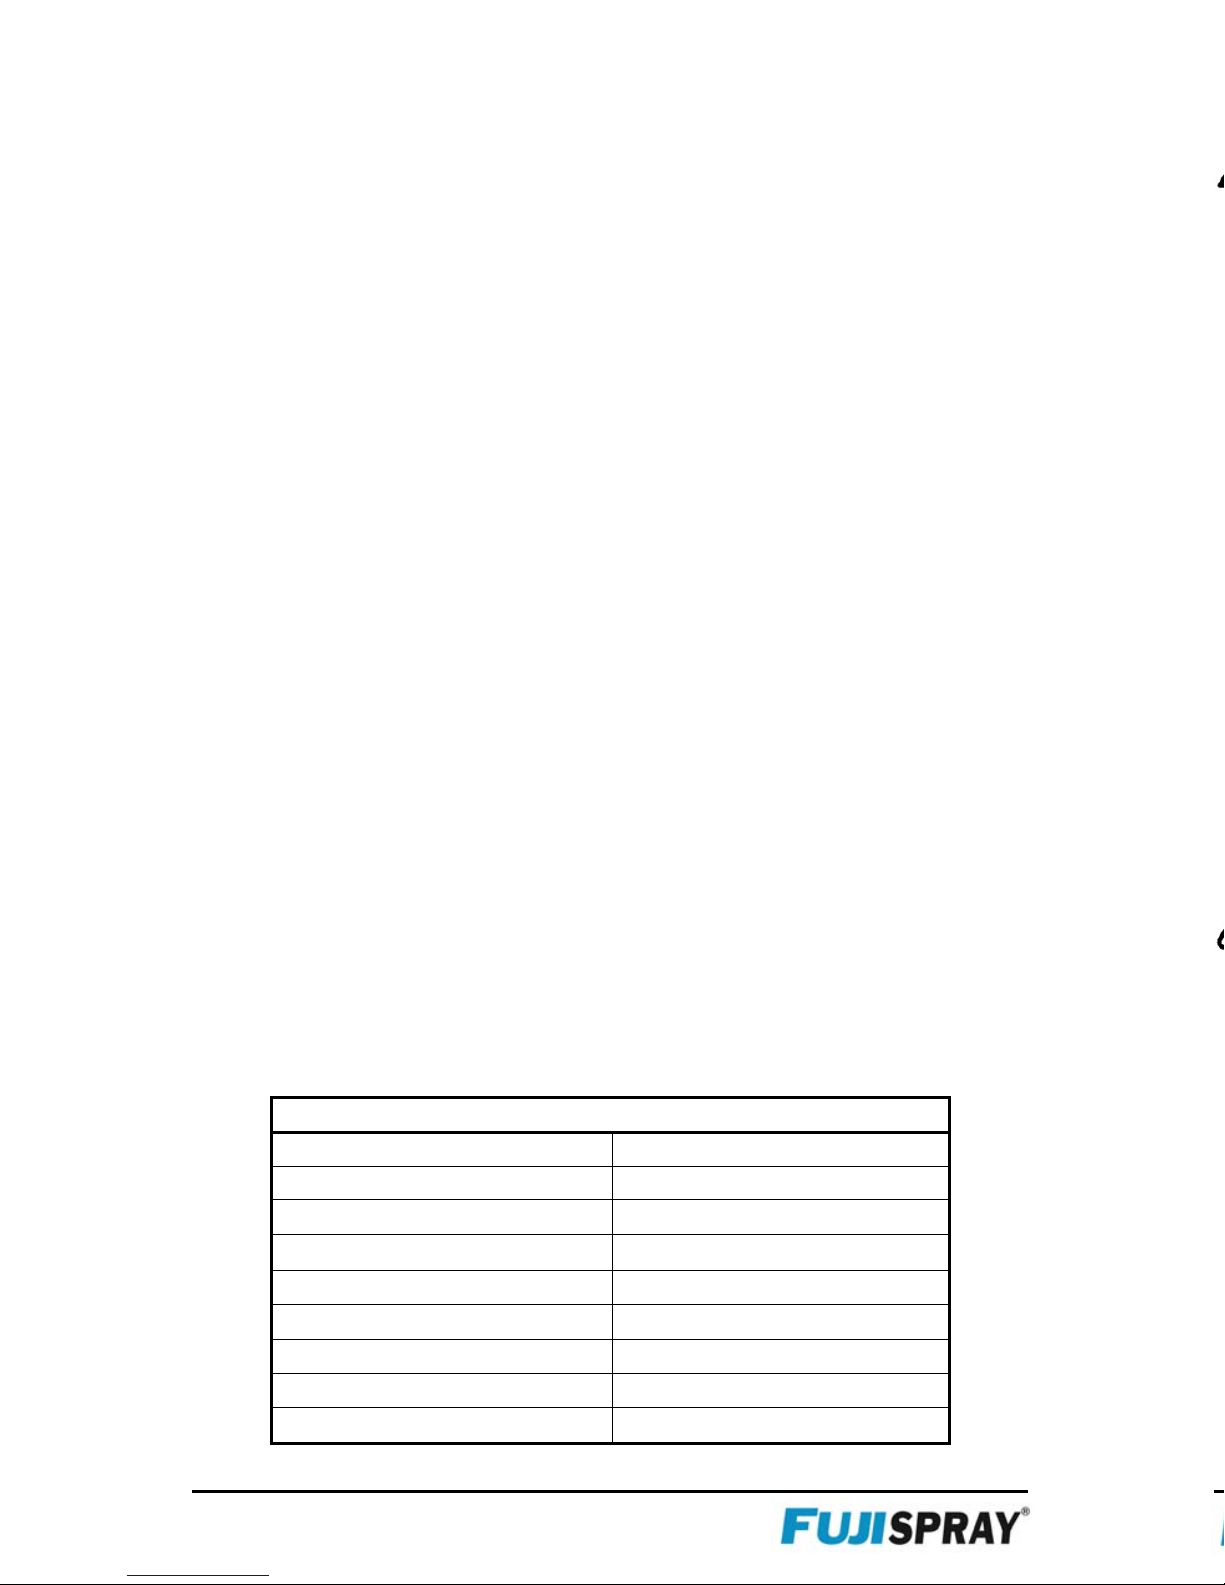
SPECIFICATIONS
AirSupplyPressure 26PSIatguninlet(1.8bar)
AirInletSize 1/4“BSPandNPS
AirSupplyHoseWidth 5/16”ID
FluidPassages StainlessSteel
FluidCoupler(PressureFeed) 3/8”x19P
FluidCoupler(Gravity) M16x1.5P
Airconsumption 15.2cfm
StandardAirCapSet 1.4mm
GunWeight(WithoutCup) 502g
Page2of20
Pleasereadtheseinstructionsbeforeusingtheequipment
FIREANDEXPLOSIONHAZARD
Equipmentmustnotbeusedinanareacontaminatedbyvolatileor
flammablematerials.Thiscouldignitethecontaminantscausinga
dangerousexplosion.
∙Donotsprayflammableorcombustiblematerialsnearanopenflame
orsourcesofignitionsuchascigarettes,motors,andelectrical
equipment.
∙Neveruse1,1,1‐trichloroethane,methylenechloride,other
halogenatedhydrocarbonsolventsorfluidscontainingsuchsolventsin
equipmentwithaluminumwettedparts.Suchusecouldresultina
seriouschemicalreaction,withthepossibilityofexplosion.Consultyour
fluidsupplierstoensurethatthefluidsbeingusedarecompatiblewith
aluminumparts.
∙Keepsprayareawell‐ventilated.Keepagoodsupplyoffreshair
movingthroughthearea.
∙Donotsmokeinthesprayarea.
∙Donotoperatelightswitches,engines,orsimilarsparkproducing
productsinthesprayarea.
∙Keepareacleanandfreeofpaintorsolventcontainers,rags,andother
flammablematerials.
∙Fireextinguisherequipmentshallbepresentandworking.
TOXICFLUIDORFUMESHAZARD
Toxicfluidsorfumescancauseseriousinjuryordeathifsplashedin
theeyesoronskin,inhaled,orswallowed.
∙ReadMSDS(MaterialSafetyDataSheet)toknowthespecifichazards
ofthefluidsyouareusing.
∙Alwayswearappropriateglovesandeyeprotection.
∙Alwaysweararespirator.Readallinstructionsoftherespiratorto
ensurethatitwillprovidethenecessaryprotectionagainstthe
inhalationofharmfulvapors.Alsocheckwiththelocaljurisdiction.
∙Paint,solvents,insecticidesandothermaterialsmaybeharmfulif
inhaled.
∙Storehazardousfluidinapprovedcontainers,anddisposeofit
accordingtoapplicableguideline.
∙Donotstopordeflectfluidleakswithyourhandorbody.