Connecting to Internet:
5
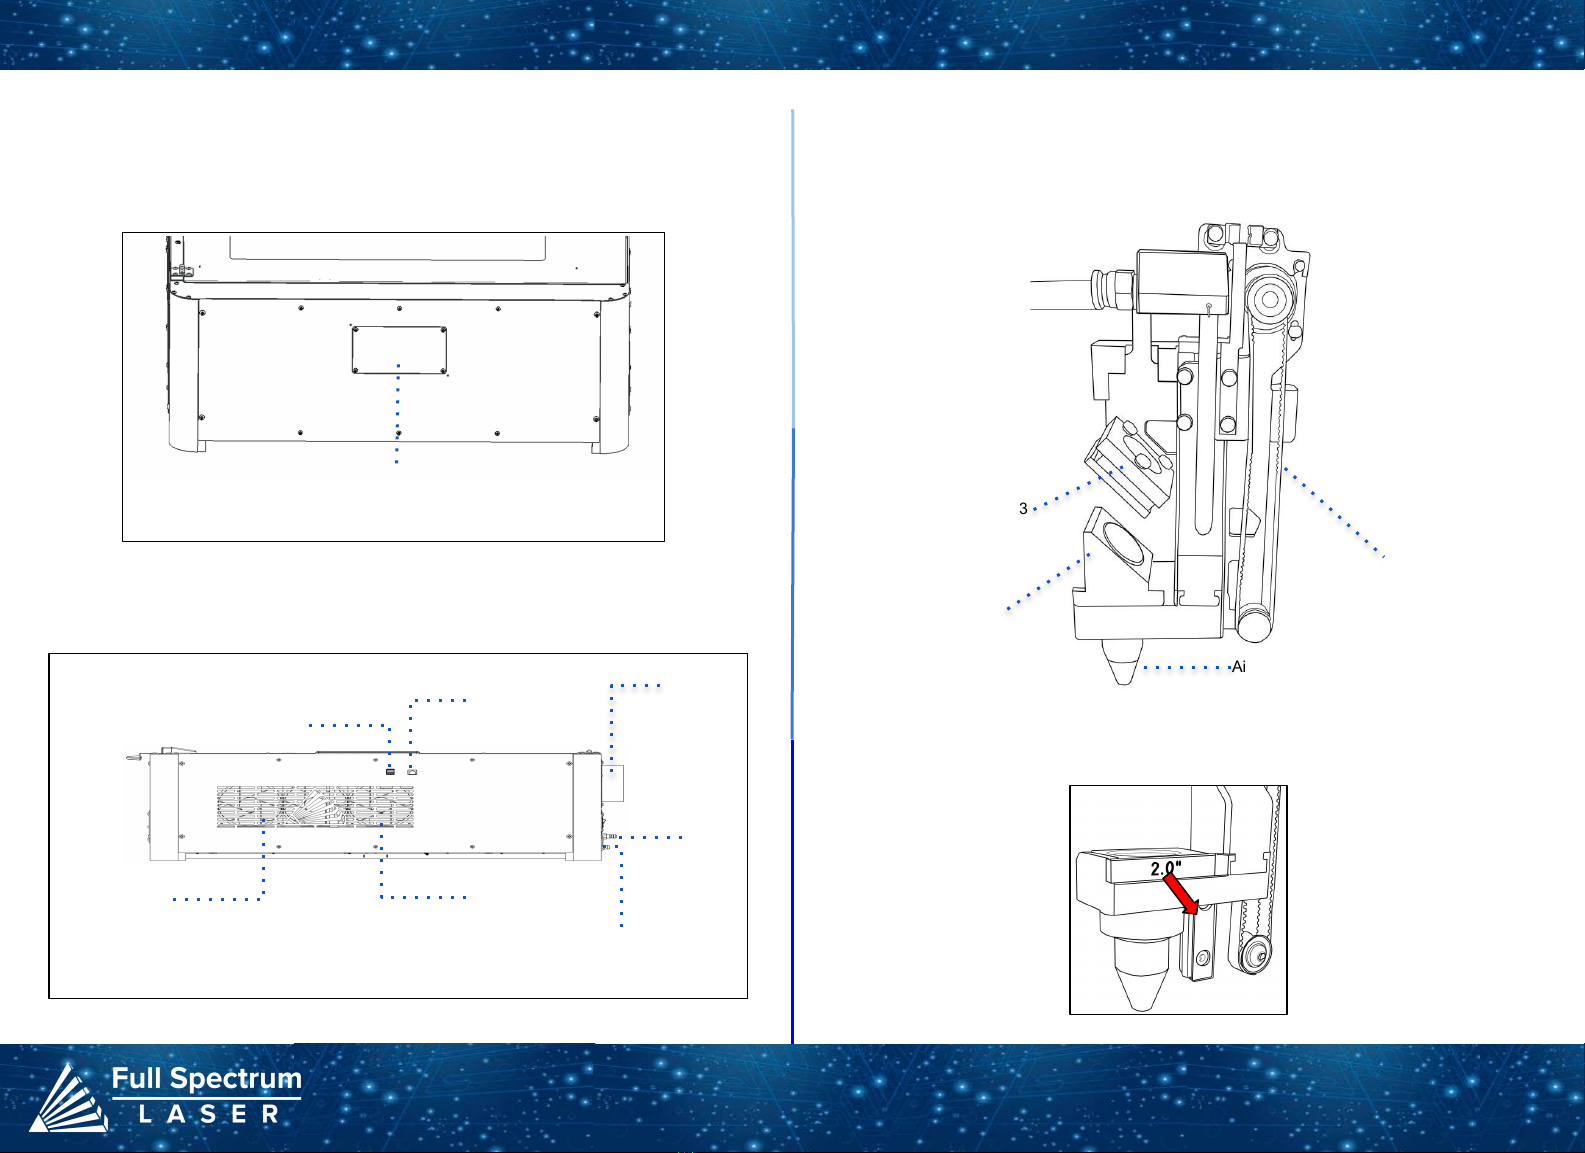
Focusing:
There are two ways to use the autofocus feature on your machine. The first method
involves pressing the autofocus button on the touchscreen. The second method requires
accessing the autofocus icon located under the Jog Controls Tab in RE3.
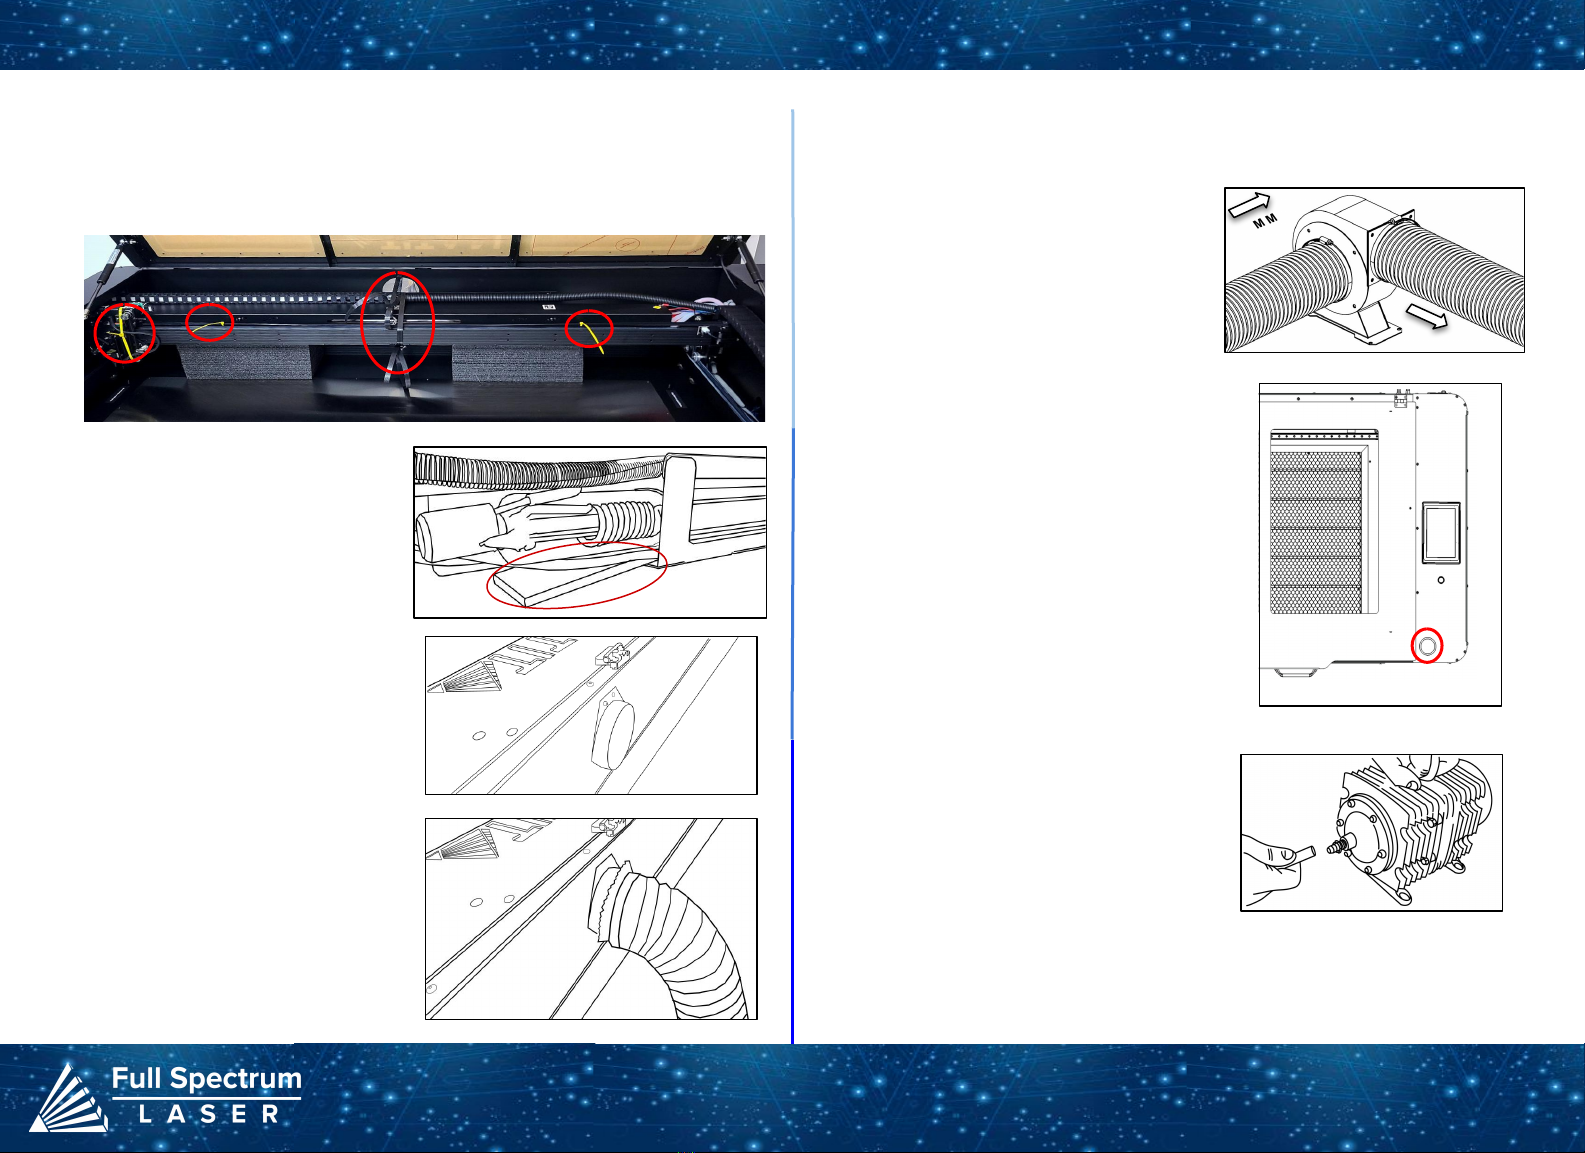
If your machine is experiencing excessive shaking or vibrations during autofocusing, it may
be necessary to adjust the machine's stallguard component.
What is Stallguard?
The stallguard is a crucial component in the machine that regulates the amount of tension
it can handle before coming to a stop. We want your machine to detect the material and
move towards its focus distance. However, if the stalling value is too low, the machine may
hit the material and cause damage.
How to Adjust Stallguard?
To adjust the stallguard, follow these steps:
1. Connect to the Setup Page: Access the software's Setup page by using the
format IP address/setup (e.g., 000.000.00.000/setup).
2. Select the Laser Tools Tab: Once in the Setup window, locate and select the
Laser Tools tab.
3. Locate the Set Motor Type Section: Look for the Z-axis settings and navigate to
the Autofocus Stall Guard Value.
4. Adjust the Value: Change the Autofocus Stallguard Value as needed.
Adjusting the Stallguard:
Connect Via Router (Recommended):
To establish a reliable link to RE3, it is recommended to connect the Fiber
Galvo to the router. The Fiber Galvo is equipped with an ethernet cable that
should be plugged into the ethernet ports of both devices
Note: Ethernet port looks the same on all devices
Fig. 18
Connect to Wi-Fi:
Make sure that the dongle, a device attached to the USB port of your machine,
is present and connected as it enables your machine to connect to the WiFi
network.
Fig. 19
1. To connect to the WiFi network, select the Network button located
on the top right of the Touchscreen.
2. Then, choose the WiFi option and search for your network. Once
you have located your network, select it and enter your password.
Connecting Directly Using Computer:
This option is only advisable when the other two methods are not possible.
The Fiber Galvo can connect to the computer through Ethernet, but an
adapter might be required for your computer.