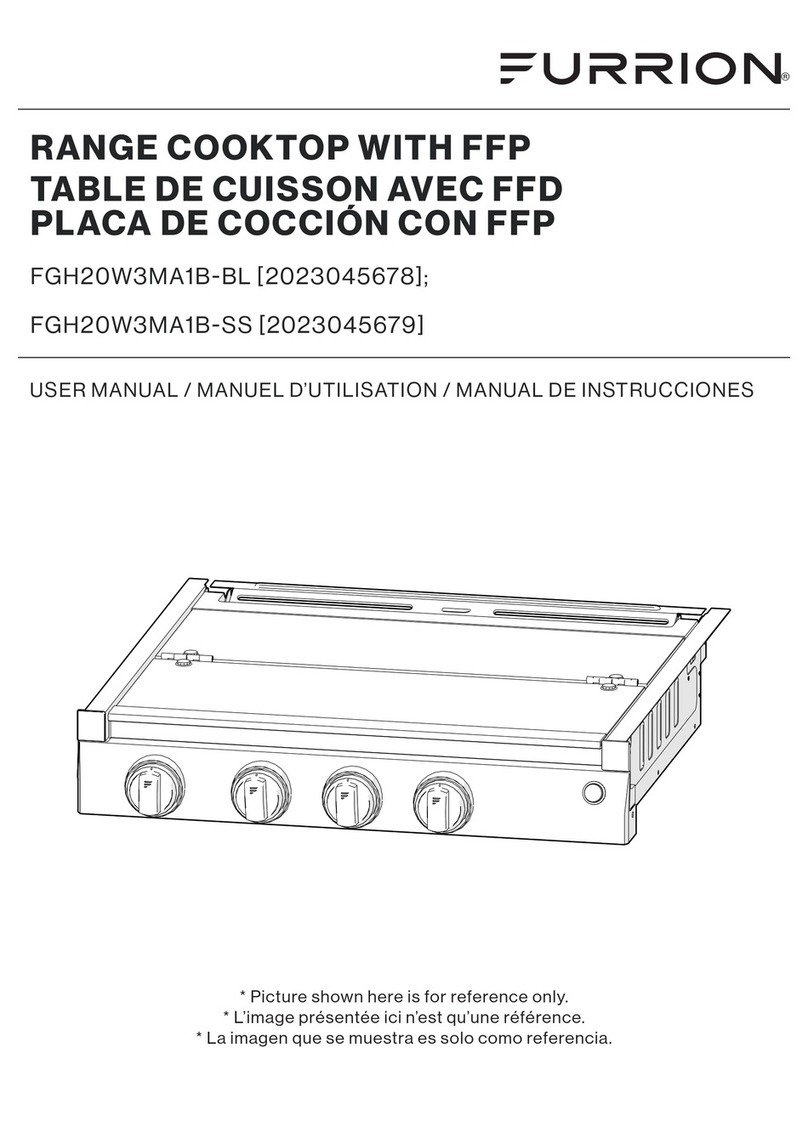
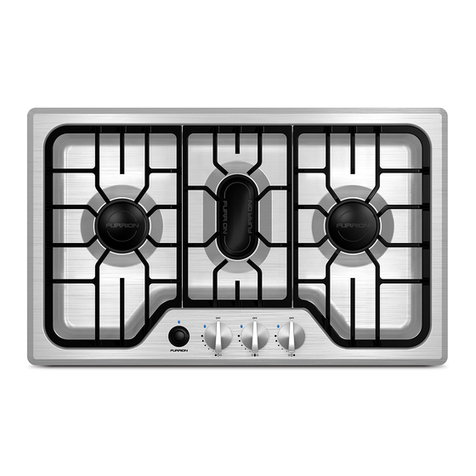
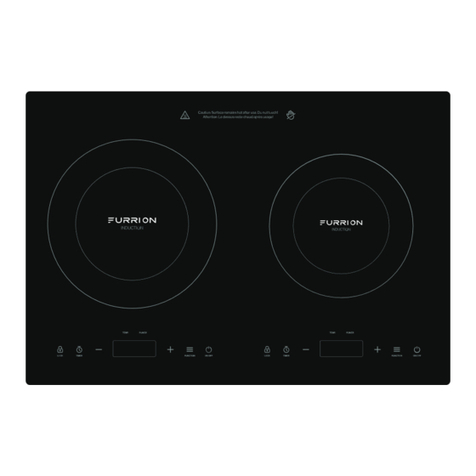
Furrion FGHD4L2R-SS User manual
Other Furrion Cooktop manuals
Furrion
Furrion FIH2ZEA-BG User manual
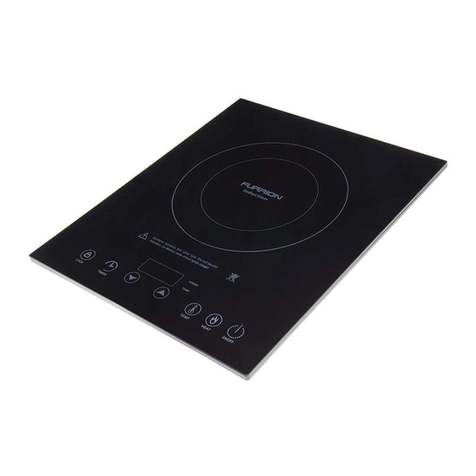
Furrion
Furrion FIH1ZEA-BG User manual
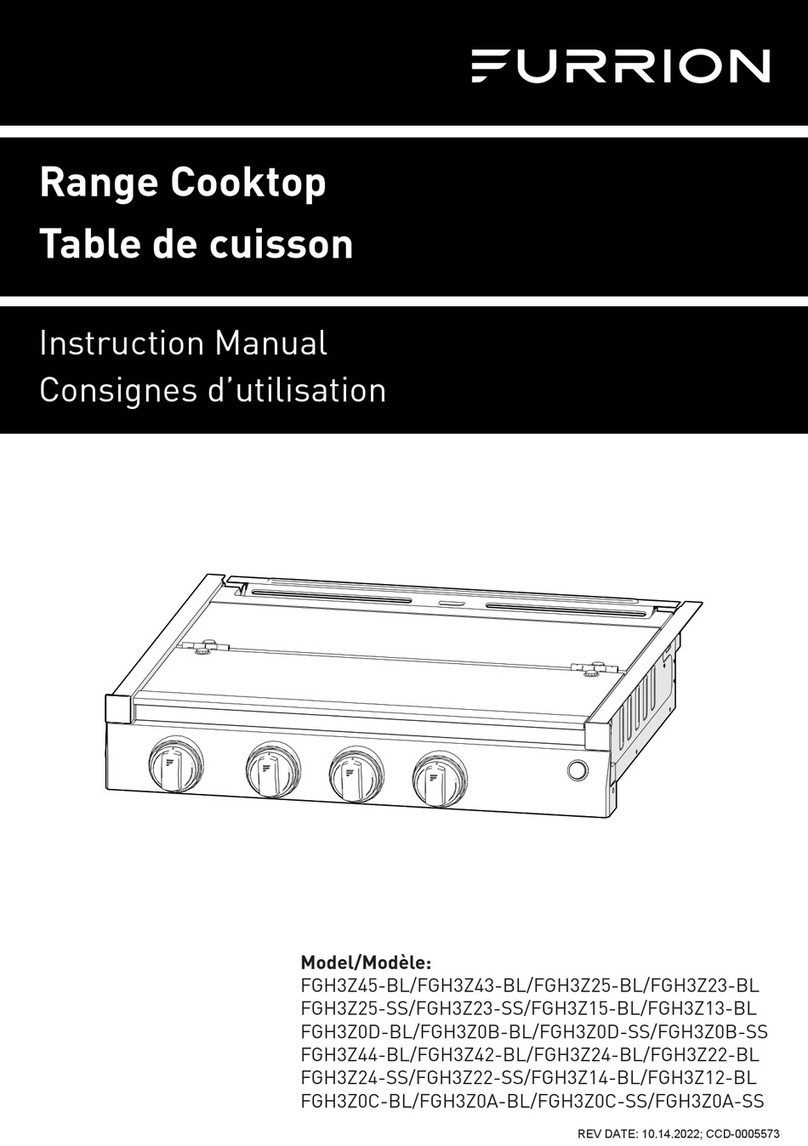
Furrion
Furrion FGH3Z45-BL User manual
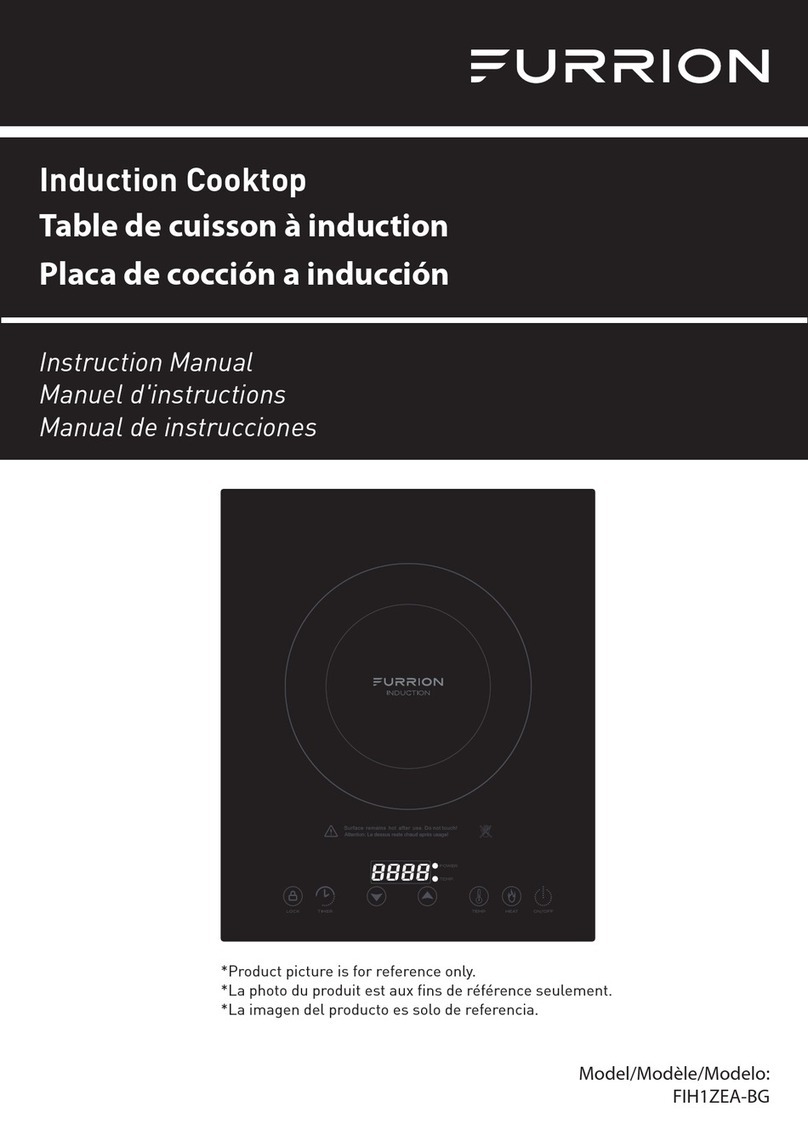
Furrion
Furrion FIH1ZEA-BG User manual
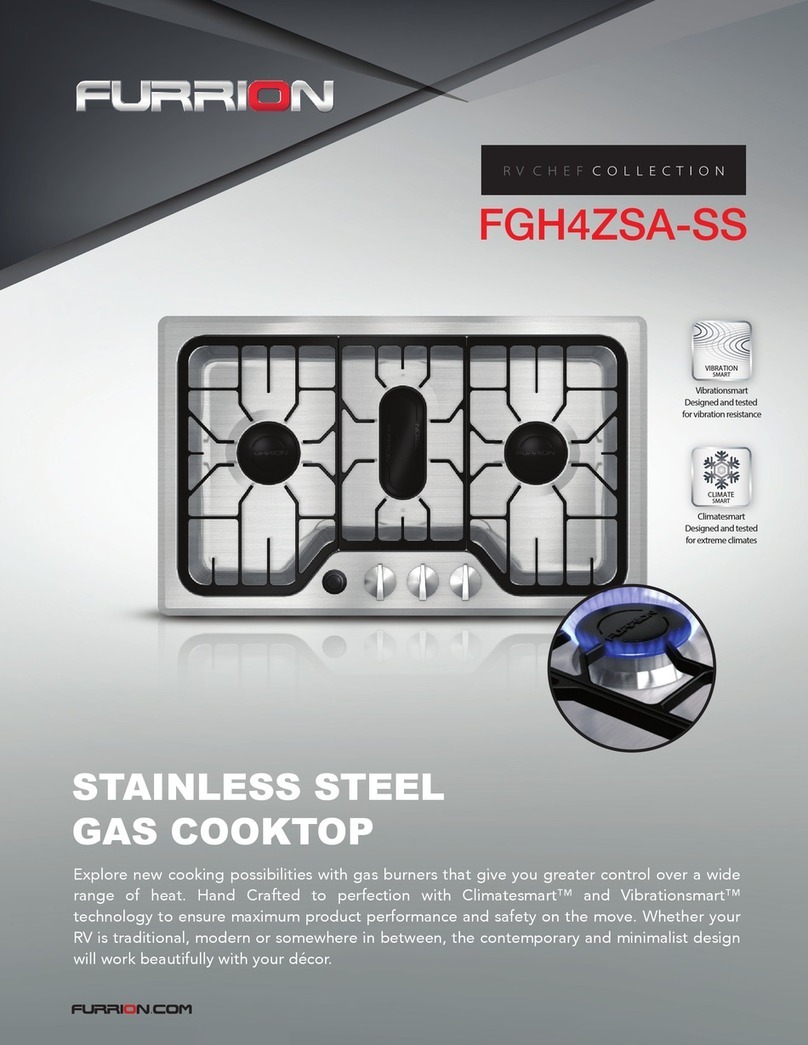
Furrion
Furrion FGH4ZSA-SS User manual
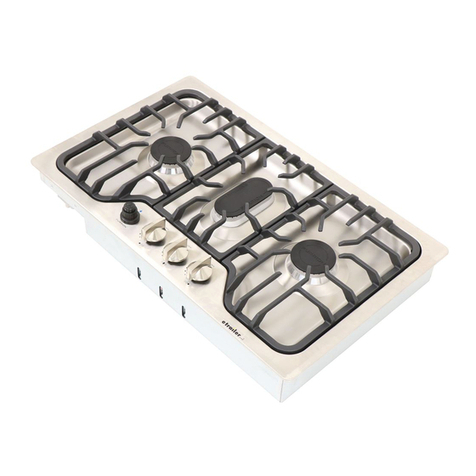
Furrion
Furrion Chef FGHMSA3DA-SS User manual

Furrion
Furrion FGHD4L2R-SS User manual
Furrion
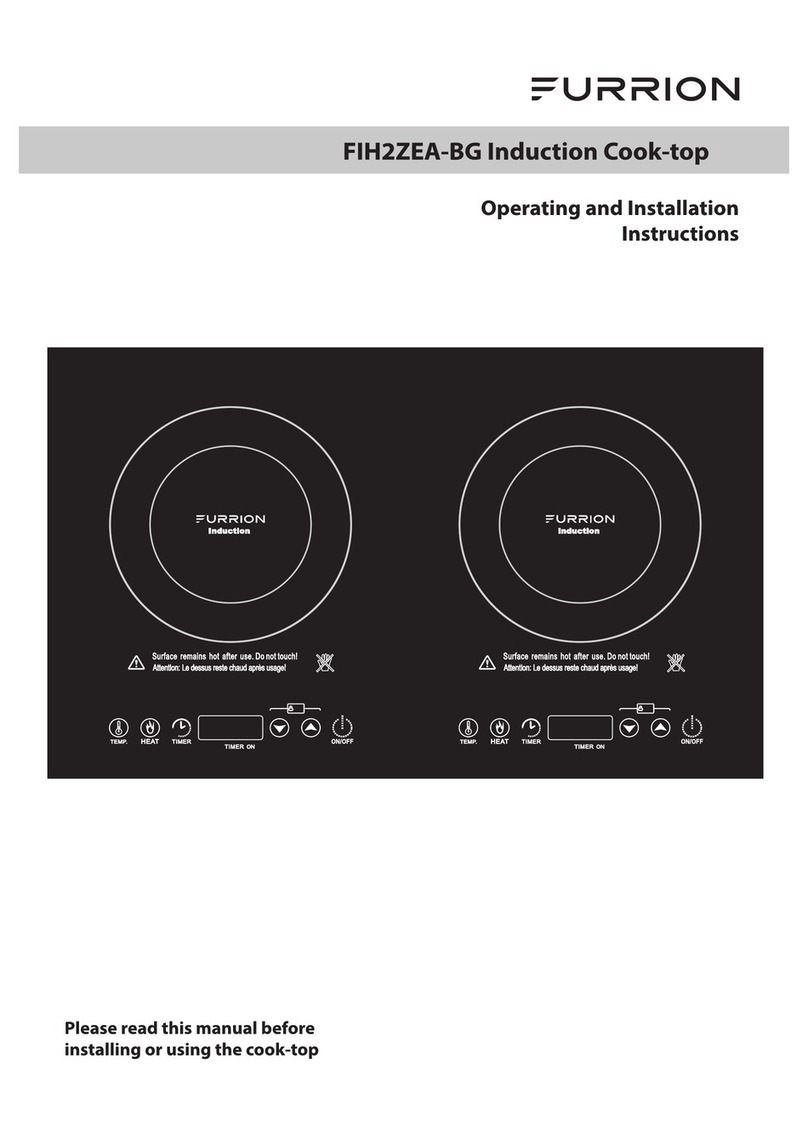
Furrion FIH2ZEA-BG User manual

Furrion
Furrion FGHWCLDA-BL User manual

Furrion
Furrion Greystone GGH12D2MA1B-BL User manual
Popular Cooktop manuals by other brands

Bonnet
Bonnet OPTIMUM 700 Technical instructions

Jenn-Air
Jenn-Air JGCP430 installation instructions

Frigidaire
Frigidaire FES367FCC Wiring diagram

Ztove
Ztove EZ2 DUO instruction manual

Kleenmaid
Kleenmaid cooking GCTK9011 Instructions for use and warranty details

Jenn-Air
Jenn-Air JGC2536EB00 Use & care guide

