Explanation of Symbols
WARNING
Indicates a potentially hazardous situation which, if not avoided, could
result in death or serious injury.
CAUTION
Indicates a potentially hazardous situation which, if not avoided, may
result in minor or moderate personal injury, or property damage.
This manual has safety information and instructions to help you eliminate or
reduce the risk of accidents and injuries. Always respect all safety warnings
identified with these symbols. A signal word will identify safety messages and
property damage messages, and will indicate the degree or level of hazard
seriousness.
DANGER
Indicates an imminently hazardous situation which, if not avoided, will result
in death or serious injury.
Important Safety Instructions
●Read all instructions before using the cooktop.
●When using this electrical appliance, basic safety precautions should
always be followed. For this induction cooktop, even with the built-in safety
features, it is essential to observe all safety precautions.
●Installation of the appliance into a kitchen countertop and its connection to
the main power and electrical supply may only be performed by a qualified
technician.
●While cooking with fat or oil on the cooktop there is a risk of burning or fire;
therefore, never leave the cooktop unattended at any time.
●When the cooktop is on, or after the cooktop has been turned off, do not
touch outside the control panel as the surface may contain residual heat.
●To protect against electric shock, do not immerse cord plugs or cooktop in
water (or other liquid).
●When using any electric appliance around children, close supervision is
required.
●Do not operate any appliance with a damaged cord or plug.
●Do not cook on a broken or damaged cooktop as spillovers may penetrate
surface and create a risk of electric shock.
●To avoid potential injury, do not use accessory attachments which aren’t
recommended by the manufacturer.
●This induction cooktop is designed for household use only.
●Do not let the cord dangle over the edge of a table or counter. Keep the
cord away from hot surface.
●Do no place cooktop on or near a hot gas, electric element or in a heated
oven.
●Avoid preparing food in aluminum foil or plastic containers over the hot
induction heater areas.
●Do not store and temperature-sensitive objects, materials, or substances
underneath the cooktop, such as detergents and sprays etc..
●To prevent accidents and achieve optimal fan ventilation, allow for
sufficient space around the cooking area.
●Items with a magnetic field such as: radios, televisions, credit cards,
cassette tape etc., can be affected by the cooktop.
●The marked electrical rating of the cord should be at least as great as the
electrical rating on the cooktop.
●The cord should be arranged so that it will not drape over the countertop
or tabletop where it can be pulled on by children or tripped over.
●Do not use with empty pans/pots.
●Do not use cooktop for use other than directed by the manufacturer.
●Wear proper apparel - loose fitting or hanging garments should never be
worn while using the cooktop.
●In case of cooktop failure, immediately disconnect the cooktop from the
main power source and contact the manufacturer.
●Do not place metallic objects such as knives, forks, spoons, lids, cans or
aluminum foil on the cooktop.
●It is important to be aware that the cooktop’s surface will remain hot for a
period of time after use.
●When possible, unplug the cooktop from the outlet when not in use and
before cleaning. Allow it to cool down before performing any maintenance
or repairs.
●Clean cooktop with caution - do not clean while cooktop is still hot, some
cleaners produce steam or fumes if applied to a heated surface.
●Do not store items of interest to children in cabinets above the cooktop or
on the backguard of a cooktop - children climbing on the cooktop to reach
items may get seriously injured.
●Do not repair or replace any part of the cooktop unless specifically
recommended in the manual. All other services should be referred to a
qualified technician.
●Use only dry potholders - Moist or damp potholders on hot surfaces
may result in burns from steam. Do not use a towel or other cloth.
●Use proper cookware size - Choose cookware with a flat bottom large
enough to cover the cooktop heating surface. The use of undersized
cookware will expose a portion of the heating surface where direct
contact may be made and cause serious injury. Compatible cookware is
necessary to operate properly.
●Protective liners - Do not use aluminum foil to line induction heat areas,
drip bowls or oven bottoms; except as suggested in the manual. Improper
use of these liners may result in a risk of electric shock or fire.
●To reduce risk of burns, ignition of flammable materials, and spillage due
to unintentional contact with cookware, the cookware handles should be
turned inward and not extend over adjacent heating surface.
●Do not use steam cleaners or high pressure cleaners to clean the cooktop,
as this may result in electric shock.
●Do not touch induction heater area or areas near cooktop -
induction heater areas may be hot even though they are dark in color.
Areas near induction heater areas may become hot enough to cause
burns. During and after use, do not touch, or let clothing or other materials
contact the flammable contact the induction heater area or areas near the
units until they have had sufficient time to cool.
NOTE: This product should not be thrown away as household waste.
Instead it should be handed over to the applicable collection point for the
recycling of electrical and electronic equipment. By ensuring this product is
disposed of correctly, you will help prevent potential negative consequences
to the environment and human health, which could otherwise be caused by
inappropriate waste handling of this product. For more detailed information
about recycling of this product, please contact your local city office, your
household waste disposal service or the store where you purchased the
product.
SAVE THESE INSTRUCTIONS FOR FUTURE
REFERENCE!
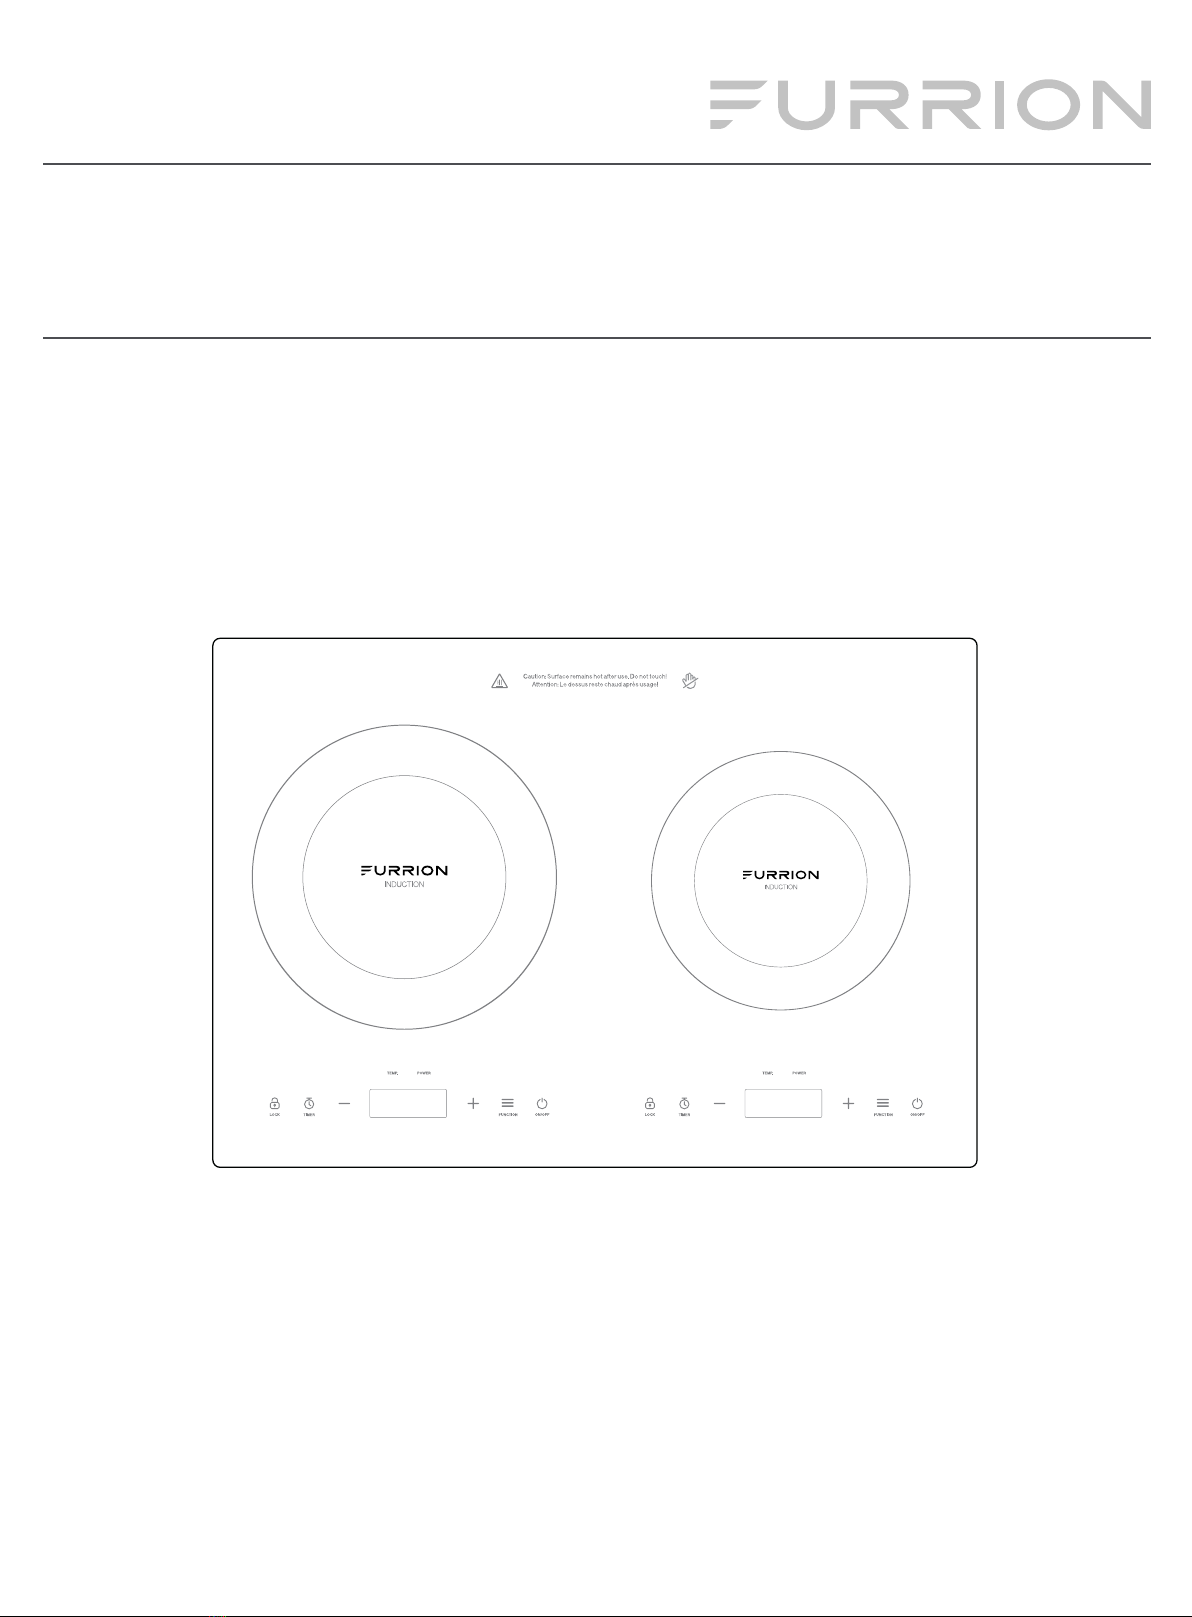
About Induction Cooking
●Induction cooking is a safe, advanced, and efficient cooking technology. Instant heat is generated by electromagnetic induction directly at the cookware
bottom, rather than indirectly through heating the glass surface. The glass becomes hot only because the cookware warms it up.
●Our induction cooktop has been tested and complies with Part 18 of the FCC Rules for ISM equipment. Product meets the FCC requirements to minimize
interference with other devices.