manuals.online logo
Brands
  1. Home
  2. •
  3. Brands
  4. •
  5. FUTABA
  6. •
  7. Accessories
  8. •
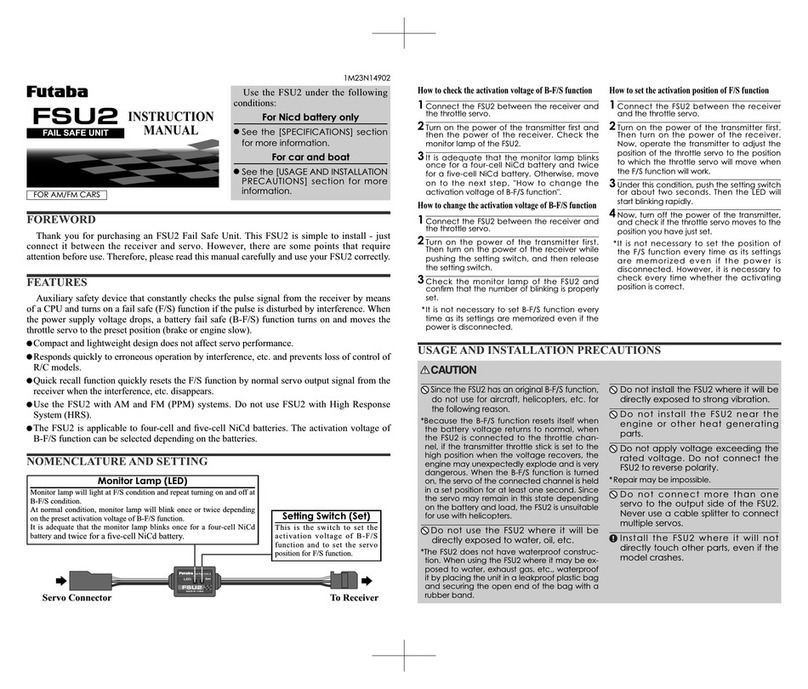
  9. FUTABA SBS-01TAS User manual

FUTABA SBS-01TAS User manual

用途 : 対気速度センサー
測定範囲:[速度]15 ~600km/h
全長:195mm
重量:16g( シリコンチューブとピトー管含む)
電圧 : DC3.7 ~7.4V
SBS-01TAS
ピトー管 カバー
SBS-01TAS
このたびはテレメトリー対気速度センサー
SBS-01TAS をお買い上げいただきありがと
うございます。この SBS-01TAS は、テレメ
トリー受信機との組合せで、飛行機などの対
気速度(機体と大気の相対速度)を計測し送
信機に表示することができます。速度は、ピ
トー管が受ける風の圧力から計測されます。
GPS センサーで計測される対地速度と違っ
て向かい風、追い風の影響のない実質的な機
体の速度を知ることができます。本説明書を
よく読んで、正しい使い方により、末永くお
楽しみください。
テレメトリー対気速度センサー
1M23N26737
LED 表示
スロット No. 設定
動作確認と注意事項
設置方法
取扱説明書 緑点灯 -- 正常動作時
赤点灯 -- 無信号時
緑/赤点灯 -- スロット No. 設定時
緑/赤点滅 -- 異常時
(電源再投入で回復しない場合は、サービスにお問
合せください。)
スロットナンバーは初期設定で開始スロット 16 に
設定されています。対気速度センサーは 1個のス
ロットを使用します。対気速度センサーで開始ス
ロットとして使用できるのは、1~31 です。
スロットナンバーの変更や表示方法、アラームの
設定などはテレメトリー対応送信機の説明書をご
参照ください。
●
このSBS-01TASは、Futaba製
テレメトリー送受信機に対応します。
■双葉電子工業(株)
ラジコンカスタマーサービス
〒299-4395 千葉県長生郡長生村藪塚 1080
 TEL.(0475)32-4395
受信機
機体の進行方向に取り付け
カバーは飛行時に取り外す
ピトー管
バッテリー
S.BUS2
ポートへ
静圧はSBS-01TASセンサー本体
で計測していますので、風があた
らない場所に設置してください。
動圧を計測しているピトー管は
進行方向と平行に、ピトー管の
先端は主尾翼や胴体から15mm
以 上 離して設 置してください。
破損の原因となりますので絶対に
ピトー管の先端を口で吹かない
でくだ さ い 。
飛行前にピトー管先端にゴミが
詰まっていないことを確認してく
ださい。
警告
SBS-01TAS は必ずテレメトリー機能付
Futaba 受信機の S.BUS2 ポートに接続して
使用する。
■従来の S.BUS ポート、CH 出力ポートに接続し
ても動作しません。
コネクターの極性に注意する。
■逆接すると故障や配線からの発火の恐れがあり
ます。
センサー部は防振対策を行って機体に取
付ける。
■直接振動を受けると故障する恐れがあります。
配線ケーブルは機体搭載時、引っ張られた状
態ではなく、多少余裕があるようにする。
■ケーブルが引っ張られた状態だと、振動により、
配線切れやコネクター抜けによる、動作不良の
恐れがあります。
組立後は必ず動作検査を行う。
■検査が終わるまでは飛行させないでください。
ピトー管、シリコンチューブは付属のもの
を使用する。
■径が合わないと脱落する可能性があります。
エンジンの排気がかかったり、高熱を受け
る場所へは取付けない。
■排気や高熱を受けると故障する恐れがあります。
燃料や水分をかけてはいけない。
■基板部には電子部品が使用されています。燃料
や水分がかかると故障します。
ラジコン模型以外には使用しない。   
■SBS-01TAS はホビーラジコン用に設計されて
います。その他の用途には一切使用できません。
シリコンチューブ
機体にあわせてカットします。
ピトー管はプロペ
ラ後流の当たらな
い位置に設置して
ください。
ジェット機やグライ
ダーの搭載位置例
ピトー管の先端は
主尾翼や胴体から
15mm 以上離して
設置してください。
1. 図を参考にして SBS-01TAS を受信機に接続
してください。
2. ピトー管のカバーを取り外した状態で、受
信機の電源を ON にした後、SBS-01TAS の
LED が緑色に点灯していれば正常に動作し
ています。送信機の画面表示も確認してくだ
さい。
●受信機の電源 ON 直後は、SBS-01TAS の圧
力センサーを初期化しているため、LED が
赤点灯します。圧力センサーが初期化された
後に LED が緑点灯に変わり、送信機の画面
に0km/h が表示されます。
●受信機の電源 ON 直後の初期化中(数秒間)
は、センサー本体およびピトー管に風をあて
ないようにしてください。
●SBS-01TAS は、電源 ON 直後の全圧と静圧
の圧力差(動圧)をもとに対気速度を計算し
ています。この初期化中に SBS-01TAS セン
サーを動かしたり、ピトー管に風があたると、
停止時の圧力差が正しく測定(初期化)でき
ず対気速度が正しく測定できなくなります。
●SBS-01TAS は、圧力差を基に対気速度に換
算しているため気象条件や取付状態による圧
力変動によっては正しく速度表示されない場
合があります。
1. SBS-01TAS を受信機の S.BUS2 ポート
(S.BUS2)に接続します。
2. SBS-01TAS 本体は、振動が少なく、風のあた
らない場所に固定します。振動で動くことがな
いようしっかりと固定してください。貼り付け
には両面テープなどで固定してください。
3. ピトー管をプロペラ後流などがあたらない場所
に、機体の飛行方向に平行に取り付けます。
4. シリコンチューブでピトー管とセンサー本体を
接続してください。シリコンチューブは機体に
あわせてカットしてください。シリコンチュー
ブが折れないように注意してください。
双葉電子工業株式会社 デバイス営業センター ホビーラジコン営業部 第一営業課 
〒101-0045 東京都千代田区神田鍛冶町 3-4 oak 神田鍛冶町 8階TEL:03-4316-4819 FAX:03-4316-4823 ©FUTABA CORPORATION 2018 年5月 第 1版
ヘリコプターに使用する場合はローターの
ダウンウォッシュの影響が大きく正確に計
測できない場合があります。
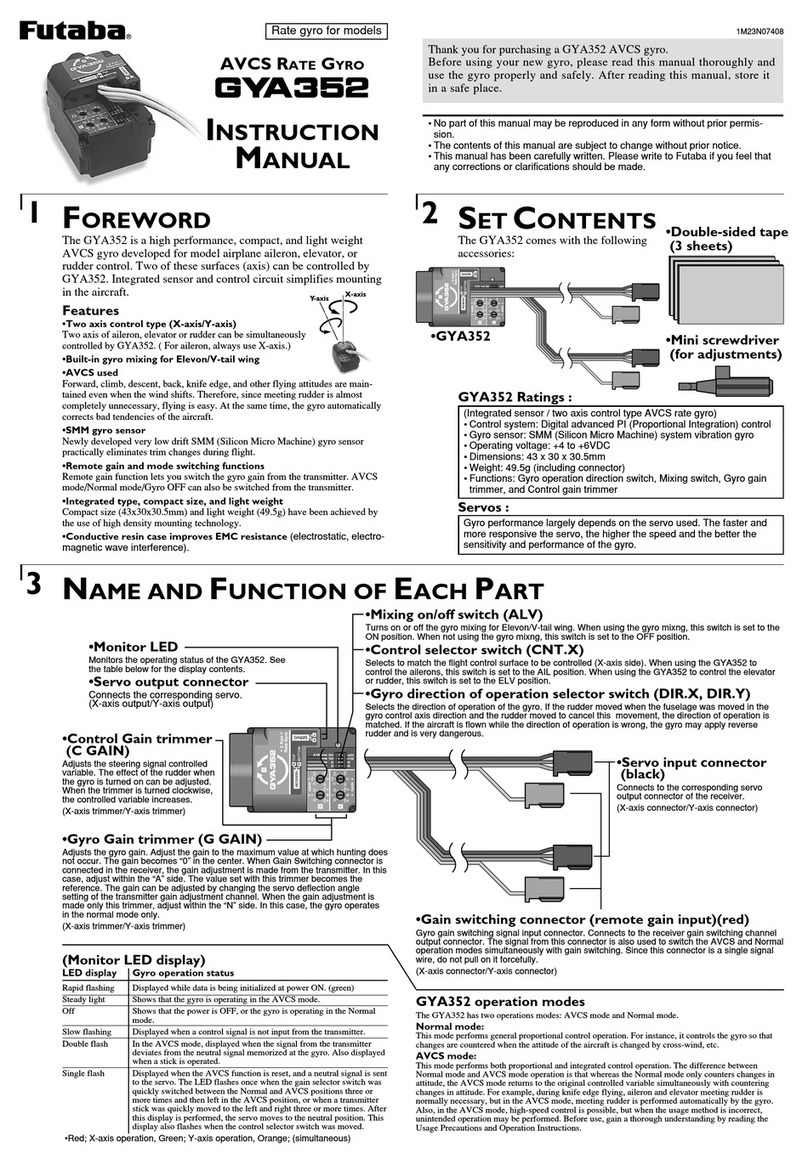
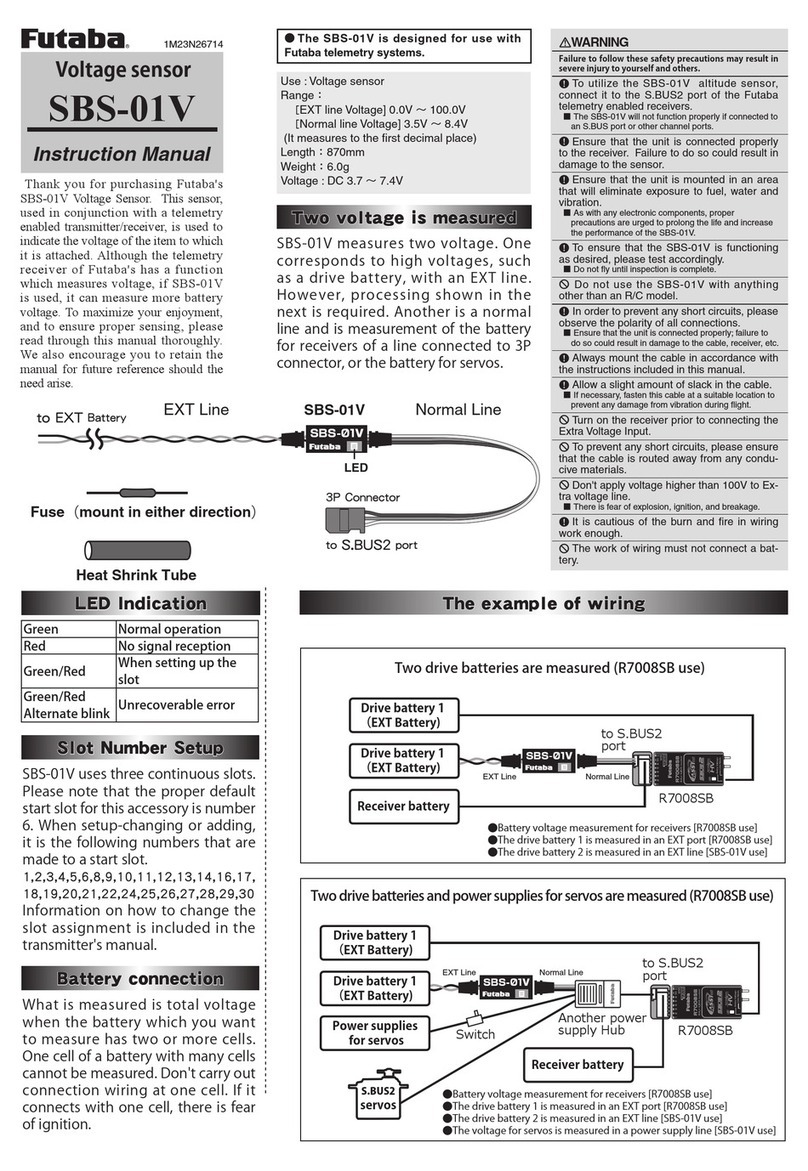
Operation Check
LED Indication
Slot number setup
Installation Method
Initial setting of the slot # of the SBS-01TAS is
"16". This sensor uses one slot. For changing
the assignment of the slot #, please refer your
transmitter's manual.
1. Connect the SBS-01TAS sensor to the receiver’s
S.BUS2 port.
2. Install SBS-01TAS inside the aircraft away from
wind turbulence and vibration. Mount the sensor
unit using double sided tape or equivalent.
3. Install the Pitot tube horizontally and pointing
toward the front of the model. Be sure to mount
the Pitot tube where it will not be affected
by propeller slipstream. Mount securely and
horizontal, pointing forward. The Pitot tube tip
must be placed at least 15mm away from the
leading edge of the wing. Be sure to occasionally
check the Pitot tube for obstruction.
4. Connect the SBS-01TAS main unit to the Pitot
tube using the supplied silicone tube. Cut the
length of the silicon tube according to the
aircraft. Be sure the silicone tube is not kinked,
and that any bends do not disturb airow.
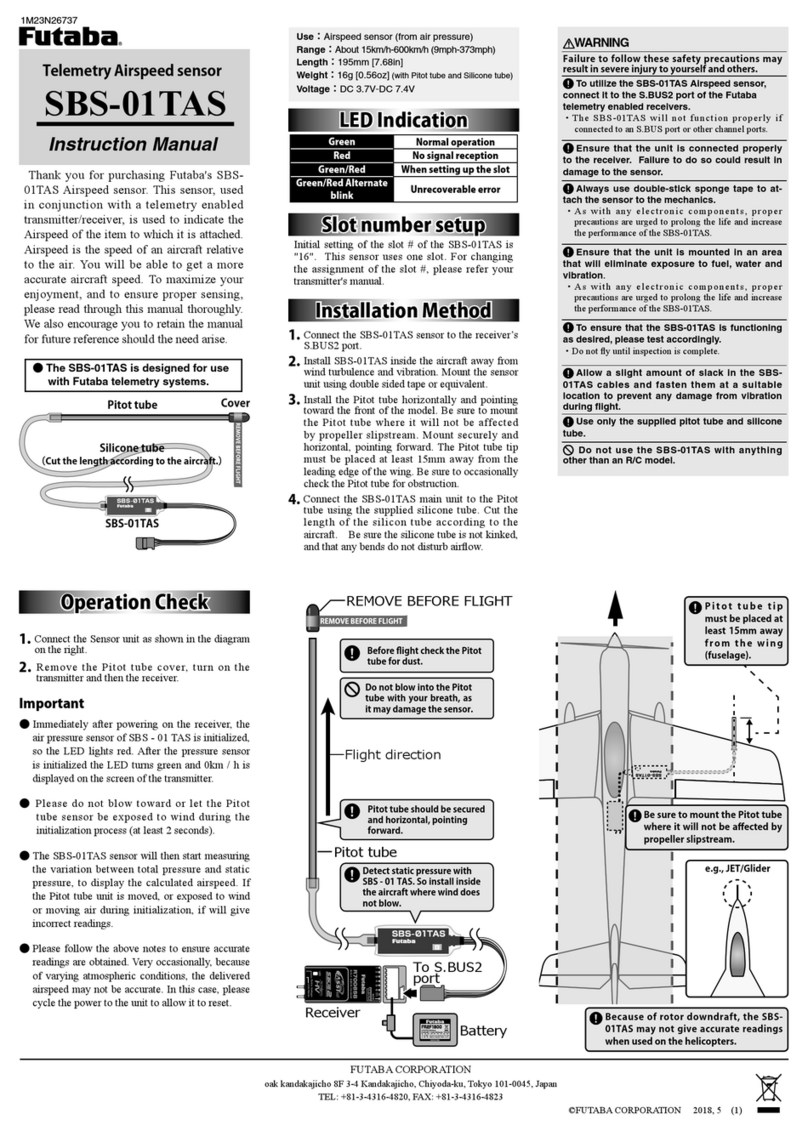
1. Connect the Sensor unit as shown in the diagram
on the right.
2. Remove the Pitot tube cover, turn on the
transmitter and then the receiver.
Important
●Immediately after powering on the receiver, the
air pressure sensor of SBS - 01 TAS is initialized,
so the LED lights red. After the pressure sensor
is initialized the LED turns green and 0km / h is
displayed on the screen of the transmitter.
●Please do not blow toward or let the Pitot
tube sensor be exposed to wind during the
initialization process (at least 2 seconds).
●The SBS-01TAS sensor will then start measuring
the variation between total pressure and static
pressure, to display the calculated airspeed. If
the Pitot tube unit is moved, or exposed to wind
or moving air during initialization, if will give
incorrect readings.
●Please follow the above notes to ensure accurate
readings are obtained. Very occasionally, because
of varying atmospheric conditions, the delivered
airspeed may not be accurate. In this case, please
cycle the power to the unit to allow it to reset.
SBS-01TAS
Telemetry Airspeed sensor
Instruction Manual
Thank you for purchasing Futaba's SBS-
01TAS Airspeed sensor. This sensor, used
in conjunction with a telemetry enabled
transmitter/receiver, is used to indicate the
Airspeed of the item to which it is attached.
Airspeed is the speed of an aircraft relative
to the air. You will be able to get a more
accurate aircraft speed. To maximize your
enjoyment, and to ensure proper sensing,
please read through this manual thoroughly.
We also encourage you to retain the manual
for future reference should the need arise.
●The SBS-01TAS is designed for use
with Futaba telemetry systems.
WARNING
Failure to follow these safety precautions may
result in severe injury to yourself and others.
To utilize the SBS-01TAS Airspeed sensor,
connect it to the S.BUS2 port of the Futaba
telemetry enabled receivers.
・The SBS-01TAS will not function properly if
connected to an S.BUS port or other channel ports.
Ensure that the unit is connected properly
to the receiver. Failure to do so could result in
damage to the sensor.
Always use double-stick sponge tape to at-
tach the sensor to the mechanics.
・As with any electronic components, proper
precautions are urged to prolong the life and increase
the performance of the SBS-01TAS.
Ensure that the unit is mounted in an area
that will eliminate exposure to fuel, water and
vibration.
・As with any electronic components, proper
precautions are urged to prolong the life and increase
the performance of the SBS-01TAS.
To ensure that the SBS-01TAS is functioning
as desired, please test accordingly.
・Do not y until inspection is complete.
Allow a slight amount of slack in the SBS-
01TAS cables and fasten them at a suitable
location to prevent any damage from vibration
during flight.
Use only the supplied pitot tube and silicone
tube.
Do not use the SBS-01TAS with anything
other than an R/C model.
Green Normal operation
Red No signal reception
Green/Red When setting up the slot
Green/Red Alternate
blink Unrecoverable error
Use:Airspeed sensor (from air pressure)
Range:About 15km/h-600km/h (9mph-373mph)
Length:195mm [7.68in]
Weight:16g [0.56oz] (with Pitot tube and Silicone tube)
Voltage:DC 3.7V-DC 7.4V
1M23N26737
Pitot tube
SBS-01TAS
Cover
Silicone tube
(Cut the length according to the aircraft.)
FUTABA CORPORATION
oak kandakajicho 8F 3-4 Kandakajicho, Chiyoda-ku, Tokyo 101-0045, Japan
TEL: +81-3-4316-4820, FAX: +81-3-4316-4823
©FUTABA CORPORATION 2018, 5 (1)
Because of rotor downdraft, the SBS-
01TAS may not give accurate readings
when used on the helicopters.
Be sure to mount the Pitot tube
where it will not be a󱐯ected by
propeller slipstream.
Flight direction
REMOVE BEFORE FLIGHT
Pitot tube
Detect static pressure with
SBS - 01 TAS. So install inside
the aircraft where wind does
not blow.
Pitot tube should be secured
and horizontal, pointing
forward.
Before flight check the Pitot
tube for dust.
Do not blow into the Pitot
tube with your breath, as
it may damage the sensor.
To S.BUS2
port
Receiver
Battery
e.g., JET/Glider
Pitot tube tip
must be placed at
least 15mm away
from the wing
(fuselage).

Other FUTABA Accessories manuals

FUTABA SBS-01TAS User manual

FUTABA

FUTABA SBS-01TAS User manual

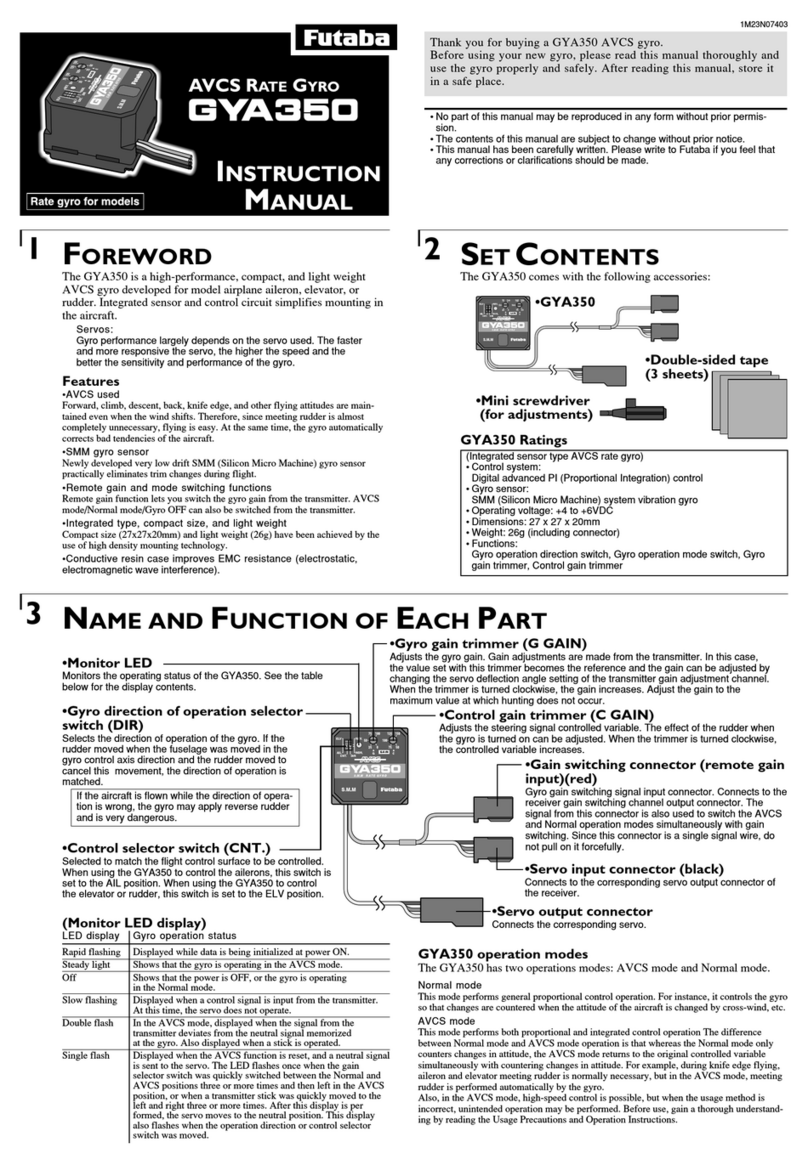
FUTABA GY701 User manual

FUTABA

FUTABA GY701 User manual

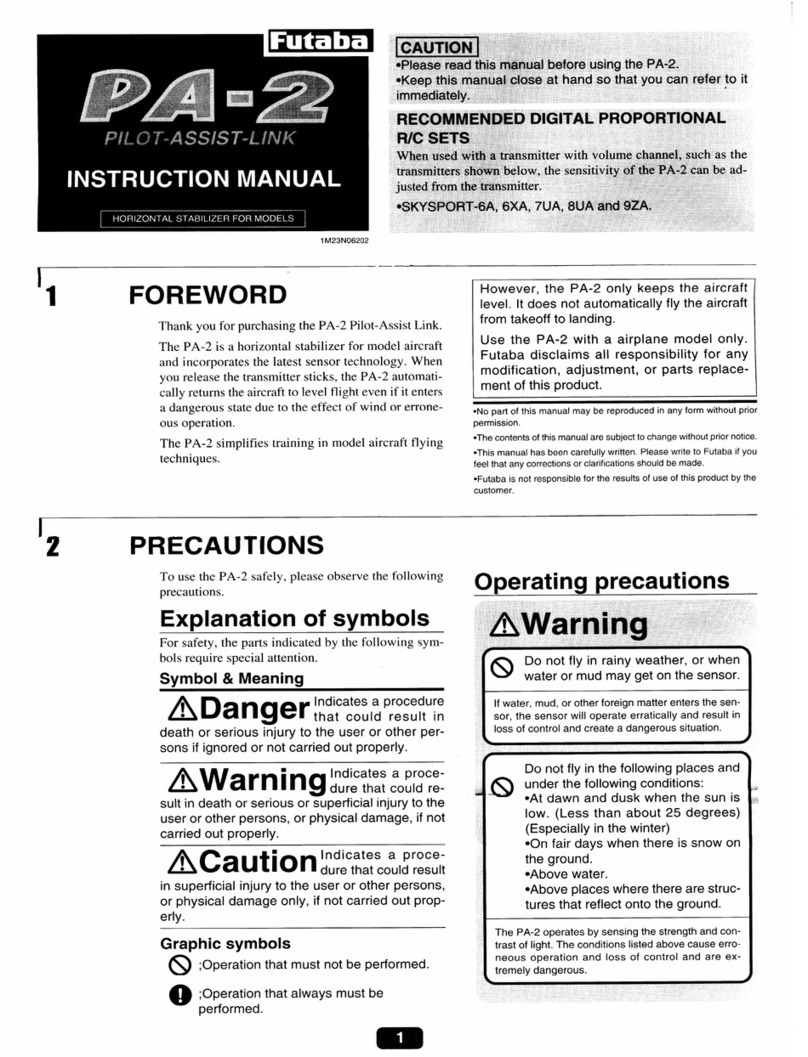
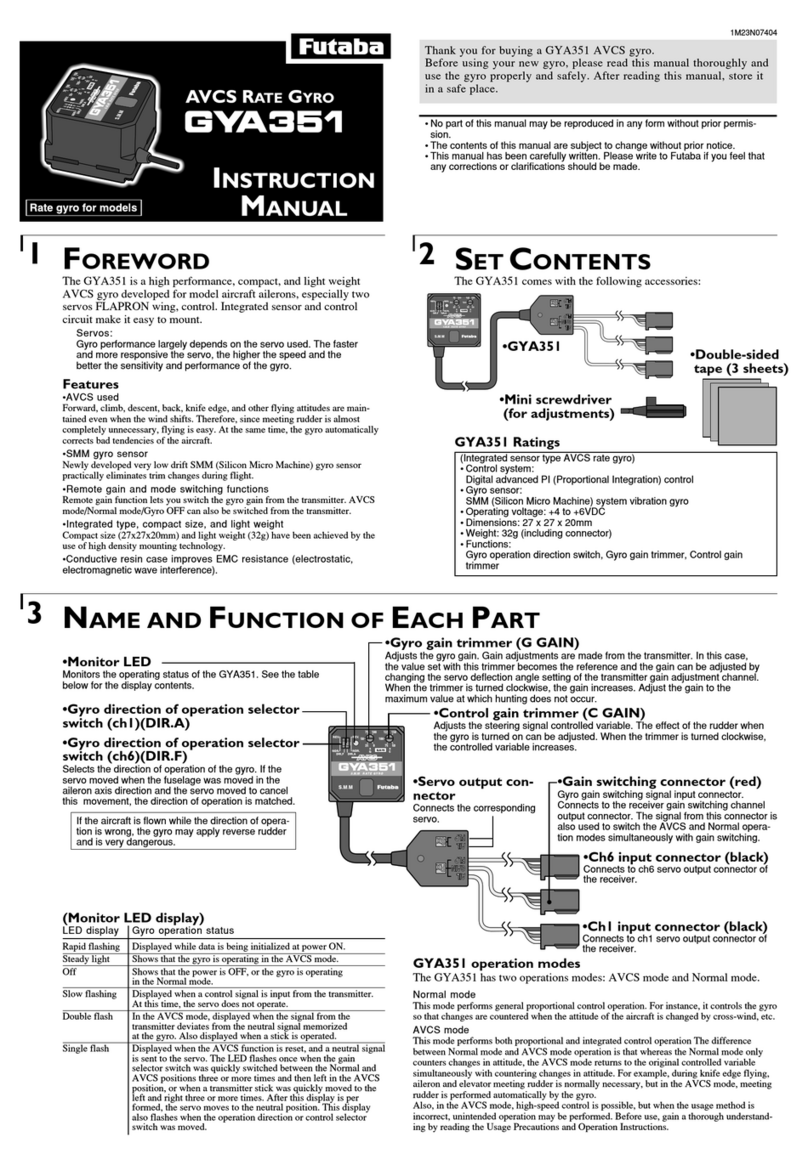
FUTABA GYA352 User manual

FUTABA

FUTABA GYA352 User manual

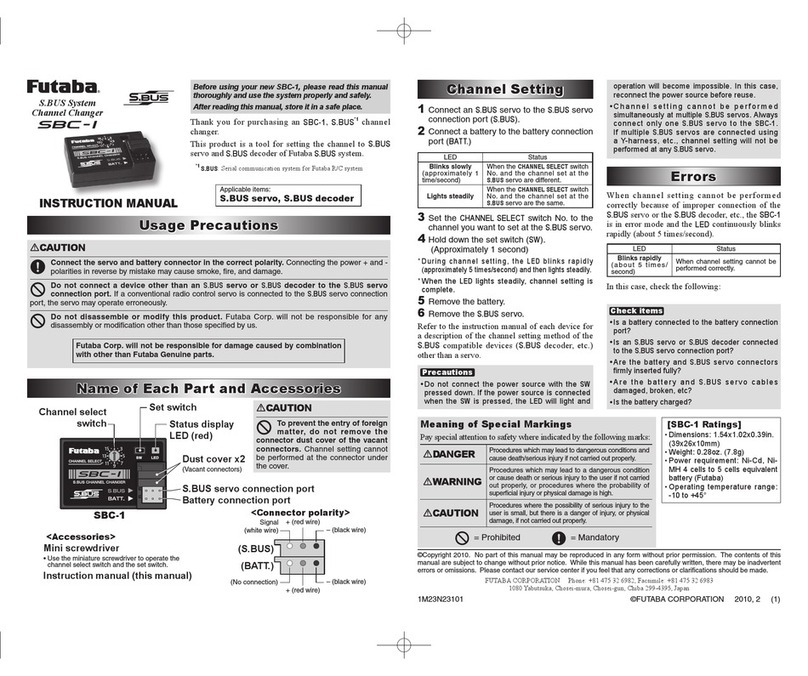
FUTABA GYA350 User manual

FUTABA

FUTABA GYA350 User manual

FUTABA PA-2 User manual

FUTABA

FUTABA PA-2 User manual

FUTABA SBC-1 User manual

FUTABA

FUTABA SBC-1 User manual

FUTABA GY701 User manual

FUTABA

FUTABA GY701 User manual

FUTABA MC210CB User manual

FUTABA

FUTABA MC210CB User manual

FUTABA SBS-01V User manual

FUTABA

FUTABA SBS-01V User manual

FUTABA GY611 User manual

FUTABA

FUTABA GY611 User manual

FUTABA GY701 User manual

FUTABA

FUTABA GY701 User manual

FUTABA FSU2 User manual

FUTABA

FUTABA FSU2 User manual

FUTABA GYA351 User manual

FUTABA

FUTABA GYA351 User manual

FUTABA WTR-7 User manual

FUTABA

FUTABA WTR-7 User manual

FUTABA MSA-10 User manual

FUTABA

FUTABA MSA-10 User manual

FUTABA SBS-01G User manual

FUTABA

FUTABA SBS-01G User manual

FUTABA RS301CR User manual

FUTABA

FUTABA RS301CR User manual

FUTABA SBS-01C User manual

FUTABA

FUTABA SBS-01C User manual

Popular Accessories manuals by other brands

Invacare Matrx user manual

Invacare

Invacare Matrx user manual

Bloomy Lotus Bamboo user manual

Bloomy Lotus

Bloomy Lotus Bamboo user manual

Eaton GHG 511 operating instructions

Eaton

Eaton GHG 511 operating instructions

Extron electronics AXI 22 AT D user guide

Extron electronics

Extron electronics AXI 22 AT D user guide

Osram HF LS LI Installation and operation

Osram

Osram HF LS LI Installation and operation

Anker PowerCore Metro Essential 20000 PD user manual

Anker

Anker PowerCore Metro Essential 20000 PD user manual

Hathaway BG3143 Assembly manual

Hathaway

Hathaway BG3143 Assembly manual

Bosisto's AMBIENCE user manual

Bosisto's

Bosisto's AMBIENCE user manual

Covidien Nellcor SC-A Instructions for use

Covidien

Covidien Nellcor SC-A Instructions for use

GOSUN POWER 266 user manual

GOSUN

GOSUN POWER 266 user manual

Clas Ohlson JY-0073A instruction manual

Clas Ohlson

Clas Ohlson JY-0073A instruction manual

Philio Technology Corporation PST09-A quick start guide

Philio Technology Corporation

Philio Technology Corporation PST09-A quick start guide

Jandy TruGuard owner's manual

Jandy

Jandy TruGuard owner's manual

Rice Lake RL1600 installation guide

Rice Lake

Rice Lake RL1600 installation guide

Novalynx 200-WS-23-DP user manual

Novalynx

Novalynx 200-WS-23-DP user manual

Lochinvar BLT2026 instructions

Lochinvar

Lochinvar BLT2026 instructions

Artesia a22xt owner's manual

Artesia

Artesia a22xt owner's manual

Roland UA-1A Errata

Roland

Roland UA-1A Errata

manuals.online logo
manuals.online logoBrands
  • About & Mission
  • Contact us
  • Privacy Policy
  • Terms and Conditions

Copyright 2025 Manuals.Online. All Rights Reserved.