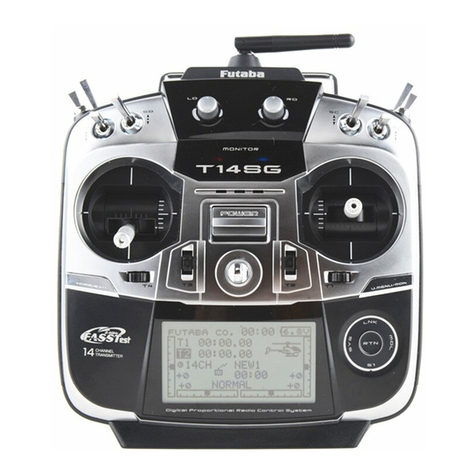
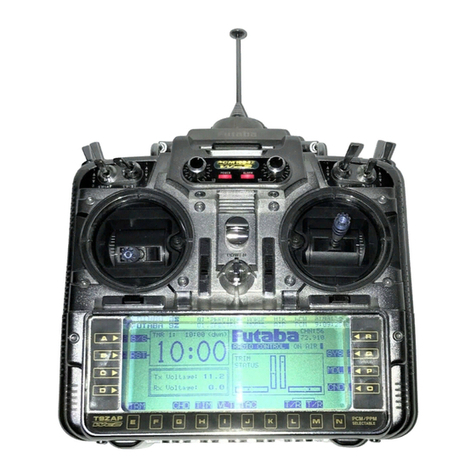
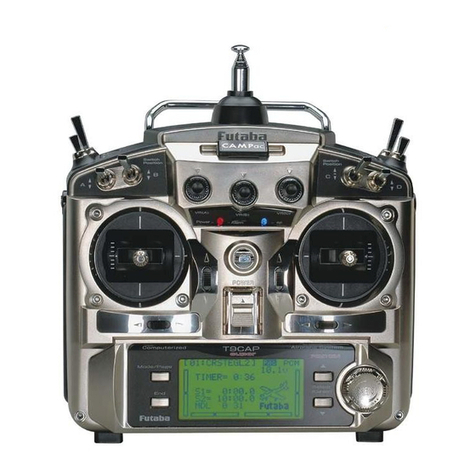
FUTABA T14SG Technical manual

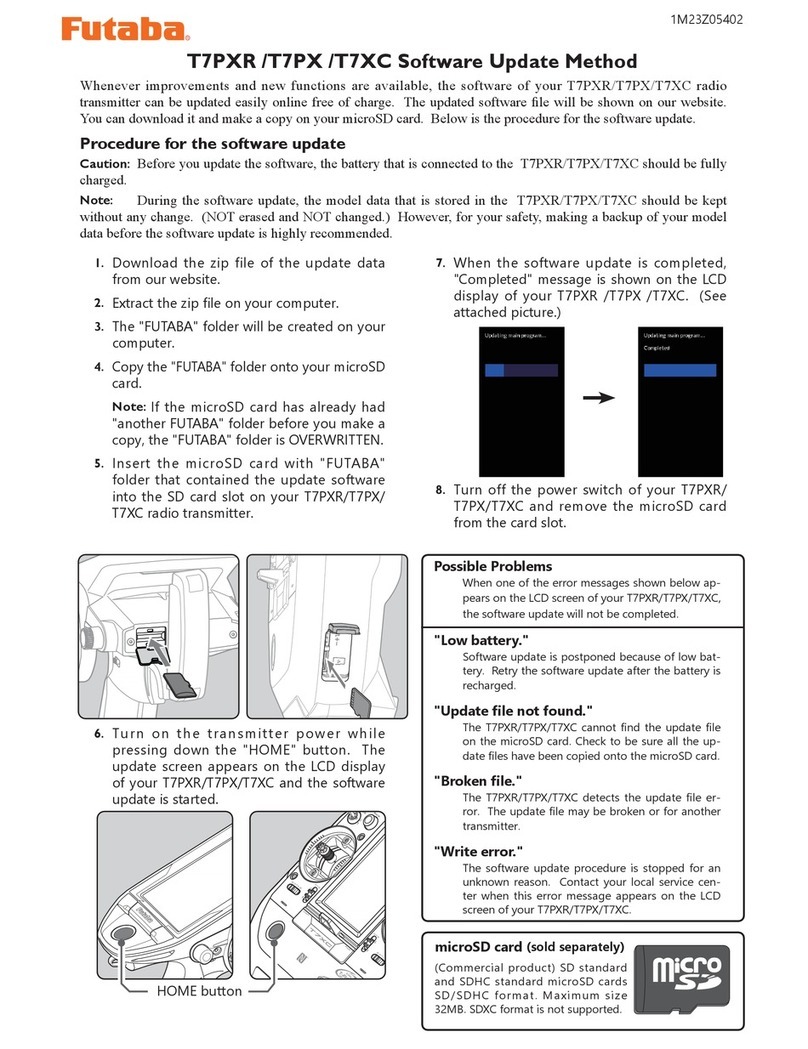
T14SG / FX-22 SOFTWARE UPDATE MANUAL
[Updating procedure]
1. SD card format
1. You will rst want to format your SD card to the 14SG/
FX-22. If you are using an existing SD card, any data
previously saved to it will be deleted during the
"format". We suggest you either save this data on your
computer or purchase a new card.
2. After inserting the new SD card
into the transmitter, turn on the
power switch. You will see the
word "FORMAT" if you have not
previously used this card in the
transmitter.
3. Please select "YES" and touch
“RTN”.
4. The following screen is displayed
during formatting.
5. When the format is completed,
the following screen is displayed.
6. Turn off the power switch and
remove the SD card from its slot.
① Push to open.
②Slide in the direction of the
arrow on the battery cover.
③ Battery cover will open downward. ④ SD card is inserted in a slot
by direction of a figure.
SD card slot
*It is releasable if a card is pushed once again.
① A side cover is opened. ② It inserts until it locks SD card into SD card slot.
*It is releasable if a card is pushed once again.
*Don't mistake the
both sides/ the
direction of
SD card.
SD card slot
T14SG:
FX-22:
2. Insert the 'formatted" SD card into a card reader in your
PC.
3. Please run "T14sgUpdate.exe".
4. Select the drive that your card reader is assigned to in
your PC.
5. After the Update files are copied to the SD card, the
following screens are displayed.
Click the "End" button.
Update
2. Preparing the software update card.
1. Please unzip the zipped le. The
following les will be created.
・T14sgUpdate.exe
・T14sgUpdate.dat
・T14SG_UPDATE.dat
・T14SG_TS.bin
・T14SG_AP.bin
・T14SG_UPLD.bin
- 1 -

T14SG:
FX-22:
3. Update software of T14SG/FX-22
1. Please insert the SD card which includes the update
le.
2. Push the HOME/EXIT button.
3. While still holding the HOME/EXIT button, power on
the transmitter.
4. After a few seconds, the following
screen is displayed.
5. Push the U.MENU/MON. button
for three seconds. The software
update will begin.
6. When the update is complete, the
following screen is displayed.
Turn o the power switch.
7. Remove the SD card.
8. Please check the software version
at INFO in SYSTEM menu.
HOME/EXIT
button
U.MENU/MON.
button
PROGRAM UPDATE
START : PUSH MON . 3SEC
PROGRAM UPDATE
UP LOADING
PROGRAM UPDATE
COMPLETED
HOME/EXIT
button
U.MENU/MON.
button
- 2 -

- 3 -
T14SG/FX-22 Installing Speech Data Ver.2
Before installing the speech data, you will need to update your T14SG/FX-22 software to Version 2.0 or later.
If the software version of T14SG /FX-22 is before Ver.2.0, the speech data can not be installed.
Ver.4.x software of T14SG/FX-22 is not able to play the Ver.1 sound data. After updating to Ver.4.x , please install the Ver.2 sound data
to T14SG/FX-22.
There are three language versions, English, German, and Japanese, in speech data. It is possible to install only one language.
If you install a second language, it will override the rst one that you installed.
[Installing procedure]
1. Making of card for installing speech data
1. Please unzip the zipped le. The following les will be
created.
English Version
・T14sgInstallSoundEng.exe
・T14sgUpdate.dat
・T14SG_INSTALL_SOUND.dat
・T14sgSpeechEng1.bin
・T14sgSpeechEng2.bin
・T14sgSpeechEng3.bin
German Version
・T14sgInstallSoundEng.exe
・T14sgUpdate.dat
・T14SG_INSTALL_SOUND.dat
・T14sgSpeechGer1.bin
・T14sgSpeechGer2.bin
・T14sgSpeechGer3.bin
Japanese Version
・T14sgInstallSoundEng.exe
・T14sgUpdate.dat
・T14SG_INSTALL_SOUND.dat
・T14sgSpeechJpn1.bin
・T14sgSpeechJpn2.bin
・T14sgSpeechJpn3.bin
2. Install the already formatted SD card into your PC's
card reader.
3. Please run "T14sgInstallSound***.exe".
4. Select the drive that your card reader is assigned to in
your PC. Click "OK".
5. After the Update files are copied to the SD card, the
following screens are displayed. Click the "End"
button.
Update
2. Install speech data of T14SG/FX-22
1. Please insert the SD card which includes the installing
speech data.
2. Push the HOME/EXIT button.
3. Still holding the HOME/EXIT button, power on the
transmitter.
4. After a few seconds, the
following screen is displayed.
5. Press the U.MENU/MON. button
for three seconds. The speech
data begins to install.
6. After about 16 seconds,
uploading reaches the right
of the progress bar, and then
begins again after a pause.
7. The uploading may appear to
progress slowly.
8. The progress bar will again
upload. This can take a few
minutes.(About. 2 min.)
And, “COMPLETED” is displayed.
Please turn o the power.
(Don't turn off the power before COMPLETED is
displayed.)
9. Please detach SD card.
10. Please check the language at TELEM.SET. menu in
LINKAGE menu.
INSTALLSOUND
START : PUSH MON . 3SEC
INSTALLSOUND
INSTALLING
INSTALLSOUND
INSTALLING
INSTALLSOUND
INSTALLSOUND
COMPLETED

- 3 - - 4 -
3.【Helicopter, Glider】 Condition
The vibrator setting is added to Condition Select.
When the condition is changed, it informs by the vibrator.
1.【All Model Types】 SOUND (Phone Volume)
The phone volume except Vario Melody can be adjusted by
switch, dial or slider.
2.【All Model Types】 TELEM.SET. (Addition of the pause
switch for the telemetry logging function)
The pause switch is added to Telemetry logging function.
If the pause switch is turned on while the telemetry data is
recorded, recording the telemetry data to the memory card is
stopped temporally. When the pause switch is turned o, logging
the telemetry data is resumed and recorded to same data file
after the interval time.
[ Fine tuning VR operation mode ]
[LIN.]:Mixing rate 0% at center of VR. When the VR is turned
clockwise and counterclockwise, the mixing rate increases and
decreases, respectively.
[ATL+]:Mixing rate 0% at left end of VR. When the VR is turned, the
mixing rate increases.
[ATL-]:Mixing rate 0% at right end of VR. When the VR is turned, the
mixing rate increases.
[SYM.]:When the VR is turned to the left or right of the neutral position,
the mixing rate increases.
[ The phone volume except Vario Melody ]
Adjustment range : 0 (silent) ~ 30 (maximum)
[ The hardware for the adjustment is selectable ]
Adjustment range : J1,J2,J3,J4,T1,T2,T3,T4,SA,SB,SC,
SD,SE,SF,SG,SH,LS,LD,RD,RS,(SI,SJ)
* ( ) is for FX-22 only.
[ The operation mode of the adjustment hardware is selectable ]
[ATL+]:When the operation direction is right or down or C.W. , the
volume is increased.
[ATL-]:When the operation direction is right or down or C.W. , the
volume is decreased.
[SYM.]:The center position is minimum volume. The both end points are
maximum volume.
4.【Airplane, Glider】 Aileron Dierential Fine Tune
The ne tune is added to Aileron Dierential function.
*Condition after switching, the vibrator is
activated by a slight delay.
These are Vibrator
setting. 4 types can be
selected.
It can be set by each
ight conditions.
The buttons of
changing the
priority.
TYPE 1
TYPE 2
TYPE 3
TYPE 4
The vibration patterns (4 types)
Example of Airplane (2AIL) P.1/2
Example of Airplane (2AIL) P.2/2
Example of Helicopter Example of Glider
Example of Glider (4AIL) P.1/2 Example of Glider (4AIL) P.2/2
Actual rate
Operation Mode
When the ne tune control is set, it is
displayed.
Mode : LIN. / ATL+ / ATL- / SYM.
Fine tune control
hardware
The ne tune rate Range :
-100 ~+100%
It can be set by each conditions.
T14SG/FX-22 Software Update Changes
(Version 5.x)
This software update modifies features found on the 14SG/FX-22. If you have questions about these updated directions,
please consult your instruction manual or futaba-rc.com for further details. Refer to the original manual where applicable but
replace the steps indicated below with these instructions.
5.【 Glider】 Aileron Dierential Buttery Adjust
The operation of Aileron Dierential Buttery Adjust was
changed.
This is a hardware for the
pause switch of the telemetry
logging function.
This is a hardware for
phone volume except
Vario.
This is a operation mode
for the phone volume
except Vario Melody.

◆ Mode A ・・・ Compatible to conventional 2 rates mixing.
◆ Mode B ・・・ 3 Points curve mixing (new function)
Operation Mode
When the ne tune control is
set, it is displayed.
Mode : LIN. / ATL+ / ATL- / SYM.
If operational mode is changed, a mixing
rate will become an initial value (0%).
If operational mode is changed, a mixing
rate will become an initial value (0%).
The image of each
rate of operation
It operates as curve
mixing of three
points according
to the operative
position of the ap.
Actual rate
It canbe set by each conditions.
The current condition name
is displayed at Glider.
【Mode A】 (Compatible to conventional 2 rates mixing.)
・ The master of this mixing is output of Camber FLAP D/R.
【Mode B】 (3 Points curve mixing )
・ The master of this mixing is the control hardware of Camber
FLAP.
Mixing rate
Range : -120 ~+120%
The rate which is
operating is shown.
The rate which is operating is shown. Two ↓
may be displayed when the lever and the dial
are set to operation of a camber ap. In that
case, it operates linearly between rates with ↓
display.
The amount of ELE
operations
FLP operative position
RATE 1
RATE 2
RATE 3
-100%
+100%
0%
The ne tune control
hardware
The ne
tune control
hardware
The ne tune rate
Range :-100 ~+100%
6.【Airplane, Glider】 AIL to RUD
The ne tune is added to AIL to RUD mixing function. 8.【Glider】 Buttery Mixing (Buttery to Elevator)
The ne tune is added to Buttery ELE operation.
7.【Airplane, Glider】 Camber FLP to ELE
3 points curve mixing similar to D/R is added to Camber FLP to
ELE mixing function. It is wasy to set the amount of moving ELE
when FLP is down. 9.【All Model Types】 Speech output of Timer 1/2
The speech output of Timer 1/2 can work even if the
communication system is not FASSTest.
10.【All Model Types】 Melody at FASSTest LINK
The melody during FASSTest LINK mode of Ver.4.1 is faster than
previous version. It corrected.
11.【Area Code is EUROPE only】 FASST and S-FHSS applied
to EN300 328 V.1.8.1
FASST MULTI CH mode, 7CH mode and S-FHSS apply to EN300
328 V.1.8.1adaptive system. (V.1.8.1 is the latest version of European
regulation for 2.4GHz radio equipment which can output RF power less
than 100mW.)
12.【All Model Types】 Trainer 8CH mode CH9 - CH12
operation
When the Trainer is set to 8CH mode and CH mode is set to NORM, CH9 -
CH12 wrer not able to work. It corrected.
FUTABA CORPORATION Phone: +81 475 32 6982, Facsimile: +81 475 32 6983
1080 Yabutsuka, Chosei-mura, Chosei-gun, Chiba 299-4395, Japan
©FUTABA CORPORATION 2013, 11 (1)
Operation Mode
When the ne tune control is
set, it is displayed.
Mode : LIN. / ATL+ / ATL- / SYM.
The ne tune rate
Range :-100 ~
+100%
Actual rate
Fine Tune Control
*When Flying wing type, it was made not to display BUTTERFLY ELE. (There
is no elevator rate setting .)
*The start point of BUTTERFLY ADJUSTMENT shifted from the start point
of BUTTERFLY MIXING. Then, it was corrected.
*When BUTTERFLY ADJUSTMENT RATE is "-", the calculation method of
UP/DOWN and a direction become reverse.
*When BUTTERFLY ADJUSTMENT RATE is "+", Up rate is decrease and
DOWN rate is increase.
*When Flying wing 2AIL type, it was made not to display BUTTERFLY
ADJUSTMENT. (There is no buttery mixing.)
BUTTERFLY stick operation is 0.
BUTTERFLY stick operation is 100%.
The actual up rate = (Aileron
Differential rate) - (Aileron
Differential Butterfly Adjust
rate) x (Aileron Differential
rate)
The actual down rate =
(Aileron Differential rate) +
{(100-Aileron Differential
rate) x (Buttery Adjust rate)}
- 5 -
Other manuals for T14SG
4
This manual suits for next models
1
Other FUTABA Transmitter manuals

FUTABA
FUTABA FMT-02 User manual

FUTABA
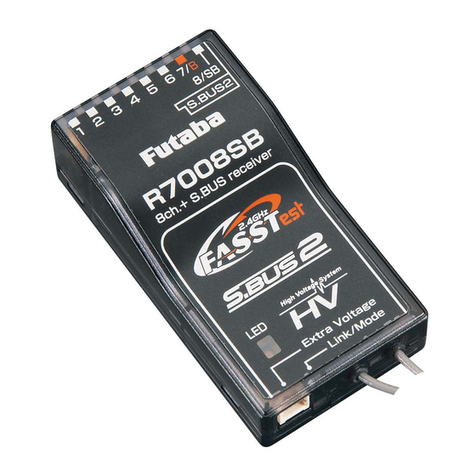
FUTABA R7008SB User manual

FUTABA
FUTABA 9z User manual

FUTABA
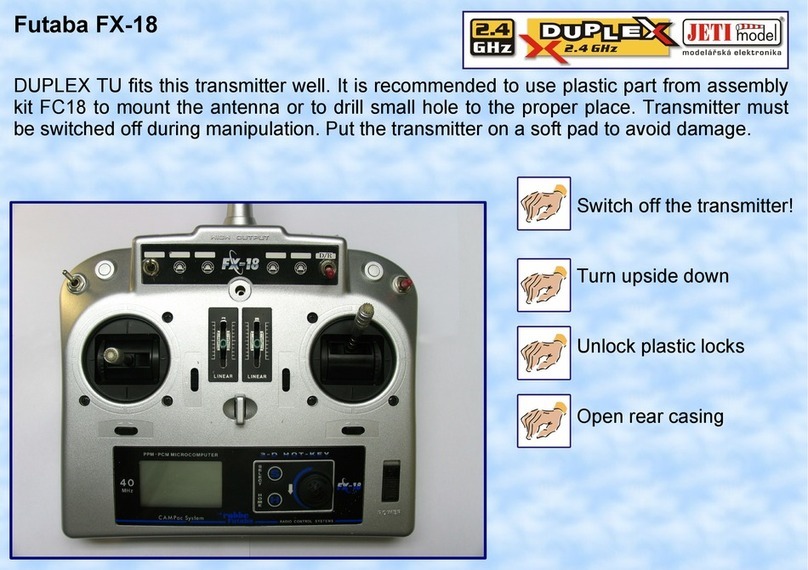
FUTABA FX-18 User manual

FUTABA
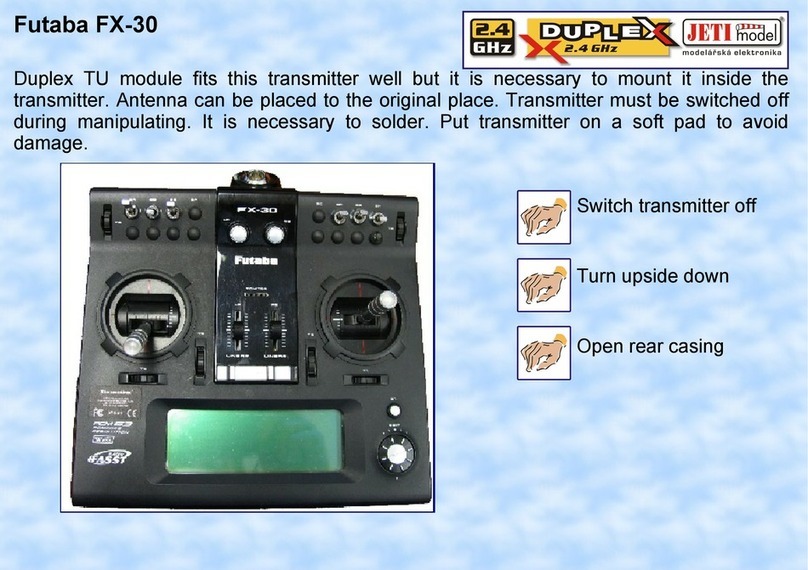
FUTABA FX-30 Operating instructions

FUTABA
FUTABA 3PRKA User manual

FUTABA
FUTABA T6EXA User manual

FUTABA
FUTABA T14SG Mounting instructions

FUTABA
FUTABA T16IZ User manual

FUTABA
FUTABA R3006SB User manual