manuals.online logo
Brands
  1. Home
  2. •
  3. Brands
  4. •
  5. Futech
  6. •
  7. Measuring Instrument
  8. •
  9. Futech MULTIPOWER 4.6 User manual

Futech MULTIPOWER 4.6 User manual

MULTIPOWER 4.6
EN / SL / PT / DEQUICK GUIDE
MULTIPOWER 4.6
ENG
1. Read the manual and warranty
clauses on
www.futech-tools.com
2. Remove eventual packaging
and protection foils and place
the battery.
3. Controls and Jacks
1. Display
2. Relative button
3. RANGE button
4. MODE button
5. Rotary function switch
6. 10A input jack
7. µA, mA input jack
8. COM input jack
 9.V/Ω/ / /CAP/
Hz%/°C/°F input jack
10. Backlight/HOLD button
11. PEAK/Flashlight button
12. MAX/MIN/AVG button
13. Auto backlight sensor
14. Flashlight
1
2
3
4
5
6
7 8
9
10
11
12
13
14
MULTIPOWER 4.6
PT
1. Leia o manual e as cláusulas
de garantia em
www.futech-tools.com
2. Remova as embalagens
e películas de proteção e
coloque a bateria.
3. Controlos e entradas
1. Ecrã
2. Botão de relativa
3. Botão de INTERVALO
4. Botão MODO
5. Seletor de funções rotativo
6. Entrada 10A
7. Entrada µ,A, mA
8. Entrada COM
 9.EntradaV/Ω/ / /CAP/
Hz%/° C/° F
10. Botão de Luz de fundo/
Manter
11. Botão de PICO/Lanterna
12. Botão MIN/MAX/AVG
13. Sensor de luz de fundo
automática
14. Lanterna
DE
1. Lesen Sie sich die Anleitung
und die Garantieklauseln unter
www.futech-tools.com durch.
2. Entfernen Sie mögliche Verpa-
ckungen und Schutzfolien und
setzen Sie die Batterie ein.
3. Bedienelemente und Anschlüsse
1. Display
2. Relativ-Taste
3. RANGE-Taste
4. MODE-Taste
5. Dreh-Funktionsschalter
6. 10-A-Eingang
7. mA/µA-Eingang
8. COM-Eingang
9. V/Ω/ / /CAP/
Hz%/°C/°F-Eingang
10. Hintergrundbeleuchtung/
HOLD-Taste
11. PEAK-/Taschenlampentaste
12. MAX/MIN/AVG-Taste
13. Sensor automatische
Hintergrundbeleuchtung
14. Taschenlampe
4. Symbole und Warnanzeigen
SL
1. Preberitepriročnikingarancijske
klavzule na spletni strani
www.futech-tools.com
2. Odstranitemorebitnoembalažo
inzaščitnefolijetervstavite
baterijo.
3.Nadzornaploščainvtičinice
1. Zaslon
2. Gumb za primerjavo “RELATIVE”
3. Gumb za obseg “RANGE”
 4.Gumbzanačindelovanja
“MODE”
5. Vrtljivo funkcijsko stikalo
 6.Vtičnica10A
 7.VtičnicaµA,mA
 8.VtičnicaCOM
 9.VtičnicaV/Ω/ / /CAP/
Hz%/°C/°F
10. Gumb za osvetlitev ozadja/
pavzo “HOLD”
11. Gumb za višek “PEAK”/svetilka
12. Gumb za maksimum, minimum
inpovprečje“MAX/MIN/AVG”
13. Senzor samodejne osvetlitve
ozadja
14. Svetilka
MULTIPOWER 4.6
4. Symbolsandwarningles
Auto power off
milli (10-3)
Volt (tension)
micro (10-6)
Ampere (current)
nano (10-9)
Farad (capacitance)
mega (106)
kilo (103)
Ohm (resistance)
Hertz (frequency)
Diode test
Continuity
Percent (duty ratio)
Degrees Fahrenheit
Degrees Celcius
Direct current
Minus sign
Alternating current
Low battery
Autoranging
Display hold
Relative
Peak hold
Maximum/Minimum/Average
Overload
MULTIPOWER 4.6
4. Símbolos e avisadores
Desligamento automático
desligado
mili (10-3)
Volt (tensão)
micro (10-6)
Ampere (corrente)
nano (10-9)
Farad (capacitância)
mega (106)
kilo (103)
Ohm (resistência)
Hertz (frequência)
Teste de díodo
Continuidade
Percentagem (rácio de serviço)
Graus Fahrenheit
Graus Celsius
Corrente contínua
Sinal menos
Corrente alternada
Bateria fraca
Intervalo automático
Manter ecrã
Relativa
Manter pico
Máximo/Mínimo/Média
Sobrecarga
Automatisch Abschaltung
milli (10-3)
Volt (Spannung)
micro (10-6)
Ampere (Stromstärke)
nano (10-9)
Farad (Kapazität)
mega (106)
kilo (103)
Ohm (Widerstand)
Hertz (Frequenz)
Diodentest
Durchgangsprüfung
Prozent (rel. Einschaltdauer)
Grad Fahrenheit
Grad Celsius
Gleichstrom
Minus-Zeichen
Wechselstrom
Niedriger Batteriestand
Selbsttätige Bereichseinstellun
Anzeigespeicher
Relativ
Spitzenwert speichern
Maximum/Minimum/Durchschnitt
Überlastung
5. Bedienungsanleitung
4. Simboli in opozorila
Samodejni izklop
mili (10-3)
Volt (napetost)
mikro (10-6)
Amper (tok)
nano (10-9)
Farad (kapacitivnost)
mega (106)
kilo (103)
Ohm (upor)
Hertz (frekvenca)
Test diode
Neprekinjenostelektričnegatoka
Odstotek (razmerje)
Stopinje Fahrenheita
Stopinje Celzija
Enosmerni tok
Negativni predznak
Izmeničnitok
Baterija skoraj prazna
Samodejna izbira obsega
Pritisk na zaslonu
Primerjava
Zadržeknavišku
Maksimum/minimum/povprečje
Preobremenitev
MULTIPOWER 4.6
5. Operating instructions
Risk of electrocutation. High
voltage circuits, both AC
and DC, are very dangerous
and should be measured
with great care.
Always turn the fucntion
switch to the OFF position
when the meter is not in
use.
If “OL” (overload) appears
on the display during
a measurement, value
exceeds the selected range.
Change to higher range.
5.1 RANGE button
The autorange mode automat-
ically selects the proper range
for the measurement being
made and is generally the best
MULTIPOWER 4.6
5. Instruções de operação
Risco de eletrocussão. Os
circuitos de alta tensão,
tanto CA como CC, são
muito perigosos e devem
ser medidos com grande
cuidado.
Rode sempre o interruptor
de função para a posição
OFF quando o medidor não
estiver em uso.
Se “OL” (sobrecarga) apa-
recer no ecrã durante uma
medição, o valor excedeu
o intervalo selecionado.
Mude para um intervalo
mais alto.
5.1 Botão INTERVALO (RANGE)
O modo de intervalo automáti-
co seleciona automaticamente
o intervalo apropriado para a
medição a ser feita e é geral-
Stromschlaggefahr. Hoch-
spannungsschaltkreise,
sowohl Wechsel- als auch
Gleichstrom, sind sehr
gefährlich und müssen mit
äußerster Sorgfalt gemes-
sen werden.
Schalten Sie den Funkti-
onsschalter immer in die
OFF-Position, wenn das
Messgerät nicht verwendet
wird.
Wenn während der Mes-
sung „OL“ (Überlastung)
im Display angezeigt wird,
übersteigt der Wert den
ausgewählten Bereich.
Wechseln Sie zu einem
höheren Bereich.
5.1 RANGE-Taste
Beim Modus für die selbsttä-
tige Bereichseinstellung wird
automatisch der geeignete Be-
reich für die vorzunehmende
5. Navodila za uporabo
 Nevarnostelektričnega
udara. Visokonapetostna
vezja,takoizmeničnakot
enosmerna, so zelo nevarna
in jih je treba pregledovati
pazljivo.
Kadar merilnika ne upo-
rabljate, funkcijsko stikalo
vednoobrnitevpoložaj
izklop “OFF”.
Česemedmerjenjemna
zaslonuprikaže“OL”(odpr-
ta zanka), vrednost presega
izbrani obseg. Preklopite na
večjiobseg.
5.1 Gumb za obseg “RANGE”
Načinsamodejnegaobsegasa-
modejno izbere ustrezen obseg
merjenja in je na splošno naj-
boljšinačinzavečinonamenov
MULTIPOWER 4.6
mode for most applications. For
measurement situatons requir-
ing that a range be manually
selected, perform the following:
∙Press the RANGE-button. The
“AUTO” indicator will no longer
be shown on the display.
∙Press the RANGE button to
step through the available
ranges until the desired range
is selected.
∙To exit the Manual Rang-
ing mode, press and hold
the RANGE button until the
“AUTO” indicator reappears.
The range button does
not work on Frequency,
Duty Cycle, Capacitance or
Temperature.
MULTIPOWER 4.6
mente o melhor modo para a
maioria das aplicações. Para
situações de medição que re-
querem que um intervalo seja
selecionado manualmente, faça
o seguinte:
∙Pressione o botão INTERVALO
(RANGE). O indicador “AUTO”
deixará de ser mostrado no
mostrado.
∙Pressione o botão de INTER-
VALO (RANGE) para percor-
rer os intervalos disponíveis
até selecionar o intervalo que
desejar.
∙Para sair do modo de intervalo
manual, pressione e mantenha
o botão INTERVALO (RANGE)
até que o indicador “AUTO”
reapareça.
O botão de intervalo não
funciona em Frequência,
Ciclo de serviço, Capacitân-
cia ou Temperatura.
Messung ausgewählt, der im
Allgemeinen der beste Modus
für die meisten Anwendungen
ist. In Messsituationen, in denen
der Bereich manuell ausgewählt
werden muss, gehen Sie wie
folgt vor:
∙Drücken Sie die RANGE-Taste.
Die „AUTO“-Anzeige wird nicht
mehr im Display angezeigt.
∙Drücken Sie die RANGE-Tas-
te, um durch die verfügbaren
Bereiche zu schalten, bis der
gewünschte Bereich ausge-
wählt ist.
∙Um den manuellen Bereich-
seinstellungsmodus zu be-
enden, halten Sie die RAN-
GE-Taste gedrückt, bis wieder
„AUTO“ angezeigt wird.
Die Bereichstaste hat für
Frequenz, Betriebszyklus,
Kapazität und Temperatur
keine Funktion.
uporabe. V situacijah, ki zahte-
vajo ročno izbiro območja za
meritve, izvedite naslednje:
∙Pritisnite tipko za obsega
“RANGE”. Indikator samodejno
“AUTO”nebovečprikazanna
zaslonu.
∙Pritisnite gumb za obseg
“RANGE”, da pregledate raz-
položljive obsege, dokler ne
izbereteželenegaobsega.
∙ Čeželitezapustitinačinročne-
ga merjenja, pritisnite in drži-
te gumb “RANGE”, dokler se
ponovno ne prikaže indikator
“AUTO”.
Gumb za obseg ne deluje pri
frekvenci, obratovalnem
ciklusu, kapacitivnosti ali
temperaturi.
MULTIPOWER 4.6
5.2 MODE-button
Used to select AC or DC, Fre-
quency or Duty Cycle, Resist-
ance, Continuity or Diode Test
and °C or °F.
5.3 REL-button
The RELATIVE function zeros
out the reading on the display
and stores it as a reference. Sub-
sequent readings will be dis-
played as the relative difference
between the actual measure-
ment and the stored reference
value. To activate, press the
REL-button. The “REL” indicator
will appear on the display along
with the relative reading. Press
the REL button again to return
to normal operation.
The meter does not Auto-
range when the relative
mode is active. The display
MULTIPOWER 4.6
5.2 Botão de MODO (MODE)
Usado para selecionar CA ou
CC, Frequência ou Ciclo de
serviço, Resistência, Continui-
dade ou Teste de Díodo e ° C
ou ° F.
5.3 Botão de RELATIVA (REL)
A função RELATIVA põe a ze-
ros a leitura no ecrã e guarda-a
como referência. As leituras
subsequentes serão mostradas
como a diferença relativa en-
tre a medição real e o valor de
referência armazenado. Para
ativar, pressione o botão REL.
O indicador “REL” aparecerá no
ecrã juntamente com a leitura
relativa. Pressione o botão REL
de novo para voltar à operação
normal.
O medidor não faz intervalo
automático quando o modo
relativo está ativo. O ecrã
5.2 MODE-Taste
Mit dieser Taste wählen Sie
Wechsel- oder Gleichstrom, Fre-
quenz oder Betriebszyklus, Wi-
derstand, Durchgangsprüfung
oder Diodentest und °C oder °F.
5.3 REL-Taste
Die RELATIVE-Funktion setzt die
Messung im Display zurück und
speichert sie als Referenz. Nach-
folgende Messungen werden
als relative Differenz zwischen
der tatsächlichen Messung und
dem gespeicherten Referen-
zwert angezeigt. Um die Funk-
tion zu aktivieren, drücken Sie
die REL-Taste. Die Anzeige „REL“
wird im Display zusammen mit
der relativen Messung ange-
zeigt. Drücken Sie die REL-Taste
erneut, um zum normalen Be-
trieb zurückzukehren.
Das Messgerät führt keine
selbsttätige Bereichsein-
stellung durch, wenn der
5.2Gumbzanačindelovanja
“MODE”
Uporablja se za izbiro izmenič-
nega ali enosmernega toka,
frekvenčnegaaliobratovalnega
ciklusa, upora, neprekinjenosti
električnega toka ali preskusa
diode in °C ali °F.
5.3 Gumb za relativnost “REL”
Funkcija za primerjavo “RELATI-
VE”odstraniodčitekzzaslonain
ga shrani kot referenco. Nadalj-
nji odčitki bodo prikazani kot
relativna razlika med dejansko
meritvijo in shranjeno refe-
renčnovrednostjo.Zaaktivacijo
pritisnite tipko “REL”. Na zaslonu
seboskupajzrelativnimodčit-
kom prikazal indikator “REL”. Po-
novno pritisnite gumb “REL”, da
se vrnete v normalno delovanje.
Merilnik samodejno ne izbere
obsega,kojeaktivirannačin
primerjave. Na zaslonu se pri-
MULTIPOWER 4.6
will show “OL” (overload) if
the difference exceeds the
range. REL does not work
on frequency, Duty Cycle,
Temperature or Low Z.
5.4 MAX/MIN/AVG Button
∙Press the MAX/MIN/AVG but-
ton to activate the MAX/MIN
mode. The “MAX” indicator
will appear on the LCD display.
The meter will display and hold
the maximum reading and will
update when a higher “MAX”
occurs.
∙Press the MAX/MIN/AVG but-
ton again to view the lowest
reading. The “MIN” will appear
on the LCD display. The meter
will display and hold the min-
imum reading and will update
when a lower “MIN” occurs.
∙Press the MAX/MIN/AVG but-
ton again to view the average
reading. The “AVG” symbol will
MULTIPOWER 4.6
kaže„OL“(preobremenitev),
čerazlikapresegaobseg.
“REL” ne deluje na frekvenci,
obratovalnem ciklusu, tempe-
raturi ali nizki impedanci.
5.4 Gumb za maksimum, mini-
mum in povprečje “MAX/MIN/
AVG”
∙Pritisnite gumb “MAX/MIN/
AVG”, da aktivirate način ma-
ksimuma in minimuma. Na
LCDzaslonuseprikažeindika-
tor “MAX”. Merilnik bo prikazal
inzadržalnajvišjeodčitkeinse
bo posodobil šele, ko se bo
pojavilvišjiodčitek.
∙ Zaoglednajnižjevrednostipo-
novno pritisnite gumb “MAX/
MIN/AVG”. Na LCD zaslonu
se prikaže indikator “MIN”.
Merilnikboprikazalinzadržal
najnižjeodčitkeinseboposo-
dobilšele,kosebopojavilnižji
odčitek.
mostrará “OL” (sobrecarga)
se a diferença exceder o in-
tervalo. REL não funciona em
Frequência, Ciclo de serviço,
Temperatura ou Z baixo.
5.4 Botão MAX/MIN/AVG
∙Pressione o botão MAX/MIN/
AVG para ativar o modo MAX/
MIN. O indicador “MAX” apa-
recerá no ecrã LCD. O medidor
mostrará e manterá a leitura
máxima e será atualizado ap-
enas quando ocorrer um novo
“MAX”.
∙Pressione o botão MAX/MIN/
AVG novamente para visualizar
a leitura mais baixa. “MIN” apa-
recerá no ecrã LCD. O medidor
mostrará e manterá a leitura
mínima e será atualizado ap-
enas quando ocorrer um novo
“MIN”.
∙Pressione o botão MAX/MIN/
AVG novamente para visu-
relative Modus aktiv ist. Das
Displayzeigt„OL“(Überlas-
tung), wenn die Differenz
den Bereich übersteigt. REL
hat für Frequenz, Betriebs-
zyklus, Temperatur oder Z
niedrig keine Funktion.
5.4 MAX/MIN/AVG-Taste
∙Drücken Sie die MAX/MIN/
AVG-Taste, um den Max/
Min-Modus zu aktivieren.
„MAX“ wird im LCD-Display an-
gezeigt. Das Messgerät zeigt
den Maximum-Messwert an
und speichert ihn. Er wird nur
aktualisiert, wenn eine höhere
MAX-Messung durchgeführt
wird.
∙Drücken Sie die MAX/MIN/
AVG-Taste erneut, um die nied-
rigste Messung anzuzeigen.
„MIN“ wird im LCD-Display an-
gezeigt. Das Messgerät zeigt
den Minimum-Messwert an
und speichert ihn. Er wird ak-
tualisiert, wenn eine niedrige-
MULTIPOWER 4.6
appear on the LCD display. The
meter will display the running
average and will update when
the average value changes.
∙Press and hold the MAX/MIN/
AVG button to end MAX/MIN
and return to normal opera-
tion.
MAX/MIN does not work
on frequency, Duty cycle,
Capacitance of Temperature.
5.5 Backlight/HOLD button
∙To freeze the reading on the
LCD display, press the HOLD
button. The “HOLD” indicator
will be displayed while the
reading is being held. Press
the HOLD button again to exit
MULTIPOWER 4.6
∙ Za ogled povprečne vrednos-
ti ponovno pritisnite gumb
“MAX/MIN/AVG”. Na LCD za-
slonuseprikažesimbol“AVG”.
Merilnik bo prikazal trenutno
povprečjeinseboposodobil,
ko se bo povprečna vrednost
spremenila.
∙ Pritisniteindržitegumb“MAX/
MIN/AVG”, da končate način
“MAX/MIN” in se vrnete v nor-
malno delovanje.
“MAX/MIN” ne deluje na fre-
kvenco, obratovalni ciklus in
kapacitivnost temperature.
5.5 Gumb za osvetlitev ozadja/
pavzo “HOLD”
∙ Če želite zamrzniti odčitek na
LCD zaslonu, pritisnite gumb
“HOLD”. Med zadržanjem
odčitka se prikaže indikator
“HOLD”. Ponovno pritisnite
alizar a leitura média (AVG). O
símbolo “AVG” aparecerá no
ecrã LCD. O medidor mostrará
a média corrente e será atual-
izado quando o valor médio
mudar.
∙Pressione e mantenha o botão
MAX/MIN/AVG para sair de
MAX/MIN e voltar à operação
normal.
MAX/MIN não funciona em
Frequência, Ciclo de serviço,
Capacitância ou Temperatura.
5.5 Botão de Luz de fundo/
Manter (Backlight/HOLD)
∙Para manter a leitura no ecrã
LCD, pressione o botão HOLD.
O indicador “HOLD” será
mostrado enquanto a leitura
estiver a ser mantida. Pres-
re MIN-Messung durchgeführt
wird.
∙Drücken Sie die MAX/MIN/
AVG-Taste erneut, um die
Durchschnittsmessung anzuzei-
gen. Das „AVG“-Symbol wird
im LCD-Display angezeigt. Das
Messgerät zeigt den laufenden
Durchschnitt an und aktualisiert
die Anzeige, wenn sich der
Durchschnittswert ändert.
∙Halten Sie die MAX/MIN/
AVG-Taste gedrückt, um MAX/
MIN zu beenden und zum Nor-
malbetrieb zurückzukehren.
MAX/MIN hat für Frequenz,
Betriebszyklus, Kapazität
und Temperatur keine Funk-
tion.
5.5 Hintergrundbeleuchtung/
HOLD-Taste
∙Um die Messung im LCD-Dis-
play einzufrieren, drücken Sie
die HOLD-Taste. „HOLD“ wird
angezeigt, während die Mes-
sung gehalten wird. Drücken
MULTIPOWER 4.6
HOLD and return to normal
operation.
∙To turn the backlight in the
display on, press and hold
the HOLD button until the
backlight turns on. To turn the
backlight off, press and hold
the HOLD buttton until the
backlight turns off.
AUTO Backlight
When the meter is in the dark-
ness, the backlight can be
automatically opened, not con-
trolled by the button.
5.6 Flashlight/PEAK Button
Press the PEAK button to turn
the ashlight on and off. The
PEAK function is accessible
MULTIPOWER 4.6
gumb “HOLD”, da se vrnete v
normalno delovanje.
∙ Čeželitevklopitiosvetlitevza-
slona,pritisniteindržitegumb
“HOLD”, dokler se osvetlitev ne
vklopi.Čeželiteizklopitiosve-
tlitevozadja,pritisniteindržite
gumb “HOLD”, dokler se osve-
tlitev ne izklopi.
Samodejna osvetlitev ozadja
Ko je merilnik v temi, se lahko
osvetlitev ozadja samodejno
vžge,nedabijoupravljalgumb.
5.6 Gumb za svetilko/višek
“PEAK”
Pritisnite gumb “PEAK”, da vklo-
pite in izklopite svetilko. Funk-
sione o botão HOLD de novo
para voltar à operação normal.
∙Para ligar a luz de fundo do
ecrã, pressione e mantenha o
botão HOLD até que a luz de
fundo acenda. Para desligar a
luz de fundo, pressione e man-
tenha o botão HOLD até que a
luz de fundo se desligue.
Retroiluminação AUTO (Auto
BACKLIGHT)
Quando o medidor está no es-
curo, a luz de fundo pode ser
ligada automaticamente, sem
ser controlada pelo botão.
5.6 Botão de Lanterna/Pico
(Flashlight/PEAK)
Pressione o botão PEAK para
ligar e desligar a lanterna. A
Sie die HOLD-Taste erneut, um
HOLD zu beenden und zum
normalen Betrieb zurückzu-
kehren.
∙Um die Hintergrundbeleuch-
tung des Displays einzuschal-
ten, halten Sie die HOLD-Taste
gedrückt, bis sich die Hinter-
grundbeleuchtung einschaltet.
Um die Hintergrundbeleuch-
tung auszuschalten, halten Sie
die HOLD-Taste gedrückt, bis
sich die Hintergrundbeleuch-
tung ausschaltet.
AUTOMATISCHE Hintergrund-
beleuchtung
Wenn das Messgerät in einer
dunklen Umgebung verwendet
wird, kann die Hintergrundbe-
leuchtung unabhängig von der
Taste automatisch eingeschaltet
werden.
5.6 Taschenlampe/PEAK-Taste
Drücken Sie die PEAK-Taste,
um die Taschenlampe ein- und
auszuschalten. Die PEAK-Funkti-
MULTIPOWER 4.6
when measuring AC Voltage
or Current. It captures and dis-
plays the highest positive peak
and the highest negative peak
of the AC waveform.
∙Press and hold the PEAK but-
ton untill “Peak MAX” appears
on the display. The meter will
display the highest reading
and will update the reading
when a higher positive peak
occurs.
∙To view highest negative peak,
press and hold the PEAK but-
ton until “Peak MIN” apears
on the display. The meter will
display and hold the largest
negative reading. The meter
will update the reading when
a larger negative peak occurs.
∙Press the PEAK button for ap-
proximately one second to
switch between Peak MAX and
Peak MIN readings.
∙Press and hold the PEAK but-
ton to exit PEAK and return to
normal operation.
MULTIPOWER 4.6
cija višek “PEAK” je dostopna
pri merjenju napetosti ali toka
izmeničnega toka. Zajame in
prikaženajvišjipozitivnivišekin
najvišji negativni višek krivulje
izmeničnegatoka.
∙ Pritisnite in držite gumb
“PEAK”, dokler se na zaslonu
ne prikaže napis “Peak MAX”.
Merilnik bo prikazal najvišji od-
čitekin boodčitkeposodobil,
ko se bo pojavil višji pozitivni
višek.
∙ Česiželiteogledatinajvišjine-
gativnivišek,pritisniteindržite
gumb “PEAK”, dokler se na
zaslonuneprikaženapis“Peak
MIN”. Merilnik bo prikazal in za-
držalnajvišjinegativniodčitek.
Merilnikboodčitkeposodobil,
ko pride do višjega negativne-
ga viška.
∙ Držite tipko “PEAK” približno
eno sekundo, da preklopite
med odčitki “Peak MAX” in
“Peak MIN”.
∙ Pritisnite in držite gumb
“PEAK”, da zaprete način
função PEAK está acessível ao
medir a tensão ou corrente CA.
Capta e mostra o pico positivo
mais alto e o pico negativo mais
alto da forma de onda CA.
∙Pressione e mantenha o botão
PEAK até que “Peak MAX”
apareça no ecrã. O medidor
mostrará a leitura mais alta
e atualizará a leitura quando
ocorrer um pico positivo mais
alto.
∙Para visualizar o pico negativo
mais alto, pressione e man-
tenha o botão PEAK até que
“Peak MIN” apareça no ecrã. O
medidor mostrará e manterá
a leitura negativa mais alta. O
medidor atualizará a leitura
quando ocorrer um pico neg-
ativo maior.
∙Pressione o botão PEAK du-
rante aproximadamente um
segundo para alternar entre
as leituras de Peak MAX e Peak
MIN.
∙Pressione e mantenha o botão
PEAK para sair de PEAK e
on kann genutzt werden, wenn
Sie Wechselstromspannung
oder -stromstärke messen. Sie
erfasst den höchsten positiven
Spitzenwert und den höchs-
ten negativen Spitzenwert der
Wechselstrom-Wellenform und
zeigt ihn an.
∙Halten Sie die PEAK-Taste
gedrückt, bis „Peak MAX“ im
Display angezeigt wird. Das
Messgerät zeigt die höchste
Messung an und aktualisiert
die Messung, wenn ein hö-
herer positiver Spitzenwert
auftritt.
∙Um den höchsten negativen
Spitzenwert anzuzeigen, halten
Sie die PEAK-Taste gedrückt,
bis „Peak MIN“ im Display an-
gezeigt wird. Das Messgerät
zeigt den größten negativen
Messwert an und speichert ihn.
Das Messgerät aktualisiert die
Messung, wenn ein größerer
negativer Spitzenwert auftritt.
∙Drücken Sie die PEAK-Taste
ungefähr eine Sekunde lang,
MULTIPOWER 4.6
The meter does not Autorange
when the Peak mode is active.
The display will read “OL” (over-
load) if the range is exceeded.
When this occurs, exit Peak and
use the RANGE button to select
a higher range. Peak does not
work on DCV, DCA, Frequency,
Duty Cycle, Capacitanceor Low
Z.
5.7 AC/DC Voltage measure-
ment
Observe all safety precautions
when working on live voltages!
∙Set the rotary function switch
to the V ~Hz% position.
∙Press the MODE button to se-
—
V
+
Hz
%
5.7

Other manuals for MULTIPOWER 4.6

1

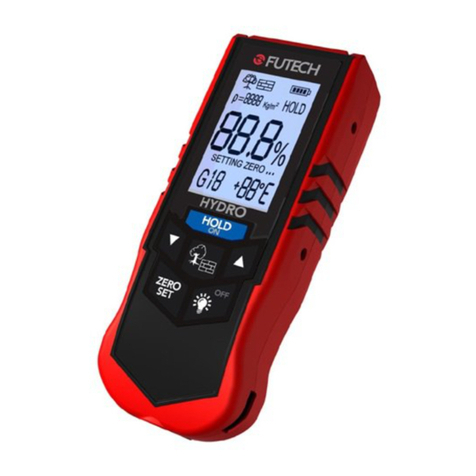
Other Futech Measuring Instrument manuals
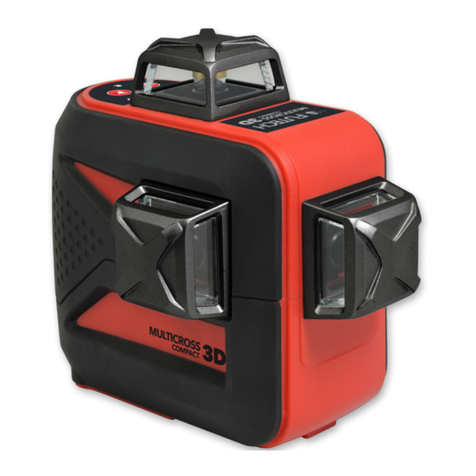
Futech MEGACROSS User manual

Futech

Futech MEGACROSS User manual

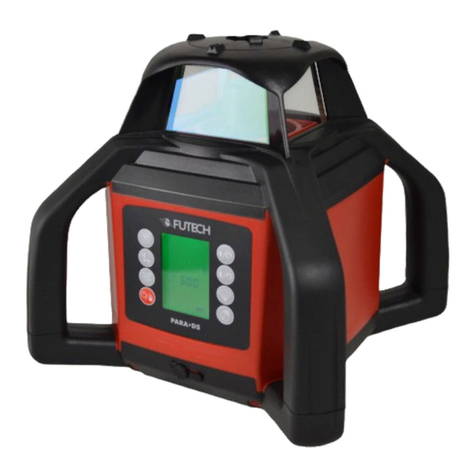
Futech PARA DS User manual

Futech

Futech PARA DS User manual

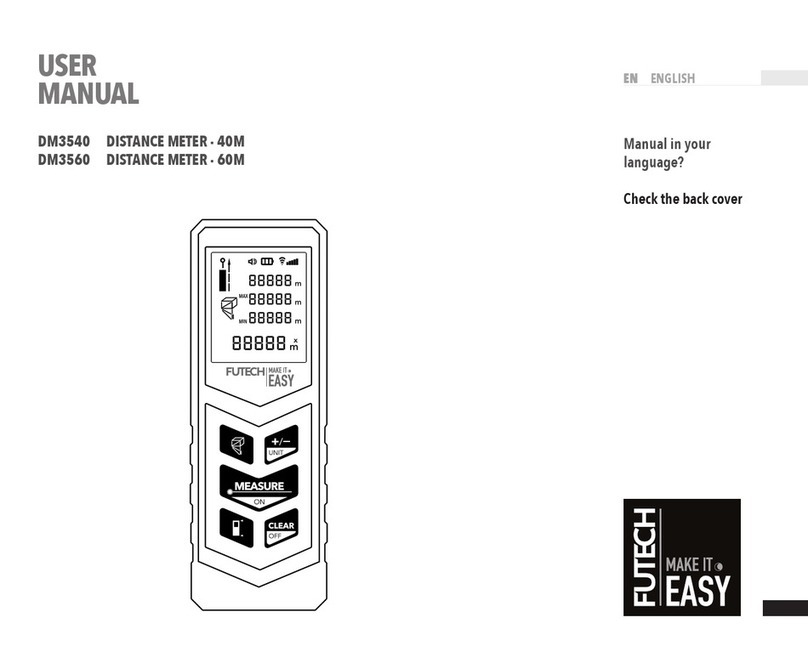
Futech DM3540 User manual

Futech

Futech DM3540 User manual

Futech MULTICROSS 3 Super Vision User manual

Futech

Futech MULTICROSS 3 Super Vision User manual

Futech LL4200 User manual

Futech

Futech LL4200 User manual

Futech DICE 2 User manual

Futech

Futech DICE 2 User manual

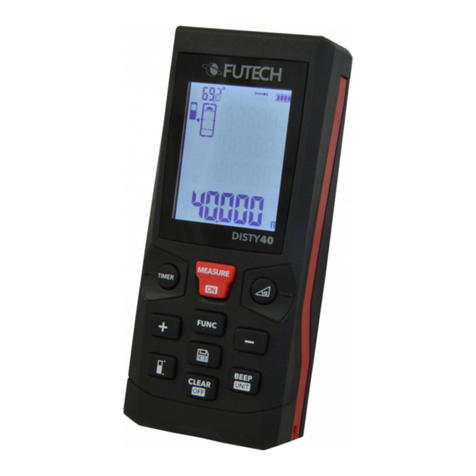
Futech DISTY40 User manual

Futech

Futech DISTY40 User manual

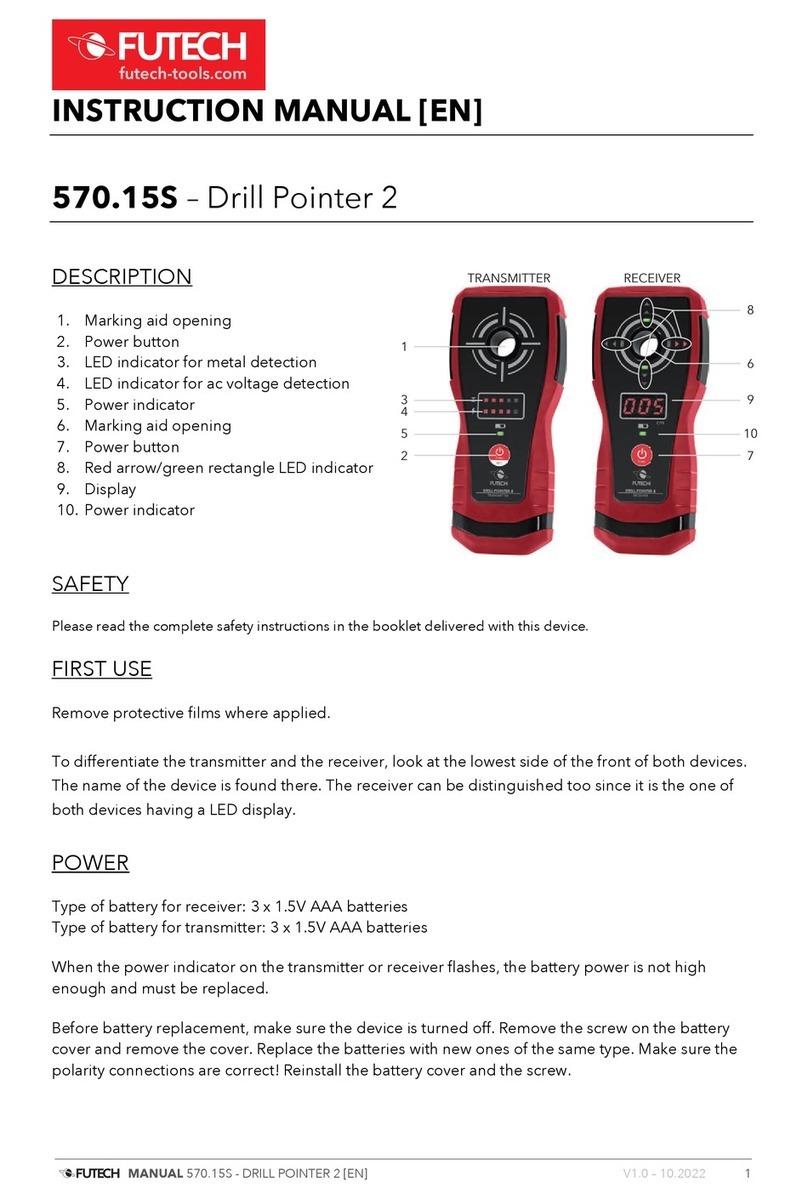
Futech Drill Pointer 2 User manual

Futech

Futech Drill Pointer 2 User manual

Futech 031.03 User manual

Futech

Futech 031.03 User manual

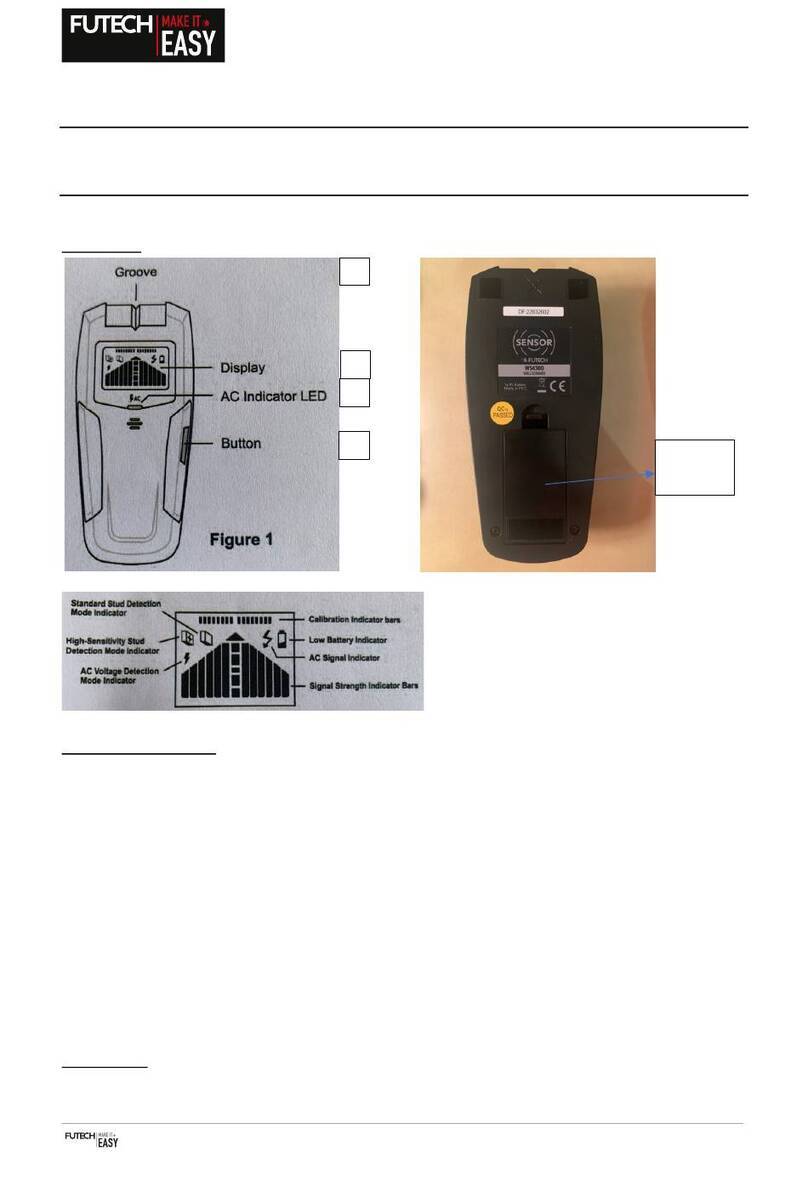
Futech WS4300 User manual

Futech

Futech WS4300 User manual

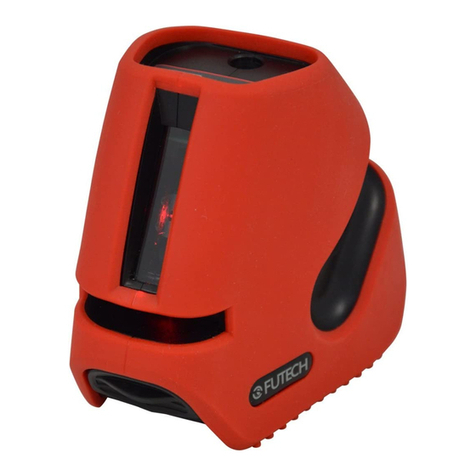
Futech MULTICROSS 3D COMPACT 030.03D User manual
Futech

Futech MULTICROSS 3D COMPACT 030.03D User manual

Futech DISTY 120RC User manual

Futech

Futech DISTY 120RC User manual

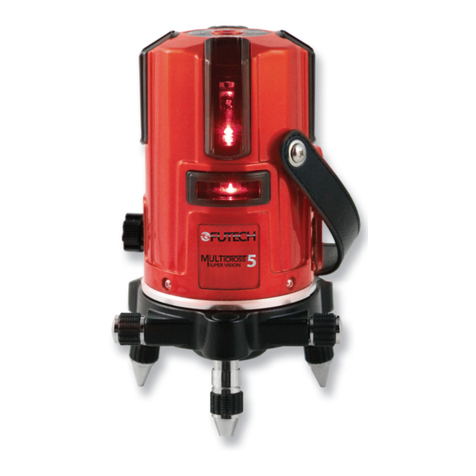
Futech MULTICROSS 5 SUPER Vision User manual

Futech

Futech MULTICROSS 5 SUPER Vision User manual

Futech LL6305 User manual

Futech

Futech LL6305 User manual

Futech 150.40.M User manual

Futech

Futech 150.40.M User manual
Futech T-BEVEL-30 User manual

Futech

Futech T-BEVEL-30 User manual

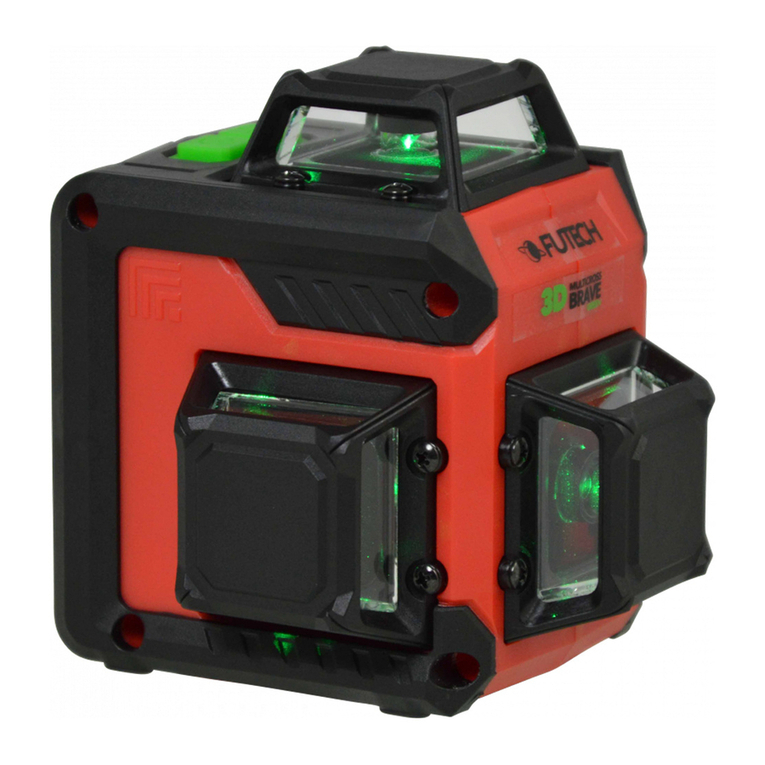
Futech MULTICROSS 3D BRAVE User manual

Futech

Futech MULTICROSS 3D BRAVE User manual

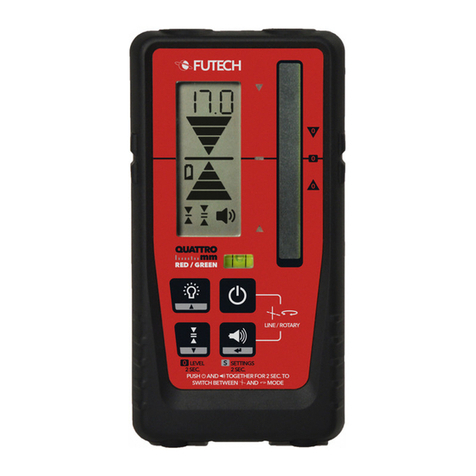
Futech QUATTRO User manual

Futech

Futech QUATTRO User manual

Futech RED RUNNER User manual

Futech

Futech RED RUNNER User manual

Futech MULTICROSS 3 Super Vision User manual

Futech

Futech MULTICROSS 3 Super Vision User manual

Futech MULTIPOWER 4.6 User manual

Futech

Futech MULTIPOWER 4.6 User manual

Futech TERACROSS User manual

Futech

Futech TERACROSS User manual

Futech DISTY 40R User manual

Futech

Futech DISTY 40R User manual

Futech DECACROSS User manual

Futech

Futech DECACROSS User manual

Popular Measuring Instrument manuals by other brands

Graytechnos photom MiNi 219 instruction manual

Graytechnos

Graytechnos photom MiNi 219 instruction manual

Mr. Nixie Universal Magic Eye Tube VU-Meter owner's manual

Mr. Nixie

Mr. Nixie Universal Magic Eye Tube VU-Meter owner's manual

TMT TI-2300 user manual

TMT

TMT TI-2300 user manual

Hanna Instruments HI5321 instruction manual

Hanna Instruments

Hanna Instruments HI5321 instruction manual

Burkert 8222 ELEMENT NEUTRINO operating instructions

Burkert

Burkert 8222 ELEMENT NEUTRINO operating instructions

Datcon DT4260 Series operating instructions

Datcon

Datcon DT4260 Series operating instructions

KLIPPEL KCS-ID manual

KLIPPEL

KLIPPEL KCS-ID manual

SICK PGT-09-S manual

SICK

SICK PGT-09-S manual

Alecto AQ30 user manual

Alecto

Alecto AQ30 user manual

Sun Microsystems SUN-OPM200 Series user manual

Sun Microsystems

Sun Microsystems SUN-OPM200 Series user manual

Tektronix TRCP0300 user manual

Tektronix

Tektronix TRCP0300 user manual

Benning LD 60 operating manual

Benning

Benning LD 60 operating manual

Servomex SERVOPRO Chroma user manual

Servomex

Servomex SERVOPRO Chroma user manual

Measumax 31-1851 instructions

Measumax

Measumax 31-1851 instructions

Electro-Sensors SG1000RA user manual

Electro-Sensors

Electro-Sensors SG1000RA user manual

DIOXCARE DX700 user manual

DIOXCARE

DIOXCARE DX700 user manual

Blue-White F-1000 instruction manual

Blue-White

Blue-White F-1000 instruction manual

Fluke FiberInspector Pro OFTM-5352 instruction sheet

Fluke

Fluke FiberInspector Pro OFTM-5352 instruction sheet

manuals.online logo
manuals.online logoBrands
  • About & Mission
  • Contact us
  • Privacy Policy
  • Terms and Conditions

Copyright 2025 Manuals.Online. All Rights Reserved.