17
Projector addressing
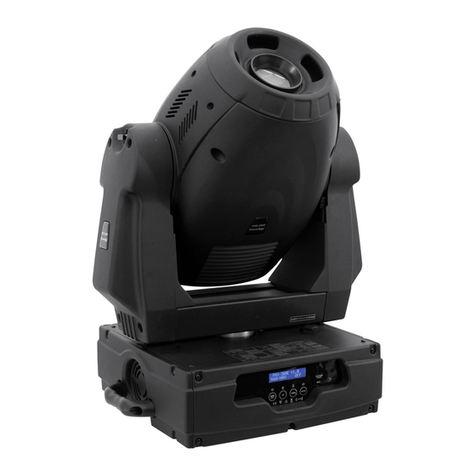
Please note that the EX-1 assigns the DMX-starting addresses every 6 steps. You have to address every
projector to the respective starting address. Otherwise, the channel assignment will not be correct. All
projectors with the same starting address work synchronically.
Projector Starting address Projector Starting address
Projector 1 1 Projector 3 13
Projector 2 7 Projector 4 19
Connection to the mains
Connect the fixture to the mains with the power-plug.
The occupation of the connection-cables is as follows:
Cable Pin International
Brown Live L
Blue Neutral N
Yellow/Green Earth
The earth has to be connected!
Operation
Preperation
Press and hold the PROGRAM UP/DOWN-buttons and switch the Power switch on.
The PROGRAM-DISPLAY shows the current DMX channel and the DMX VALUE-DISPLAY shows setting
value for this channel, if STROBE-LED shines. You can assign the channel to the desired button by pressing
the PAN, TILT, COLOR or GOBO button. If you wish to assign the next 2 channels (gobo-rotation and
shutter) press and hold the Color or Gobo-button until the LED flashes. If the BLACKOUT-LED shines, the
channel will be subject to the BLACKOUT BUTTON in standard mode. You can choose the desired DMX
channel for modification with PROGRAM UP/DOWN buttons.
If these settings shall be taken over by all projectors, press and hold the Step- and Time-button.
If you want delete dedicated the times of the program steps and set the programs no. 11-30 to minimum
length (1 step), press and hold the PROGRAM button and then press the ENTER button. Hold both buttons
until the reset has run (approximately 3 s).
Set up mode is finished by pressing the ENTER button. Setting all LED diodes in this moment is written in
EEPROM and will be used as an initial state of the controller. Before finishing the adjusting mode, set up the
trigger mode (AUTO, MUSIC, TRIG) and the speed mode (SLOW, MEDIUM, FAST) for every fixture.
Calling up a program
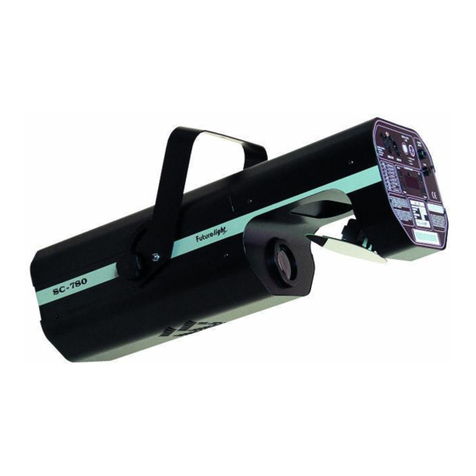
Select the desired program between 1- 10, CH, rn via the PROGRAM UP/DOWN buttons.The program runs
1.5 s after showing on the PROGRAM-DISPLAY. These programs are written for SC-240, SC-335, SC-375
and SC-250 and can be modified at any time.
The selection „CH“ means that the programs 1-10 will be run through (chain).
The selection „rn“ means that the programs 1-10 will be run randomly selected.
Programs from 1 to 30 - freely-programmable chasers.
Programs from 1 to 10 - pre-programed (but you can modify them).
Note: Only programs 1-10 are used for the options "CH" and "rn"
Adjusting the program-speed
The programs run through the selected program step by step with the programmed speed. You can adjust
the program-speed via the SLOW SPEED button, MEDIUM SPEED button or FAST SPEED button.
Jump from one step to another
Via the MANUAL TRIG button, you have the possibility to jump from one step to another.
If a program is run and the MANUAL TRIG button is pressed, the projector jumps to the next step after
finishing the current step. The MANUAL TRIG-LED shines and the program is stopped.
If you wish to start the program once more, press the AUTO TRIG button or the MUSIC TRIG button.
