CAUTION: HOLDING FOOD AT TEMPERATURES
OF LESS THAN 140°F MAY BE DANGEROUS.
TEMPERATURES UNDER 140°F PROMOTE THE GROWTH
OF HARMFUL BACTERIA AND TOXINS IN SOME FOODS.
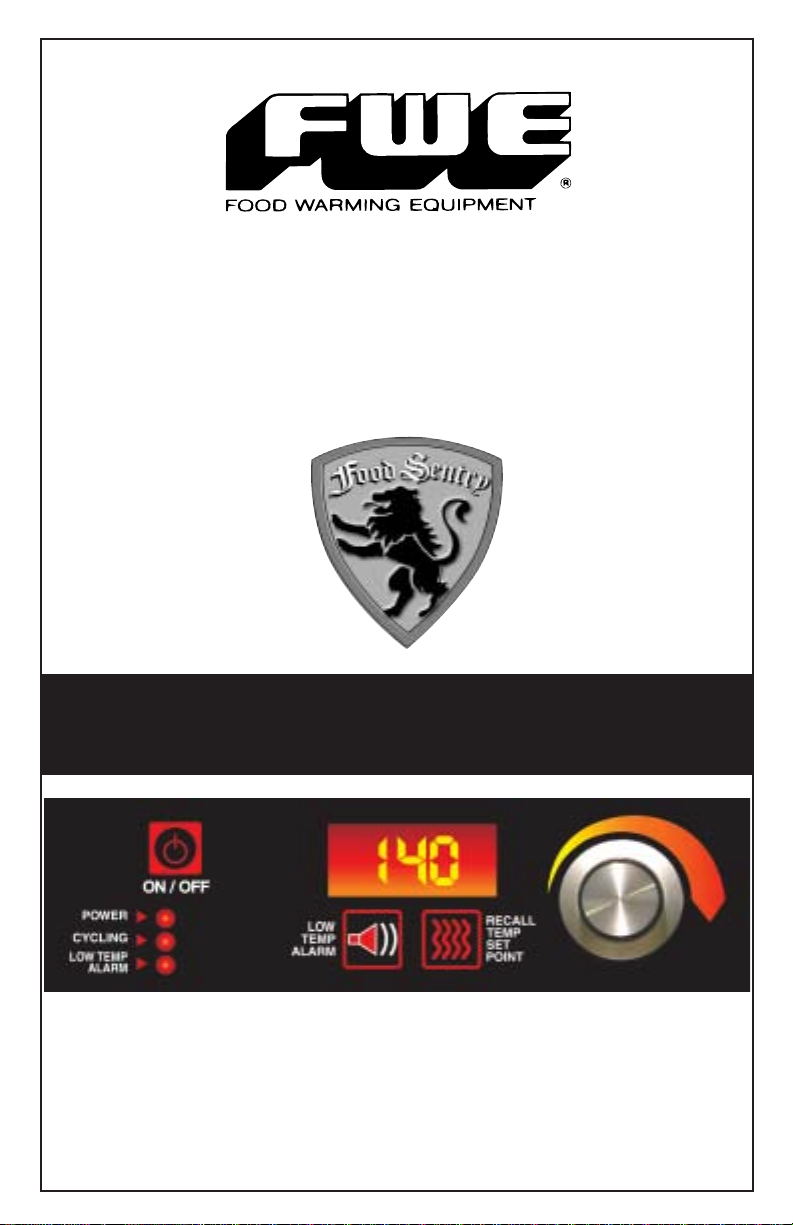
FOOD SENTRY SYSTEM
ON/OFF
Button TEMPERATURE OF
CABINET SET DIAL FOR
TEMPERATURE
LOW
TEMP
ALARM
RECALL
TEMP
SET
POINT
INDICATOR
LIGHTS
Q
Low Temp Alarm -
NOTE:THE FACTORY DEFAULT FOR THIS FEATURE IS IN THE “OFF”
OR DISABLED MODE.
Unit has a built in
“Low Temp”
alarm, allowing the operator
to have an audible and a visual indicator that the heated
cabinet has dropped below the
“Low Temperature”
set
point for more than two (2) minutes.
1.)
Adjust Set Point:
Press and hold
“Low Temp Alarm”
key. While holding,
rotate dial to desired set point between
“OFF”
and from 90°F (32°C) and
190°F (88°C). Release button to accept adjustments.When the internal
cabinet temperature falls below this “Set Point” for more than two (2)
minutes, the audible and visual alarm will alert you to this condition.
2.)
Recall Set Point:
Press
“Low Temp Alarm”
key to recall setting.
The display reverts back to the normal display after three (3) seconds.
3.)
Acknowledge:
Press any key to cancel beeping and flashing LED.
The LED remains lit until the temperature rises above the alarm set point.
4.)
Disable:
Follow the adjustment steps above.
A rotation of the dial
“down”
below 90°F (32°C) turns the alarm feature off.
Recall Temp
Set Point -
Unit may display either
“Actual Internal Cabinet”
actual temperature,
or desired
“Set Point”
temperature.
Actual:
The factory default setting
shows the actual internal cabinet
temperature and acts as a digital
thermometer. A momentary touch of
the
“Recall Temp Set Point”
key will
recall the original dial setting.The
display will then automatically return
to the actual internal temperature.
Set Point:
To have temperature read-out
display the
“Set Point”
temperature,
press and hold the
“Temp”
key for five
(5) seconds.The fourth (4th) digit on
the display will flash either
“S”
(Set), or
“A”
(Actual) to indicate which mode is
active.To switch back again, repeat this
step holding the
“Recall Temp Set”
key
for five (5) seconds. Low Temp Alarm
Indicator Light -
The
“Low Temp Alarm”
light will blink while setting the
“Low Temp Set Point”
.
When the temperature falls below the
“Low Temp”
set point, the indicator
light will blink until the alarm is cancelled/acknowledged.The light will remain
illuminated until the interior cabinet temperature reaches above the
“Low Temp Set Point”
again.
Q
Q
On/Off Switch -
A.) Turns cabinet on and off.
B.) °Celsius and °Fahrenheit Scale:
You may change the Digital thermometer
scale to either °C or °F as follows:
While unit is “Off”, press and hold the
“ON/OFF”
key for five (5) seconds.
The display will then switch from
“dgF” to
“dgC”
.Repeat to change scale again.
Dial -
Use dial to set the desired temperature.
Dial rotates completely.
Power Indicator Light -
Indicates that the power is on.
Cycling Indicator Light -
When light is
“ON”
, this indicates that the
cabinet is warming up to desired temperature.
When heating elements are activated, light will
come
“ON”
until cabinet has reached desired
temperature, and go
“OFF”
when unit has
reached desired temperature.
Temp Display -
Digital temperature display:
A.)°Celsius and °Fahrenheit Scale:You may
change the Digital thermometer scale to either
°C or °F as follows:While unit is
“Off”
, press
and hold the
“ON/OFF”
key for five (5)
seconds.The display will then switch from
“dgF” to “dgC”
.Repeat to change scale again.
B.)Unit may be set to show either actual
internal temperature, or
“Set Point
Temperature”.
(See
“Recall Temp Set Point”
)
®
Food Warming Equipment Company
7900 South Route 31
Crystal Lake, Illinois 60014
Phone:815-459-7500
Fax: 815-459-7989
sales@fweco.com
UICK-
S
TART
GUIDE
3