
Warranty procedure:
G-tools offers a 1 year warranty on all components of the Bonanza
except bulbs and filters. Please contact your G-tools rep to explain the
problem as there might be an easy fix without having to replace a part.
Maintenance and safety regulations:
The G-Kit Bonanza is a maintenance free object. Nevertheless there are a few factors to take into account.
- Only use grounded wall outlets to plug the Bonanza in.
- Do not plug the Bonanza into the wall outlet untill the machine is fully assembled and you have read the
instructions.
- Avoid contact of water with all electrical equipment
- When changing the light bulb always unplug the Bonanza from the wall outlet.
- Make sure the light bulb has had plenty of time to cool of before touching it.
- After screwing in the HPS bulb wipe finger prints of the bulb with a clean dry cloth to ensure its full life.
- Wait 20 minutes after the light has turned of before turning it on again.
- It’s recommanded that no more than 1 G-Kit Bonanza goes on a single 15A breaker. We also recommend the
Bonanza is plugged into a surge protector.This will protect the machine from any power spikes due to storms,
power outages, etc.
- Avoid contact with water with the non-laminated sides of the panels.
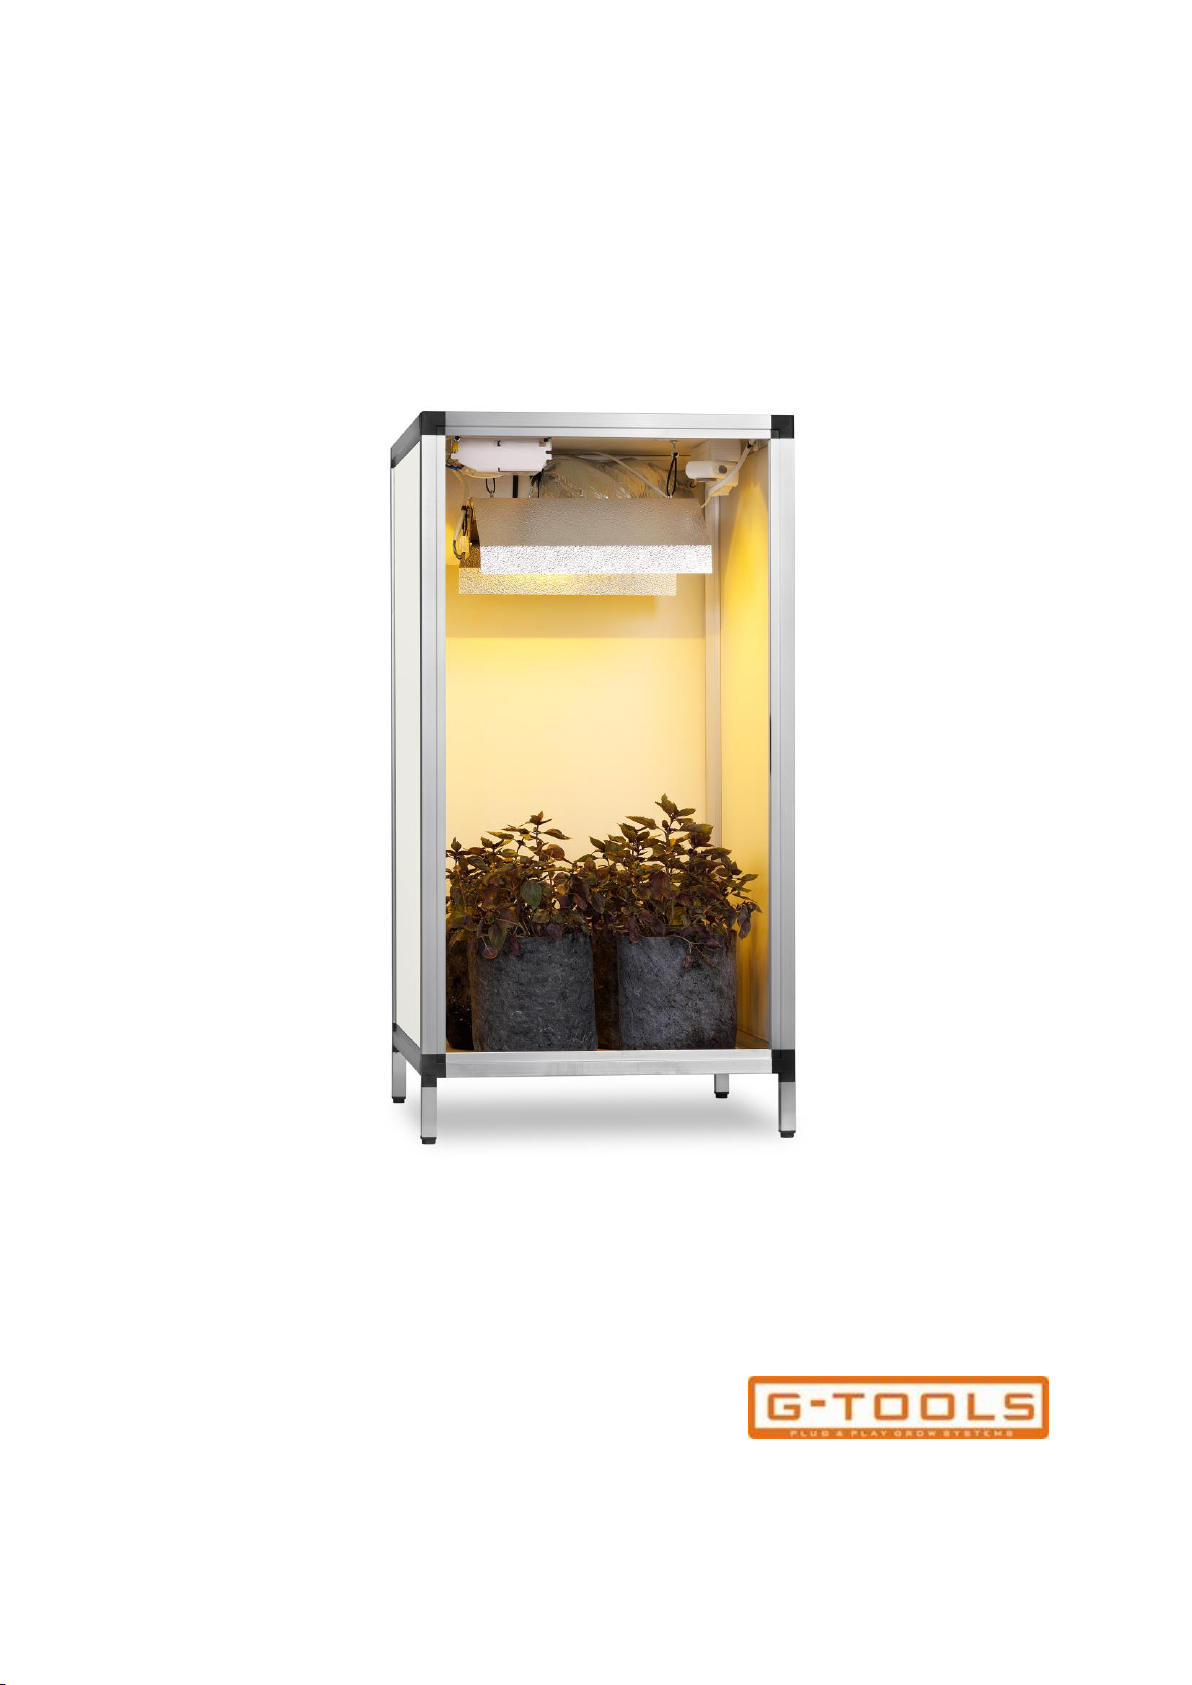
G-kit Bonanza Bench model:
Box A: top + bottom panel–box 62 x 62 x 30cm
Amount Description Length (mm) Width
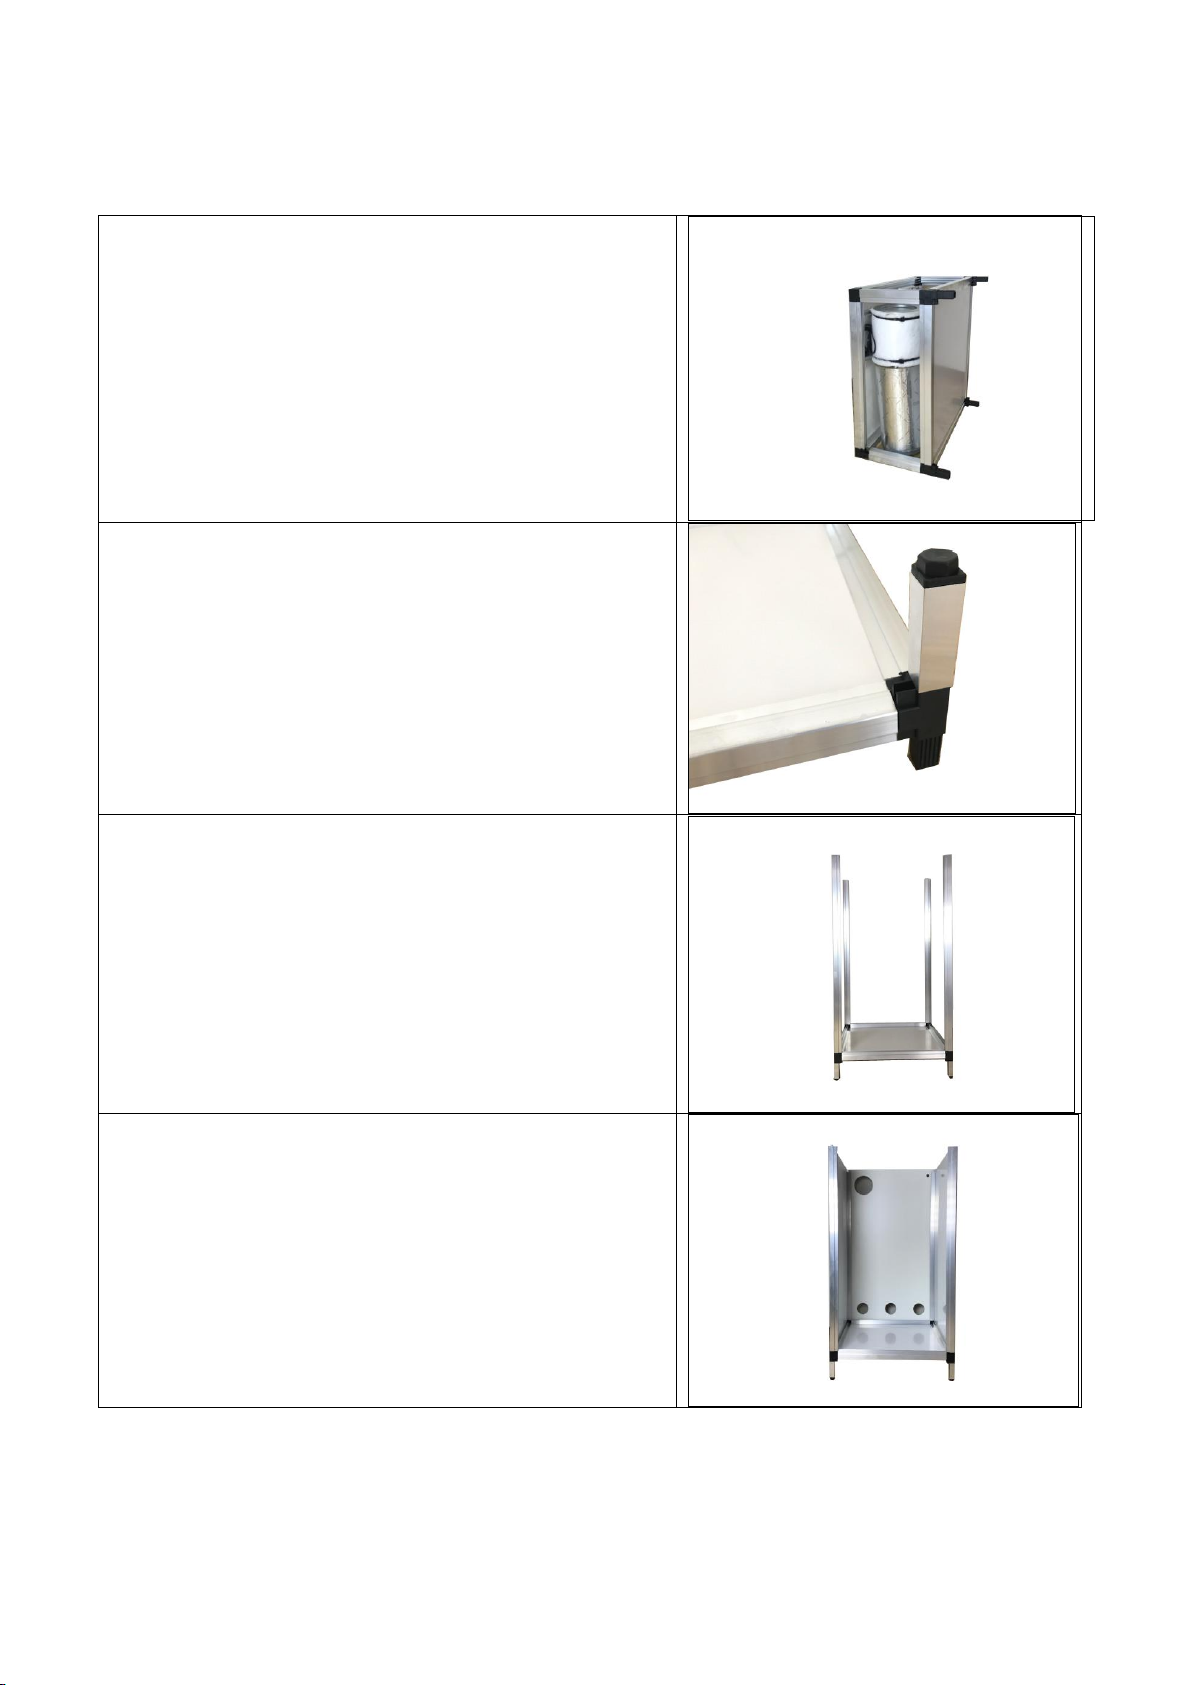
1 roof panel in alu frame (with timer, 615 615
fan, filter,Hanspanel or E.T.I 150 Watt and reflector*)
1 bottom pannel in alu frame 615 615
4 feet with protection cover 80
2 handle with 4 x screw and washers
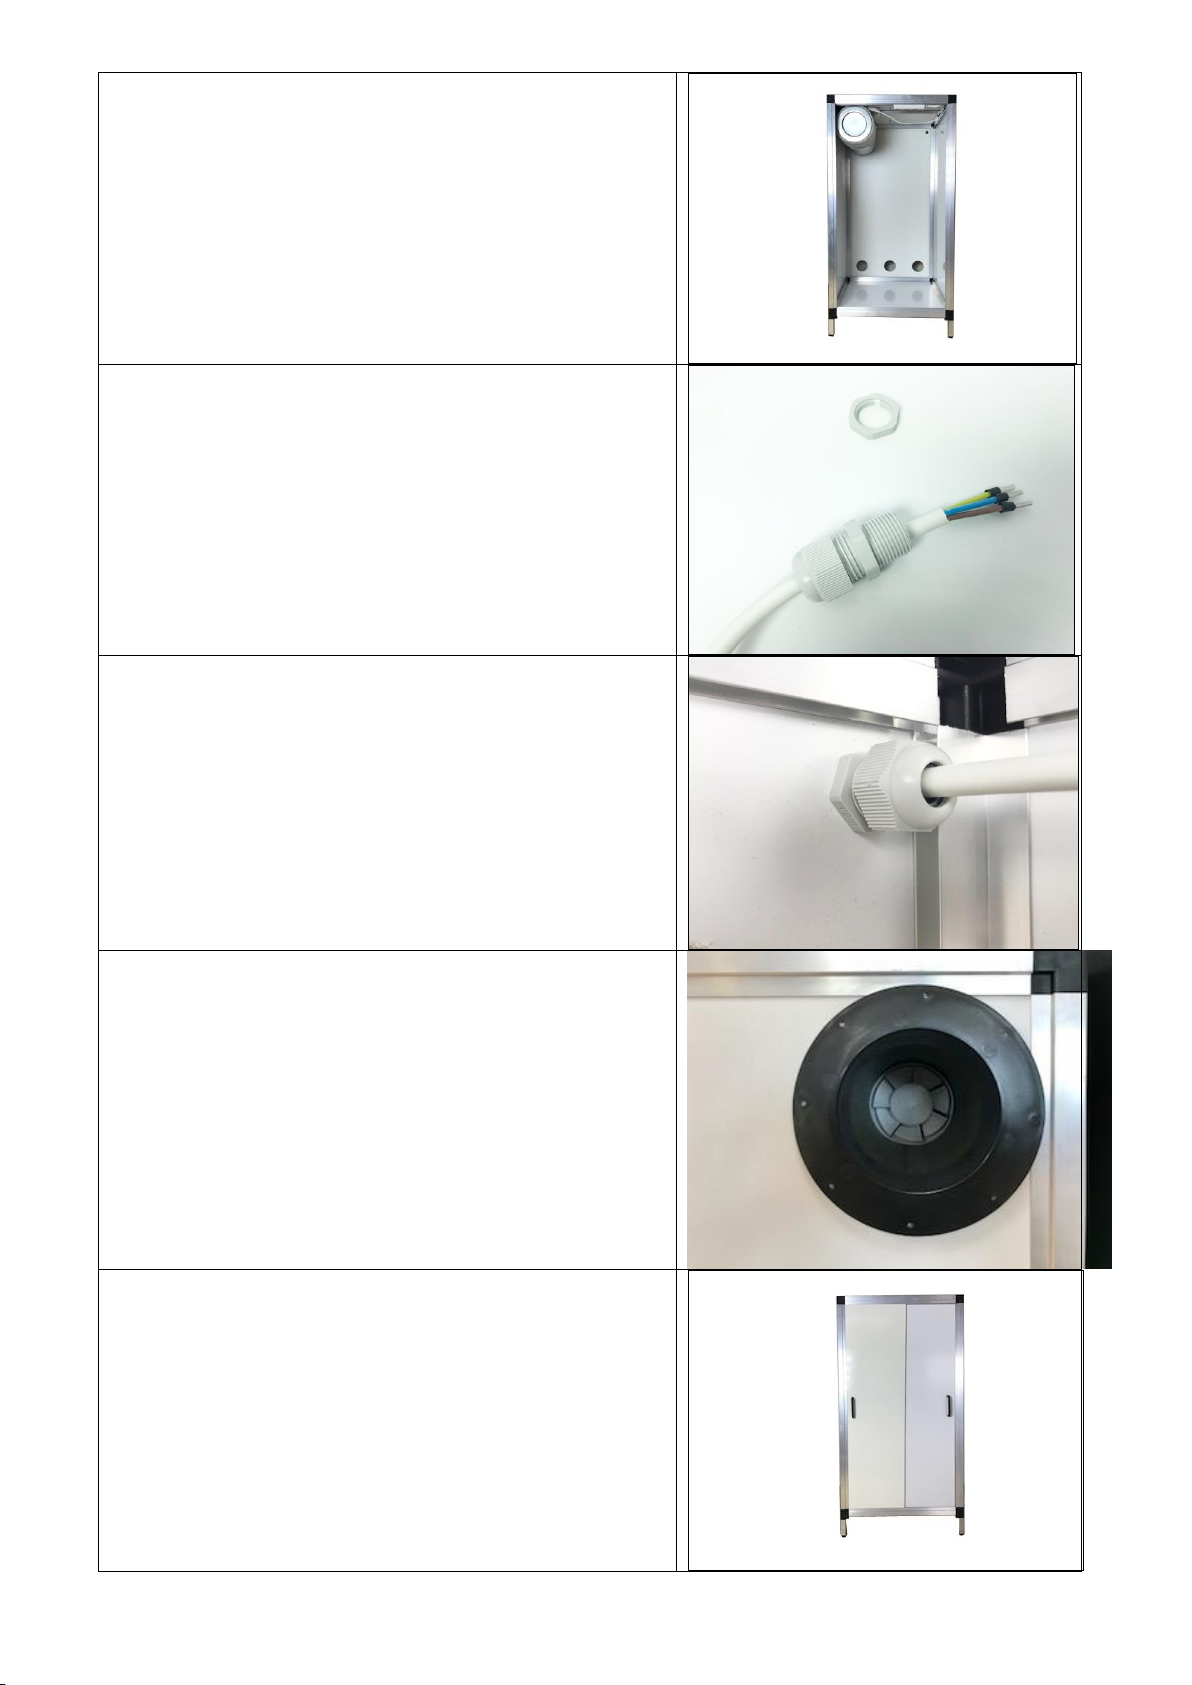
3 air inlet
1 plug
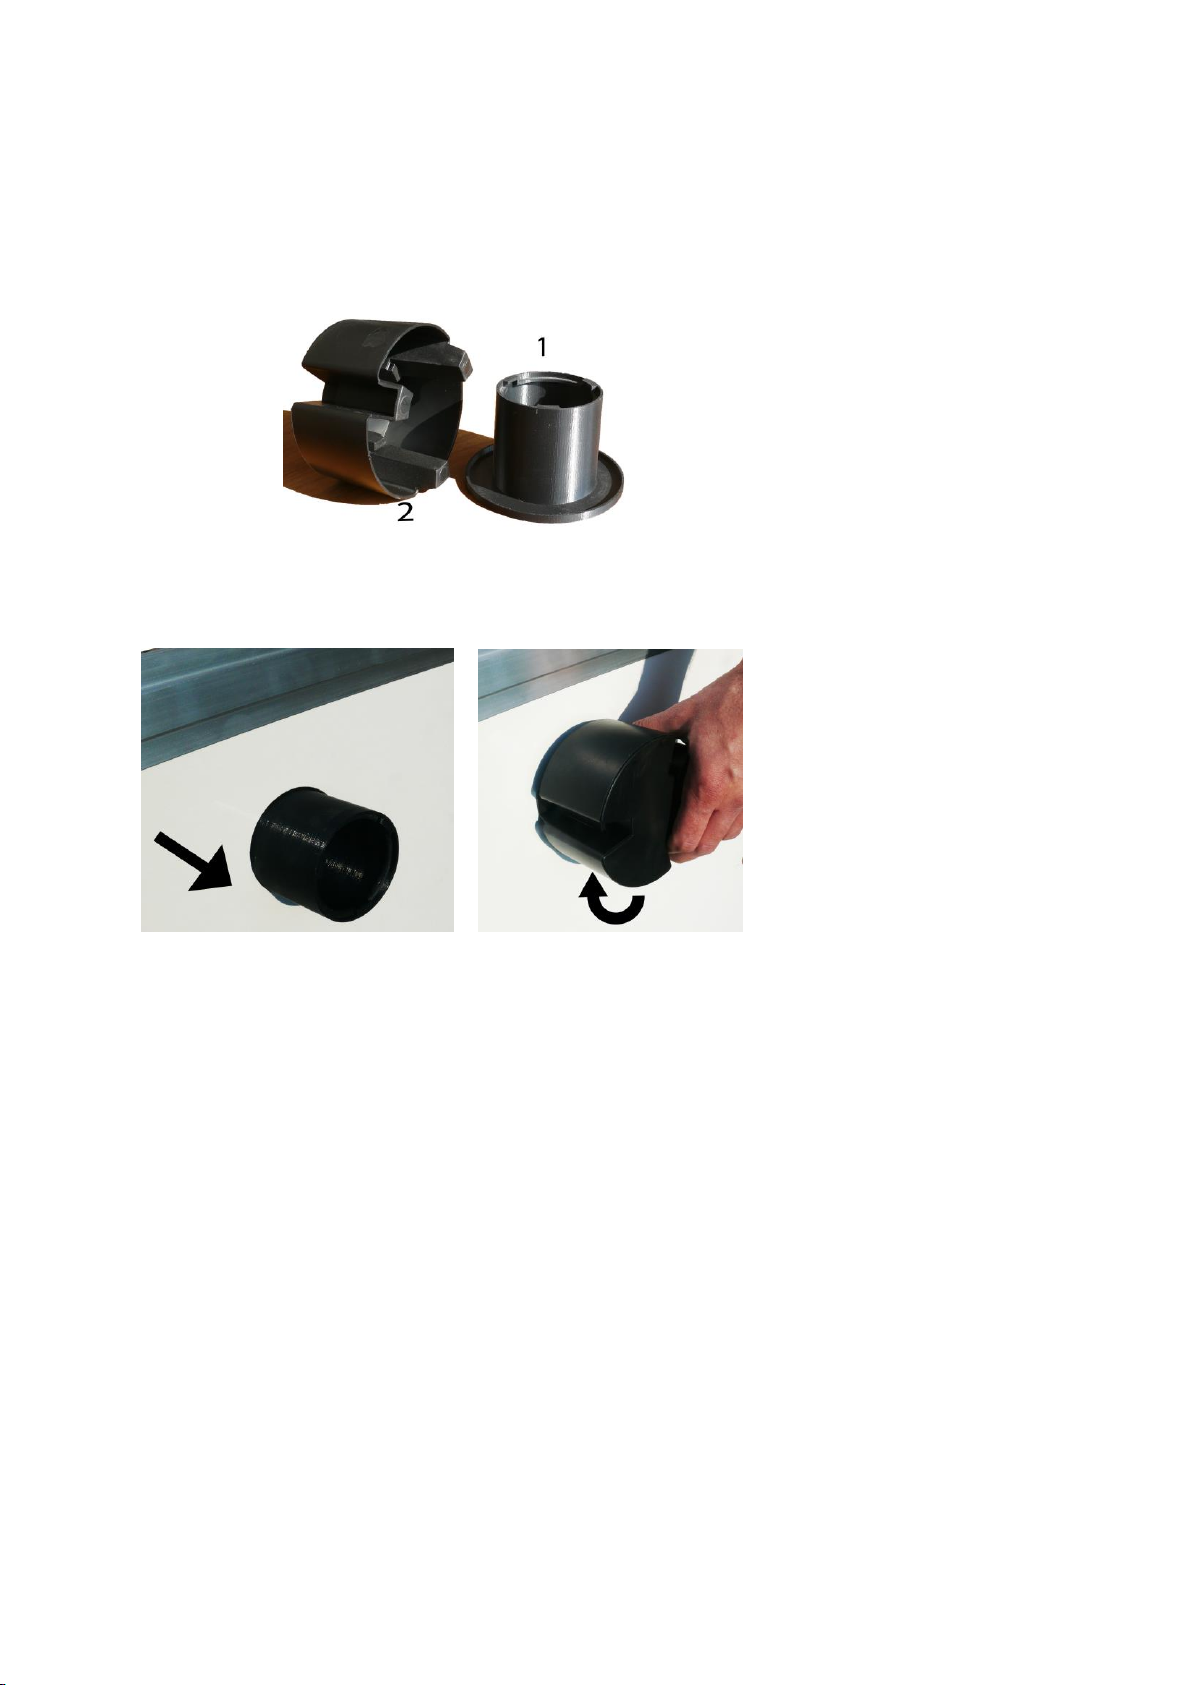
4 plastic U profile 530
1 flange 125mm
Box B: panels –box 120 x 73 x 5cm
Amount Description Length (mm) Width
2 side panels left and right 1028 564
1 door 1014 295
1 door with aluminium strip and weather strip 1014 295
1 back panel :-1 x hole 121mm 1028 564
-3 x hole 76mm
-1 x hole 21mm
4 angle profile 1000
Total packing 2 boxes (without box or pallet) –30,0kg
Items marked with a * are only part of a complete version.


