G-Tools G-kit wing User manual

Instruction manual G-kit® wing
Version: February ‘16

2
Content:
1. Important information READ FIRST! pag. 3
2. Specifications pag. 4
3. Detailed specifications pag. 5
4. Content boxes pag. 7
5. Assembly instructions pag. 9
6. Installation Azerwing® pag.19
7. Setttings G-Kit pag.23
8. Settings Azerwing® pag.24
9. Settings ventilator pag. 25
9. Maintenance pag. 26
10.Frequently asked questions pag. 27
11.Service contact pag. 27

3
1. Important information
1. Always take out the 230V plug during maintenance or
service.
2. Make sure the G-kit is put in a safe and dry place.
3. The G-kit has to be connected to a grounded socket.
4. Do not touch the bulb with your hands. Always use a clean
cloth. The grease on your hands reduces the life time of the
bulb substantially.
5. Remove the ty-raps of the reflector before switching on the
light.
6. Take away the protection foil of all the panels before setting
up the cabinet.
7. Use a thermometer in the shadow to measure the
temperature correctly.
8. Make sure the ventilation holes are not blocked: keep a
minimum distance of 10 cm.
9. The room in which the G-kit is placed needs to be well
ventilated.
Disclaimer:
G-tools has no intention to promote the growing of any specific
tropical plant. Our products are not meant to encourage anyone to
break the law.
G-tools and our dealers cannot and will not be held responsible for
anyone who does.
G-tools advise their customers to check the national laws of their
country before ordering any products. We cannot guarantee that
well meant information would not be misused.
G-Tools Weesp, April 2010

4
2 . General specifications:
Dimensions (h x b x d):
G-kit 400 wing 191 x 118 x 78 cm.
G-kit 600 wing 191 x 154 x 78 cm.
G-kit 800 wing 191 x 174 x 88 cm.
G-kit 1200 wing 191 x 174 x 118 cm.
Material cupboard G-kit:
Foam PVC UV resistant panels
(fire class B1)
Aluminium profiles
Ventilator 400/600 Wing:
GT 125 2-speed 220-360m3
With acoustic insolated duct
Ventilator 800/1200 Wing:
PK 125 EC-TC 680 m3/hour with
temperature setting, speed control and
acoustic insolated duct
Filter 400/600 Wing: PK 1603 Industry
maximum air flow: 460 m3/hour
optimal air flow: 360 m3/hour
Filter 800/1200 Wing: PK 1604 Industry
maximum air flow: 700 m3/hour
optimal air flow: 460 m3/hour
Lighting: LuxElite 230V. 600Watt
Reflector: Azerwing Vegagreen with PVD glasscoating
Transformer: Lucilux electronic ballast 600 Watt
Dimfunction; 250, 400, 600 and 660 Watt
Timer box: 2 contacts 600W with timer and relay
3 contacts 600W with continuous power
All components are CE approved

5
3. Detailled specifications:
Timer box:
The switchbox consists of the following components:
- Relay 40A
- Timer Davin
- 2 x socket for lights
- 3 x socket for fans, irrigation pumps,etc
All components are CE approved
Azerwing:
We only use the original Azerwing Vegagreen® reflector.

6
Ventilation:
The installed extractor fan is an in-line fan of Prima Klima.
It is the most silent in its class.
2 Types of in-line fans are used.
-GT 2-speed 225m3-360m3 (G-Kit 400/600 Wing)
-PK 125 EC-TC 680 m3 with build-in speed controller (G-Kit
800/1200 Wing)

7
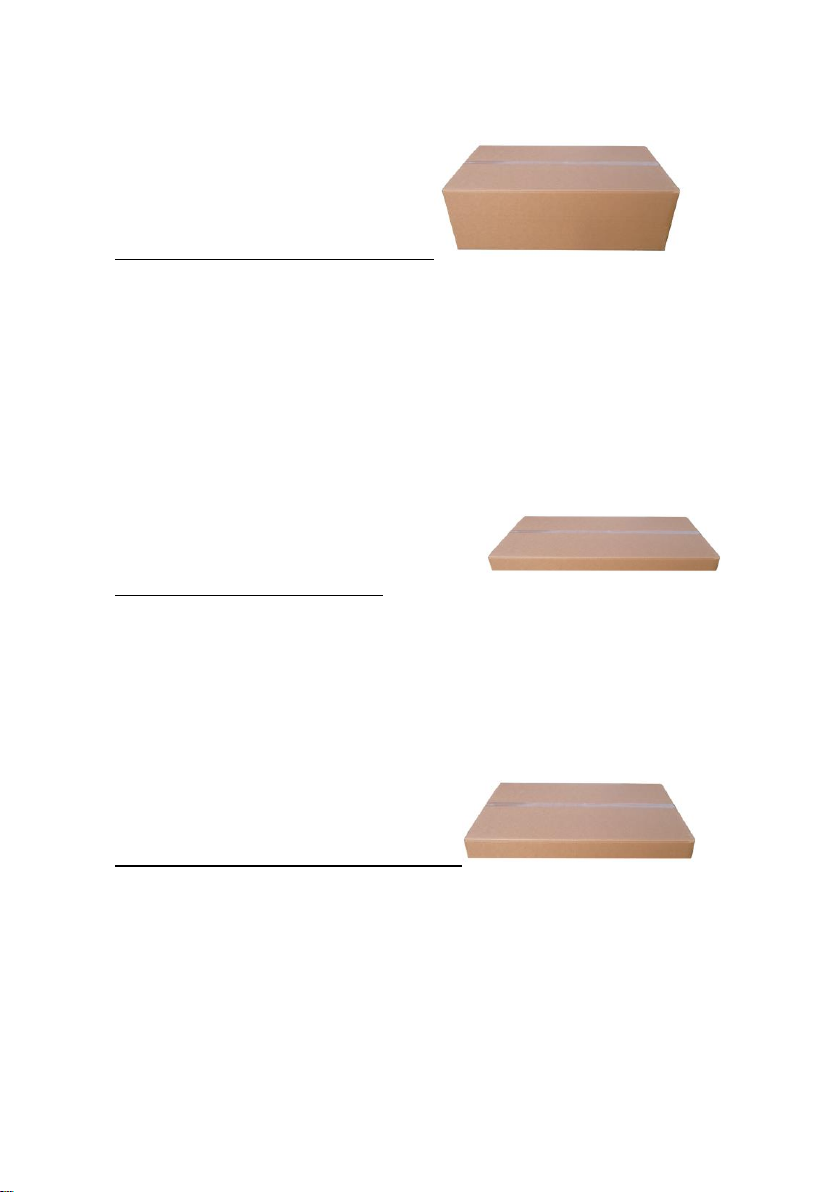
4a. Content boxes G-kit® 1200 Wing:
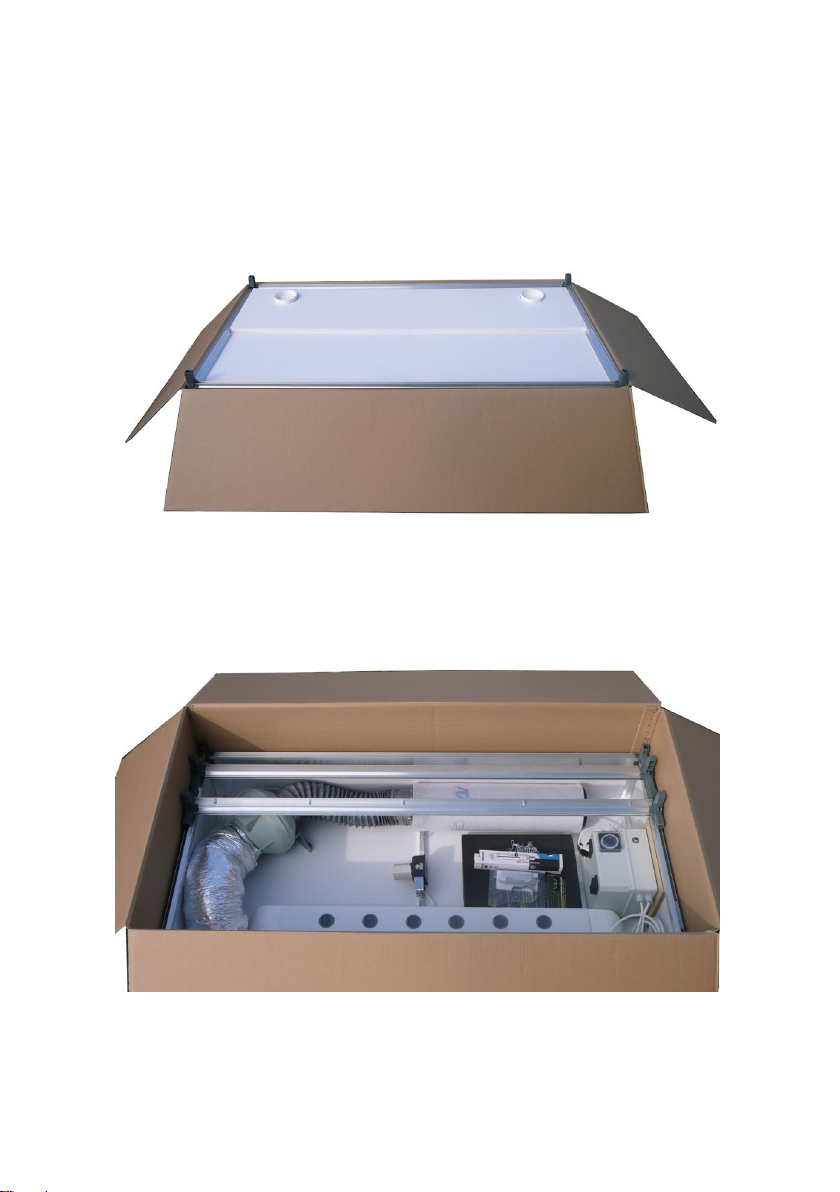
Box 1- Top and bottom plate
- roof plate with fan and filter
- bottom plate with profiles, connectors and wheels
- 1 x plate 168,5 x 34,8 cm high for bottom part
- 2 x door x x 34.8 cm high for bottom part
- 2 x long plate 168,5 x 22,8 cm high for top part
- 4 x aluminium profile 165,5 long with connectors
- 2 x aluminium profile 110 long
- 8 x air in-let
- box with Azerwing large reflector
- heavy hanger for mounting Azerwing
Box 2 –timer box and ballasts
- side pannel top part with timer box, transformers and
mounted fittings, cable and plug.
- 1 x aluminium profile 110 long for top part
- 1 x side panel top part
- 2 x lamp 600W
- plastick bag with door handles, 24 x screw for fixing top part
and air in-lets.
Box 3 –poles and panels
- 4 poles 110 cm
- 4 poles 32 cm for bottom part
- 2 side panels 34,8 cm high for bottom part with holes 10 cm
- 2 doors with aluminium profiles.
- 4 side panels
- 2 back panel
- 3 x white H –profile

8
4b. Content boxes G-kit® 400/600/800 Wing:
Box 1- Upper part and bottom plate
- upper part with lighting and ventilation
- bottom panel (with profiles and corner pieces)
- 1 x long back panel 34,8 cm high for bottom part
- 2 x door x x 34.8 cm high for bottom part
- 4 x air inlet (8 x for 800 Wing)
- 2 x aluminium profile with corner pieces
- box with adjust-a-wing reflector and chain and spreader.
- box with LexElite 600 Watt bulb
- 4 door handles with screws
Box 2 - Poles and panels
- 4 poles 110 cm
- 4 small poles 32 cm for bottom part
- 2 side panels 34,8 cm high for bottom part
- 2 doors with aluminium profile
- 2 side panels 112,3 high
- 2 back panels 112,3 high
- plastic white H

9
5a. Installation instruction G-kit:
NOTE: Pictures may differ in detail. Pictured below is the set up of a
G-Kit 600 Wing.
a. Open the box and check if all components arrived in good
order. Take out the large components:
2 long panels with vents
bottom plate with corner pieces
b. Take out the other loose components:
2 long profiles with corner pieces
air inlets

10
azerwing reflector
light bulb
c. Position the bottom part and make sure it is leveled
Push the 4 short poles (32cm) on the corner pieces.
d. Take away all the protection foil from the panels!

11
c. Place the side panels with the holes for the air inlets (400, 600
and 800Wing have holes in back panel).
d. Placet he air inlets. Each air inlet consists of 2 parts.

12
-Push part 1 inwards through the hole in the backpanel.
-Push part 2 on part 1 and twist & lock.
e. Place the back panel and the doors with the supplied wheater
tape to seal of the doors lighttight.
f. Take the 2 long profiles with the corner pieces and the 2 side
profiles and make a ring.

13
g. Position the ring on top of panels of the bottom part push
them tight. The bottom part is ready.
h. Position the 4 long poles, 110cm.

14
i. Take the 2 back panels and put them together using the white
H (connecting) profile.
j. Position the side- and back panels between the poles.The G-
Kit 1200 Wing has side panels consisting of two parts.
(picture above is fitted with the optional irrigation system)

15
k. Take the doors and add the handles. Watch out: the door with
the white plastic foam is the back door. This insulation tape is
to make sure no light comes through the doors.

16
5b. Installation instruction G-kit 1200 Wing:
For transport reasons the top part of the G-Kit 1200 Wing is packed
in three separate boxes
a. Take the roof panel with the fans and filters from the
box and put it flat on the floor.

17
b. Attach the side panel with the timer box and ballasts to
the roof panel using the plastic corner pieces.
c. Attach the opposite side-panel using the connectors.
d. Fix the front and back panels between the profiles.
e. Fix the two aluminium profiles (165cm) with the
connectors.
f. Put the plug of the fan in one of three sockets on the
timer box saying “continuous”.

18
5c.Installation instructions Azerwing®
In the 1200 Wing the Azerwing reflector still has to be installed.
400, 600 and 800 Wing models have the Azerwing pre installed.

19
a. Take de Azerwing® out of the box and check the
content.
b. Install the Azerwing reflector according to the supplied
manual.
c. Connect the fittings of the Azerwing to the cables of the two
Lucilux ballasts. Don’t forget to ground them.

20
With the screws on the stays of the Wing the reflector can be
adjusted from wide to deep beam.
d. Take the heavy hangers and hook it between the wing and
the upper part of the cabinet.
When everything is installed properly the upper part can be placed
on top of the poles.
This manual suits for next models
4
Other G-Tools Greenhouse Kit manuals