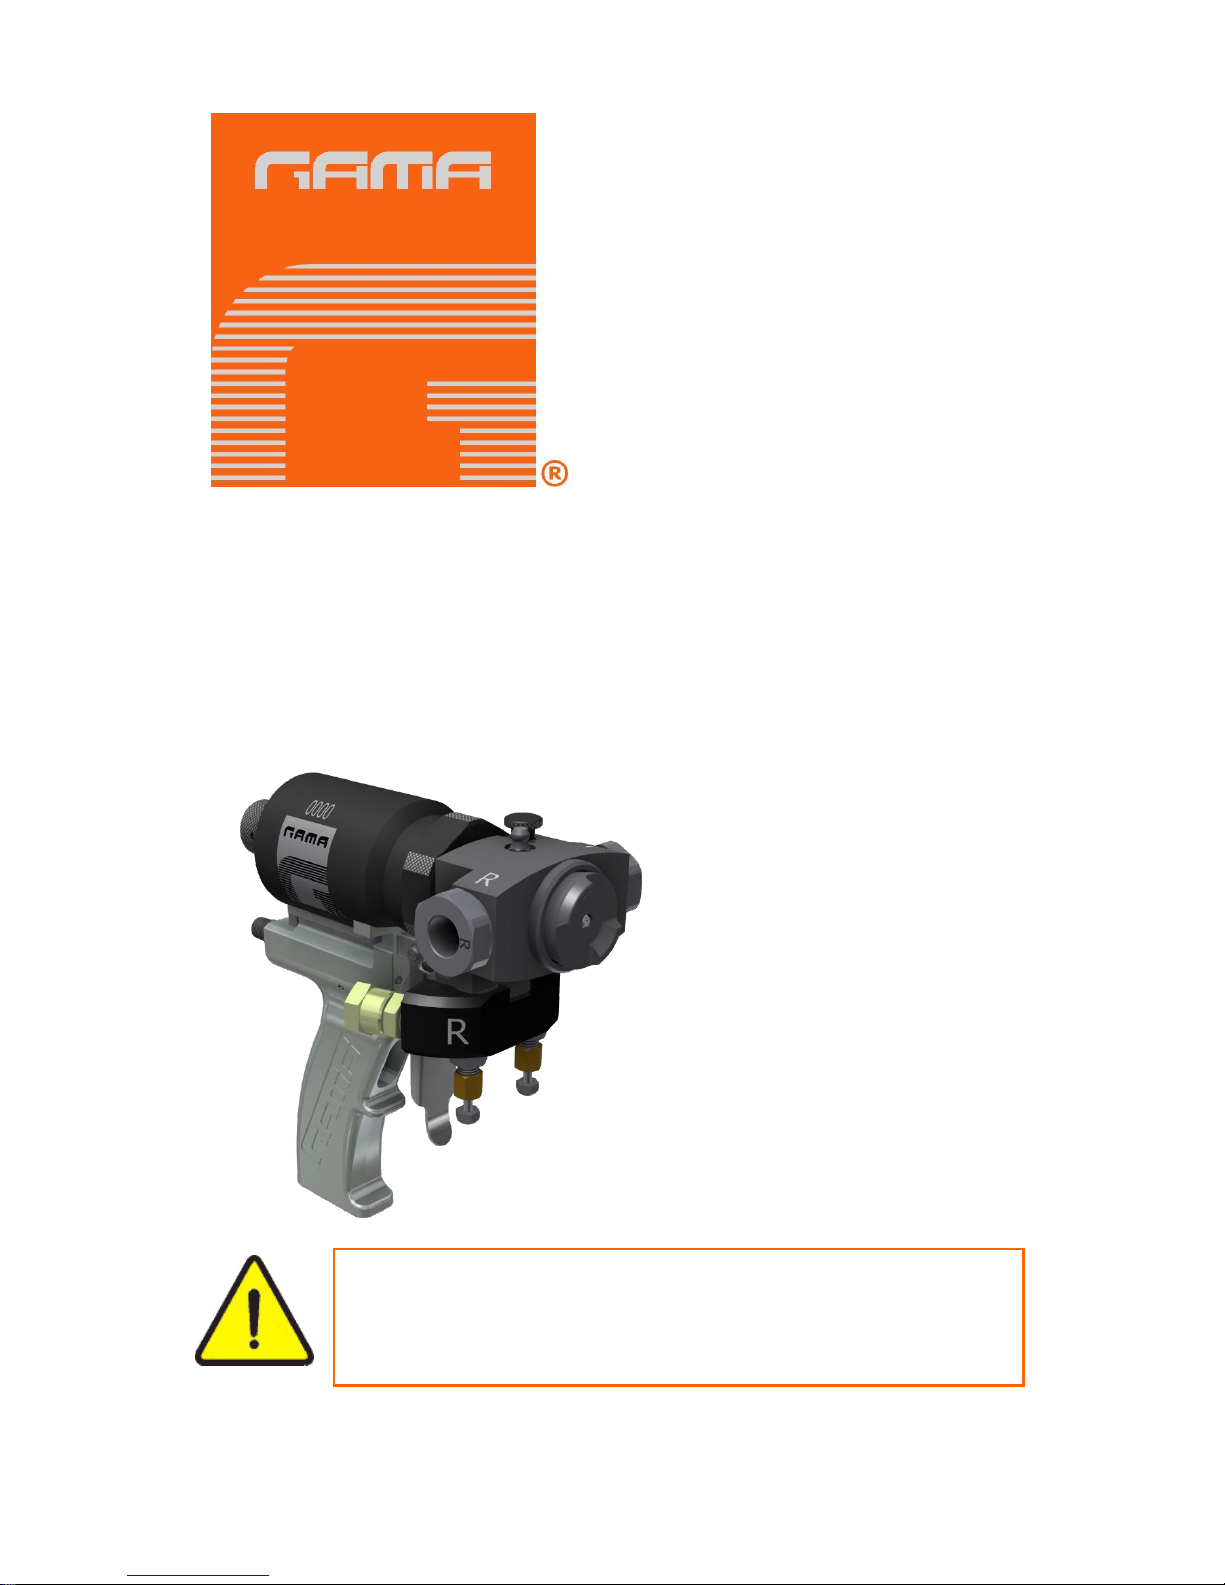
Service Manual
2/25 1.4 Issue Ref. NR-00073-ENG
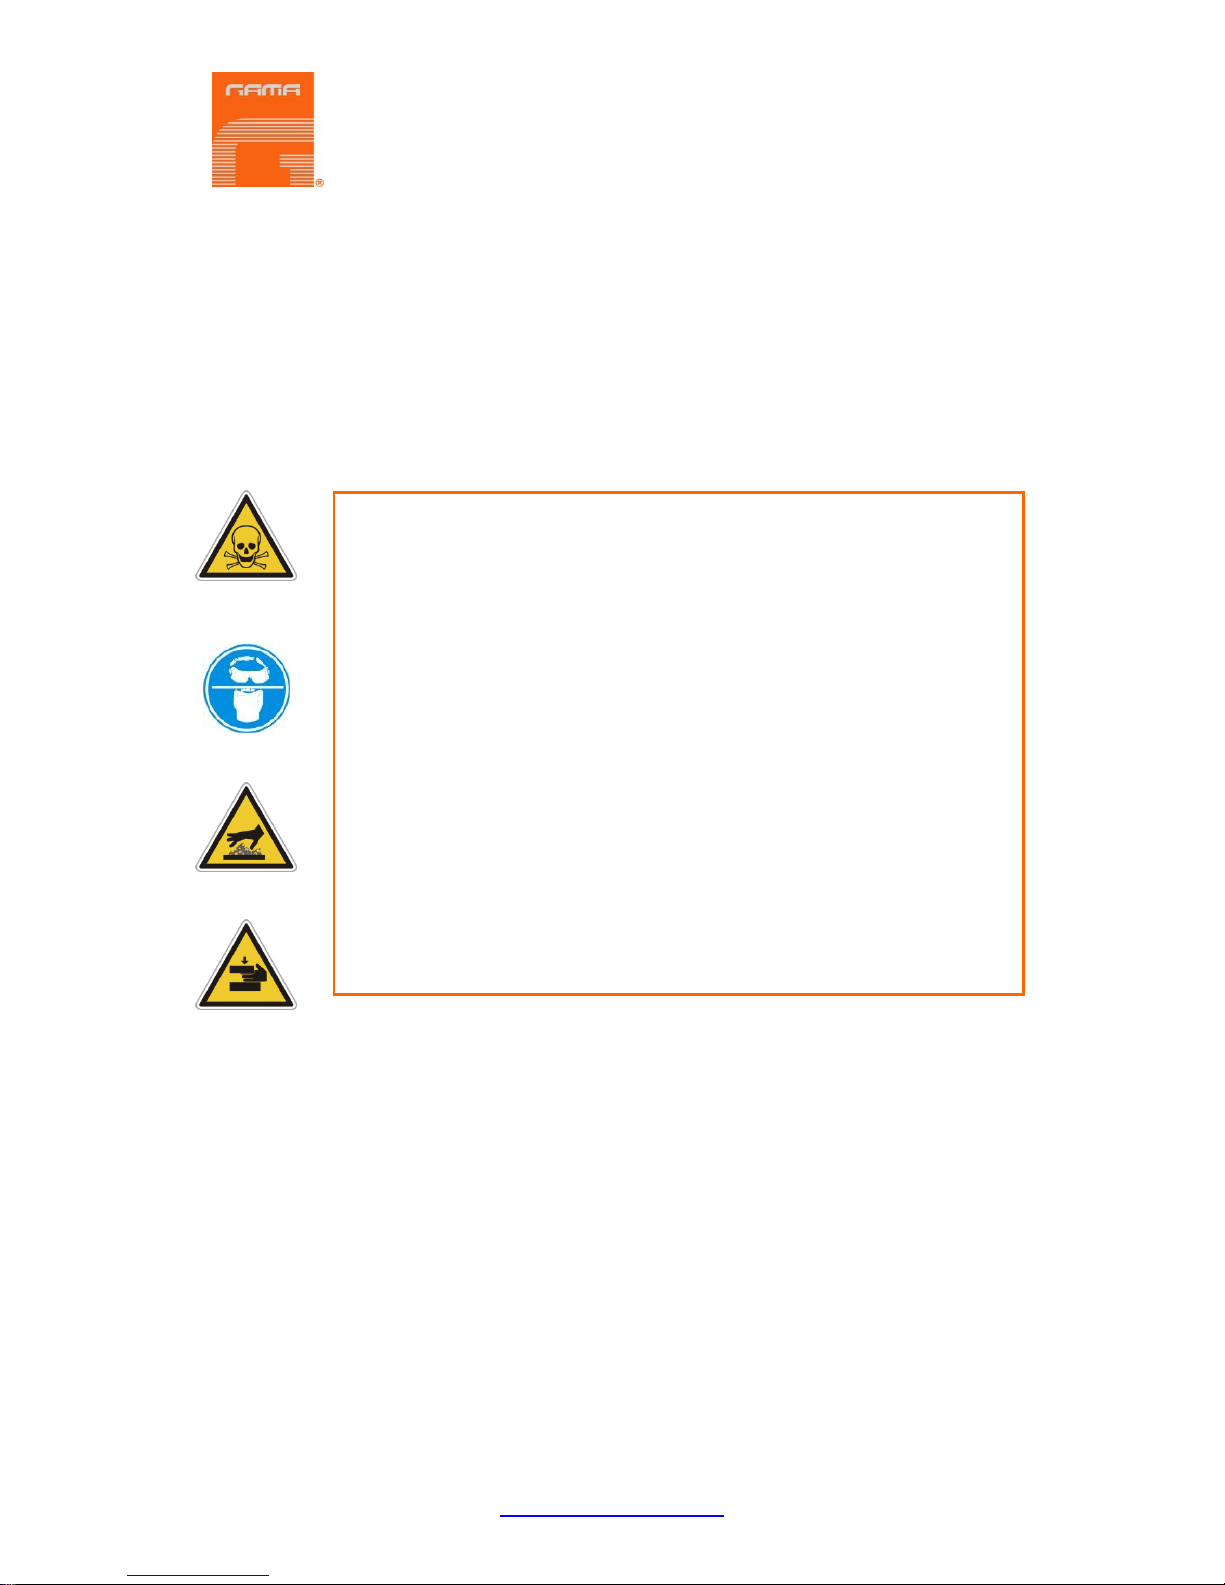
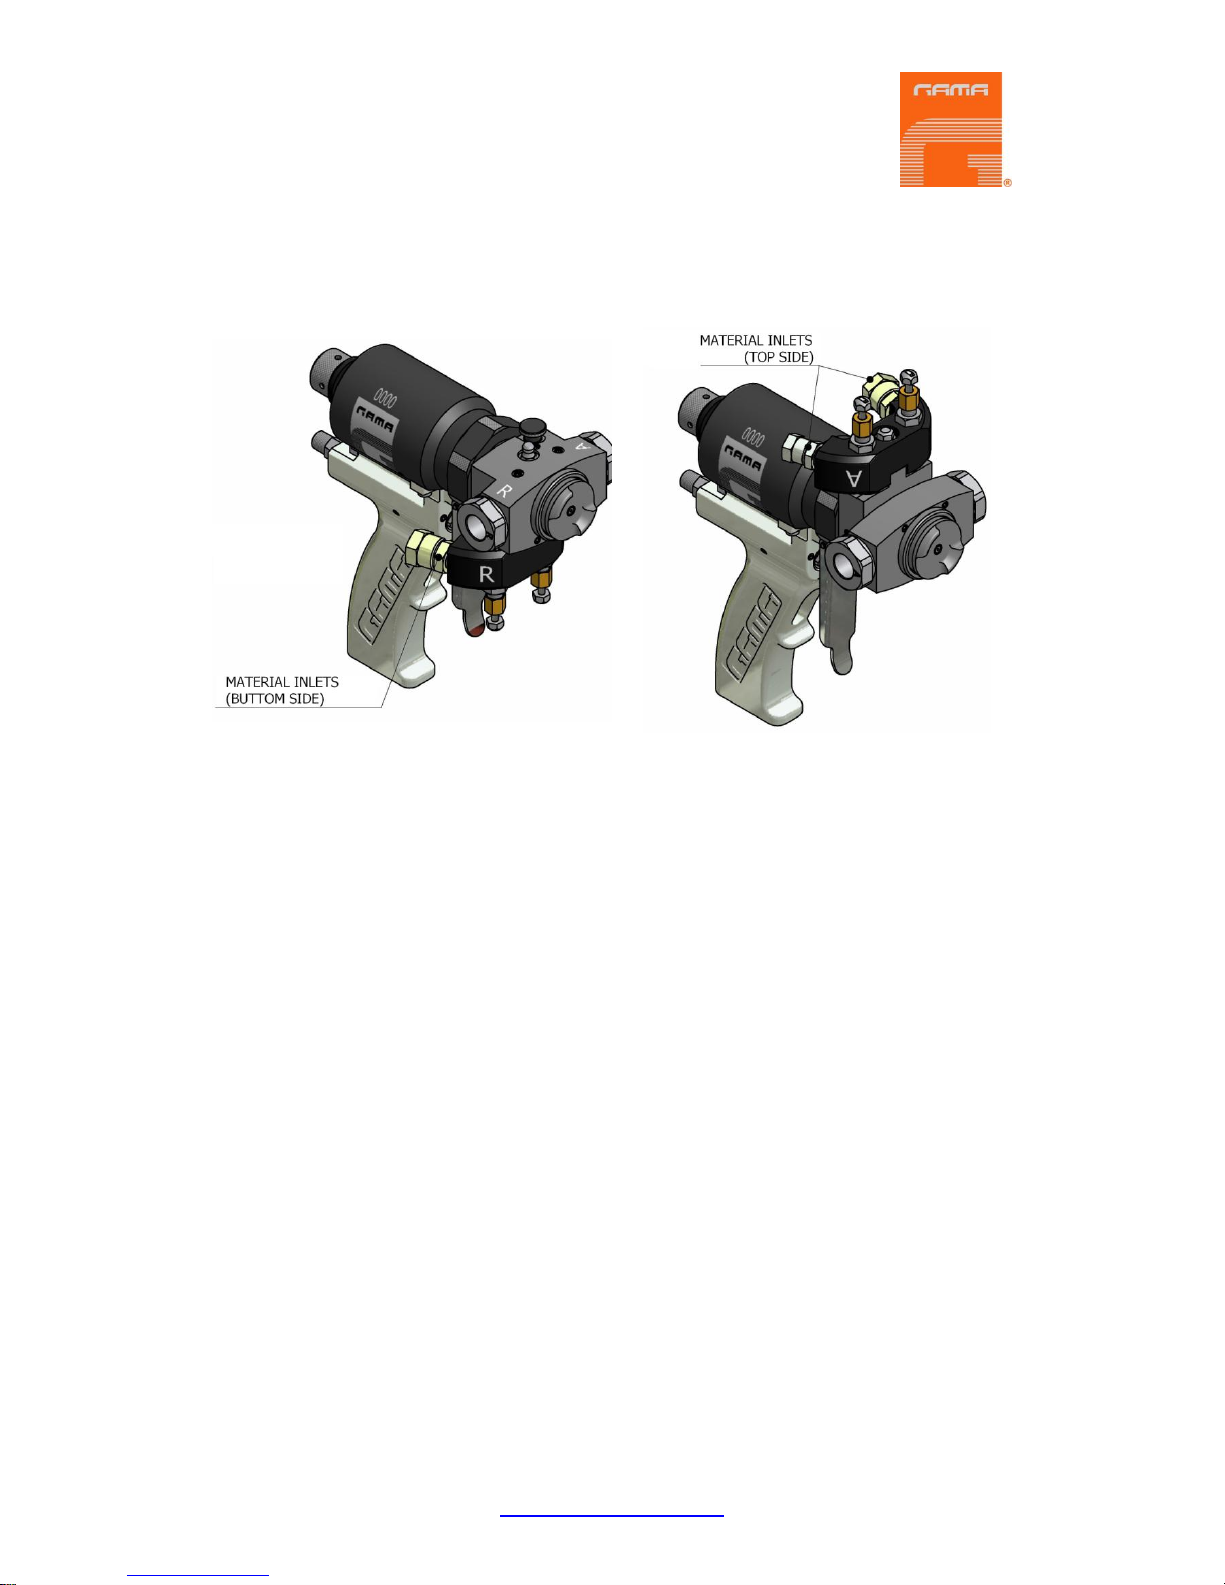
http://www.gamapur.com
GARRAF MAQUINARIA, S. A. (hereinafter “GAMA”) grants this Guarantee limited to the original purchaser
(hereinafter “Client”) for the equipment and the original accessories delivered with the equipment
(hereinafter “Product”) against any fault in design, materials or manufacture of the Product at the time of
the first purchase by the users and for a period of two (2) years there from.
If during the guarantee period and under normal conditions of use, the Product should fail to work correctly
due to defects of design, material or manufacture, the authorised distributor of the country where the
GAMA Product or technical assistance service has been purchased shall repair or replace the Product in
accordance with what is established in the following
CONDITIONS
a) The validity of this guarantee will be subject to the presentation of the original invoice issued by
the GAMA authorised distributor for the sale of the Product along with the Product handed over
for repair or replacement, which must show the date of purchase and the serial number. GAMA
reserves the right to refuse to give the guarantee service when the indicated data fail to appear
on the invoice or have been modified after the purchase of the Product.
b) The repaired or replaced Product will continue to maintain the original guarantee for the time
remaining until the end of the guarantee or for three (3) months from the repair date, if the
remaining period of the original guarantee were shorter.
c) This guarantee will not be applied to the faults in the Product caused by its faulty installation, the
natural wear and tear of the components, any use other than that considered normal for this
Product or which should fail to strictly comply with the instructions of use provided by GAMA; due
to accident, carelessness, adjustments, alterations or modifications of the Product not authorised
by GAMA or due to the use of accessories, heating devices, pumping equipment and/or
dispensers that have not been approved or manufactured by GAMA.
d) The guarantee applicable to the components and accessories forming part of the Product and
which have not been made by GAMA will be limited to the guarantee offered by the original
manufacturer thereof.
GAMA WILL NOT RECOGNISE ANY EXPRESS ORAL OR WRITTEN GUARANTEES OTHER THAN THIS PRINTED LIMITED
GUARANTEE. ALL IMPLICIT GUARANTEES, INCLUDING, WITHOUT LIMIT, ADAPTATION FOR A SPECIFIC USE, ARE SUBJECT
TO THE DURATION OF THIS WRITTEN GUARANTEE. GAMA DOES NOT ASSUME ANY KIND OF COMMITMENT OR
RESPONSIBILITY FOR ALL POSSIBLE DAMAGE OR EXPENSE CAUSED BY FAULTS IN THE OUTPUT OF THE PRODUCT, ITS
WORKING OR THE DISPENSING OF MATERIAL THROUGH THE PRODUCT, INCLUDING, WITHOUT LIMITATION, ALL
EXPENSES CAUSED BY DAMAGE TO PEOPLE OR PROPERTY. EQUALLY, GAMA WILL IN NO CASE ACCEPT LIABILITY FOR
THE LOSS OF SPECULATIVE PROFITS OR COMMERCIAL LOSSES. ALL REPAIRS OR REPLACEMENT OF FAULTY PRODUCTS
WILL CONSTITUTE THE COMPREHENSIVE FULFILMENT OF GAMA'S OBLIGATIONS WITH RESPECT TO THE CLIENT. GAMA
DOES NOT IN ANY WAY GUARANTEE THE SUITABILITY OR APTITUDE OF ITS PRODUCT FOR ANY PARTICULAR PURPOSE
OR APPLICATION.
All of the information provided on components which have not been manufactured by GAMA and which is
based on reports received from the original manufacturer, though considered precise and reliable, is
provided without any guarantee or responsibility of any explicit or implicit kind.
All concession, sale or financial leasing of the Product by GAMA in no case explicitly or implicitly
constitutes any authorisation, acceptance or concession for the use of any rights or patents, nor does it
encourage, nurture or back their infringement.
The restrictions on the guarantee suppose no limitation on the legal rights of the consumer established in
applicable national legislation, nor do they affect any rights derived from the bargain and sale agreement
between the consumer and supplier.