manuals.online logo
Brands
  1. Home
  2. •
  3. Brands
  4. •
  5. Garland
  6. •
  7. Grill
  8. •
  9. Garland 9501 Installation manual

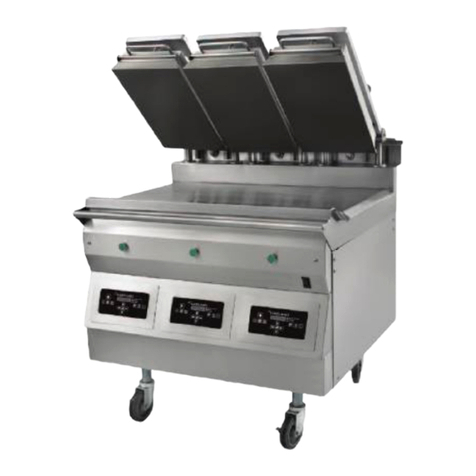
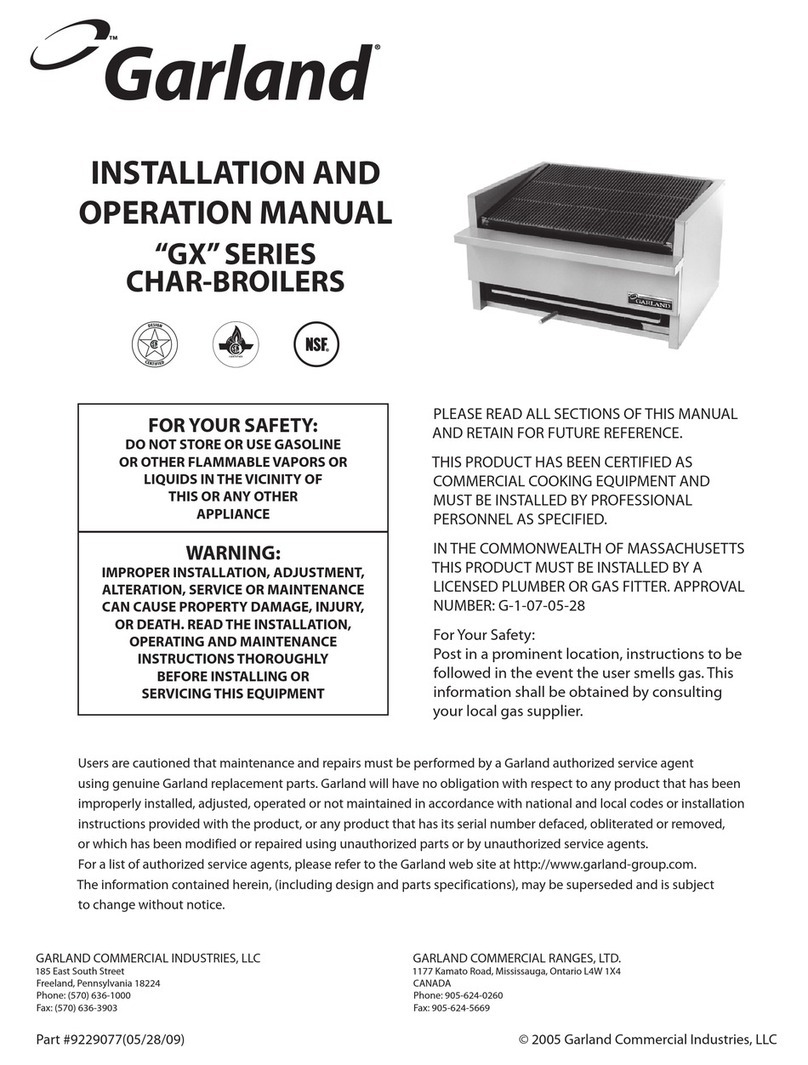
Garland 9501 Installation manual

Other Garland Grill manuals

Garland Master Xpress XE241L User manual

Garland

Garland Master Xpress XE241L User manual

Garland MWE3W User manual

Garland

Garland MWE3W User manual

Garland XG24-JIB User manual

Garland

Garland XG24-JIB User manual

Garland MWEFH-9501 User manual

Garland

Garland MWEFH-9501 User manual

Garland XE24 User manual

Garland

Garland XE24 User manual

Garland GXC24 Service manual

Garland

Garland GXC24 Service manual

Garland CFA Garland Grill 2.0 User manual

Garland

Garland CFA Garland Grill 2.0 User manual

Garland MWE3W User manual

Garland

Garland MWE3W User manual
Garland MWE3W User manual

Garland

Garland MWE3W User manual

Garland MWE3W User manual

Garland

Garland MWE3W User manual

Garland MASTER SERIES XG24CE GB/IE User manual

Garland

Garland MASTER SERIES XG24CE GB/IE User manual

Garland MWE3W User manual

Garland

Garland MWE3W User manual

Garland HE SERIES User manual

Garland

Garland HE SERIES User manual

Garland MWE3W Installation manual

Garland

Garland MWE3W Installation manual

Garland 9501 Installation manual

Garland

Garland 9501 Installation manual

Garland MWE3W Installation manual

Garland

Garland MWE3W Installation manual

Garland 9501 Installation manual

Garland

Garland 9501 Installation manual

Garland XG24 Series User manual

Garland

Garland XG24 Series User manual

Garland XPE12 User manual

Garland

Garland XPE12 User manual
Garland MWGH-9501 User manual

Garland

Garland MWGH-9501 User manual

Garland MWE3W User manual

Garland

Garland MWE3W User manual

Garland MWE3W User manual

Garland

Garland MWE3W User manual

Garland XG24-JIB User manual

Garland

Garland XG24-JIB User manual

Garland XE24 Service manual

Garland

Garland XE24 Service manual

Popular Grill manuals by other brands

LMS BBQ08873P owner's manual

LMS

LMS BBQ08873P owner's manual

Cookworks LW-8010A Care & instruction manual

Cookworks

Cookworks LW-8010A Care & instruction manual

Campingaz CV Instructions for use

Campingaz

Campingaz CV Instructions for use

Metos XBL Series Installation and operation manual

Metos

Metos XBL Series Installation and operation manual

Fiesta ET34567 Use and care instructions

Fiesta

Fiesta ET34567 Use and care instructions

Mayer Barbecue BRENNA MKG-318A BASIC Assembly instructions

Mayer Barbecue

Mayer Barbecue BRENNA MKG-318A BASIC Assembly instructions

Landmann Avalon PTS Plus 5.1 Plus 12122 Assembly and operating manual

Landmann

Landmann Avalon PTS Plus 5.1 Plus 12122 Assembly and operating manual

Kenyon B70200 owner's manual

Kenyon

Kenyon B70200 owner's manual

Better Homes and Gardens GBC1486W owner's manual

Better Homes and Gardens

Better Homes and Gardens GBC1486W owner's manual

Orbegozo GR 2300 instruction manual

Orbegozo

Orbegozo GR 2300 instruction manual

bora PT11 Operating and installation instructions

bora

bora PT11 Operating and installation instructions

Klarstein 10031664 manual

Klarstein

Klarstein 10031664 manual

Char-Broil 463722714 Product guide

Char-Broil

Char-Broil 463722714 Product guide

MPM MOP-03 user manual

MPM

MPM MOP-03 user manual

Kenmore 415.16123800 Use and care guide

Kenmore

Kenmore 415.16123800 Use and care guide

Tucker Barbecues GTR Series Assembly, installation and operating instructions

Tucker Barbecues

Tucker Barbecues GTR Series Assembly, installation and operating instructions

Monogram ZGG540NCP1SS owner's manual

Monogram

Monogram ZGG540NCP1SS owner's manual

Equipex Sodir Savoy Operation manual

Equipex

Equipex Sodir Savoy Operation manual

manuals.online logo
manuals.online logoBrands
  • About & Mission
  • Contact us
  • Privacy Policy
  • Terms and Conditions

Copyright 2025 Manuals.Online. All Rights Reserved.

Page 1of 3
1.
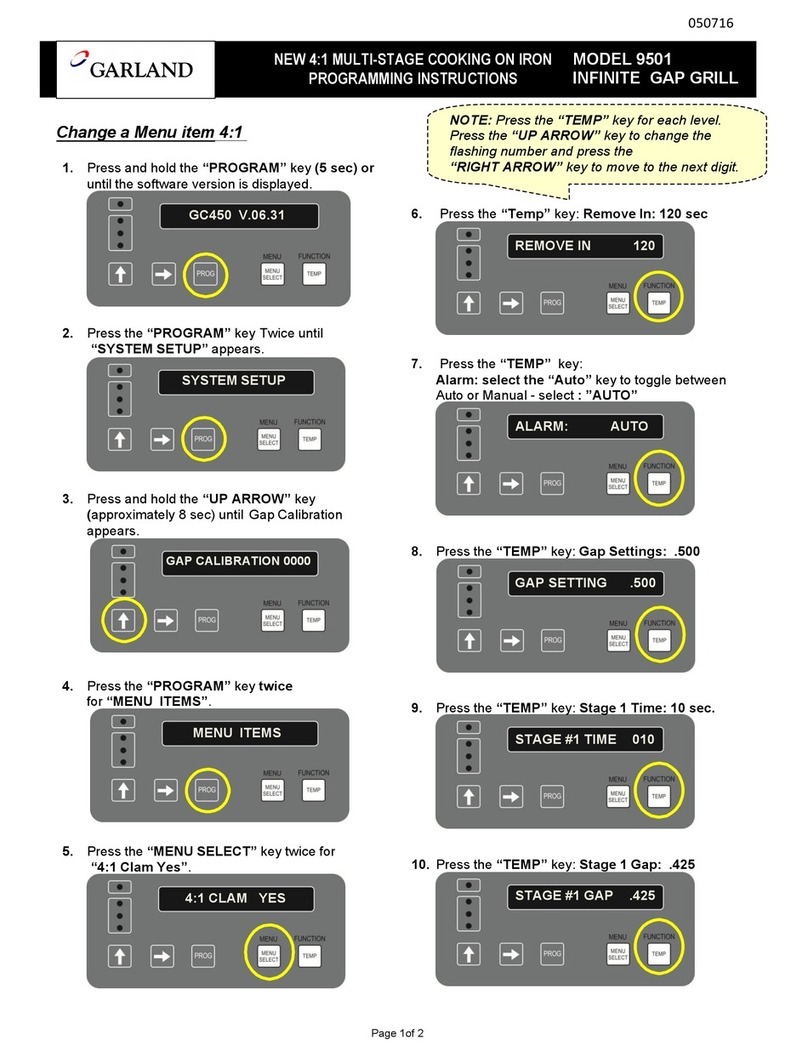
Press and hold the “PROGRAM” key(5 sec) or
until the software version is displayed.
GC450 V 7.31
2.
Press the “PROGRAM” key twice to display
“SYSTEM SETUP”.
SYSTEM SETUP
3.
Press and hold the “UP ARROW” key
(approximately 8 sec) until the
Gap Calibration
appears. Do Not change the gap calibration
offset.
GAP CALIBRATION - - - -
4.
Press the “PROGRAM” key twice to display
“MENU ITEMS”.
MENU ITEMS
5.
Press the “MENU SELECT” key until Optional
Menu(1)(2)(3) – Clam” appears. If all optional
menu items are used select an unused optional
menu item (example Onions) and proceed with
the following programming for HOTG 4:1
OPT MENU 1-CLAM
6.
Press the “UP ARROW”key to change to “YES”
YES
7.
Press the “TEMP” key: Remove In: 80 sec
REMOVE IN 80
8.
Press the “TEMP” key once: Alarm is displayed
Press the “UP ARROW” keyto change the
setting
(
Auto or Manual) - select : ”AUTO”
ALARM: AUTO
9.
Press the “TEMP” key: Gap Settings: .435
GAP SETTING .435
10.
Press the “TEMP” key: Stage 1 Time: 20 sec.
STAGE #1 TIME 020
HOTG 4:1 BEEF PATTY - MULTI STAGE COOKING MODEL 9501
ON IRON PROGRAMMING INSTRUCTIONS INFINITE GAP GRILL
NOTE: Press the “TEMP” key for each level.
Press the “UP ARROW” key to change the
flashing number and press the
“RIGHT ARROW” key to move to the next digit.
042617JED
Create a HOTG 4:1 Menu Item as an Optional Clam Menu.
Page 2of 3
11.
Press the “TEMP” key: Stage 1 Gap: .420
STAGE #1 GAP .420
12.
Press the “TEMP” key: Stage 2 Time: 000 sec.
STAGE #2 TIME 000
13.
Press the “TEMP” key: Stage 2 Gap: 000
STAGE #2 GAP 000
14.
Press the “TEMP” key: Stage 3 Time: 000 sec.
STAGE #3 TIME 000
15.
Press the “TEMP” key: Stage 3 Gap: 000
STAGE #3 GAP 000
16.
Press the “TEMP” key: Must Remove in: 000
MUST REMOVE IN 000
17.
Press the “TEMP” key: Toast Buns In: 030 sec.
TOAST BUNS IN 030
18.
Press the “TEMP” key once: Alarm is displayed.
Press the “UP ARROW” keyto change the
setting
(
Auto or Manual) - select : ”AUTO”
ALARM: AUTO
19.
Press the “TEMP” key: TOP TEMP: 425 F
TOP TEMP 425F
20.
Press the “TEMP” key: BOTTOM TEMP: 365 F
BOTTOM TEMP 365F
21.
Press the “TEMP” key to display “OPTIONAL
MENU CLAM”. To Name the New Menu Item
OPT MENU 1- CLAM
Page 3of 3
22.
To Name the New Menu Item.
Press the “UP ARROW” key to change the
value of the flashing digit.
Press the “RIGHT ARROW” to advance the
curser to the right for changing its value.
HOTG 4:1 CLAM
23.
Press the “TEMP” key multiple times to scroll
though the menu to verify the changes you
made are correct
Return to Main Menu
21. Press the “PROGRAM” key once.
22. Press the “RIGHT ARROW” key once.
042617JED
rev: step 3 – gap calibration offset
THE COOK TIME IS A “START POINT” FOR COOKING. AFTER THE PROGRAMMING
CHANGES ARE MADE, COMPLETE A “BEEF INTEGRITY” CHECK TO SET THE
CORRECT COOK TIME FOR THE HOTG 4:1 PRODUCT.