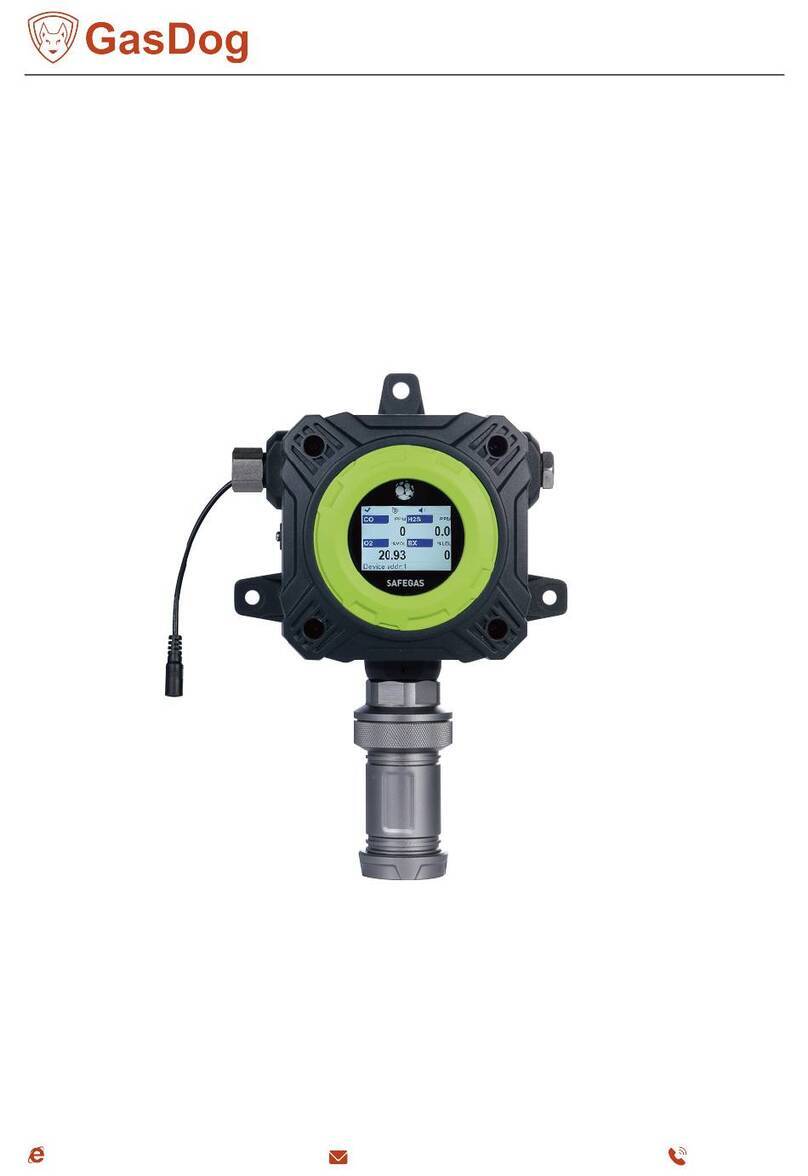
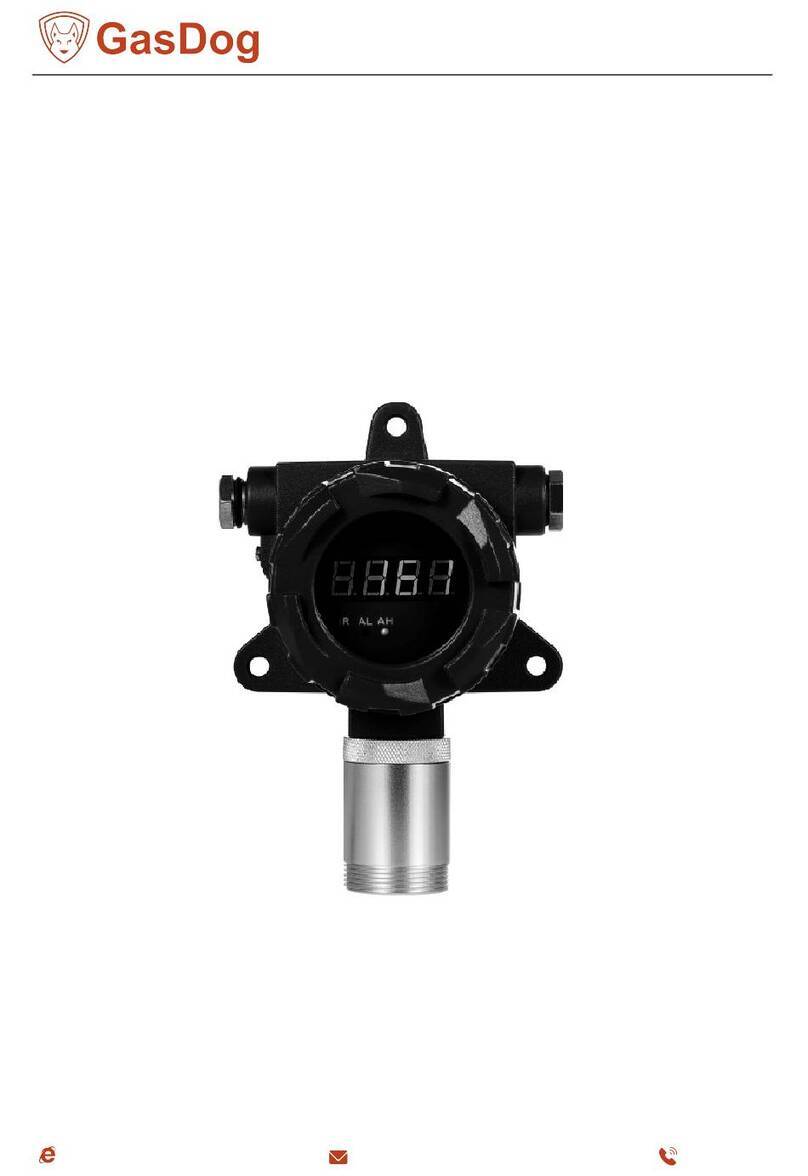
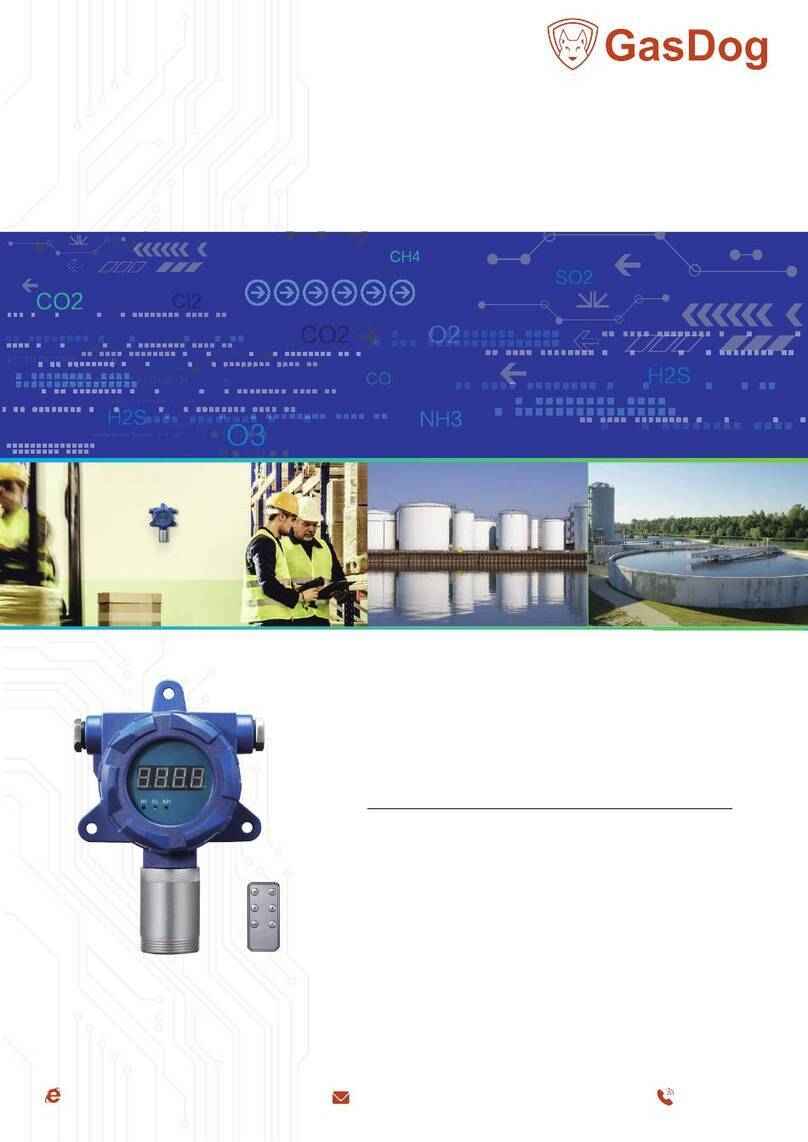
GasDog GD200 User manual

Product overview
GD200 series gas detector is a kind of fast response and
high accuracy gas measurement device. With internal
sam-pling pump, fast sampling speed and high flow rate,
ensuring the response time of the detector. Unique design,
small size and easy to carry with. Special high intensity
engineering plastics housing, suitable for different kinds of
situation and environment. We dedicate to provide you the
most reliable, accurate and the safest solution of gas
detection.
GD200
Portable Gas Detector
GD200
gas detectors are imported
with world top imported
sensors
1

Employing original imported first-class brand sensor.
(optional) High speed data transmission by USB, which can download
and print data.
LCD dot matrix display, the gas type, unit, concentration,
local time can be showed on the screen.
Support Chinese and English operation, easy to shift.
The gas concentration unit PPM and mg/m3 can be shifted quickly.
Built-in micro sampling pump, 10 grades of suction are available.
Explosion-proof certification, explosion-proof grade: II 2G Ex ia IIC T4
Ga IP66.
Monitor the specified gas concentration in environment and enclosed
space and alarm.
With Self-calibration and zero calibration functions, makes the detection
more accurate and reliable.
One press to restore factory setting, free from the bother of mis-operation With
temperature and pressure compensation, this is able to realize gas
concentration compensation under conditions of different temperatures or
pressures.
Two-stage alarm with sound and light, alarm point is settable.
Rechargeable lithium polymer battery of large capacity.
Employing pumping sampling method and the pumping suction is adjustable.
Special engineering plastics housing of high intensity, anti-skipping,
water-proof, dust-proof, explosion-proof. Elegant
and exquisite aluminum alloy suitcase
GD200 portable gas
detector
Product advantages
Functions
Product Advantages
Specialized in Gas Detection
For 16 Years
2

Standard
Accessories
Instruction
Aluminum suitcase
GD200
Pumping Gas Detector
GD200
Aluminum suitcase
A charging adapter
Instruction
Qualification certificate
A charging adapter
Accessories & Configuration List
Application
Petrochemical & Chemcial Industry Municipal Engineering & Utilities Agricultral & Environmental Protection
Electronic Food & Pharmaceutical Industry Other Industries
3

Detected gas measure range Optional ranges
Normal gas types and paramaters (Other gases are not listed can be customized)
Resolution Response time
GD200
Gas Detected
Detection principle
Sampling Method
Measure Range
Resolution
Precision
Signal Output (optional function)
Response Time
Repeatability
Zero shift
Operating language
Temperature
Explosion-Proof
Alarm mode
Dimensions
Recovery Time
Linearity error
Display
Gas unit
Humidity
Degree of protection
Operating time
Weight
O2, N2, CO2, EX, VOC, PH3, etc. According to customers' requirements.
Flammable gas(EX)
Oxygen(O2)
Carbon monoxide(CO)
Hydrogen sulfide(H2S)
Ammonia(NH3)
Chlorine(CL2)
Hydrogen Chloride(HCL)
Nitric oxide(NO)
Nitrogen dioxide(NO2)
formaldehyde(CH2O)
Ozone(O3)
Carbon dioxide(CO2)
0-100%LEL
0-30%VOL
0-1000ppm
0-100ppm
0-100ppm
0-10ppm
0-20ppm
0-100ppm
0-20ppm
0-10ppm
0-10ppm
0-2000ppm
0-100%VOL
0-25%VOL
0-2000ppm
0-1000ppm
0-200ppm
0-100ppm
0-100ppm
0-250ppm
0-100ppm
0-50ppm
0-100ppm
0-100%VOL
0.1%LEL/0.1%VOL
0.01%VOL/0.1%VOL
0.1ppm/1ppm
0.01ppm/0.1ppm
0.01ppm/0.1ppm
0.01ppm/0.1ppm
0.01ppm/0.1ppm
0.01ppm/0.1ppm
0.01ppm/0.1ppm
0.01ppm/0.1ppm
0.01ppm/0.1ppm
1ppm/0.01%VOL
≤10S
≤10S
≤10S
≤10S
≤10S
≤10S
≤10S
≤10S
≤10S
≤10S
≤10S
≤10S
Electrochemistry, infrared ray, catalytic combustion, PID photo
ionization (according to the target gas and sensor).
Pumping suction, flow rate can up to 1L/min, ten grades of pumping suction for selection.
The range is optional, according to the target gas and the sensor.
According to sensor and measure range
According to sensor.
High-speed data transmission by USB, available for data downloading and printing
≤10S
≤±1%
≤±1%(F.S/year)
English
-20℃~50℃
II 2G Ex ia IIC T4 Ga IP66.
Sound, light, vibration
205*75*32mm
≤10S
≤±1%
LCD dot matrix display
Units are switchable
0-90%RH
IP66
100h(pump off), 12 hours(pump on)
300g
Technical Specification
4

GD200
Used in laboratory,
pharmac eutical factory,etc
GD200
Applied in warehouse,workshops,etc
GD200
Used in Large oil refinery
and metallurgi cal plant,etc
GD200
Applied in Repair shops ,
mines, sewers,etc
Project Cases
More Application
Furniture, Floor, Wallpaper, Coating, Gardening, Interior Decoration and Renovation, Dyestuff,
Papermaking, Pharmacy, Health Care, Foodstuff, Antiseptic.
Disinfection, Chemical Fertilizer, Resin, Adhesive, Pesticide, Raw Material, Sample,
Technological Process,
Livestock Farm, Refuse Processing Plant, Perm Place.
Bio-pharmaceutical Plant, Green Household, Livestock Breeding, Green House Cultivating,
Warehouse Logistics, Brewing And Fermentation, Agricultural Production.
5

User Manual-GD200
Thanks for purchasing our product. Please read the user manual carefully before using.
Keys Operation:
Turn on/off: long press for 3s to turn on/off the device, short press to confirm or save data.
Menu: in detection mode, press this button to enter into parameter setting mode, and in parameter setting
mode, press this button to move the cursor.
Plus: in parameter setting mode, short press it to select items upward or add value. Long press for 3 seconds
to turn on/off alarm function quickly.
Minus: in parameter setting mode, short press it to select items downward or decrease value. Long press
for 3 seconds to turn on/off air pump quickly.
Exit: in parameter setting mode, short press it to go back to previous menu. Long press to shift the gas
concentration unit quickly.
(Note: The long press function only work in detection mode. When you change or reset any data, please remember to
click
“ON/OFF” button to confirm and save the settings. Remember to turn on the pump when start the detection. Please
turn off the pump when there is no need to detect, which will be helpful for the service life of the pump)
Power On / Off
Put the detector in clean air, and press the “ON/OFF” for three seconds, the detector will be turned on and the pump
will start to work. The screen displays the following interface successively: Brand and Logo, main parameter
interface, initialing countdown. The countdown would be 60 or 120 seconds, which is to make sure that the sensors are
fully activated. After countdown, the device enter normal detection interface.
Take the detector out of the detected environment and wait for the data to get down to zero, then press the “ON/
OFF” to turn off the detector
Zero Calibration
Zero calibration must be done in clean air. Better to do once after alarming happens.
Press ”MENU” to enter parameter setting mode, select the "calibrate zero", and press “ON/OFF” to enter the mode.
Observe the value of “real time concentration”. If the reading is not zero and the drifting is too big when the reading is
stable, then it is necessary to conduct zero point calibration.
Press “ON/OFF”, the real-time concentration will go back to zero, and press ”ESC” to go back to detection mode,
gas concentration values also back to zero.
Note: Zero calibration of oxygen detector, nitrogen detector and carbon dioxide detector (target gases are
component of the air) can not be done in the air. Only the target point calibration (value of target point
concentration is the standard concentration values in the clean air) can be done.
6

Process of Over-range incorrect operation
Users should avoid using gases which exceed the measure range to impact the sensor, because it will affect the
lifespan and sensitivity of the sensor, even, "poison" the sensor. If there is any over-range incorrect operation makes
the detector displaying an concentration at a large reading, the remedy is to take the device out of the environment
immediately and put it in clean air for over half an hour, and then observe the reading, if it keeps going down, then wait
until the reading back to zero before powering it off, and do the zero point calibration next time before using it. If the
reading maintained at full scale, user should send the device back to manufacturer or agent for repair or replacing the
sensor.
①
— Air Inlet
②— Air Outlet
③— air chamber of sensor
④— LCD
⑤— PLUS
⑥— MINUS
⑦— MENU
⑧— ESC
⑨— ON/OFF
-----------------------------------------------------------------------------------------------------------------------------
Note
*If detector is used for the gas cylinder detection, considering the high pressure in the cylinder, please use a
pressure regulator, and keep it as the below data:
Flow rate: 800mL~1L/minute
Pressure: 0.1MPa or 1Bar
*Please put the detector in clean air for about 5 minutes and waiting for the data falling down to normal before
turning it off after measurement.
7

Operation Interface
When the detector is turned on completely, the device will enter the detecting interface. The gas type will be showed on
the top left, and the time and battery power will be at the right. In the middle, there is the real- time concentration. If the
detector is with data storage function, there will be the storage status at the top of the concentration: ON or OFF, and
the total storage number. There will be BEEP-ON at the bottom left, which means the alarm is on. The PUMP-ON at
the bottom right, which means the pump is working.
Alarm Status
When the detected gas concentration is higher than the low alarm value, the alarm sound will be on, yellow light will
be flickered.
When the detected gas concentration is high than the high alarm value, the alarm sound will be on, red light will be
flickered.
Alarm Setting
Press “Menu”, choose the “Alarm point set”, and start to set the alarm value.
There are LOW POINT and HIGH POINT for set, press “MENU” to move the cursor to the value you want to set, and
press the “PLUS” or “MINUS” to change the value. After the setting is done, press “ON/OFF” button to save the settings.
Low Battery Alarm
When the battery is low, there will be sound, light low battery alarm. There will be sound and light every 5 seconds to
remind the user to charge the device in time. When the battery is used up, the device will be turned off automatically.
Restore Setting
When all the settings are wrong, or users operate the detector in a wrong way, you can restore the detector to factory
settings. But if the detector works normally, please don’t operate this setting. In order to avoid wrong setting, password
is needed. If you want to restore the detector to factory setting, please contact the supplier.
Storage set
In the storage setting, you can set the storage status and the interval. Every time you turn on the detector, the storage
status defaults OFF, so you need to set the storage status if you want to record the data.
Press MENU, choose the “Storage set”, move the cursor by pressing MENU at the “ENABLE”, press MINUS to change
NO to YES.
The storage interval can be 5 seconds, 10 seconds, 15 seconds, etc. The highest interval is 1 hour.
8

View history data
Press the MENU, choose “view history data”. Then at the top is the record total number, and the reminder
“PLEASE SELECT”. Now, if you press MINUS, then the record data will be from the first record to the second in turn. If
the record number is above 10, and you want to check the specific number, you press the MENU again, then you can
input the exact number and check that record(press the MENU to move the cursor, and press the MINUS and PLUS to
change the number), press ON/OFF to confirm and then you will see the detailed record.
In the detailed record interface, at the top are the record total number and current number. In the middle are the date
and time, and the concentration is at the bottom.
Erase history data
To make sure the detector work perfectly and you can check the history data quickly, we suggest you to erase the
history data regularly. Press MENU, choose the “Erase ex_flash”, password is needed (the password is 9999), then
press ON/OFF, it shows that “erasing”, and when finished, it will turn back to the detecting interface.
Target Point Calibration
Note: Calibration needs to be done by professionals and with necessary accessories and standard gas.
Prepare the standard gas before starting the target point calibration. In detection mode, press ”MENU”, select “calibrate
span”, press ON/OFF button to enter. Then you will need to enter password. (If you need password, please contact the
manufacturer to get it)
After entering the password successfully, press ON/OFF to enter the target point calibration interface, as shown in the
picture. The interface will display “concentration”, “set value. The concentration is the result got from the calculation of
several internal calibration parameters. The process of calibration is the process to recalculate the internal parameters
of the device. The set value is the value need to be entered manually; it should be the concentration of the standard
gas to be calibrated. Select the parameter under the current interface, modify its value with “PLUS” and “MINUS”
button.
The calibration process is as below:
1. Connect the detector with standard gas cylinder by hose.
2. Enter the target point calibration interface, set the “SET value” as the standard gas
concentration.
3. Release the standard gas to the detector in a flow rate of 500mL/min. The value of
“concentration” will become larger gradually, and become stable after 30seconds.
4. When the value of “concentration” is stable, press the “ON/OFF” button, the value of
“concentration” will be same with or almost same with the “Set value”. The calibration
is finished.
5. Cut off the standard gas supply. Press “ESC” to go back to detection interface.
9
Table of contents
Other GasDog Gas Detector manuals
