S200 & S201 | User Manual
Introduction | 1
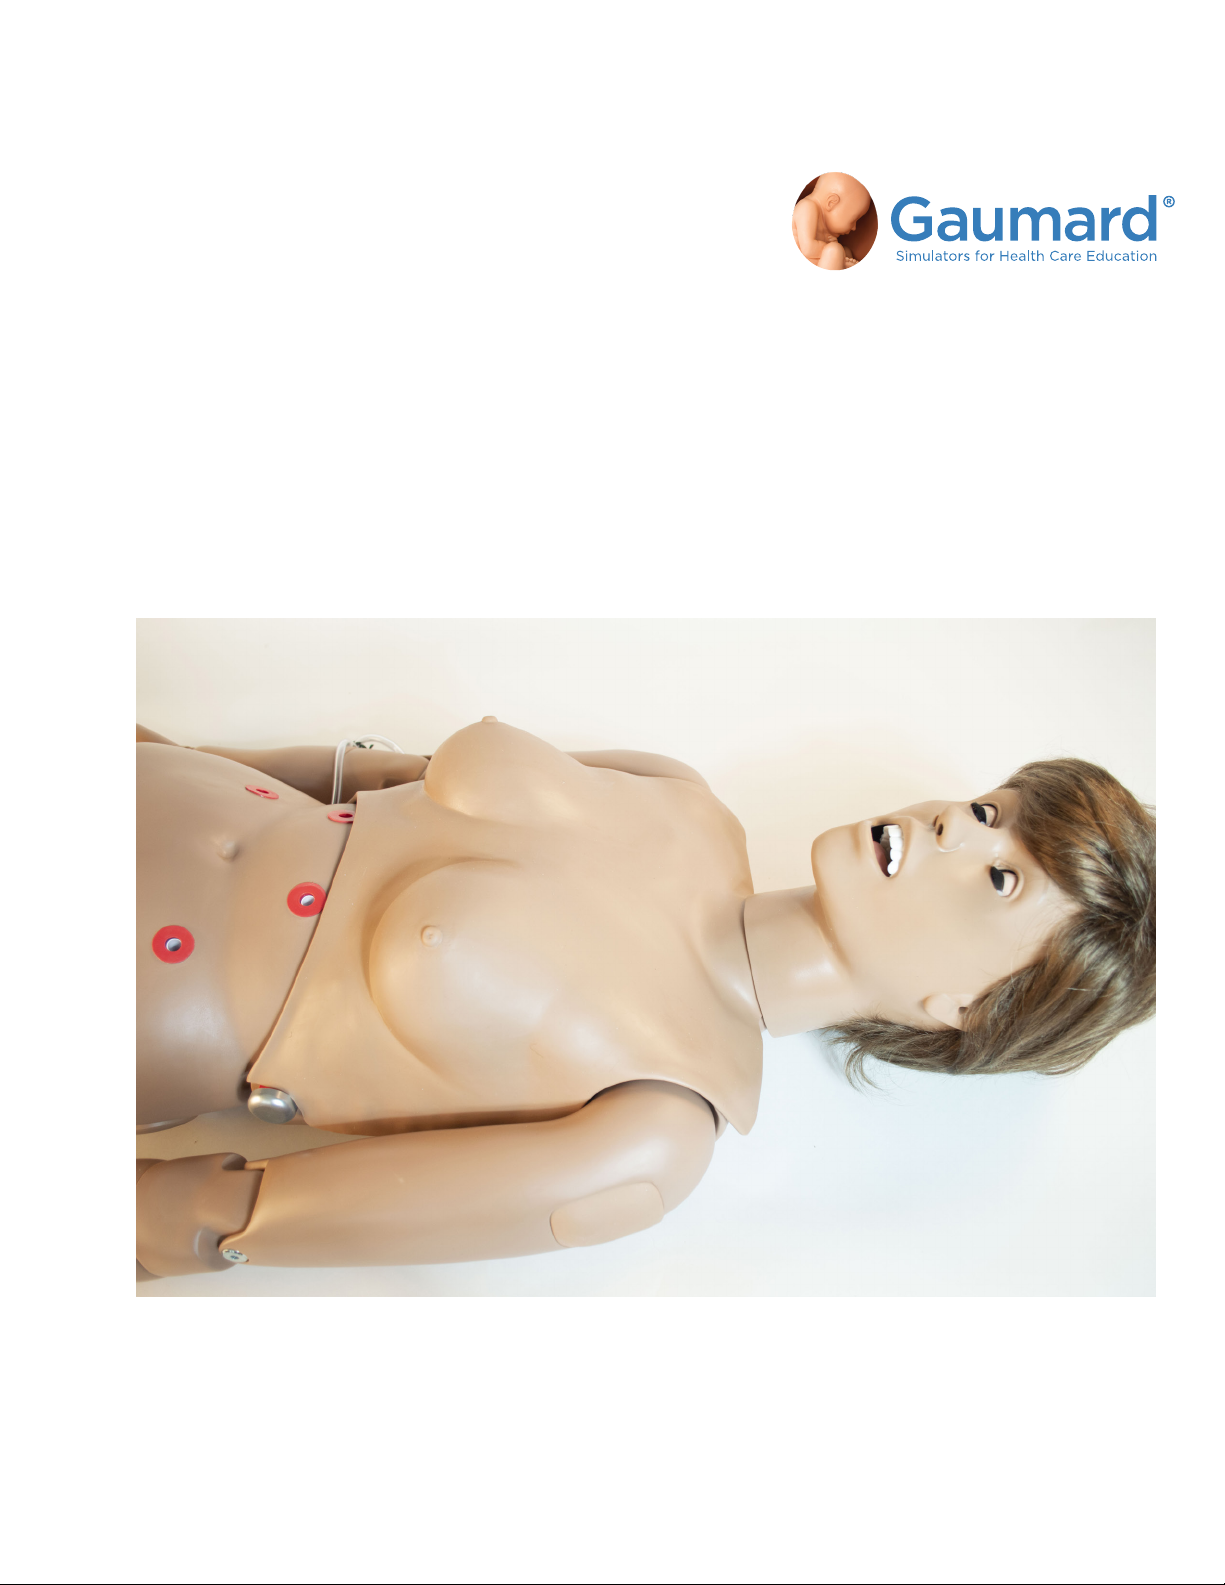
1. Introduction
1.1 Specifications
· Weight: 40 lbs (18.1 kg)
1.2 Care and Maintenance
WARNING: Damage caused by misuse is not covered by your warranty.
It is critical to understand and comply with the following guidelines.
WARNING: The lubricants and other accessories provided are for use
with the accompanying patient simulator only. The lubricants and oth-
er accessories are not suitable for human use or medical treatment/
diagnosis and should never be used for such purposes.
General
· Ball point pens, ink, and markers permanently stain the skin.
· Do not wrap this or any other Gaumard product in newsprint.
· Marks made with ballpoint pens, ink or marker cannot be removed.
· Replacement parts are available from Gaumard Scientific or from your Distributor
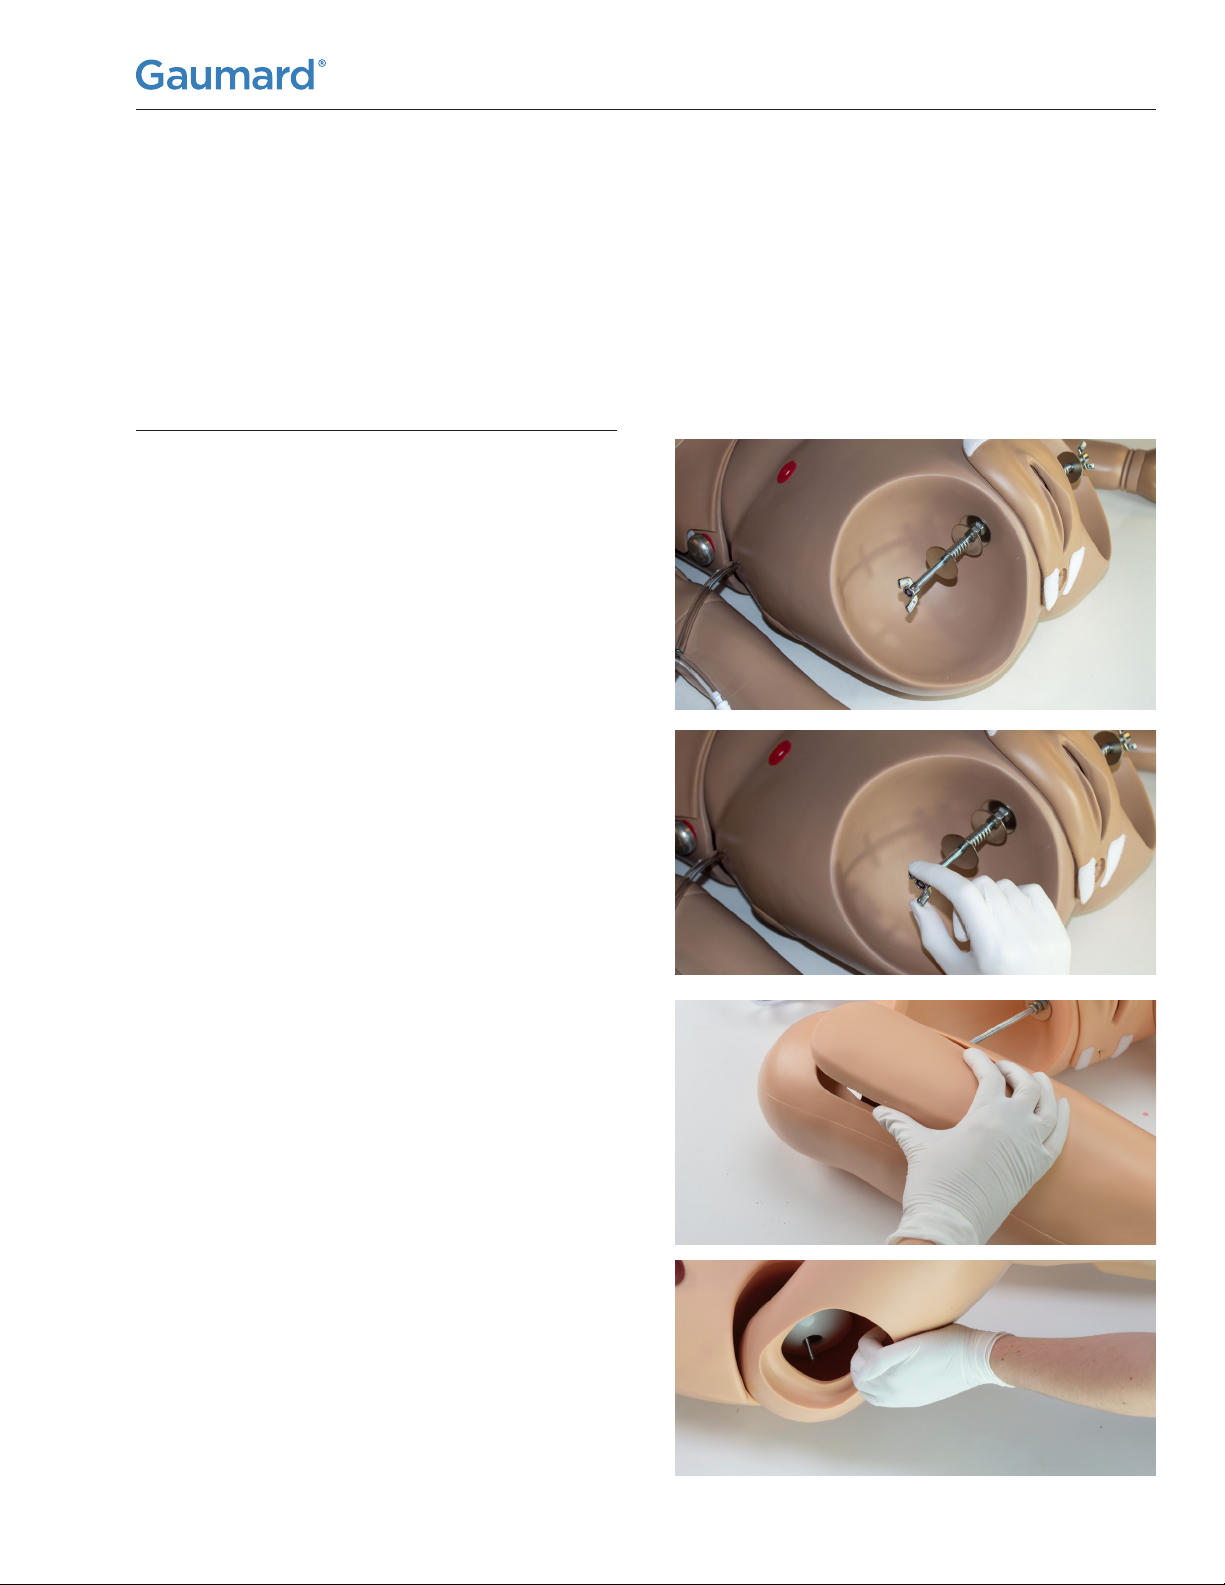
IV Arm (Optional)
· Only use Gaumard’s provided simulated blood. Any other simulated blood containing sugar or any additive may
cause blockage and/or interruption of the vasculature system.
· The use of needles larger than 22 gauge will reduce the lifetime of the lower arms’ skin and veins.
· Always purge with clean water and then drain the vein reservoirs at the end of the simulation session. Doing so
will retard the formation of mold and prevent clogging of the system.
· We recommend flushing veins with 70:30 solution of clean water to isopropyl alcohol (IPA) at least once per
month to prolong the life of the vasculature.
· When the arm skin and/or veins require replacement, refer to the “Consumables” section of this guide. For more
information regarding the replacement of veins and other consumable items please contact customer service.
WARNING: Vein tubing contains latex which may cause allergic
reactions. Users allergic or sensitive to latex should avoid contact.
Discontinue use of this product and seek medical attention if an
allergic reaction occurs.