Gazer CM6507-100S User manual

GAZER MULTIMEDIA SYSTEM CM6507-100S


User manual ..................................................................................................................................................................4-33
Руководство пользователя.................................................................................................................................... 34-63
Посібник користувача ............................................................................................................................................ 64-93
ENG
RU
UA

4
ENG
Content
1. Precautions.....................................................................................................................................................................................................5
2. Connection Diagram.....................................................................................................................................................................................6
3. Control Panel..................................................................................................................................................................................................8
4. Basic Operations ...........................................................................................................................................................................................9
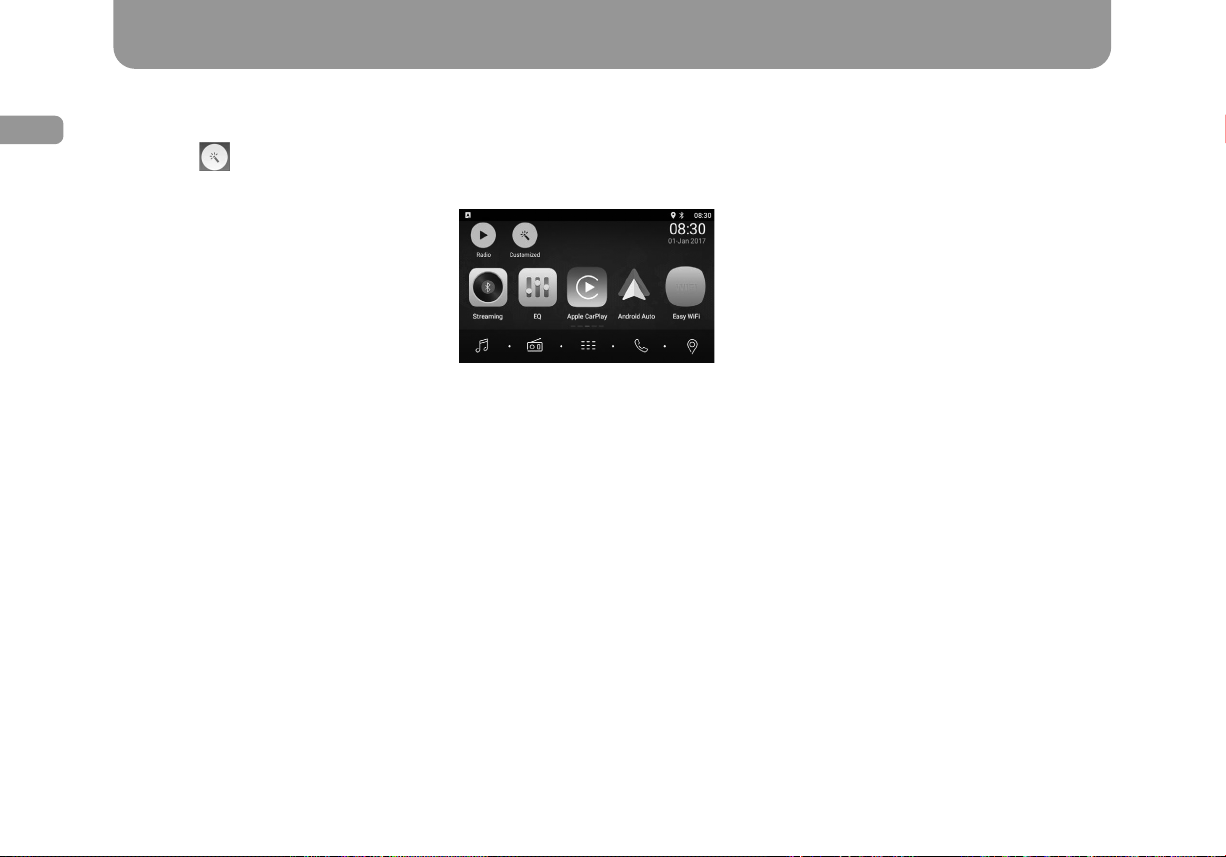
5. Main menu................................................................................................................................................................................................... 11
6. Radio Operations........................................................................................................................................................................................ 12
7. USB Operations.......................................................................................................................................................................................... 16
8. Bluetooth Operations................................................................................................................................................................................ 21
• Telephone .................................................................................................................................................................................................... 22
• Bluetooth Audio ......................................................................................................................................................................................... 24
9. Apple CarPlay ............................................................................................................................................................................................ 25
• Android Auto............................................................................................................................................................................................... 26
10. Sound settings............................................................................................................................................................................................ 27
11. Wi-Fi connection .................................................................................................................................................................................... 28
12. Other Modes................................................................................................................................................................................................ 29
13. System settings.......................................................................................................................................................................................... 30
14. Troubleshooting.......................................................................................................................................................................................... 32

5
ENG
Congratulations on your purchase of the Gazer multimedia system!
Prior to the connection and the use of the Gazer multimedia system, read this user manual carefully
and in full. Please keep this manual for future reference.
Precautions
•Avoid any shocks, drops and mechanical damages of the unit.
•To avoid the risk of electric shock, do not disassemble the unit by yourself.
•To prevent the risk of fire – do not expose the multimedia system to rain, water or any other kind of moisture.
•Do not use the unit if the power or signal cables are damaged. It may result in a short circuit or fire. Replace damaged
cables.
•Do not attempt to repair the unit by yourself.
•For the repair and maintenance of the multimedia unit, contact the trained professionals, service centres.
•To remove dust and contamination from the multimedia system, use lint-free cloth.
•The manufacturer reserves the right to make changes in the completing units, hardware and software of the multimedia
system without prior notification.
Gazer Multimedia Systems

6
ENG
Device Connections
Connection diagram
RADIO ANT
GPS
NOTE
PIN PART A PIN PART B
1NC1
Rear right+
2NC2
Rear right-
3NC 3Front right+
4ACC4
Front right-
5 P.ANT 5 Front left+
6 ILLUMI 6 Front left-
7 BATT+ 7 Rear left+
8GND 8 Rear left-
1357
2468
1
2
357
468
A
B
ISO/C3
Blue
White
ISO/C2
Green
BRAKE
REVERSE
P.CONT
CAM CVBS
Orange/white
Brown/white
Black
KEY A
KEY GND
Red
AVIN R
AVIN L
AVIN CVBS
Green / white
Pink
Yellow
Blue / white
KEY B
Yellow

7
ENG
Device Connections
Connection diagram
VIDEO OUT1
Yellow
FRONT R
Red
FRONT L
White
REAR R
Red
REAR L
White
SUB OUT
Brown
Black
USB
MIC
Black
Black
USB BUS
(Carplay and Android Auto)

8
ENG
Control Panel
Press / VOL button to turn on the unit.
6
2
3
4
5
7
1
1. The button Switch over to the radio mode.
2. The button Show the main menu.
3. The /VOL Rotary/push button Short press: Switch on the unit. Short press when switched on: Mute. Long
press: Switch offthe unit. Turning: Adjust the volume.
4. The button Return to the previous menu.
5. The button Call the Siri-Voice Assistant.
6. Reset button Reset the unit.
7. MicroSD card slot.

9
ENG
Switching on/offthe unit
1. Press the /VOL button to switch on the unit.
2. Press and hold the /VOL button to switch offthe unit.
Mute
Press the /VOL button to switch offthe sound.
Adjust the Volume
You can adjust the volume within the range from 0 (off) to 40 (maximum).
Turn the /VOL rotary/pushbutton to change the volume.
Selection of a playback source
1. Press the button on the front panel to show the source selection menu.
2. Touch the desired icon on the screen to select the respective application, such as Navigation, Radio, etc.
Drag the screen left/right to scroll.
Basic Operations
Note. Press the /VOL button to switch offthe sound.

10
ENG
Customized
Press the button to change the wallpapers and the general theme.
1. Choose the theme.
2. Choose the wallpaper:
Photos: to select the photo from the internal storage.
Wallpapers: to select the prestored wallpapers.
Drag left/right to scroll.
Select the desired image and press Set wallpapers for the use.
Basic Operations

11
ENG
Main Menu
To enter the source selection menu, press the button.
Applications Menu
Press the button to enter the list of applications.
56789
1. Show the current playback source.
2. Enter the customized menu.
3. Main application bar:
Drag left/right to view all applications.
Select the desired application to enter it.
4. Current date and time.
5. Start the player.
6. Start the radio.
7. Show all applications.
8. Start the Bluetooth application.
9. Start the navigation.
1. Sources tab
Shows the accessible playback sources.
2. Applications tab
Shows the applications installed in the system.
Drag the screen left/right to view all applications. Press
and hold on the application to add it on the desktop.
To delete the application from the desktop, hold it and
drag to the xicon in the top of the screen, and re-
lease it when it turns red.
23
4
1
Main Menu

12
ENG
Radio
To enter the Radio application, select the respective icon in the main menu.
1. Return to the main menu.
2. Tune the radio backward.
Backward auto-tuning (long press).
3. Current frequency.
4. Tune the radio forward.
Forward auto-tuning (long press).
5. Enter the equalizer settings.
6. Enter the list of favourite stations.
7. Search and store radio stations automatically.
8. Show the detected stations.
7891011
23415
6 12

13
ENG
Radio
9. Show the favourite stations.
10. Band switch.
11. Switch for showing additional functional buttons.
12. List of stations.
13. Personalization list.
14. Switch between the distant/local receptions of radio stations.
15. Manual input of stations.
16. Mute radio mode.
17. View of the RDS options. Enable/disable the TA, AF, REG functions TS: switch on/offthe time synchronization. PTY:
Show the PTY list. Back: Return to the previous menu.
18. Hide the second tuning line.
1413 15 16 17 18

14
ENG
Radio
Selection of radio band
Press the BAND button to switch between the FM and AM bands.
Manual Tuning
During the manual tuning, the frequency is changed in steps. Press the or buttons to tune frequencies lower/higher.
Auto-tuning
Hold the or button for more than 2 seconds to automatically search by frequencies lower/higher.
To stop searching, repeat the pressing or press any other button in the radio.
Auto-searching
In such a search, only stations with a high level of signal will be detected and stored.
To start searching, press the button on the lower bar.
To stop searching, repeat the pressing or press any other button in the radio.
Manual Tuning
1. When the required station is detected, press to show the list of selected stations.
2. Press any cell to store the current station.
3. Press the arrow in the upper left corner to return to the main page of the radio.
Note. When a station is found, the searching stops and the station found is heard.
Note. After auto-searching, the previously stored stations will be restored.

15
ENG
Radio
Listening to the Stored Stations
Method 1:
1. Press the button to look through the list of detected stations.
2. Select a band.
3. Drag the screen left/right to navigate through the list of stations and select the required station to listen to.
Method 2:
1. Press the button to show the favourite stations.
2. Select a band.
3. Drag the screen left/right to navigate through the list of stations and select the required station to listen to.
4. Press the arrow in the upper left corner to return to the main page of the radio.
Local searching
When the LOCAL function is on, only radio stations with a strong signal will be received.
To open the LOCAL function, press the yyyy button on the lower bar, then press the to select the reception mode.
Frequency manual input
Press the button to open the manual-input keyboard.
Enter the required frequency and press the OK button to go to the set station.
To edit the frequency being inputted, press .
Note. The number of the radio stations that can be detected will decrease after this function is on

16
ENG
USB Operations
Use of the USB device
1. Connect your USB device to an external USB cable. When connecting a USB device, the audio system will read the
files automatically. Select Music/Video/Photo to look through the content
2. To remove the USB device, you should first select another playback source, in order to avoid damaging the USB de-
vice.
Music Playback
Select Music in the application menu. The audio system will display the entire accessible music on the memory devices con-
nected to it.
1. Return to the main menu.
2. Select a memory device.
3. List of favourite tracks.
4. List of new files.
5. List of tracks, sorted by name.
Press the required track to be played back.
6. List of tracks grouped by author.
Drag up/down to navigate.
1
3
4
5
6
7
8
910
2

17
ENG
USB Operations
7. List of tracks grouped by album.
8. View of files.
9. List window.
Drag up/down to navigate. Press to select.
10. Enter the search menu.
11. Favourite.
12. Show the menu.
13. Previous track.
14. Playback/pause.
15. Next track.
16. Show the additional control buttons.
17. Playback sequence.
18. Repeat play.
19. Selection.
20. Hide additional control buttons.
17 18 19 2012 13 14 1615
1
11

18
ENG
Playback/pause
When playing back, press the button to pause. Press the button to continue playing back.
Previous/next track
Press the or button to go to the previous or next track.
Selection of music by artist
1. Select Artist on the left of the screen.
2. Select the desired artist from the list.
3. Select the required track to play back.
Selection of music by album
1. Select Album on the left of the screen.
2. Select the desired album from the list.
3. Select the required track to play back.
Selection of music by name
1. Select Track on the left of the screen.
2. Select the required track to play back.
Favourite playlists
• Adding tracks to the favourite playlists:
1. Select the required track and then press .
2. Add it to a favourite playlist.
• Remove tracks from the favourite lists:
1. Press Favourite and select a name from the playlist.
2. Press and remove the track from the playlist.
USB Operations

19
ENG
Video Playback
Select Video in the application menu, the unit will display all the video files on the memory devices connected to it.
During the video playback, touch the screen, the control buttons will be displayed.
1. Return to the main menu
2. Select a memory device
3. List of folders/files. Drag up/down to navigate, press to select
4. Thumbnails
5. Show the menu list
6. Previous file
7. Playback/pause
8. Next file
9. Equalizer settings
10. Show additional control buttons
11. View sequence
12. Repeat play
13. Hide additional control buttons
12
3567810
9
4 11 12 13
USB Operations

20
ENG
USB Operations
View of photo
1. Select Photo in the application list.
2. Select the required folder/storage to look through the content.
3. Press a photo thumbnail to view.
Drag left/right to switch over between photos.
Press the arrow in the upper left corner to exit the view.
Table of contents
Languages:
Other Gazer Car Video System manuals