manuals.online logo
Brands
  1. Home
  2. •
  3. Brands
  4. •
  5. GE
  6. •
  7. Ice Maker
  8. •
  9. GE GBS2OKB Operating instructions

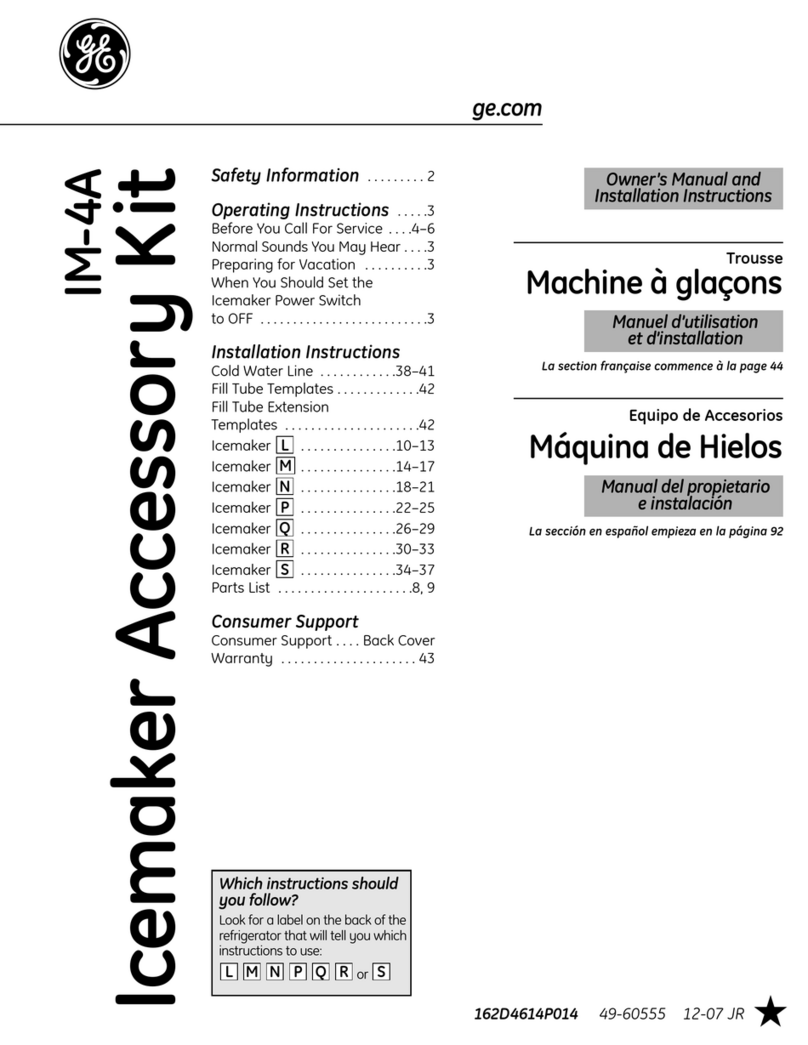
GE GBS2OKB Operating instructions

This manual suits for next models

12

Other GE Ice Maker manuals

GE monogram ZDIC150 User manual

GE

GE monogram ZDIC150 User manual

GE Monogram Refrigerator Manual

GE

GE Monogram Refrigerator Manual

GE Monogram ZDI15 User manual

GE

GE Monogram ZDI15 User manual

GE WR30X10093 User manual

GE

GE WR30X10093 User manual

GE Profile XPIOX3BCBT User manual

GE

GE Profile XPIOX3BCBT User manual

GE IM-4B Operating instructions

GE

GE IM-4B Operating instructions

GE UNC15NP User manual

GE

GE UNC15NP User manual

GE UCC15 Operating instructions

GE

GE UCC15 Operating instructions

GE Monogram ZDIC150W User manual

GE

GE Monogram ZDIC150W User manual

GE monogram ZDIC150 User manual

GE

GE monogram ZDIC150 User manual

GE OPAL01GEPSS User manual

GE

GE OPAL01GEPSS User manual

GE OPAL NUGGET User manual

GE

GE OPAL NUGGET User manual

GE Profile OPAL User manual

GE

GE Profile OPAL User manual

GE IM4D Original instructions

GE

GE IM4D Original instructions

GE OPAL P4INSASBVTS User manual

GE

GE OPAL P4INSASBVTS User manual

GE Monogram ZDIS150WSS How to use

GE

GE Monogram ZDIS150WSS How to use

GE Monogram ZDI15 User manual

GE

GE Monogram ZDI15 User manual

GE monogram ZDIC150 User manual

GE

GE monogram ZDIC150 User manual

GE Electronic Icemaker How to use

GE

GE Electronic Icemaker How to use

GE Kit IM-5SS Operating instructions

GE

GE Kit IM-5SS Operating instructions

GE GBS20KB User manual

GE

GE GBS20KB User manual

GE IM6 Operating instructions

GE

GE IM6 Operating instructions

GE Monogram ZDI15 User manual

GE

GE Monogram ZDI15 User manual

GE OPAL 2.0 User manual

GE

GE OPAL 2.0 User manual

Popular Ice Maker manuals by other brands

camry CR 8073 user manual

camry

camry CR 8073 user manual

Sub-Zero 315I Planning information

Sub-Zero

Sub-Zero 315I Planning information

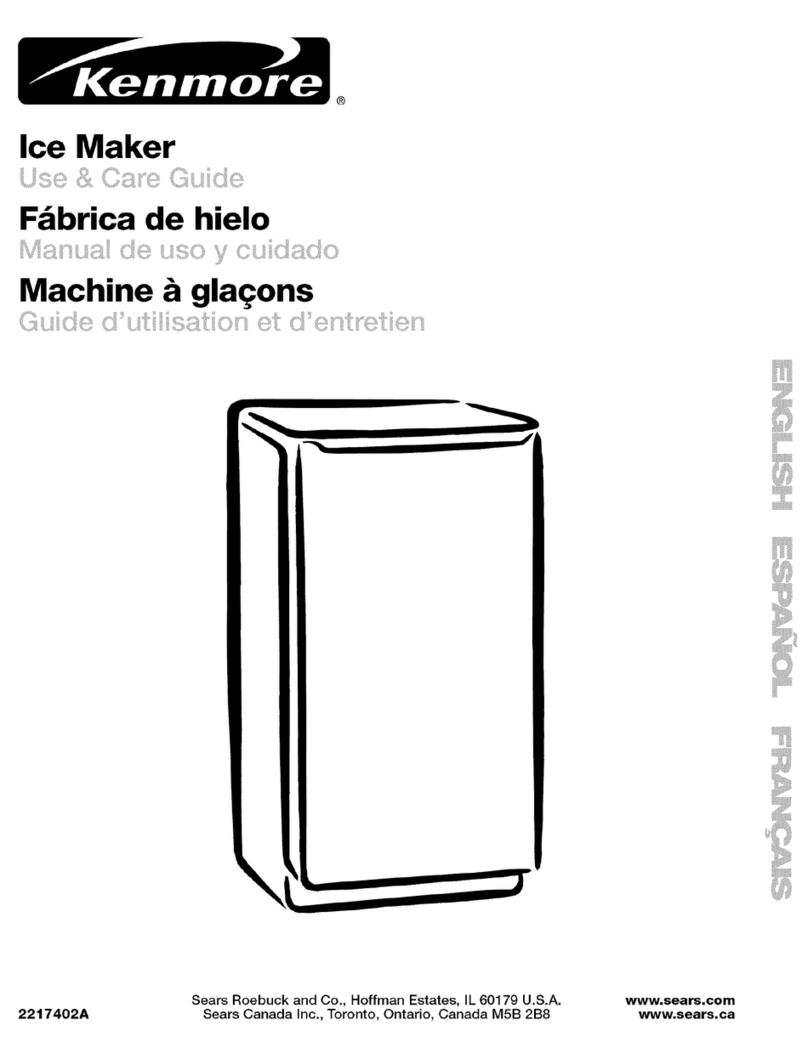
Kenmore 2217402A Use & care guide

Kenmore

Kenmore 2217402A Use & care guide

Cornelius WM600 Installation & owner's manual

Cornelius

Cornelius WM600 Installation & owner's manual

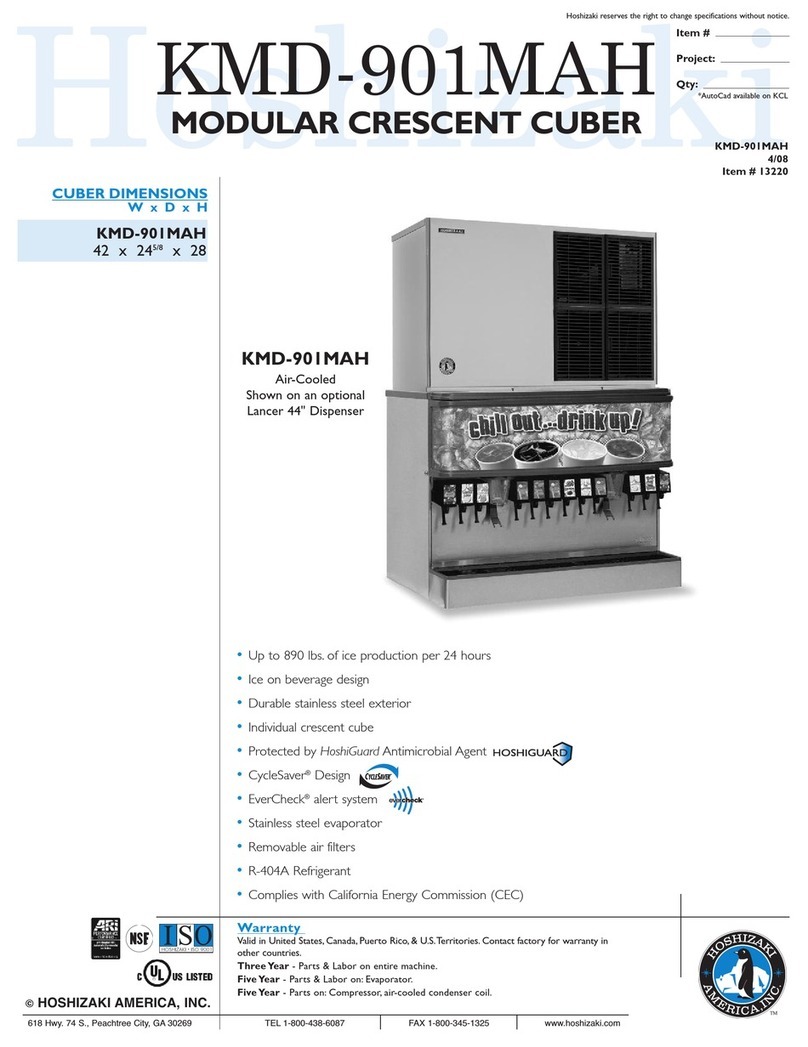
Hoshizaki KMD-901MAH Specifications

Hoshizaki

Hoshizaki KMD-901MAH Specifications

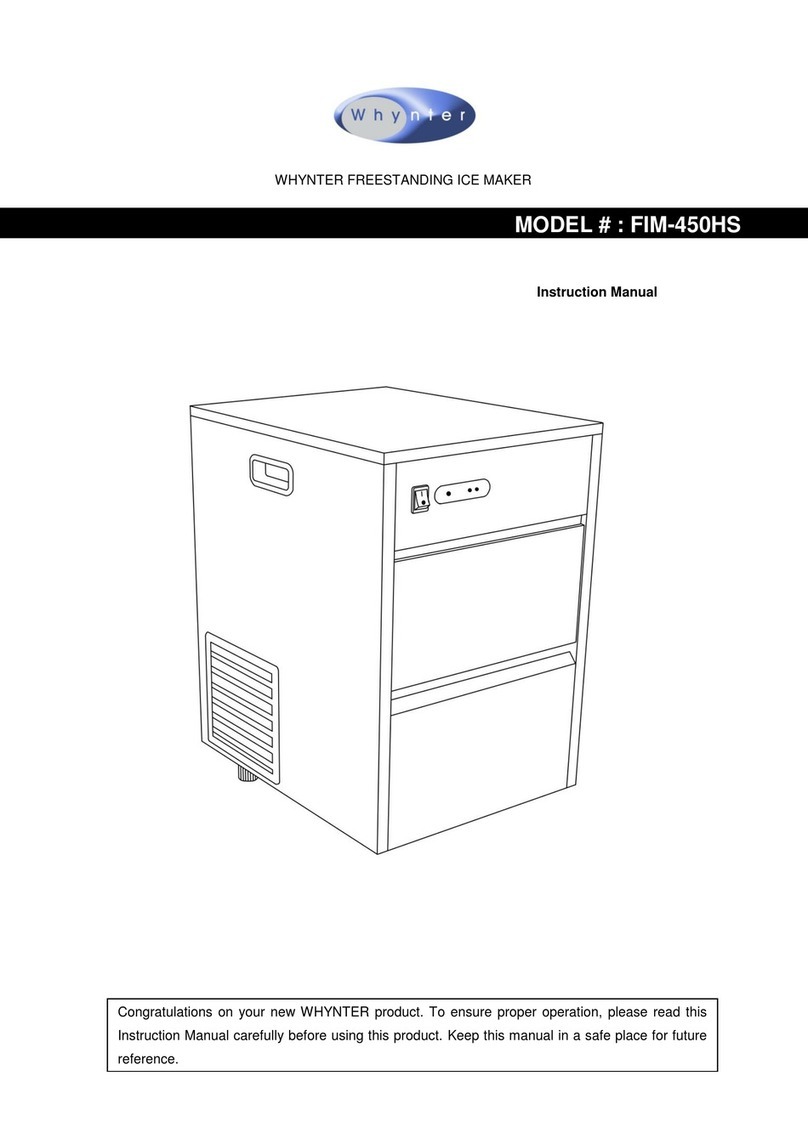
Whynter FIM-450HA instruction manual

Whynter

Whynter FIM-450HA instruction manual

Unold 48945 Instructions for use

Unold

Unold 48945 Instructions for use

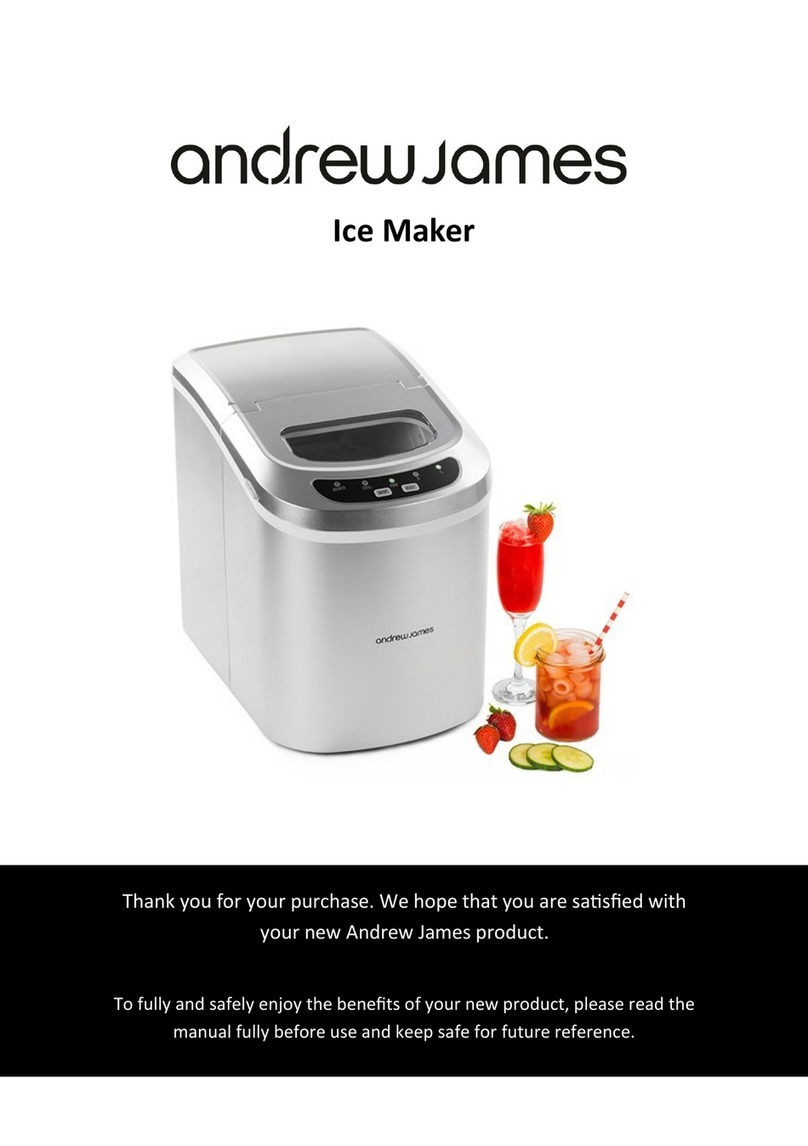
Andrew James AJ000522 manual

Andrew James

Andrew James AJ000522 manual

Scotsman CME1356 user guide

Scotsman

Scotsman CME1356 user guide

Scotsman ACM 25 Service manual

Scotsman

Scotsman ACM 25 Service manual

Kärcher IP 120 manual

Kärcher

Kärcher IP 120 manual

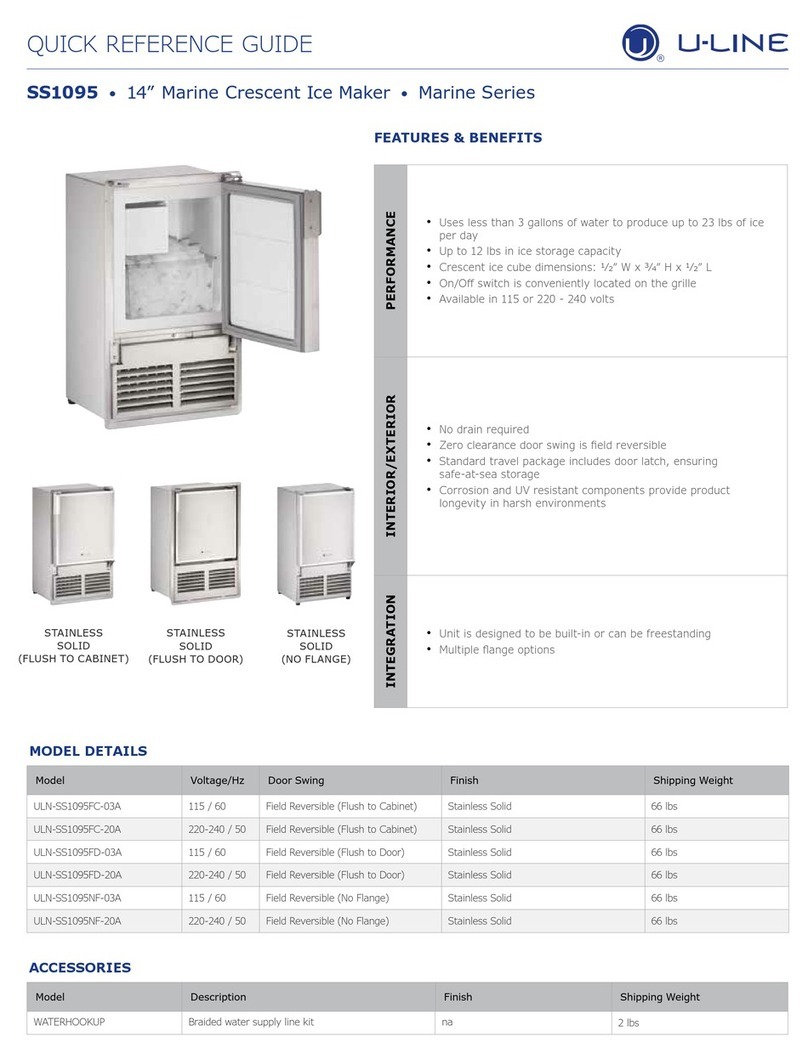
U-Line SS1095 Quick referenc guide

U-Line

U-Line SS1095 Quick referenc guide

Maytag MIM1554WRS - Ice Maker User instructions

Maytag

Maytag MIM1554WRS - Ice Maker User instructions

Igloo ICE102-WHITE user manual

Igloo

Igloo ICE102-WHITE user manual

Hoshizaki KM-630MAH instruction manual

Hoshizaki

Hoshizaki KM-630MAH instruction manual

Princess Yonanas user manual

Princess

Princess Yonanas user manual

Unold 48946 Instructions for use

Unold

Unold 48946 Instructions for use

Electrolux E15IM60GP Factory parts catalog

Electrolux

Electrolux E15IM60GP Factory parts catalog

manuals.online logo
manuals.online logoBrands
  • About & Mission
  • Contact us
  • Privacy Policy
  • Terms and Conditions

Copyright 2025 Manuals.Online. All Rights Reserved.

www.GEAppliances.com
IMPORTANT"These
instructions are needed to
install an icemaker in your
refrigerator. To be used
with an IM4, IM4A or IM6
Icemaker Kit. Keep this
addendum with your
Owner's Manual and
Installation Instructions.
These instructions
are to be used to
install an Icemaker
Kit in the models
listed below.
GBS2OKB
GBS22HB
GBS22KB
PDS2OMB
PDS2OSB
PDS22MB
PDS22SB
197D5736PO02 49-60319 12-03JR
Installation Instructions
NEEDED CONTENTS OF KIT
The following are a list of the parts from the kit that will be needed to install the icemaker.
(_) Icemaker
(_) Hex-HeadScrew
forWaterLineClamp
(_ Owner'sManual& ICEMAKER
InstallationInstructions _!ll_
_blhl
G (_ Warran_Label
(_) Hex-HeadScrew.for
WaterValveand -- attachingwatervalve
TubeAssembly
(_ WaterLineClamp
(strainrelief),forhouse
waterline
(_) PhillipsHeadScrews,
formountingicemaker(2)
(_ WaterTubeInlet
(_) IcemakerFillCup
(side-mounted)
_) HoseClamp
1_ Adhesive-BackedWaterTube
Fasteners.to secureplastic
watertube(4)
PARTS REQUIRED THAT CAME WITH THE REFRIGERATOR
If the fill tube has been misplaced,
call 1.800.626.2002 and order part WR02X11712.
FillTubewithFoil
(518"O.D.)
2
Installation Instructions
BEFORE YOU BEGIN
Read each step thoroughly before proceeding.
• CAUTION -Unplug the _--
Refrigerator. To eliminate the danger _)_
of electric shock during installafion, _ [.._j
you must unplug the refrigerator from \\its electrical oudet.
TOOLS YOU WILL NEED
FlatbladeandPhillips Pliers
screwdrivers Sharpknife
[] PREPARE FOR INSTALLATION
• Remove the storage
basket (on some models)
by pulling it out to the
stop position and lifting
it up and out.
Note: After removing
the basket, push the
extension arms back
into the freezer
compartment.
•Remove the chiller shelf
(on some models) by
pulling it straight out.
• Remove the ice bucket
by pulling it out and
lifdng it up and out.
•Remove the center
vertical shelf support
(on some models) by
lifting it and rotating
its bottom to the right.
[] PREPAREFOR INSTALLATION (cont.)
•Inside the freezer, remove the two small white
plug buttons (on some models) from the side
wall. (If screws are present instead of plugs,
leave them in place.)
• Remove and discard
the large white plug
from the rear freezer
wall. Pull out the gray
insulation plug and
remove any debris.
• Remove the outlet plugbutton
cover with a flat-blade
screwdriver.
Removesidewallplug Insulation
I_t_s orleavescrews plug
inplace
[] INSTALL FILL TUBE
• Slide the fill tube shipped
with the refrigerator onto the
water tube inlet (10). If the fill
tube has been misplaced, call
1.800.626.2002 and order part
WR02X11712.
•Go to the back of the refrigerator.
Remove the label covering the
hole. Pull out the insulation plug
and any debris.
• On the tube side of the water
tube inlet (10), there is an
adhesive backing. Remove the
adhesive backing and slide the
tube into the hole at the back
of the refrigerator. Firmly press
on the inlet to secure it to the
refrigerator.
[]SET POWER SWITCH TO O (off)
Set the icemaker power switch to O(off). Leave
the power switch in the O (off) position until the
refrigerator is connected to the water supply to
prevent premature operation.
3
Installation Instructions
[] INSTALL THE MOUNTING SCREWS
•Skip to Step 5 if screws are already in place in
the freezer side wall.
•Install two self-tapping Phillips
head screws (9) from the kit
in the holes in the side wall.
The screw heads should extend
about 1/2" (13 ram) from the
side wall.
[] INSTALL THE ICEMAKER FILL CUP
Install the icemaker f'dl cup (side-mounted) (11)
into the icemaker as shown.
[] MOUNT THE ICEMAKER
• Lift the icemaker so the t'fll tube shipped with the
refrigerator fits in the fill cup opening (E). Hang
the ieemaker on the two mounting screws (9) in
the side wall.
Make sure:
•The power cord is still firmly in the socket.
•The f'dl tube extends into the fill cup opening on
the back of the icemaker. (Check the rear of the
refrigerator to make sure the fill tube has not
been pushed out of the back of the refrigerator),
• The icemaker mounting screws are located in
the uppermost position of the mounting slots.
• The icemaker is level.
• The icemaker power switch is set to O(off).
THEN SECURELY TIGHTEN THE ICEMAKER
MOUNTING SCREWS.
[]PLUG IN THE ICEMAKER
Holding the icemaker in place, insert the ieemaker
power cord plug into the socket on the rear wall,
making sure the prongs and holes are matched.
Press the plug firmly into the socket. Lock the plug
in place by clipping the restraints onto each side of
the plug. Make sure the restraints click into place.
Make sure the power cord is still in the hook on
the back of the icemaker.
Hook_
[] RE-INSTALL THE SHELF SUPPORT,
BUCKET, SHELF AND BASKET
Replace the center vertical shelf support, ice bucket,
chiller shelf and storage basket by reversing the steps
in Step 1.
[] ATTACH WARRANTY LABEL
A label (7) is provided with this kit to record the
date of installation for warranty purposes. Apply it
to the hack of the refrigerator.
1-_KEEP THIS ADDENDUM
Keep this addendum with your Refrigerator
Owner's Manual and Installation Instructions.
The icemaker installation inside the freezer is now
complete. Continue to the Water Valve Assembly
section.
4
Installation Instructions
WATER VALVE ASSEMBLY INSTALLATION INSTRUCTIONS
BEFORE YOU BEGIN
Read each step thoroughly before proceeding.
"CAUTION- Unplug the _
Refrigerator. To eliminate the danger in
of electric shock during installation,
you must unplug the refrigerator
from its electrical outlet.
[] A1-FACH THE WATER VALVE
• Locate the female connector plug (C).
TOOLS YOU WILL NEED
FlatbladeandPhillips Pliers Sharpknife
screwdrivers
1/4" and5/16"Nutdrivers Tapemeasure
I_REMOVE THE COVER
At the bottom rear of the refrigerator, remove the
screws holding the access cover.
Bend the cover back to access the compartment.
Be sure to save the screws as the access cover must
be reinstalled later to ensure that )'our refrigerator
will function properly.
•Plug the female connector (C) onto the male
terminals on the water valve (3). Either wire
can go on either terminal.
•Fasten the water valve to the cabinet by driving
the hex-head screw (8) from the kit into the
hole in the cabinet leg. Cabinet
_=m_i ew
[] CUT PLASTIC WATER TUBING
•Measure 25" (64 cm) of water tubing starting
from where it is secured to the water valve.
Cut off excess tubing with a sharp knife or
single-edge razor blade.
25" (64cm)
5
Installation Instructions
r_ATFACH THE WATER VALVE (cont.)
•Clip the end of the ground wire to the
refrigerator cabinet.
IMPORTANT: To ensure a proper ground,
the end of the ground wire MUST be secured
to the refrigerator cabinet.
I_CONNECT WATER TUBE
TO INLET
•Squeeze the ends of the hose clamp (12) from the
kit with pliers and slide the clamp over the inlet,
located on the right side of the refrigerator.
• While still squeezing the clamp, insert the free end
of the water tube (3) into the inlet as far _ it will go.
• Then sfide the clamp downward to capture the
water tube in place.
• Using one of the adhesive-backed fasteners (4),
secure the water tube to the back of the refrigerator
about 1/2" below the inlet.
[] INSTALL WATER LINE CLAMP
i Attach the water line clamp (strain relief) (6)
from the kit to the refrigerator. With the clamp
direcdy in line with the water valve, drive the
screw (5) from the kit through the damp (6)
at the indent into the back of the cabinet.
The metal clamp is for the house water line (see
Water Line Installation Instructions). It is not to
he used for the water tube from the water valve
up to the inlet.
[] ROUTE AND ATFACH THE
WATER TUBE
•Fasten the plastic water tube to the back of the
refrigerator with three of the adhesive-backed
fasteners (4), spacing the fasteners as shown.
(_ Adhesive-backed
fastenersfor
watertube
[] WATER VALVE INSTALLED
Refer to the Water Line Installation Instructions for
connection to the home water supply. After water
line installation is completed, set the ieemaker
power switch to I (on).
Even when the icemaker power switch is in the
I (on) position, power to the icemaker will be
interrupted when the freezer door/drawer is open.
This prevents ice ejecting from the icemaker from
missing the ice bucket and dropping into the back
of the freezer. Because power to the icemaker is
interrupted while the door/drawer is open, the
green power light on the icemaker will be off. To
make sure the icemaker is working properly, press
the freezer light switch located on the upper right
side of the freezer compartment. The power light
on the icemaker will come on.
Note: After installing the icemaker, do not open
the door/drawer for approximately 4 hours. This
will allow the freezer to reach the correct operating
temperature for making ice, and will prevent water
from spilling out of the icemaker mold.
Proceed with the appropriate step in the Installing
the Water Line section in the Owner's Manual and
Installation Instructions to complete the installation,
6
GEAppliances.com
©
r/3
Safety Information ......... 2
OperatingInstructions ...... 3
Before You Call For Service .... 4
Normal Sounds You May Hear . .3
Preparing for Vacation ....... 3
When You Should Set the
Icemaker Power Switch
to O(Off) ................. 3
Installation Instructions
Cold Water Line ......... 62-65
Fill Tube Templates ......... 66
Fill Tube Extension
Templates ................ 67
Icemaker [] ........... 10-13
Icemaker [] ........... 14-17
Icemaker [] ........... 18-21
Icemaker [] ........... 22-25
Icemaker [] ........... 26-29
Icemaker [] ........... 30-33
Icemaker [] ........... 34-37
Icemaker [] ........... 38-41
Icemaker [] ........... 42-45
Icemaker [] ........... 46-49
Icemaker [] ........... 50-53
Icemaker [] ........... 54-57
Icemaker [] ........... 58-61
Parts List ................ 6, 7
Removing Existing
Ice Cube Tray Holder ........ 8
Repositioning or Removing
the Freezer Shelf ............ 9
Consumer Support
Consumer Support.. Back Cover
Warranty ................. 68
Kit IM-6
Thiskitfitsmostmodelscalling
for UK-KIT-I,UK-KIT-2,UK-KIT-4,
andallmodelscallingfor KitIM-1,
IM-2,IM-3,IM-4orIM5SS.Ifyou
arereplacinganicemakerwith
KitIM-1orIM-2,seepage&
Zrousse
Machine fi glagons
Lasectionfrangaisecommencei_Inpage69
Equipo de Accesorios
Mfiquina de Hielos
Lasecci6nonospo_ol empiezaonlap_gina161
197D4774PO03 49-60285 08-03 JR _k
IMPORTANTSAFETYINFORMATION.
READALLINSTRUCTIONSBEFOREUSING.
SAFETYPRECAUTIONS
FORYOURSAFE'/'_.
Do not place fingers or hands in the automatic
icemaking mechanism while the refrigerator is
plugged in, This will help protect you from
possible injury.
It will also prevent interference with moving
parts of the ejector mechanism and the heating
element that releases the cubes, located on the
bottom of the icemaker.
READANDFOLLOWTHISSAFETYINFORMATIONCAREFULLY.
READAND SAVETHESEINSTRUCTIONS
•
About the automatic icemaker. ptia,,,,om
A newly-installed refrigerator may take 12 to 24 hours to begin making ice.
:_i Automatic Icemaker
The icemaker wiUproduce seven cubes
per cycle--approximately 100-130 cubes
in a 24-hour period, depending on
freezer compartment temperature, room
temperature, number of door openings
and other use conditions.
i If the refrigerator is operated before the
.................. water connection is made to the icemaker,
set the power switch to O (off).
When the refrigez-ator has been connected
to the water supply, set the power switch to
I (on). The green light will come on.
The icemaker will fill with water when
it cools to freezing. A newly-installed
refrigerator may take 12 to 24 hours
to begin making ice cubes.
Throw away the first few batches of ice to
allow the water line to clear.
Be sure nothing interferes with the sweep
of the feeler arm.
When the bin fills to the level of the feeler
arm, the icemaker will stop producing ice.
It is normal for several cubes to be joined
together.
If ice is not used frequently, old ice cubes
will become cloudy, taste stale
and shrink.
If ice cubes get stuck in the icemaker, the
green power light will blink. To correct
this, set the power switch to 0 (off) and
remove the cubes. Set the power switch to
I (on) to restart the icemaker.
NOTE:Inhomes with lower-than-averagewater
pressure,youmay hear theicemakercyclemultiple
times whenmaking onebatchof ice.
Preparing for Vacation
Set the icemaker power switch to 0(off)
and shut off the water supply to the
refrigerator.
If the temperature can drop below freezing,
have a qualified servicer drain the water
supply system (on some models) to prevent
serious property damage due to flooding.
When you should set the icemaker power switch to 0(off)
m When the ice storage bin is removed for M When the refrigerator will not be used for
more than a minute or two. several days.
m When the water supply will be shut off for
several hours.
Normal sounds you may hear
WThe icemaker water valve will buzz when
the icemaker fills with water, ff the power
switch is in the I (on) position, it will buzz
even if it has not yet been hooked up to
water. Keeping the power switch in the
I (on) position before it is hooked up to
water can damage the icemaker. To
prevent this, move the power switch to
the O (off) position. This will stop the
buzzing.
The sound of cubes dropping into the bin
and water running in the pipes as the
icemaker refills.
3
Beforeyoucall forservice...
Troubleshooting 77ps
Save _me and money/Review the charts on the following
pages first and you ma}/ not need to call forservice.
Possible Causes What ToDo
Icemaker power switch in * Move the switch to the I(on) position.
the 0 (off) position.
Water supply turned off or *SeelnstallingtheWaterUne.
not connected.
Freezer compartment *'Wait 24 hours for the refrigerator to completely
too warm cool down.
Piled up cobes in the storage • Level othes by hand.
bin cause the icemaker to
shut off.
_mmll Water shutoff valve connecting *Call the plumber to clear the valve.
refrig_ator to water line may
be dogged.
Door left open. • Check to see if package is holding door open.
Temperature control not • See About the TemperatureControl.
setcold enough.
icecU/Je_ Ice smxagebin needs cleaning. • Empty and wash bin. Discard old cubes,
m/_/Zaste Food transmitting odor/taste • Wrap foods well.
to ice cube&
Interior of refrigerator • See Careand cleaning.
needs cleaning.
4