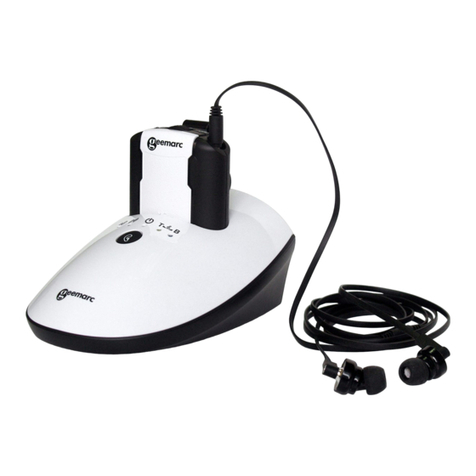
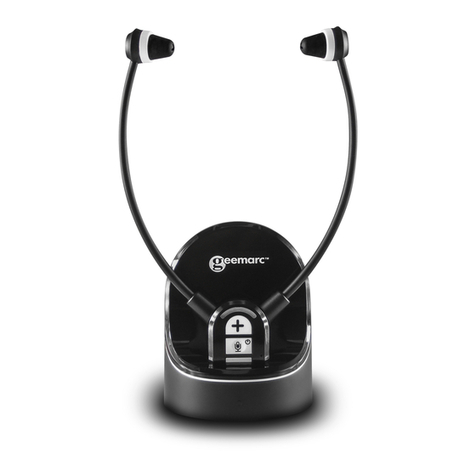
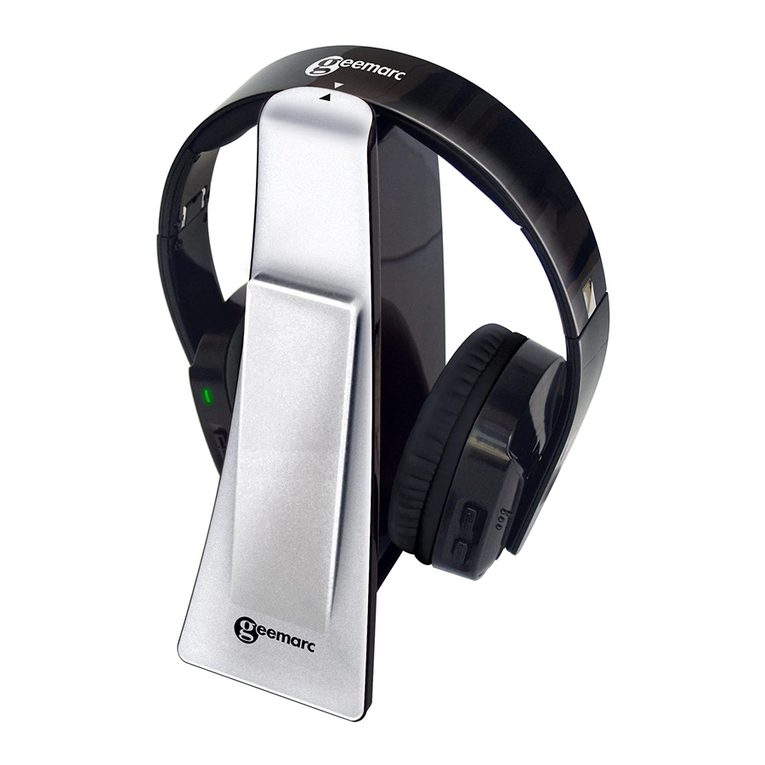
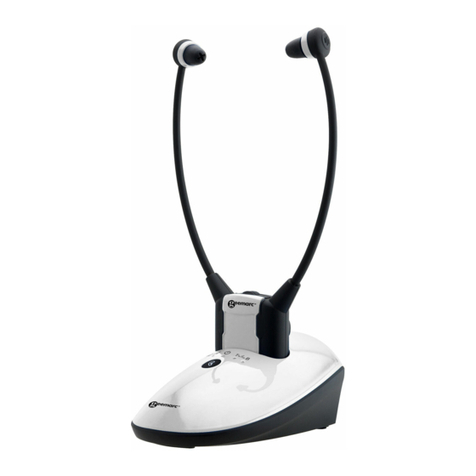
Geemarc CL7700 OPTI User manual

1
En 2 - 31
Fr 32 - 60
Ge 61 - 89

2
INTRODUCTION ����������������������������������������������������������������������������������������������3
Unpacking the CL7700 OPTI ������������������������������������������������������������������������4
Receiver(Headset) description ���������������������������������������������������������������������5
Transmitter (Charger Stand) description����������������������������������������������������6
Transmitter Back Panel ����������������������������������������������������������������������������������6
Voice Notication ����������������������������������������������������������������������������������������������7
Getting Started – Connecting the Charger Stand to your Television
(or an Other Audio Device) ����������������������������������������������������������������������������8
INSTALLATION�������������������������������������������������������������������������������������������������8
A. Φ3.5mm audio socket ����������������������������������������������������������������������������� 10
B� Optical socket�������������������������������������������������������������������������������������������� 10
USING THE CL7700 OPTI ������������������������������������������������������������������������� 12
Charging your CL7700 OPTI���������������������������������������������������������������������� 12
Turning on the CL7700 OPTI ��������������������������������������������������������������������� 13
SETTINGS������������������������������������������������������������������������������������������������������� 15
Volume Setting ����������������������������������������������������������������������������������������������� 15
Balance Setting ���������������������������������������������������������������������������������������������� 15
Tone Setting����������������������������������������������������������������������������������������������������� 17
Stereo/Mono Setting ������������������������������������������������������������������������������������� 18
PAIRING����������������������������������������������������������������������������������������������������������� 19
Phone Call pairing ����������������������������������������������������������������������������������������� 19
ECO MODE����������������������������������������������������������������������������������������������������� 24
CL7700 OPTI with Hi-Fi or MP3 Player �������������������������������������������������� 25
TROUBLESHOOTING��������������������������������������������������������������������������������� 25
GENERAL INFORMATIONS ��������������������������������������������������������������������� 26
Cleaning ����������������������������������������������������������������������������������������������������������� 26
Environmental������������������������������������������������������������������������������������������������� 26
Battery Warnings�������������������������������������������������������������������������������������������� 27
Features ����������������������������������������������������������������������������������������������������������� 28
TECHNICAL SPECIFICATIONS��������������������������������������������������������������� 28
Electrical Specication of the Charger Stand���������������������������������������� 29
GUARANTEE ������������������������������������������������������������������������������������������������� 30
RECYCLING DIRECTIVES������������������������������������������������������������������������ 31
3
INTRODUCTION
Thank you for having purchased the Geemarc CL7700 OPTI – our
Amplied 2.4GHz wireless TV headset. The CL7700 OPTI is a
stylish, top quality headset delivered with its Charger Stand, which
can be connected to televisions, laptops, music players, and iPods�
The headset provides high quality CD sound, and can be used alone
as a Bluetooth headset, without the need of having its Charger
Stand nearby�
The CL7700 OPTI is useful in situations where members of the
same household do not wish to watch the same TV program
together� By wearing our headset, one can watch TV without
disturbing those around, who might prefer to read.
The headset has tone, volume, and balance controls, and you can
choose to have either stereo or mono sound� It also has a built-in
rechargeable battery which self-charges when the headset is placed
on its Charger Stand�
This easy-to-use, stylish device will allow you to hear the beauty of
sound with amazing quality and clarity.
You can pair your TV headset at your mobile phone in Bluetooth
mode and answer at one call or even listen the music by one
application�
It is important that you read the following instructions if you wish to
enjoy the full potential of your Geemarc CL7700 OPTI. Keep this
user guide in a safe place for future reference.

4
Unpacking the CL7700 OPTI
When unpacking our CL7700 OPTI, you should nd the
following ítems in the box:
• 1x CL7700 OPTI Bluetooth controlled headset
• 1x Transmitter (Charger Stand)
• 1x AC power adapter 1,5 meter
• 1x Optical cable 1 meter
• 1x 3.5 mm male Jack to 3.5 mm male Jack cable
• 2x Pairs of ear pad gel (small size & large size)
• 1x User guide
For product support and help visit our website at
www�geemarc�com
E-mail : help@geemarc�com
Telephone 01707 387602
lines are open 09h00 to 16h00 Mon to Fri
Parc de l’Etoile, 2 Rue Galilée, 59760
Grande-Synthe,France�
Made for Geemarc Telecom
S�A� in China
INTRODUCTION

5
Receiver(Headset) description
1. Receiver Buttons :
ON/OFF Power ON and OFF the device
TONE For entering “Tone Adjust Status”
BALANCE For entering “Balance Adjust Status”
RIGHT/UP For adjusting setting
LEFT/DOWN For adjusting setting
CALL For answer phone and Bluetooth pairing
switch back and forth between two devices.
2. Receiver LEDs :
There are 9 LEDs� These LEDs will be used to indicate the
status in dierent status.
DescriptionButton
INTRODUCTION
LED x9
Left / Down
Right / Up
Call
Tone
Balance
On / O

6
Transmitter (Charger Stand) description
Transmitter Back Panel
Description
Button
Switch Status Description
Description
Ports
Pairing Button Pairing button on Charger Stand
Power
Switch
Power
Switch
Power
Switch
OFF
ON
MONO
The Charger Stand is powered OFF�
The Charger Stand is powered ON, and it will
make the CL7700 OPTI works in Stereo mode�
The Charger Stand is powered ON, and it will
make the CL7700 OPTI works in Mono mode�
USB Type-C 5V Power Input port�
3.5 mm Line-In For 3.5mm Line-In audio source.
Optical
(SPDIF)
For Optical In audio source. (Remark :
When 3.5mm Line-In is plugged in, optical
input is ignored )
INTRODUCTION
Button
Pair
Line-InOptical
Power
Switch
USB
Type-C

7
Voice Notication
The Headset should have a set of voice notications to indicate
the status of the Headset. The following voice notications are
supported :
1� “Power ON” - when the Headset is power ON�
2� “Power OFF” - when the Headset is power OFF�
3. “Pairing” - when the Headset enters Pairing Status.
4� “Connected”- when the Headset is connected to a
device�
5� “Disconnected” - when the connection has
disconnected�
6� A “Beep” sound - when
a. volume hits the maximum or minimum level.
b. balancing hits, the left or right most.
c� tone hits Tone 1 or Tone 5�
7� A “Beep Beep” sound - when
a� the volume level reaches Level 5� (middle
position)
b. the balance level reaches at the middle (left and
right balance)�
c. the tone channel at Tone 3 (middle tone).
d. lost the signal of the connected device,
searching the signal of the device and trying to
reconnect�
8� “Low Battery” - when the Battery voltage is low�
9� Incoming sound – when a new incoming call occurs�
INTRODUCTION

8
Getting Started – Connecting the Charger Stand
to your Television (or an Other Audio Device)
1. Insert the USB Type-C connector of the AC power
adapter into the “DC IN 5V” socket at the back of the
Charger Stand�
INSTALLATION
Line-InOptical
Power
Switch
USB
Type-C
Button
Pair

9
2. Insert either one end of the 3.5 mm Jack cable into the
“AUDIO IN” socket at the back of the Charger Stand, or one end
of the optical cable into the “OPTICAL” socket at the back of the
Charger Stand�
3. Insert the other end of the cable you have chosen, that is either
the male Jack cable or the optical cable, into your audio source’s
output socket, that is the output socket of the device you are
using the headset with�
There are dierent methods you can follow to set up the Charger
Stand depending on what sockets your audio device is equipped
with. Please see below:
INSTALLATION

10
A. Φ3.5mm audio socket
Insert one end of the 3.5 mm Jack cable into the “AUDIO IN”
socket at the back of the Charger Stand. Insert the other end of
this cable into the 3.5mm audio output of your television (or of
any other audio device)�
Note: if you connect the Jack audio 3.5mm at the headset output
of your TV, it risks that the Sound of the TV speaker is cut.
B� Optical socket
Insert one end of the optical cable into the “OPTICAL” socket
at the back of the Charger Stand. Insert the other end of this
cable into the “OPTICAL OUT” or SPDIF output socket of your
television (or of any other audio device).
INSTALLATION

11
Note: The 3.5 mm Jack and the optical cable cannot both be
plugged in at the same time. If one is used then the other needs
to be left aside.
4� Plug the AC power adapter into the mains�
5. Move the power switch at the back of the Charger Stand to the
“ON” position to use your CL7700 in Stereo sound or Mono to
use in mono sound�
6. On the front of the Charger Stand, a red LED will light up on
the Charger Stand to indicate it has been turned on. If a blue
LED starts blinking, it means the unit has entered the Bluetooth
connecting mode�
INSTALLATION

12
7� Red LEDs light up on the headset when it is placed on the
Charger Stand� These red LEDs will blink to indicate the headset
is charging. Once the batteries of the headset are fully charged,
the red LED will stay on. If the red LEDs blink when the headset
is not on the Charger Stand, it means its batteries are low and
need to be recharged�
Charging your CL7700 OPTI
1� When the Headset is plugged into the Charger Stand, it will be
charged (Ensure the Charger Stand is turned ON)�
2� LEDs on the Headset will be ON with each blinking red LED
indicating the current battery capacity level� (blinks every 1
second)
(e�g� The level 5 red LED is blinking to indicate that the battery
capacity is charging at the 50% level)
USING THE CL7700 OPTI

13
3. When the Headset is unplugged from the Charger Stand, it will
enter Connecting Status�
Charge Completed
All red LEDs will light up when the Headset is fully charged.
When the Headset is unplugged from the Charger Stand, it will
enter Connecting Status�
Turning on the CL7700 OPTI
Once the batteries are fully charged, the headset can be
removed from its Charger Stand and used. Press and hold the
headset’s power button for 3 seconds until a red LED starts
blinking on the right “->>” button�
You can hear the message “Power on” at the start then
“Connected” if the headset nds a device (mobile phone,
charging base or TV for example). About 10 seconds later, this
red LED will stop blinking and stay on to indicate that the CL7700
OPTI is now ready for use.
USING THE CL7700 OPTI

14
Place the earbuds inside your ears and make sure that the
television (or the other audio device you are using the CL7700
OPTI with) is turned on. By default, the headset’s settings are at
the recommended levels, for further personalisation please see
the “settings” part of this user guide.
When the connection is done, you can see 5 Led’s on, it means
that the volume level is set at the middle position at each start up�
If the connection is not made, the Headset will enter in Standby
Status�
The middle LED blinks
If the Headset is idle for 30 minutes, the Headset will be
automatically powered OFF�
After 30 seconds, one red LED stays ON indicating the current
volume level selected (e.g. 5th red LED is ON for volume level=5)
USING THE CL7700 OPTI

15
You can set the volume in using “<<+” and “->>” buttons on each
side� These buttons situate each side allows you to increase or
decrease the volume to a level that is suitable for you.The red
LED lights represent the volume intensity, the more there are on,
the higher the volume is�
It means that the headset is at the high position
It means that the sound is Mute
If when adjusting the volume you hear a beep sound twice, it
means the volume is at mid-level�
One beep, it means the volume is at the low or high position�
Balance Setting
The balance can be adjusted by pressing the headset’s “BAL”
button�
After you have pressed
and hold this button
for 3 seconds, a red
LED will light up to
show you the current
balance�
SETTINGS
Volume Setting

16
From then on, each time you press the headset’s “->>” button,
you will change the volume level on the right side, whereas each
time you press on the headset’s “<<+” button, you will change
the volume level on the left side. When maximum and minimum
levels are reached, the headset will beep once� When mid-level
is reached, it will beep twice�
- If the “LEFT/DOWN” button is pressed, the balance level and
audio pan to the left side.
( pan left by 1 )
( pan left by 2 )
( pan left by 3 )
( pan left by 4 )
- If the “RIGHT/UP” button is pressed, the balance level and
audio pan to the right side�
( pan right by 1 )
( pan right by 2 )
( pan right by 3 )
( pan right by 4 )
SETTINGS

17
Pressing and holding the “BAL” button for 3 seconds will allow
you to leave the balance setting mode� You will leave this mode
automatically if after having entered it, you do not press any
button for 30 seconds.
Tone Setting
The tone can be adjusted by pressing the headset’s tone button�
After you have pressed and hold this button for 3 seconds, red
LEDs will light up to show you the current tone�
You can then press the “<<+” and “->>” buttons on the headset
to switch between the 5 tones available� When you have reached
either tone 1 or 5, the headset will beep once� When you have
reached tone 3, it will beep twice.
Tone 2:
Tone 3:
Tone 4:
Tone 5:
SETTINGS
Tone1:
Stop

18
Pressing and holding the “TONE” button for 3 seconds will allow
you to leave the tone setting mode� You will leave this mode
automatically if after having entered it, you do not press any
button for 30 seconds.
Stereo/Mono Setting
You can switch between Stereo and Mono by simply moving the
power switch at the back of the Charger Stand to the position
corresponding to the desired mode (MONO / ON / OFF)�
Moving the power switch to the “ON” position will make the
CL7700 OPTI works in Stereo mode, whereas moving it to the
“Mono” position will make the CL7700 OPTI works in Mono
mode�
SETTINGSSETTINGS
Line-InOptical
Power
Switch
USB
Type-C
Button
Pair

19
Phone Call pairing
You can pair the headset to a smartphone via Bluetooth� To do so
please follow the below procedure:
1) Turn on the headset by pressing and holding its power button
for 3 seconds, then enter the pairing mode by pressing and
holding the “CALL” button for 6 seconds. A red LED upper to the
“->>” button will start blinking quickly�
PAIRING

20
2) On your smartphone, check that the bluetooth mode is turns
on and launch the research of device.
3) Using your smartphone, establish a connection with the
headset, its Bluetooth name will appear as “CL7700”�
PAIRING
Table of contents
Languages:
Other Geemarc Headset manuals

Geemarc
Geemarc CL7400 User manual

Geemarc
Geemarc CL7350 User manual

Geemarc
Geemarc CLA3 User manual

Geemarc
Geemarc LoopHEAR 20 User manual

Geemarc
Geemarc CL7400 User manual

Geemarc
Geemarc CLA3 User manual

Geemarc
Geemarc CL7400 User manual

Geemarc
Geemarc CL Hook 1 User manual

Geemarc
Geemarc CL7350 Instruction manual

Geemarc
Geemarc CLA3 User manual