3GSDI Audio Embedder
Table of Contents
viii
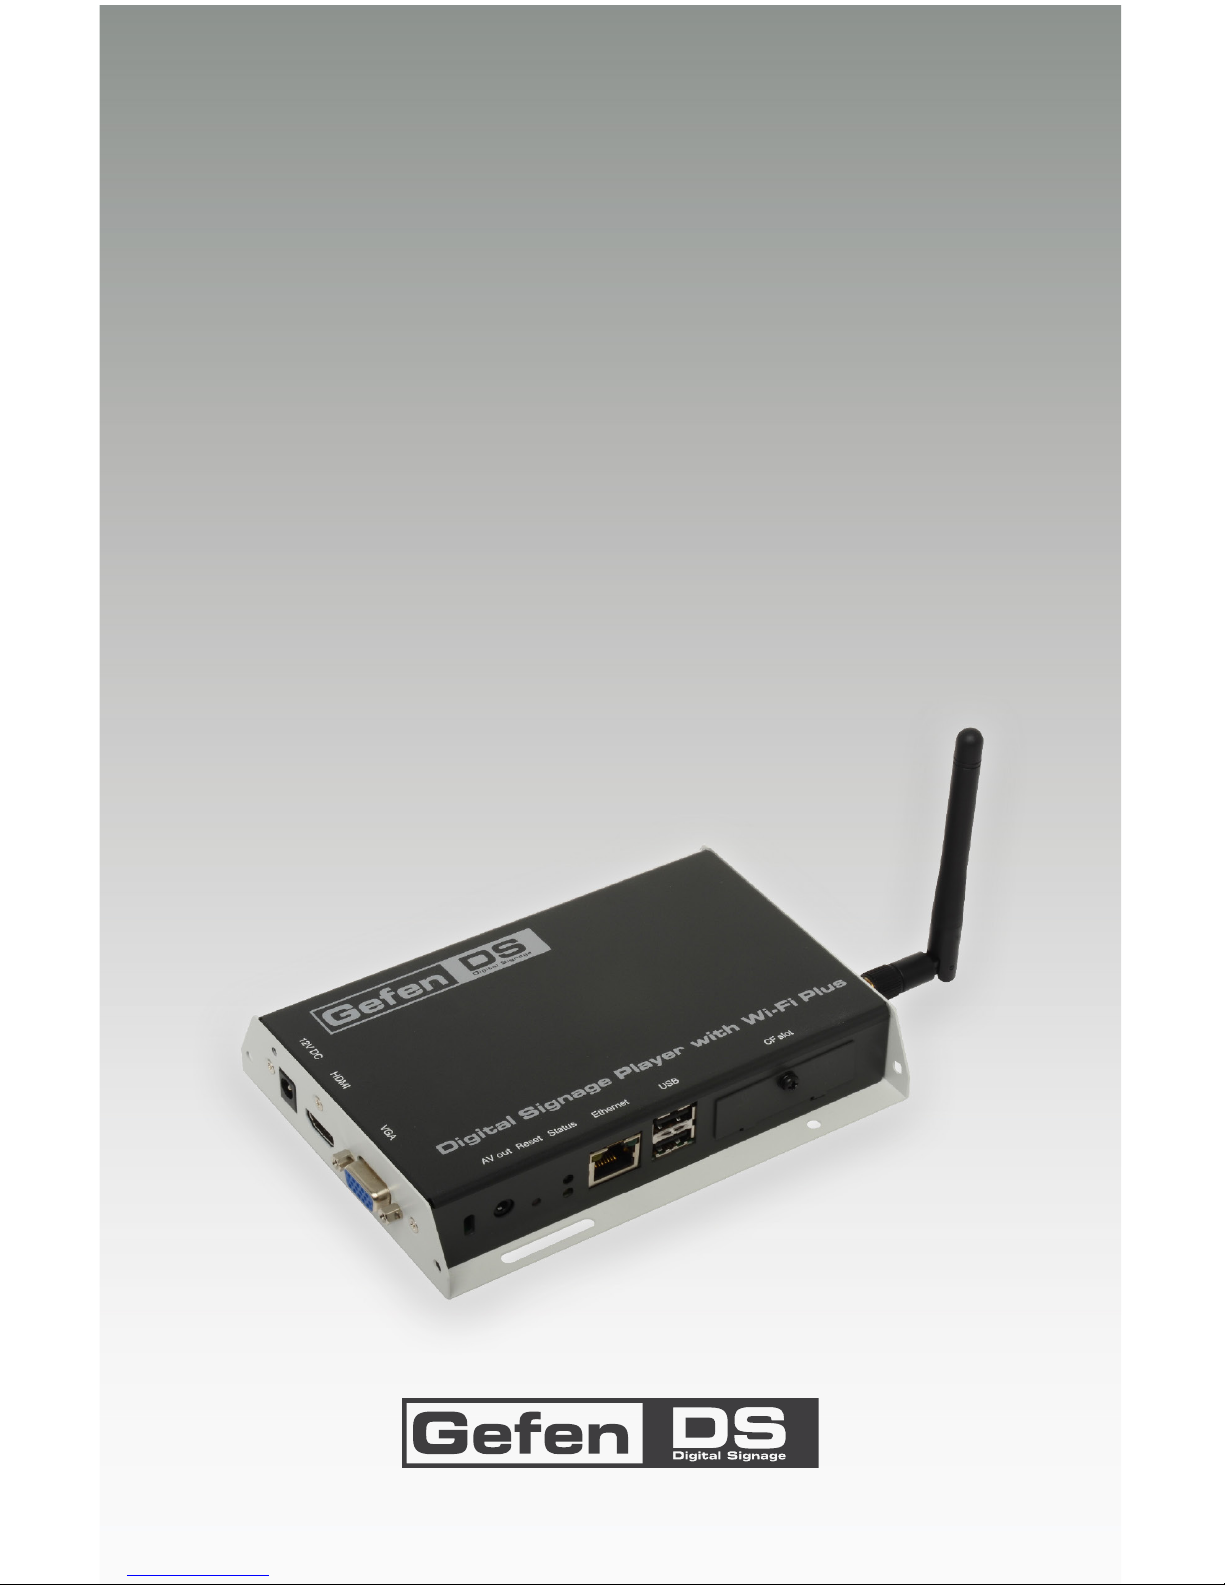
Digital Signage Player with Wi-Fi Plus
01 Getting Started
Panel Layout ......................................................................................................... 2
Front.............................................................................................................. 2
Back .............................................................................................................. 3
Side ............................................................................................................... 4
Installation ............................................................................................................. 5
Sample Wiring Diagram ................................................................................ 5
02 Operating the
Digital Signage Player with Wi-Fi Plus
Powering the Digital Signage Player..................................................................... 8
Conguring the Digital Signage Player.................................................................. 9
Connecting the USB Keyboard ..................................................................... 9
Displaying the Device Information................................................................. 9
Setting the Output Resolution ..................................................................... 10
Setting the Content Source ......................................................................... 11
Pulling Content............................................................................................ 12
Changing the name of the Digital Signage Player ...................................... 13
Connecting to a Network using DHCP ........................................................ 14
Connecting to a Network using a Static IP.................................................. 16
Connecting to a Network using Wi-Fi.......................................................... 17
Changing the Proxy Type............................................................................ 20
Changing the Proxy Server ......................................................................... 21
Setting the Internal Clock ............................................................................ 22
Setting the Time Zone................................................................................. 23
Setting the Time Server .............................................................................. 26
Setting the Password .................................................................................. 28
Undoing Changes ....................................................................................... 29
Saving Changes / Exiting the Main Menu ................................................... 30
03 Signage Manager Express Software
Software Installation............................................................................................ 34
Creating a Sample Presentation ......................................................................... 35
Adding the Content ..................................................................................... 38
Ingesting the Content .................................................................................. 40
Changing the Display Interval ..................................................................... 45
Adding Video............................................................................................... 47
Combining Images with Video..................................................................... 51
Adding a Ticker ........................................................................................... 54
Using Additional Colors............................................................................... 57
Using Widgets ............................................................................................. 59