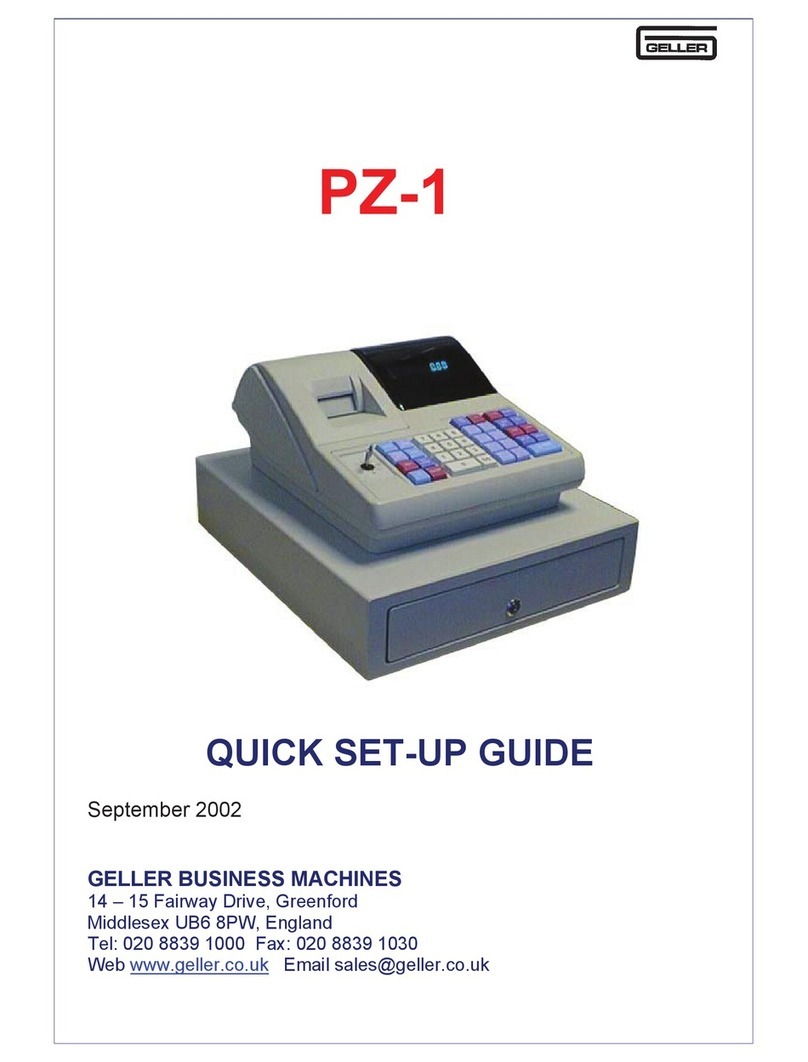
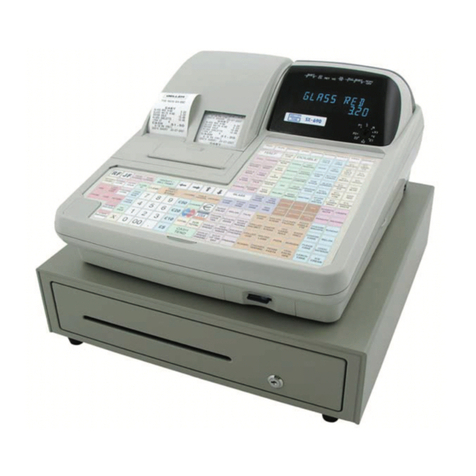
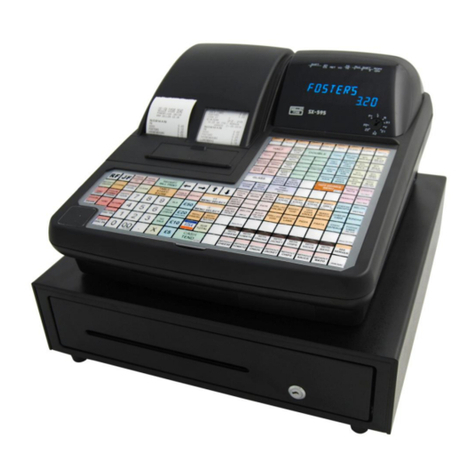
Geller ET-6800 User manual

1
ET
ETET
ET-
--
-6800
6800 6800
6800
USER GUIDE
Hospitality / Retail
Operations Guide
January 2006

2
ET
ETET
ET-
--
-6800
6800 6800
6800
Feature Guide
299 Departments
15000 PLUs
44mm Receipt & Journa Printers
50 C erk Interrupt Ho ds With Auto Store After Pre Set Time Limit
PC Link for easy programming and advanced sa es reporting
Scanning with Easy Programming, Price Check, PLU De ete and
re-ordering features
Menu Windows a owing more keyboard space
Modifiers a owing Ha f Pint and Doub e quantities
Scro through arge orders
Programmab e Keyboard Layout
Drawer A arm with programmab e timer
Kitchen Printer and Bi printer avai abi ity
Link Mu tip e ECRs in an IRC network system
Euro Avai abi ity
Compu sory Cash Dec aration
Training Mode
Graphic Logo
Management Contro
Management Reports

3
CONTENTS
Description
Page
FEATURE GUIDE
2
GETTING STARTED
PAPER RO S 5
Insta ing the Paper Ro s 5
Insta ing the Receipt Ro 6
Insta ing the Journa Ro 6
THE MAIN POWER SWITCH 7
THE COTROL LOCK 8
THE DISPLAY 9
THE CASH DRAWER 10
BASIC PROGRAMMING
PROGRAMMING TIPS 11
PROGRAMMING THE DATE 12
PROGRAMMING THE TIME 13
Image – F at Programming Layout 14
Image – Raised Programming Layout 15
PLU PRICE CHANGE 16
P U NAME CHANGE 17
CASH REGISTER OPERATION
GENERAL OPERATION – Entering an Item 18
GENERAL OPERATION – Entering Mu tip e Items 19
GENERAL OPERATION – No Sa e 20
GENERAL OPERATION – Voiding the Last Item Entered 21
GENERAL OPERATION – Voiding an Item Without a Transaction 22
GENERAL OPERATION – Voiding an Item After Tendering 23
GENERAL OPERATION – Cance Transaction 24
GENERAL OPERATION – Entering a Method of Payment 25
GENERAL OPERATION – Printing a Receipt After Sa e 26
GENERAL OPERATION – Using Quick Menus 27
GENERAL OPERATION – P2 Reset 28
HOSPITALITY OPERATION – C erk Interrupt 29
HOSPITALITY OPERATION – Modifiers (Ha ves and Doub es) 30
HOSPITALITY OPERATION – Opening/Storing Tab es 31
HOSPITALITY OPERATION – Scro ing Up/Down a Tab e 32
HOSPITALITY OPERATION – Paying Off a Tab e 33
HOSPITALITY OPERATION – Printing a Bi 34
HOSPITALITY OPERATION – Understanding Bi Prints 35
HOSPITALITY OPERATION – Transferring Tab es 36
RETAIL – Scanning an Item 37
RETAIL – Manua Entry of Non-Scanned Items 38
RETAIL – Price Override 39
RETAIL – PLU Price Check 40
RETAIL – Using the Ho d Function 41
RETAIL SCANNING – Adding a New Product 42 – 45
RETAIL SCANNING – PLU Name Change for Scanned Items 46
RETAIL SCANNING – PLU Price Change for Scanning 47
RETAIL SCANNING – Checking Stock Leve s 48
RETAIL SCANNING – Adding Stock to an Existing Stock Item 49
RETAIL SCANNING – Reducing Stock from an Existing Stock Item 50
RETAIL SCANNING – Adding an Un-programmed Product During Registration 51
RETAIL SCANNING – Adding to the Re-order List 52
4
RETAIL SCANNING – De eting a Redundant PLU 53
SETTING UP YOUR SYSTEM
SETTING UP YOUR DEPARTMENTS 54
SETTING UP OPEN DEPARMENTS 55
CASH REGISTER REPORTS
SETTING UP YOUR GROUPS 56
DEPARTMENT WORKSHEET 57
GROUP WORKSHEET 58
EXTRA WORKSHEET 59
SUPPL ER WORKSHEET 60
REPORT WORKSHEET 61
NEW TEM WORKSHEET 62
TAK NG REPORTS 63
AVA LABLE REPORTS 64
FULL DA LY SALES REPORT 65
PLU SALES PRODUCT REPORT 66
BEST / WORST SELLERS REPORT 67
PRINTING RE-ORDER ISTS 68
NON-MOVERS REPORT 69
G OSSARY - 70 - 74

5
GETTING STARTED
GETTING STARTED GETTING STARTED
GETTING STARTED
Paper Rolls
Installing the Paper Rolls
Your cash register features 2 therma printers which use two ro s of 44mm standard
bond paper; one ro ( eft side) is for the customer receipt and the other ro is for the
journa record (right side). If a customer receipt is not required, a paper saving
option is avai ab e by pressing the [REC ON/OFF] key on the keyboard.
Before installing the paper roll, be sure to do the following to avoid causing a
paper jam:
Orient the paper ro so that it rotates in a counter c ockwise direction, as shown in
fig 1.
Fig 1
Note
1. As therma paper is used, there is a right and wrong side for print. P ease
ensure that you insta the paper ro as shown above
2. Carefu y avoid touching the paper cutter when removing the paper cover.
CAUTION: If a paper jam occurs or a paper ro is used up during print, p ease
insta a new paper ro and press the [RLS] key to re ease.

6
Installing the Receipt Roll
1. Ensure the Contro Lock is in the ‘R’ (Register) position
2. Lift up the printer cover from the rear
3. Insert a new paper ro and sit it in the paper crad e
4. Push the paper through the open paper s ot
5. If necessary press the RF button to advance the paper automatica y
6. Rep ace the printer cover and tear off any excess paper
Installing the Journal Roll
1. Make sure the Contro Lock is in the ‘R’ (Register) position
2. Lift up the printer cover from the rear
3. Insert a new paper ro and sit it in the paper crad e pane
4. Push the paper through the open paper s ot
5. If necessary press the JF button to advance the paper automatica y
6. Using the journa take up spoo , wrap around the journa ro to this device
7. Rep ace the printer cover

7
GETTING STARTED
GETTING STARTEDGETTING STARTED
GETTING STARTED
The Main Power Switch
The main power switch is oca
ted on the
right-hand side of the ET-
6800.
The switch must be in the ON position
before the ECR is operationa

8
The ‘V’ position is used to void previous y made
incorrect sa es entries.
The ‘L’ position ocks the ECR
GETTING STARTED
GETTING STARTEDGETTING STARTED
GETTING STARTED
THE CONTRO OCK
L
R
X1
V
Z1
X2
Z2
P2
P1
The ET-6800 shou d be used
to make sa es with the key in the ‘R’ position.
The P1 and P2 positions
give access to programming operations.
The X1 and X2 positions are used to read sa es
reports. The Z1 and Z2 positions are used to read
and reset sa es information

9
GETTING STARTED
GETTING STARTEDGETTING STARTED
GETTING STARTED
THE DISP AY
By programmab e option the contro ock position
can be temporari y disp ayed and a warning tone
sounded each time the key position is changed
The customer disp ay screen can be rotated
and ifted for the best viewing ang e

10
GETTING STARTED
GETTING STARTEDGETTING STARTED
GETTING STARTED
THE CASH DRAWER
It is possib e to program the ECR
so that it cannot be used for transactions
when the drawer is open
A de ay can be set so that if the drawer is eft open
for more t
han a designated number of seconds,
an a arm wi sound
Whenever the ECR is not in use (i.e. at night),
the contro ock shou d be turned to the ‘L’ position
and the cash drawer emptied & eft open
to avoid damage in the event of a break in

11
BASIC PROGRAMMING
BASIC PROGRAMMINGBASIC PROGRAMMING
BASIC PROGRAMMING
PROGRAMMING TIPS
Programming on the ET-6800 can be accessed through the P1 & P2 positions on
the contro ock.
We strong y recommend users not to access the P2 position un ess trained by a
suitab e engineer. This function has been reserved for engineer features.
The P1 position wi a ow basic changes to the system, such as PLU price
changes, C erk name changes etc.
A separate over ay sheet may be required. This contains the re evant
programming buttons required to program the cash register.
STRT = To choose a function
SLCT = To se ect an option from within a function
INPUT = To confirm a programming choice
DSGN = Go to a programming number
The programming over ay sheets (supp ied with the ECR) or for reference can be
viewed on pages 14 & 15
The fo owing tab e shows how to print out various current programming data
from the ECR.
Confirmation Type Procedure
PLU Names P1 - 3 - STRT - SLCT - SLCT - PRINT
PLU Prices P1 - 3 - STRT - SLCT - SLCT - SLCT - PRINT
Dept Names P1 - 2 - STRT - SLCT - PRINT
C erk Names P1 - 8 - STRT - SLCT – SLCT – SLCT - PRINT
C erk Pin Numbers P1 - 8 - STRT - SLCT - PRINT

12
BASIC PROGRAMMING
BASIC PROGRAMMING BASIC PROGRAMMING
BASIC PROGRAMMING
PROGRAMMING THE DATE
•
Turn the key ock position
to P1
Enter the
date using the numeric keyboard
fo owing the format:
YYYYMMDD
Examp e: 20061012 = 12th October 2006
Press the key
INPUT
The option for changing time
wi be disp ayed next.
If you do not wish to a ter the time
turn the key ock to the ‘R’ mode
Press: fo owed by the
or the button
3
5
REC
ON
/OFF
START

13
BASIC PROGRAMMING
BASIC PROGRAMMINGBASIC PROGRAMMING
BASIC PROGRAMMING
PROGRAMMING THE TIME
Turn the key ock position
to P1
Enter the time using the numeric keyboard
fo owing the format:
HHMM
Examp e: 1800 = 6pm
Press the key
INPUT
Or the
button
The disp ay wi show the message
Do not press any keys.
Turn the key
to the ‘R’ mode to exit the programming
CSCN
Press
fo owed by
the
3
REC
ON/OFF
START
6
or

14
BASIC ROGRAMMING
BASIC ROGRAMMINGBASIC ROGRAMMING
BASIC ROGRAMMING
F AT PROGRAM AYOUT
This is the programming layout for the ET-6800 Flat ECR

15
BASIC PROGRAMMING
BASIC PROGRAMMINGBASIC PROGRAMMING
BASIC PROGRAMMING
RAISED PROGRAM AYOUT
This is the programming layout for the ET-6800 Raised ECR

16
BASIC PROGRAMMING
BASIC PROGRAMMINGBASIC PROGRAMMING
BASIC PROGRAMMING
P U PRICE CHANGE
It is possib e to change the Prices of the PLUs by using the Price change button. It
can be used to change the prices of products on the keyboard, Modified products
ie ha ves and doub es and products that are used on different shift eve s,
ie Happy Hour products.
V
Turn the key ock position to ‘V’ mode
Press the
key on the
keyboard
PRICE
CHANGE
Enter the price
Note: Do not press the decima key
Press the product button on the
keyboard. The price has been
changed
Press the key
and turn the key back to the ‘R’ position
PRICE
CHANGE
Repeat unti a
price changes
are comp ete

17
BASIC PROGRAMMING
BASIC PROGRAMMINGBASIC PROGRAMMING
BASIC PROGRAMMING
P U NAME CHANGE
It is possib e to change the Names of the PLUs by using the Name change button.
It can be used to change the names of products on the keyboard.
V
Turn the key ock position to ‘V’ mode
Press the key o
n the
keyboard
NAME
CHANGE
Using the A pha text on the programming
ayout, type in the name of the product
fo owed by key
Press the product button on the
keyboard. The name has been changed
Press the key
and turn the key back to the ‘R’ position
NAME
CHANGE
Repeat unti a
name changes
are comp ete
00

18
CASH REGISTER OPERATION
CASH REGISTER OPERATIONCASH REGISTER OPERATION
CASH REGISTER OPERATION
GENERA OPERATION
Entering an Item
To enter an item simp y press the
appropriate button on the keyboard
For examp e BREAD
RO S
The item name, and price
wi appear on the disp ay.
Further items can be entered in the same way
If required use the tab e function
to enter items in a restaurant app ication.
See page 31
Items can be numbered and isted on a
menu, for examp e a Wine List. To enter
the item, key in the desired menu number
and press the button on
the keyboard ayout
WINE#

19
CASH REGISTER OPERATION
CASH REGISTER OPERATIONCASH REGISTER OPERATION
CASH REGISTER OPERATION
GENERA OPERATION
Entering Multiple Items
If more than one item
of the same type is so d,
the quantity function can be used
Se ect an item
by pressing the
appropriate button
The va ue of the items
wi register and be disp ayed
Key in the quantity to be so d fo owed by
the quantity button
For examp e
X
5

20
CASH REGISTER OPERATION
CASH REGISTER OPERATIONCASH REGISTER OPERATION
CASH REGISTER OPERATION
GENERA OPERATION
No Sale
To make a ‘No Sa e’,
(i.e. open the drawer to give change),
fina ise the current transaction
and do the fo owing:
Press:
NO
SA E
The drawer wi open
The operator wi be identified
on the audit ro
and the No Sa e counter wi be
incremented and
shown on the X and Z reports
Table of contents
Other Geller Cash Register manuals