3
INDEX
DESCRIPTION Page
QUICK SET-UP GUIDE 1
SX-590 Features 2
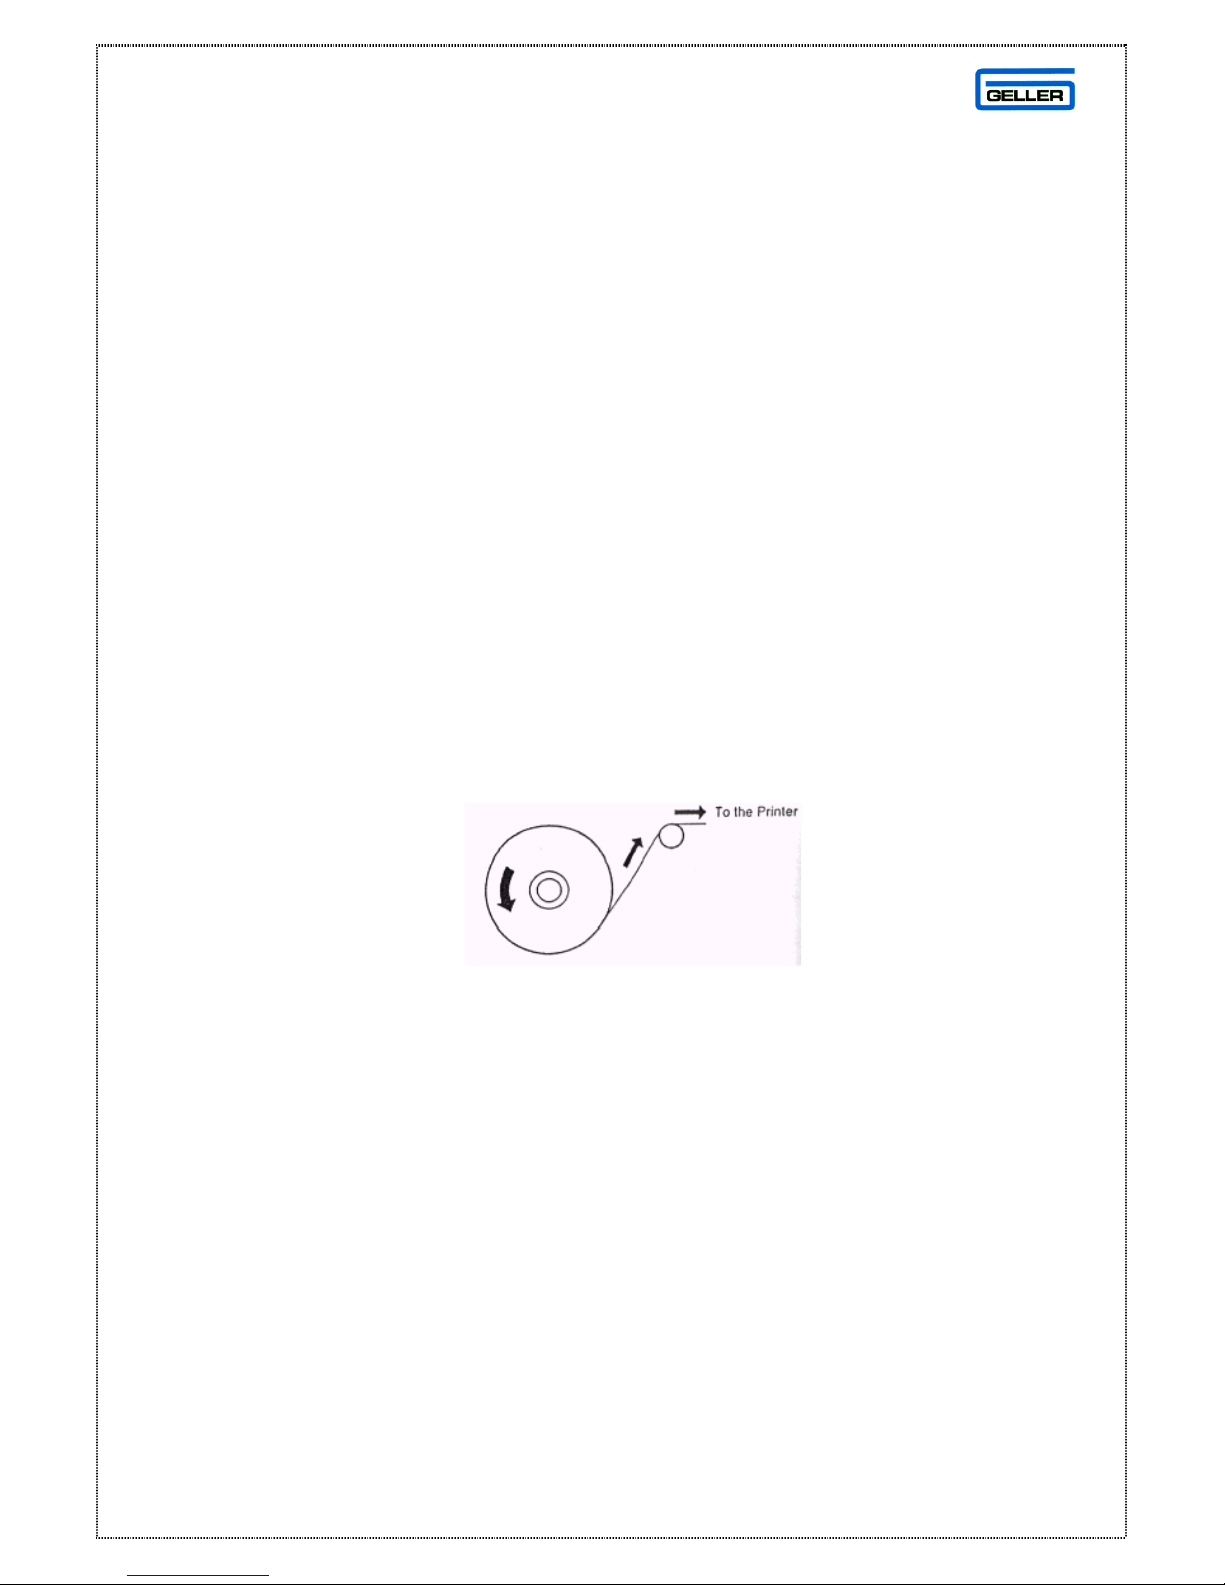
PAPER ROLLS 5
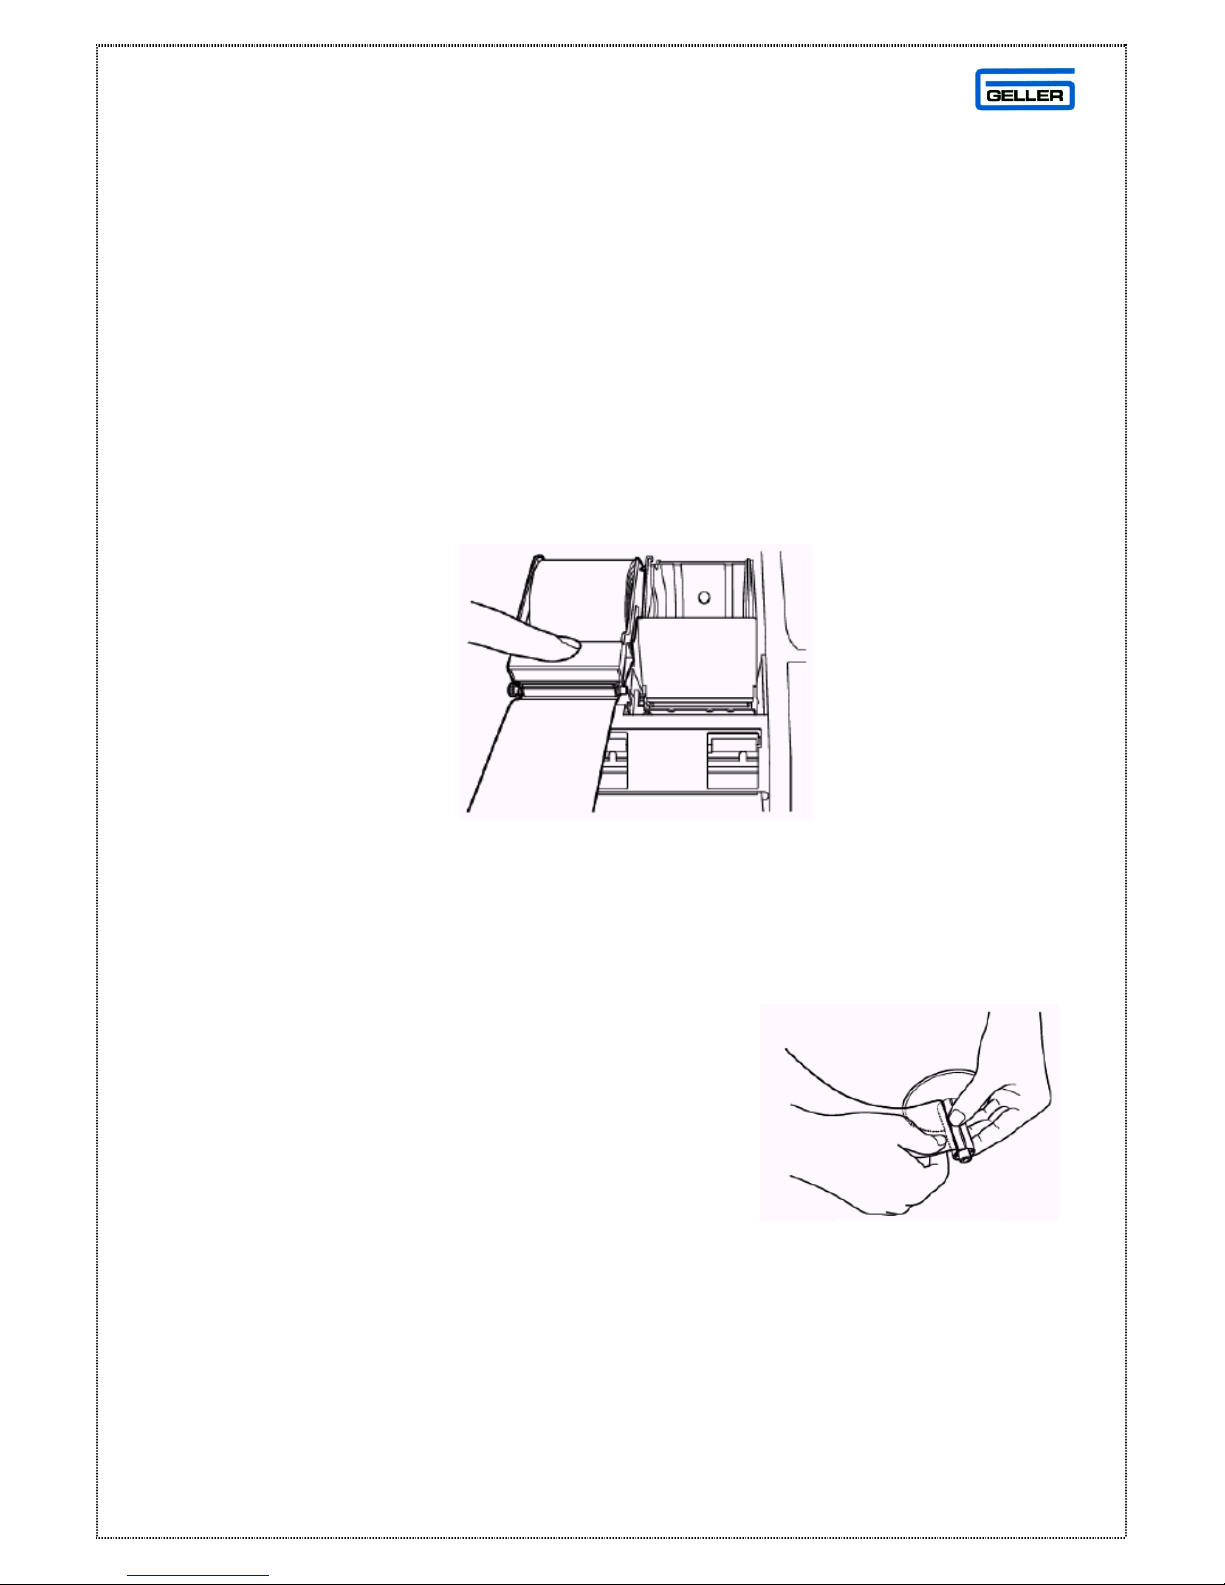
Installing the Paper Rolls 5
Installing the Paper Roll for the Receipt 6
Installing the Paper Roll for the Journal 6
Removing the Paper Rolls 7
SX-590 INITIALISING 8
PROGRAMMING TIPS 9
To check the flash version in the SX-590 9
DATE & TIME SETTINGS 10
Setting the Date 10
Setting the Time 10
PROGRAMMING INFORMATION –SX-590 ECR 11
Programming keyboard layout 11
FLAG SET-UP PROCEDURE 12
PLU SETTINGS, SHIFTS, QUICK TENDERS & TAX RATES 13
Easy PLU Price & Name Change 13
HALOS and Preset PLU Prices 13
PLU Shifts (Half and Doubles etc) 14
Quick Tender Keys (£5, £10, £20, £50) 15
Totals Only on Journal Report 15
Tax Rates 16
ADDITIONAL INFORMATION 17
To Set the Drawer Alarm Delay 17
To Set the Clerk Hold Timer 17
To Set the Cash Lift Alarm 17
PASSWORDS 18
Setting Secret Clerk Passwords 18
Setting Management Passwords 18
PC COMMUNICATIONS 19
Downloading a Demo to the SX-590 ECR 19
SX-590 DAVID WINDOWS UTILITY 20
SX-590 DAVID SALES UTILITY 21
CABLE CONFIGURATION 22
Pin Outs for SX-590 to PC Communications Cable 22
Pin Outs for SX-590 Modem to SX-590 Communications Cable 22
Pin Outs for the Elco Switch Multiplexor Direct to SX-59023
Pin Outs for the Elco Switch Multiplexor via the Hayes Modem 23
CONFIGURING MODEM SETTINGS 24
Modem Settings for the Geller Modem (Hayes) 24
Connecting the Modem to a PC 24