4
Model GFX3 Humidistat Installation Manual
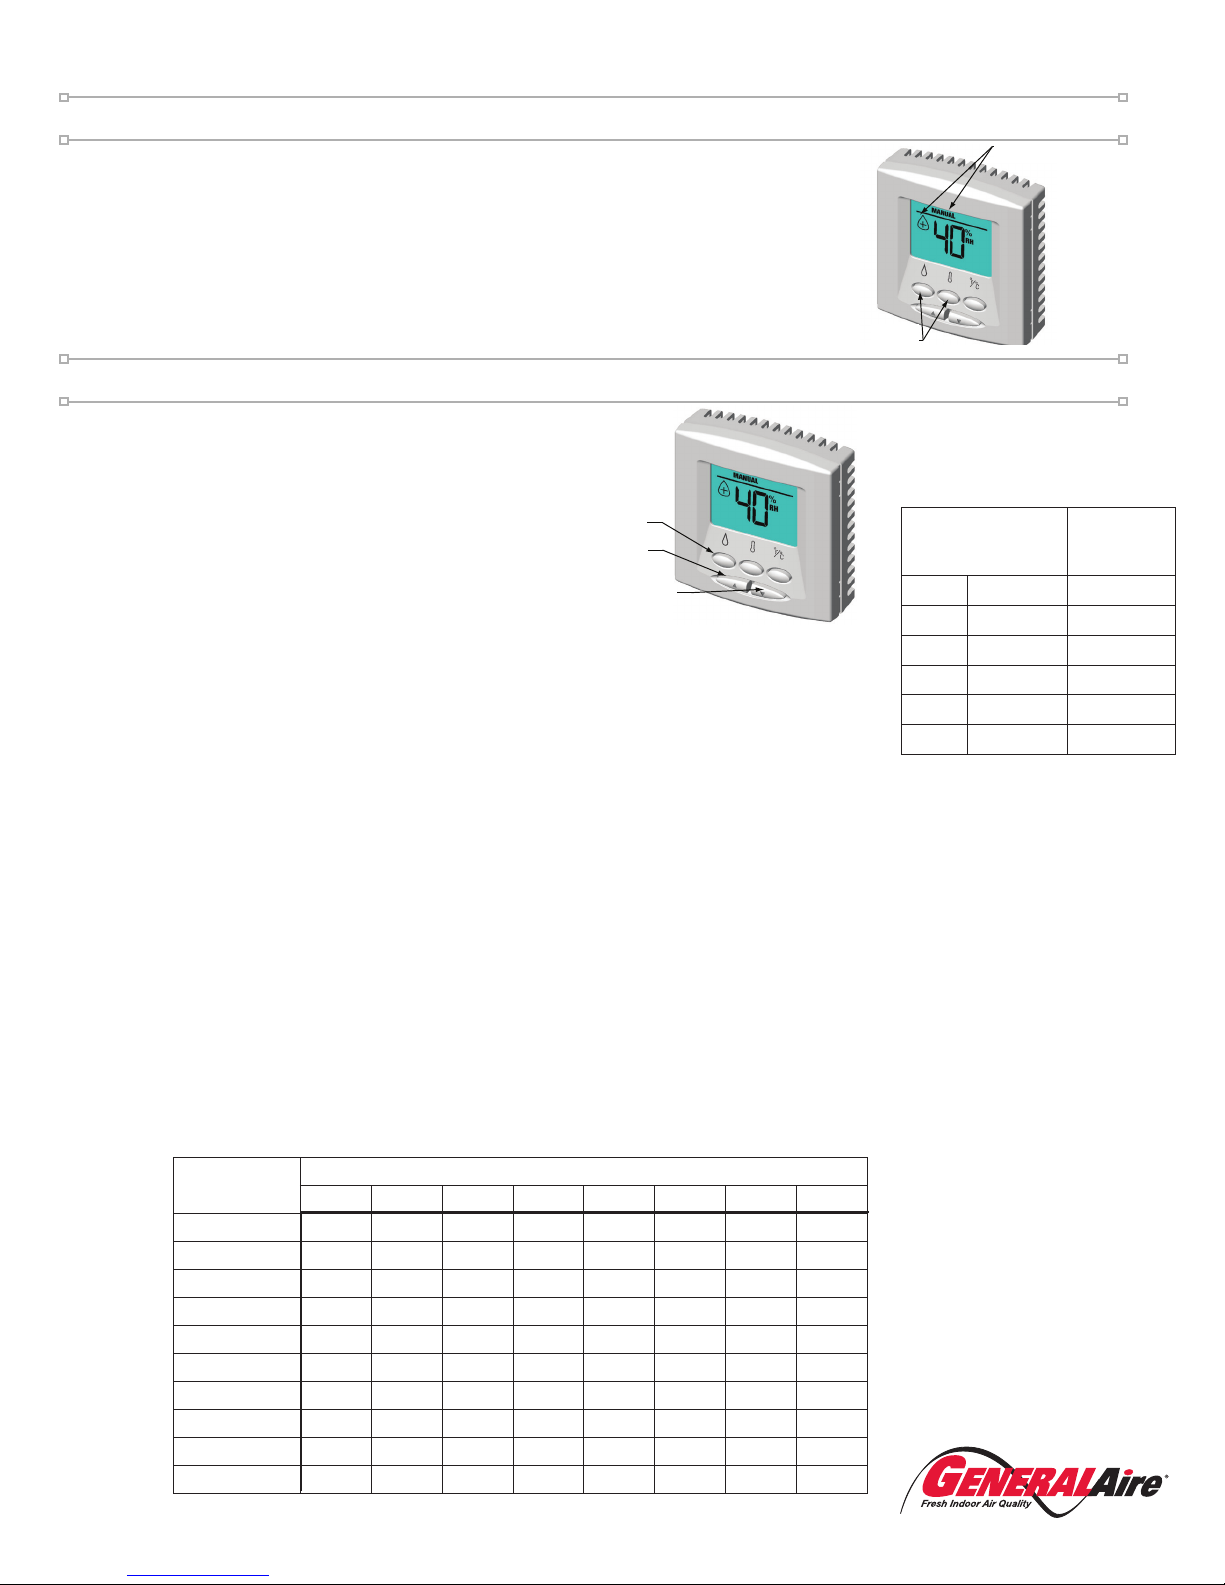
OFFSET Mode
To change the calibration of the GFX3, an offset may be entered to the humidity, Indoor Temperature or Outdoor
Temperature displays. Press both “UP” and “DOWN” buttons together to enter OFFSET mode. The word “OFFSET”
and “RH” will display. Press “UP” or “DOWN” to change the humidity calibration. Press both “UP” and “DOWN”
buttons together again to change the indoor temperature offset. Press both “UP” and “DOWN” buttons together again
to change the outdoor temperature offset.
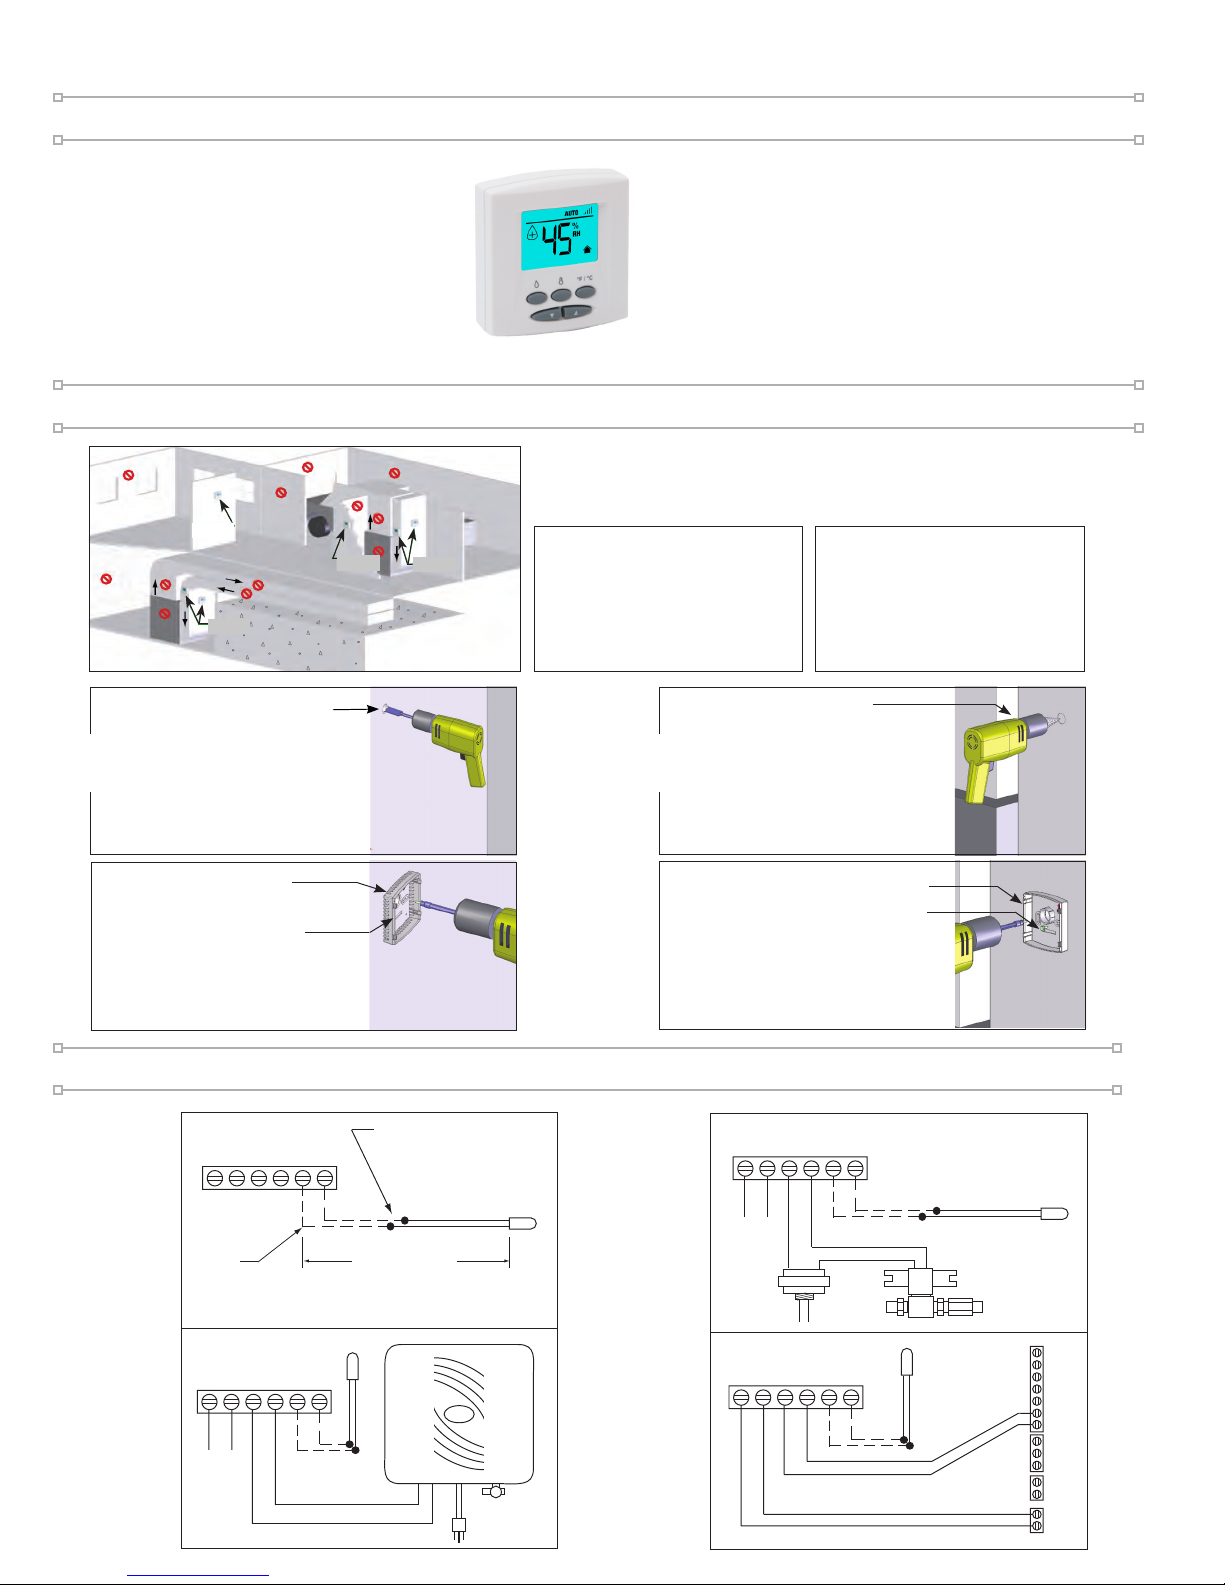
Display a Temperature
Press the “THERMOMETER” button to move between displaying indoor and outdoor temperature. “TREE” will be
displayed when showing outdoor temperature. “HOUSE” will be displayed when showing indoor temperature. To
change between °F and °C units, press the “ °F/°C ” button.
Operating Modes, Cont.
Limited Warranty
This humidistat is warranted to the consumer against defects in materials and workmanship for a period of one year from the date
of installation. Defective parts will be repaired without charge except for removal, reinstallation and transportation costs. To obtain
repair service under this limited warranty, the consumer must send the defective part to the manufacturer.
There are no express warranties covering this humidistat other than set forth above. The implied warranties of merchantability and
tness for a particular purpose are limited in duration to one year. The manufacturer assumes no liability in connection with the
installation or use of this product, except as stated in this limited warranty. The manufacturer will in no event be liable for incidental
or consequential damages.
Any questions pertaining to this limited warranty should be addressed to the manufacturer. USA: The manufacturer has elected not
to make available the informal dispute settlement mechanism which is specied in the Magnuson-Moss Warranty Act.
Troubleshooting
1. “HOUSE” Flashing: The indoor temperature sensor has failed.
2. “TREE” Flashing: The outdoor temperature sensor has failed.
3. Humidifier Turns On and Off Repeatedly:
• Check that input voltage is between 18 and 30 volts, AC and not intermittent.
• Check that humidistat is NOT mounted:
1. On supply duct.
2. Downstream of humidier.
3. Closer to humidier than 12 inches.
• Make sure that outdoor sensor wiring is not close to line voltage wires.
4. Humidifier Runs Continuously:
• If humidier operates while HVAC system is off, check that power to humidier is switched with HVAC operation.
• If humidier operates every time HVAC System runs, compare humidity to set point. If the humidity is lower than
the set point, the humidistat will call for operation.
5. Humidifier Does Not Run:
• Check wiring to/from GFX control. Verify 18-30 volts. Use “TEST MODE” .
6. Humidifier Runs When Air Conditioning Is On:
• Change wiring to be powered only in heating periods.
7. Humidity Not High Enough:
• Fault with Humidier. Check humidier, water supply, electrical connections.
• HVAC operating time too short. Check humidier trouble shooting.
• Humidier undersized. Review humidity load and humidier capacity.
8. Humidity Too High:
• Wiring fault. Set GFX3 to “OFF” mode and check that operation ceases. Outdoor sensor is being kept warm. Check that
sensor is not buried in snow, on south side of house being warmed by sun or is too far inside of air intake.
USA: www.GeneralFilters.com Canada: www.CGFProducts.com
FORM NO. GFX3 REV B
(8-2018; JPF; InDesign)