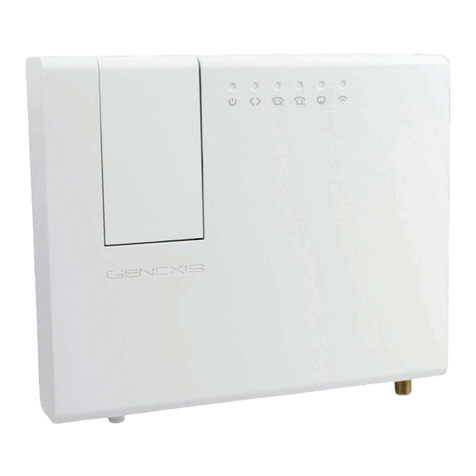
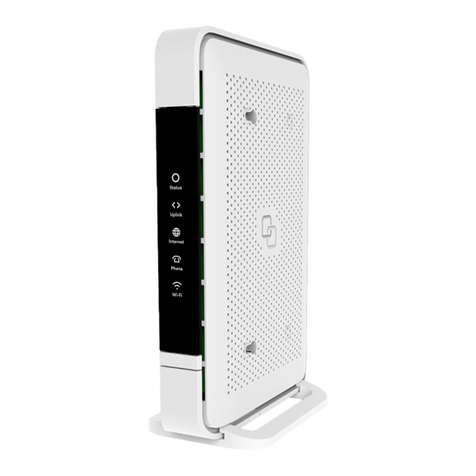
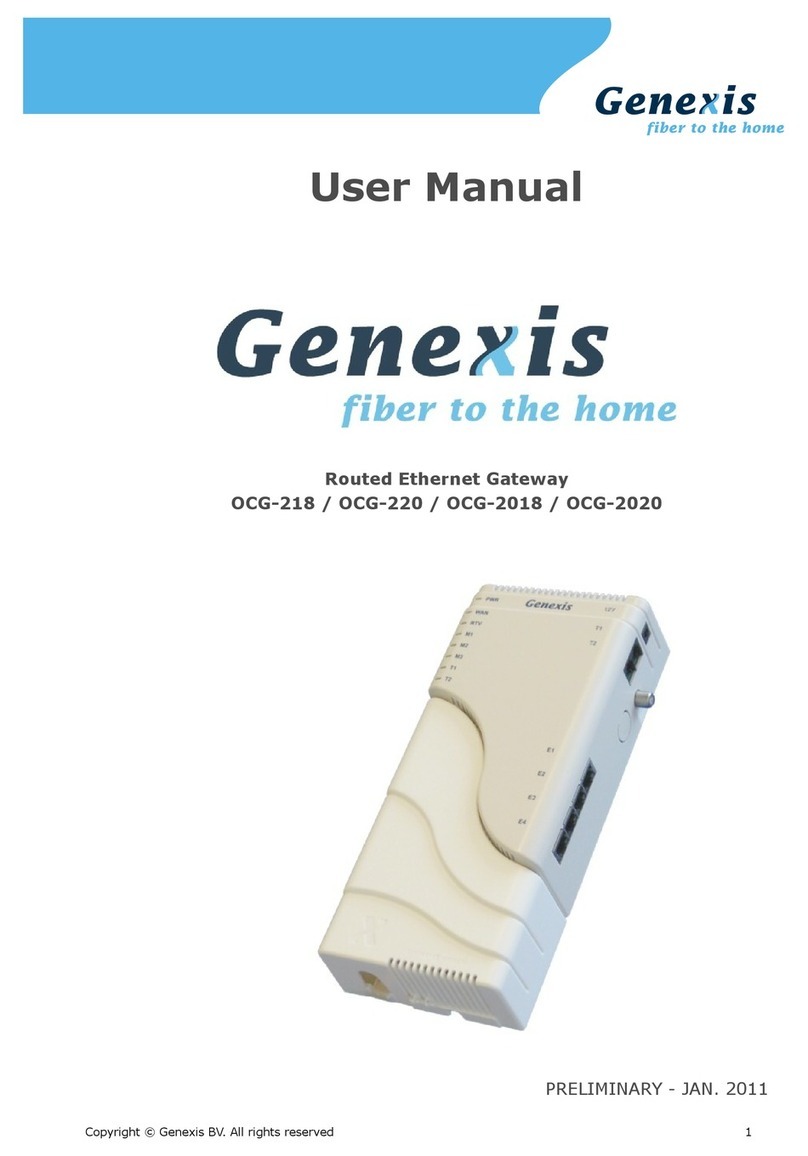
Genexis Pure F510 User manual

F510
Pure-Series
Installation Guide

Status
Green – power on
Yellow /Green (blinking) – booting
Red – boot failed
Uplink
Green – link ok
O– no link
Internet (IP connectivity)
Green – connected (DNS available)
Green (blinking) – connection failed (no DNS available)
O– no IP connectivity
Phone
Green – voice service registered and ok
Green (blinking) – voice service failed to register
O– no voice service present or registered
Wireless (WiFi)
Green – wireless network 2.4GHz and/or 5GHz active
O– wireless networks inactive
TV*
Green – TV service registered and ok
O– no TV service present or registered
*depending on your provider this LED might indicate either CATV or IPTV
Mode button
Activate WPS – press and hold 3seconds
Disable/Enable WiFi – press and hold 10 seconds
LED & button overview
Reset button
LAN ports
USB 2.0port
Telephone
ports
ON/OFF
button
Power port
Port overview
Reset button
The reset button resets the modem to factory
settings. You can press this button with a small
pin or paperclip. Press and hold the button for
more than 10 seconds.
ON/OFF button
This enables you to turn your Pure F510
ON or OFF.
Lid
TV port

Pure F510 needs to be connected to an optical broadband network.
Getting started
Check if the following items are in
the giftbox:
• Genexis Pure F510
• Power adapter
• Vertical stand
• Strain relief
• Labels (self-adhesive, 2x)
• Rubber feet (self-adhesive, 4x)
• Plugs & screws (2x)
Connecting the fiber
1. Slide the lid of the housing by sliding it
towards the portside.
2. Attach strain relief to the fiber, 58 mm
from the connector.
3. Remove the dust cap from the pigtail and
the connector, do not touch the fiber tip.
4. Connect the pigtail to the fiber interface.
5. Place strain relief in the plastic notch in
the housing at the highlighted area.
6. Slide the lid back in original position on
the housing.
Warning: do not pinch the fiber while
sliding the lid back in position.
Multiple languages of this document and additional product information are availableon
https://genexis.eu/download-portal/#pure
Installation guide
Placement
Pure supports two placement options;
standing and mounted to a wall. It is
recommended to place the device ‘away’
from obstacles and objects.
Standing
1. Attach the four rubber feet to the
bottomside of the vertical stand.
2. Slide the vertical stand onto the bottom
of the Pure F510.
3. Place the device on a flat surface.
Wall mount
1. Download and print the drilling guide from
https://genexis.eu/download-portal/#pure
2. Use the drilling guide to drill the holes,
insert plugs and put screws into place.
3. Use the wall mount points on the back of
the Pure F510 to mount the device to
the screws.
Warning: do not cover the device with
anything, this will interfere with the
ventilation of the Pure.
Operation Temperature 0°C ~ 40°C
Setting up the Pure
1. Plug the DC adapter into an electrical
socket and connect it to power port at the
back of the Pure F510.
2. Press the power button at the back of the
Pure F510 to turn on the device.
3. The colored LEDs on the Pure F510 panel
will start blinking. This process takes about
2minutes.
4. If the device is connected properly and
the service is active on the fiber port, the
Status, Uplink and Internet LEDs will have
a fixed green color.
Connecting the Wireless Local Area
Network (WLAN)
Pure supports two ways to create a wireless
connection with your personal devices; via
WPS or manually. For personal devices that
support WPS, this will be the easiest method.
WPS
1. Make sure the WiFi indicator LED on the
front panel is lit. If not, press the Mode
button for 10 seconds until it gets lit.
2. Press and hold the Mode button for 3
seconds. The WiFi indicator LED will
start flashing.
3. Follow the instructions of your personal
device to complete the connection process.
Pigtail in
fiber interface
Strain relief
58mm

Troubleshooting
Manual setup
1.Make sure the WiFi indicator LED on the
front panel is lit. If not, press the Mode
button for 10 seconds until it gets lit.
2. Perform a search for available wireless
networks using the personal device i.e.
laptop or mobile device.
3. Compare the list of wireless networks with
the network name which is shown on the
Pure F510 label.
4. Connect by clicking on the corresponding
network name and provide the password,
which is shown on the Pure F510 label
called “WiFi-Key”.
Power saving options
Power saving options are available via the
web interface. For more information please
visit http://router
Is the Status indicator LED o?
Check if the modem is properly connected
to the power adapter.
Check if the power adapter is connected to
an electrical outlet.
Check if the device is turned on – the ON/
OFF button should be in the “pressed” state.
If the modem is properly connected and
turned on, the Status indicator LED should
turn green after a while.
If Status indicator LED is RED for a long time,
contact your service provider.
Is the Status indicator LED red?
Contact your service provider.
Is the Uplink indicator LED o?
If the Uplink indicator LED is o, despite proper
connection, contact your service provider.
Reset the device
The reset button resets the modem to factory
settings. You can press this button with
a small pin or paperclip. See chapter ‘Port
overview’ to locate the pinhole.
Press and hold the button for more than
10 seconds.
Company Name
Genexis B.V.
Company Address
Lodewijkstraat 1a
5652 AC Eindhoven
The Netherlands
Name and title of authorized person
Maarten Egmond, CTO
Signature of authorized person
Place of issue Date of issue
Eindhoven 2020-04-09
The Netherlands
Hereby, Genexis B.V. declares that the radio equipment type Pure F510 is in compliance with
Directive 2014/53/EU, Directive 2009/125/EC, Directive 2011/65/EU and Delegated Directive
2015/863.
The full text of the EU declaration of conformity is available at the following internet address:
https://genexis.eu/red/pure-F510
Frequency bands and maximum radio frequency power transmitted
The Pure F510 operates in the frequency bands of 2,4Ghz and 5Ghz.
The maximum radio frequency power transmitted in these bands is:
• 20 dBm(100 mW) (EIRP)for the 2400 MHz – 2483.5MHz band
• 23 dBm (200 mW) (EIRP)for the 5150 MHz – 5350 MHz band *
• 30 dBm (1000 mW) (EIRP) for the 5470 MHz – 5725 MHz band
* In EU, 5150 – 5350 MHz is restricted to indoor.
EU Declaration of Conformity

Revision 1.2- April 2020 Copyright © 2020 Genexis B.V. All rights reserved.
Genexis assumes no responsibility for any inaccuracies in this document. Genexis reserves
the right to change, modify, transfer, or otherwise revise this publication without notice.
Table of contents
Other Genexis Gateway manuals