manuals.online logo
Brands
  1. Home
  2. •
  3. Brands
  4. •
  5. Genius
  6. •
  7. Remote Control
  8. •
  9. Genius coralis CRH-01-T-00 User manual

Genius coralis CRH-01-T-00 User manual

CONTROLLO E CONFIGURAZIONE DELL’ORA IMPOSTATA (CONTROLLO NON DI GRUPPO)
TIS-CO83IE/0_0615_DOY
ABBINAMENTO E CONFIGURAZIONE A MOTORE TUBOLARE
ITA
Radiocomando monocanale con programmazione oraria.
CRH-01-T-00
1. Durante il processo di
impostazione, sono disponibili
60 secondi per premere
ciascun pulsante; il dispositivo
uscirà automaticamente dalla
modalità di impostazione dopo
60 secondi se nessun pulsante
verrà premuto.
2. L’intervallo di tempo tra i
movimenti verso l’alto e verso
il basso del motore deve
essere superiore a 32 minuti.
Se è inferiore a 32 minuti,
verrà visualizzato “Er01”
per informare l’utente del
funzionamento errato e della
necessità di un ripristino.
3. Nello stato Impostazione
timer, premere brevemente il
pulsante P1-/P1+ sul canale per
impostare minuti/ore.
4. Nello stato Impostazione timer,
premere brevemente il pulsante
Modalità per impostare il
timer su un valore superiore o
inferiore.
5. Durante la visualizzazione e
l’impostazione dello stato, è
possibile premere il pulsante
Stop per interrompere
immediatamente il processo.
6. Al termine dell’impostazione
dell’ora, questa verrà
memorizzata anche in situazioni
di interruzione di corrente.
……
Premere il pulsante
“Modalità” per
passare alla modalità
automatica o casuale
Tenere premuto il pulsante
“Impostazione ora” per 3 s. per
immettere lo stato del valore
orario; premere il pulsante
Su o Giù per verificare l’ora
impostata per ogni giorno
Premere il pulsante
“Impostazione ora”; le
ore lampeggeranno;
immettere lo stato
dell’impostazione del
tempo di operatività
Premere i pulsanti
“Su” oppure “Giù”
per regolare l’ora
Premere “P1+” per
regolare il tempo di
operatività (minuti);
i minuti lampeggeranno
Premere i pulsanti
“Su” oppure “Giù”
per regolare i minuti
Premere il “pulsante Modalità”, che
consente di confermare il tempo
di operatività impostato e passare
all’impostazione del tempo di
fermo; le ore lampeggeranno
Premere i pulsanti
“Su” oppure “Giù”
per regolare l’ora
Premere “P1+” per
regolare il tempo di
fermo (minuti); i minuti
lampeggeranno
Press the “Up” or
Premere i pulsanti
“Su” oppure “Giù” per
regolare i minuti
Premere il pulsante “Impostazione
ora”, che consente di confermare
il tempo di fermo impostato
Dopo aver impostato i tempi di operatività e di fermo
per tutta la settimana, tenere premuto per 3 s. il
“pulsante Impostazione ora”; i valori delle “Ore” e
dei “Minuti” lampeggeranno sul display LCD, tutte le
impostazioni saranno salvate e il dispositivo uscirà
automaticamente dalla modalità di impostazione
or or
or or
or
Le operazioni di abbinamento tra emettitore e motore tubolare sono
dettagliate nel foglio istruzioni relativo a ciascun motore.
Durante l’impostazione, il tempo tra un’operazione e l’altra deve
essere inferiore a 4 secondi; in caso contrario il dispositivo uscirà
dal programma di impostazione.
I motori alimentati da rete elettrica, sia diretta sia attraverso un alimentatore contengono un buzzer.
L’utente riceve un breve segnale acustico (“beep”) a conferma di ogni fase di programmazione.
Inoltre, all’atto della applicazione della alimentazione il buzzer emette un segnale acustico di durata doppia, a confermare
l’avvenuto collegamento.
Per i motori a batteria, ogni fase della programmazione è invece scandita dalla breve rotazione avanti/indietro del motore.
Accensione
Un beep
(o breve
rotazione avanti
indietro)
La configurazione è
corretta.
Il pulsante Su consente
di controllare il motore
in senso orario
La configurazione è
corretta.
Il pulsante Giù consente
di controllare il motore
in senso orario
Un beep
(o breve
rotazione avanti
indietro)
P2x1 P2x1
UpX1
DownX1
OK
OK
Un beep
(o breve
rotazione avanti
indietro)
Un beep
(o breve
rotazione avanti
indietro)
ENG
TYPE SPECIFICATIONS
TECHNICAL SPECIFICATIONS
·Battery 3V (CR2450)
·Transmitting frequency: 433 MHz
·Transmitting power: 10 mW
·Operating temperature: -10°C ÷ 50°C
·Transmission distance: 200m open office,
35m on two walls
OPERATING INSTRUCTIONS
Warning: to ensure long transmitter life, do not expose to moisture
or shocks.
When using transmitter, if emission distance is obviously too short or
less sensitive than normal, please replace battery. Dispose of used
batteries appropriately.
MODE SWITCH
SETTING THE CURRENT TIME
(IN MANUAL MODE ONLY)
Single channel remote control with hourly programming
CRH-01-T-00
Up button
Stop button
Down button
Retro
Auxiliary
buttons P1 -
Auxiliary
buttons P1+
Time setting
button
Setting button
Mode button
Hour
Manual,
auto,
random
Low power
Up
Minute
Down
Week
Manual mode:
normal transmitter, without
timing function
Auto mode:
normal transmitter
with timing function
Random mode: normal transmitter
with timing function, time period
15 minutes random emission
Press “Mode button” repeatedly;
mode will switch circularly
in Manual - Auto - Random
In the process of setting the time, you have 60 seconds to
press each button; setting mode will quit automatically after
60 seconds if no button is pressed.
Press the “Mode”
button to switch
to manual mode
Press the “Time
setting ” button for
3 seconds, until
“hour” flashes
Press the “Up ” or
“Down” button to
set hour
Press “P1+” until
“minute” flashes to
set minutes
Press the “Up ” or
“Down” button to
set minute
Press “P1+” until
“week” flashes
Press the “Up” or “Down”
button to set week
Press the “Time setting”
button and hold for 3s; “hour”
and “minute” will flash at the
same time. Save the setting
Press the “Time setting
” button; seconds will be
cleared to zero, and it will
start to count time.
oror
or
ITA
DESCRIZIONE
SPECIFICHE TECNICHE
· Batteria 3 V (cr2450)
· Frequenza di trasmissione: 433 MHz
· Potenza di trasmissione: 10 mW
· Temperatura di esercizio: -10°C ÷50°C
· Distanza di trasmissione: 200m in uno spazio
aperto, 35m con due pareti
ISTRUZIONI DI D’USO
Attenzione: per garantire una durata prolungata del trasmettitore,
non esporlo a umidità o urti.
Utilizzando il trasmettitore, se si rileva una distanza di emissione
troppo breve o se la sensibilità del dispositivo diminuisce, sostituire
le batterie. Smaltire correttamente le batterie usate.
CAMBIAMENTO DELLA MODALITÀ DI FUNZIONAMENTO
IMPOSTAZIONE DELL’ORA CORRENTE
(SOLO IN MODALITÀ MANUALE)
Radiocomando monocanale con programmazione oraria
CRH-01-T-00
Pulsante Su
Pulsante Stop
Pulsante Giù
Retro
Pulsanti
ausiliari P1-
Pulsanti
ausiliari P1+
Pulsante
Impostazione ora
Pulsante di
impostazione
Pulsante
Modalità
Ora
manuale,
auto,
random
Carica
Batteria
Sù
Minuti
Giù
Settimana
Modalità manuale:
trasmettitore normale,
senza funzione di
impostazione dell’ora
Modalità automatica:
trasmettitore normale,
con funzione di
impostazione dell’ora
Modalità casuale: trasmettitore
normale con funzione di impostazione
dell’ora, emissione casuale in un
periodo di tempo di 15 minuti
Premere più volte il “pulsante
Modalità” per scorrere ciclicamente
tra le tre modalità “Manuale –
Automatica – Casuale”
Durante il processo di impostazione dell’ora, sono disponibili
60 secondi per premere ciascun pulsante; il dispositivo esce
automaticamente dalla modalità di impostazione dopo 60 secondi se
nessun pulsante verrà premuto.
Premere il pulsante
“Modalità” per
passare alla
modalità manuale
Premere il pulsante
“Impostazione ora”
per 3 secondi, finché
la parola “ora” non
inizia a lampeggiare
Premere i pulsanti
“Su” oppure “Giù”
per impostare l’ora
Per impostare i minuti,
premere “P1+” finché
la parola “minuto” non
inizia a lampeggiare
Premere i pulsanti
“Su” oppure “Giù” per
impostare i minuti
Premere “P1+” finché la
parola “settimana” non
inizia a lampeggiare
Premere i pulsanti
“Su” oppure “Giù” per
impostare la settimana
Tenere premuto il pulsante “Impostazione
ora” per 3 s.; le cifre corrispondenti ai
campi “ora” e “minuto” lampeggeranno
contemporaneamente. Salvare l’impostazione
Premere il pulsante
“Impostazione ora”; i secondi
verranno riportati a zero e
inizierà il conteggio del tempo
oror
or
CHECKING AND SETTING THE SET TIME (NON-GROUP CONTROL)
MATCHING AND SETTING UP TUBULAR MOTOR
ENG
Single channel remote control with hourly programming
CRH-01-T-00
1. In the process of setting, you
have 60 seconds to press each
button; setting mode will quit
automatically after 60 seconds
if no button is pressed.
2. The time interval between
the motor going up and down
must be over 32 mins. If it is
less than 32 mins, it will show
“Er01”to remind you that the
operation is wrong, and you
need to reset it.
3. In Timer Setting status, press
the P1-/P1+ button on the
channel briefly to set Minutes/
Hours.
4. In Timer Setting status, press
the Mode button briefly to set
Timer Up/Down.
5. While viewing and setting the
status, you can press the stop
button to exit immediately.
6. When you have finished setting
timing, it will be memorized
even during a blackout.
……
Press the “Mode”
button to switch to
auto or random mode
Press the “time setting” button
and hold for 3s to enter timing
status; press the up or down
button to check the set time for
every day
Press the “Time setting”
button ; the hour will
flash; enter the up time
setting status
Press the “Up” or “Down”
button to adjust the time
(hours)
Press “P1+” to adjust the
up time (minutes); minutes
will flash
Press the “Up” or
“Down” button to adjust
the time (minutes)
Press “Mode button”, which
confirms the set up time, and
switches to down time setting;
the hour will flash
Press the “Up” or “Down”
button to adjust the time
(hours)
Press “P1+” to adjust
the down time (minutes);
minutes will flash
Press the “Up” or
“Down” button to adjust
the time (minutes)
Press “Time Setting” button,
which confirms the set down time
After setting up and down timing for the whole week
in turn, press the “Time setting button” and hold for
3s; the “Hour” and “min” on the LCD will flash, and
then all the settings will be saved and the device will
automatically quit setting mode
or or
or or
or
The matching operations between emitter and tubular motor are detailed in each motor instructions.
During setting, the time between two operations must be shorter than 4s, otherwise the device will quit the setting program.
Motors powered by electrical grid either directly or through a power supply unit contain a buzzer.
A beep sounds to confirm each step in programming. When the power supply is applied, the buzzer emits a long sound
confirming connection.
Instead, each stage in programming of battery-operated motors is confirmed by motor turning briefly forward and back.
Power on
Beep once
(or motor turning
briefly forward
and back)
Set up is ok.
The Up button controls
the motor clockwise
Set up is ok.
The Down button
controls the motor
clockwise
Beep once
(or motor turning
briefly forward
and back)
P2x1 P2x1
UpX1
DownX1
OK
OK
Beep once
(or motor turning
briefly forward
and back)
Beep once
(or motor turning
briefly forward
and back)

Other Genius Remote Control manuals

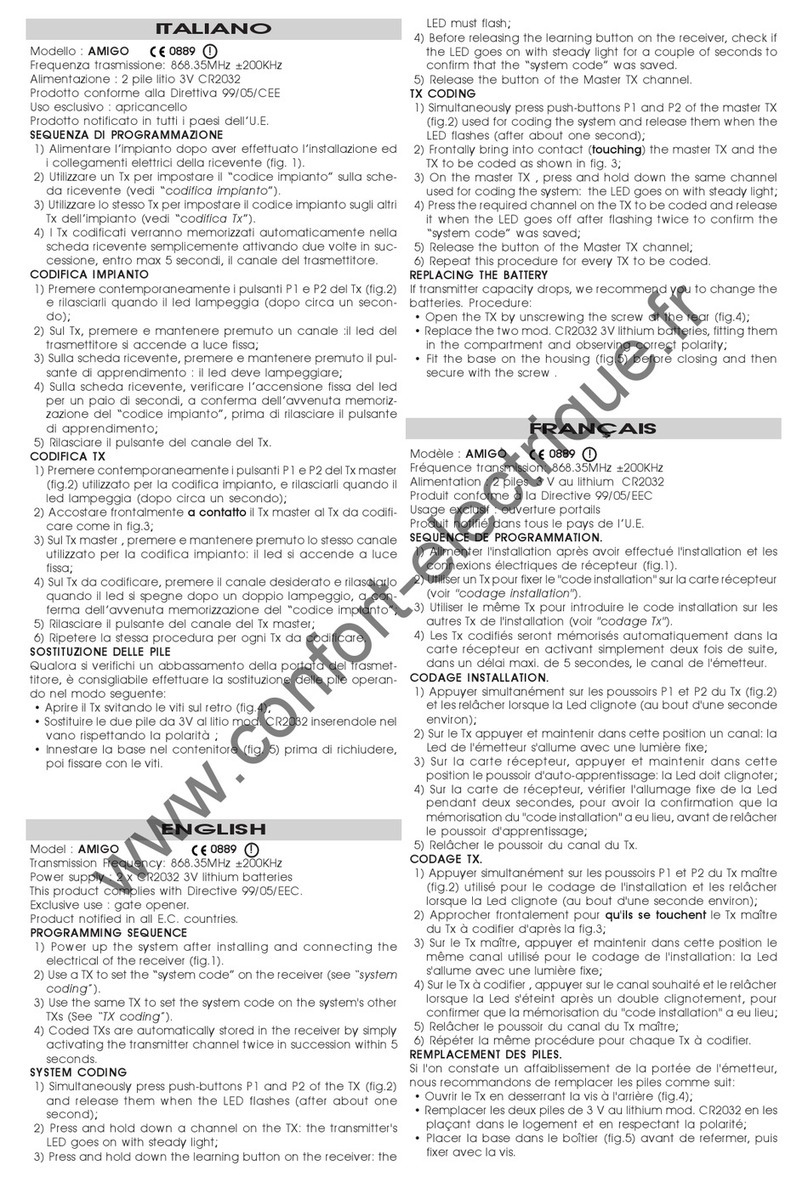
Genius AMIGO Series User manual

Genius

Genius AMIGO Series User manual

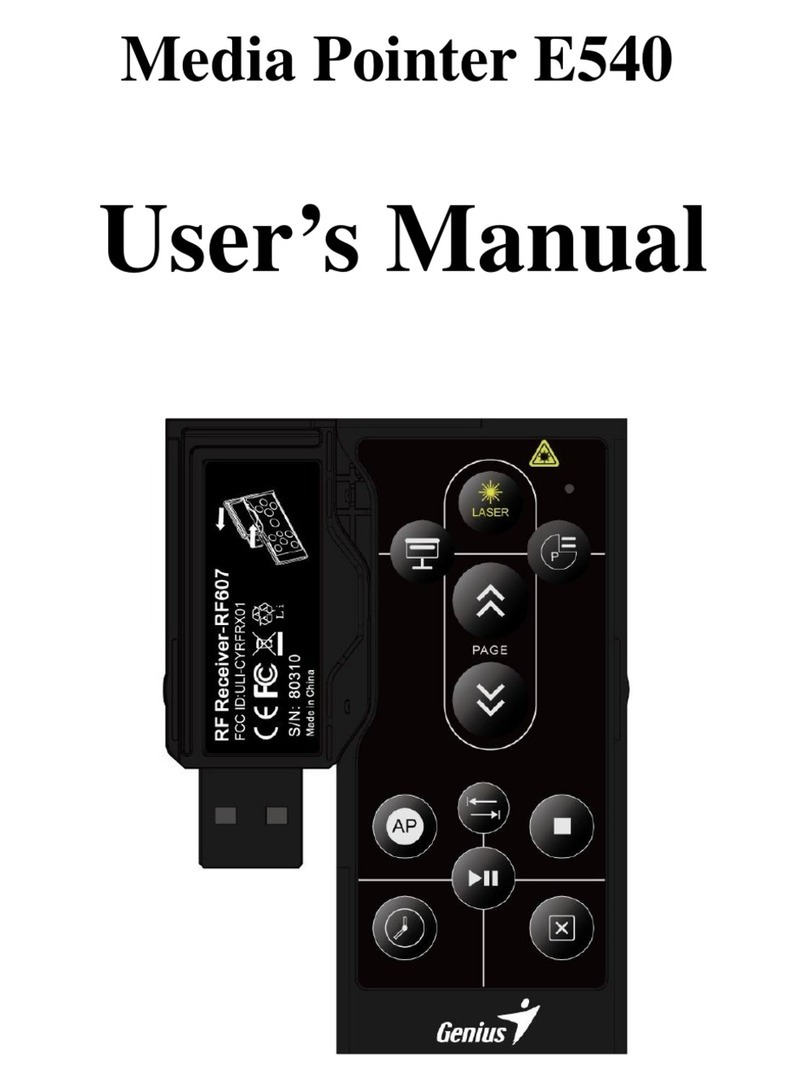
Genius MEDIA POINTER E540 User manual

Genius

Genius MEDIA POINTER E540 User manual

Genius Amigo User manual

Genius

Genius Amigo User manual

Genius AMIGO TX2 868 User manual

Genius

Genius AMIGO TX2 868 User manual

Genius REMOTE 815 User manual

Genius

Genius REMOTE 815 User manual

Genius TRAVELER 600 User manual

Genius

Genius TRAVELER 600 User manual

Genius REMOTE 815 User manual

Genius

Genius REMOTE 815 User manual

Genius 07R - 10 User manual

Genius

Genius 07R - 10 User manual

Genius ECHO TX4 User manual

Genius

Genius ECHO TX4 User manual

Genius KILO TX2 User manual

Genius

Genius KILO TX2 User manual

Genius ECHO TX4 RC User manual

Genius

Genius ECHO TX4 RC User manual

Genius SCROLLTOO 800 User manual

Genius

Genius SCROLLTOO 800 User manual

Genius AMIGOLD TX4 868 User manual

Genius

Genius AMIGOLD TX4 868 User manual

Genius Kilo TX2 User manual

Genius

Genius Kilo TX2 User manual

Genius coralis CRH-15-00 User manual

Genius

Genius coralis CRH-15-00 User manual

Popular Remote Control manuals by other brands

One Forall URC-4640w user manual

One Forall

One Forall URC-4640w user manual

One Forall KAMELEON 4 user guide

One Forall

One Forall KAMELEON 4 user guide

jablotron RC-60 manual

jablotron

jablotron RC-60 manual

MODSTER XC6 user manual

MODSTER

MODSTER XC6 user manual

ACIQ RG10L2/BGEFU1 owner's manual

ACIQ

ACIQ RG10L2/BGEFU1 owner's manual

Denon RC-1068 user manual

Denon

Denon RC-1068 user manual

Entone 3 mode Quick reference guide

Entone

Entone 3 mode Quick reference guide

Toshiba RBC-AX22CE2 installation manual

Toshiba

Toshiba RBC-AX22CE2 installation manual

DStv B5 user guide

DStv

DStv B5 user guide

GoPro Smart Remote user guide

GoPro

GoPro Smart Remote user guide

Panasonic EUR646494 How to use

Panasonic

Panasonic EUR646494 How to use

Nikon MC-N10 reference guide

Nikon

Nikon MC-N10 reference guide

GE 41567 instruction manual

GE

GE 41567 instruction manual

Philips PMDVR8 owner's manual

Philips

Philips PMDVR8 owner's manual

SkyLink MT-18 user manual

SkyLink

SkyLink MT-18 user manual

Assa Abloy Yale HSA6060 manual

Assa Abloy

Assa Abloy Yale HSA6060 manual

US Electronics Novari user guide

US Electronics

US Electronics Novari user guide

Kenwood KCA-RC700A instruction manual

Kenwood

Kenwood KCA-RC700A instruction manual

manuals.online logo
manuals.online logoBrands
  • About & Mission
  • Contact us
  • Privacy Policy
  • Terms and Conditions

Copyright 2025 Manuals.Online. All Rights Reserved.