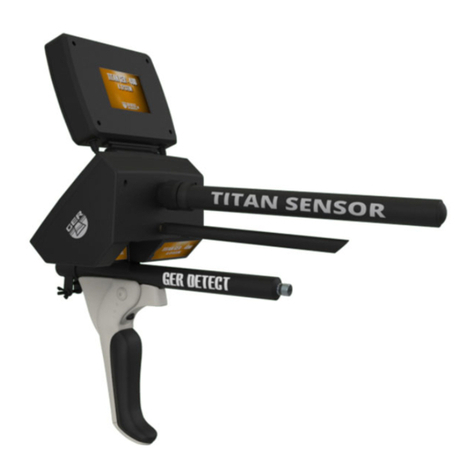
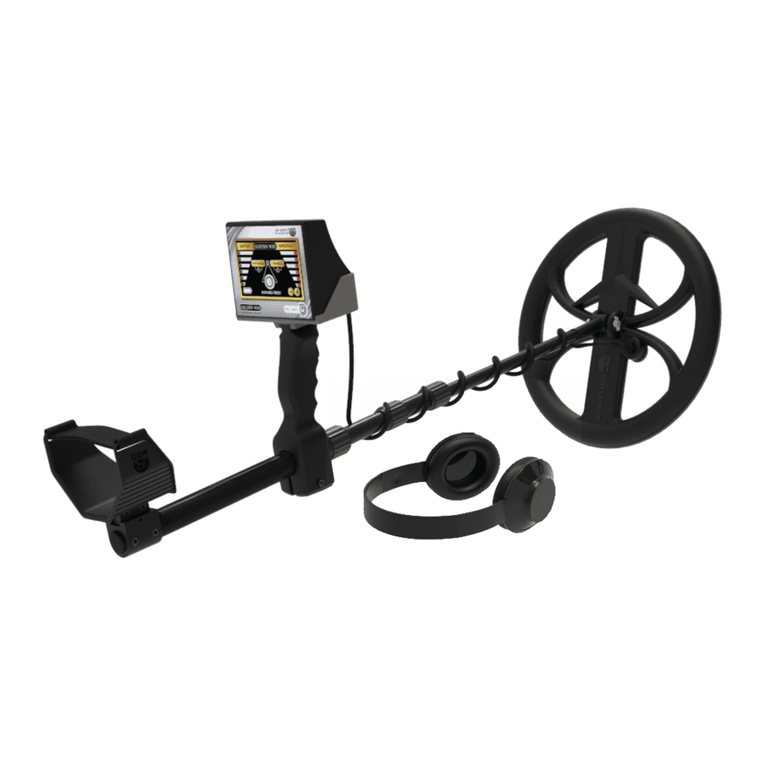
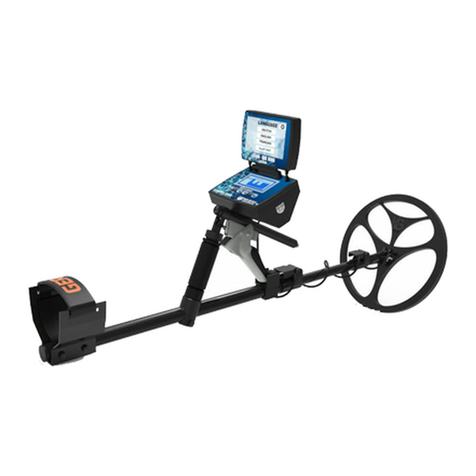
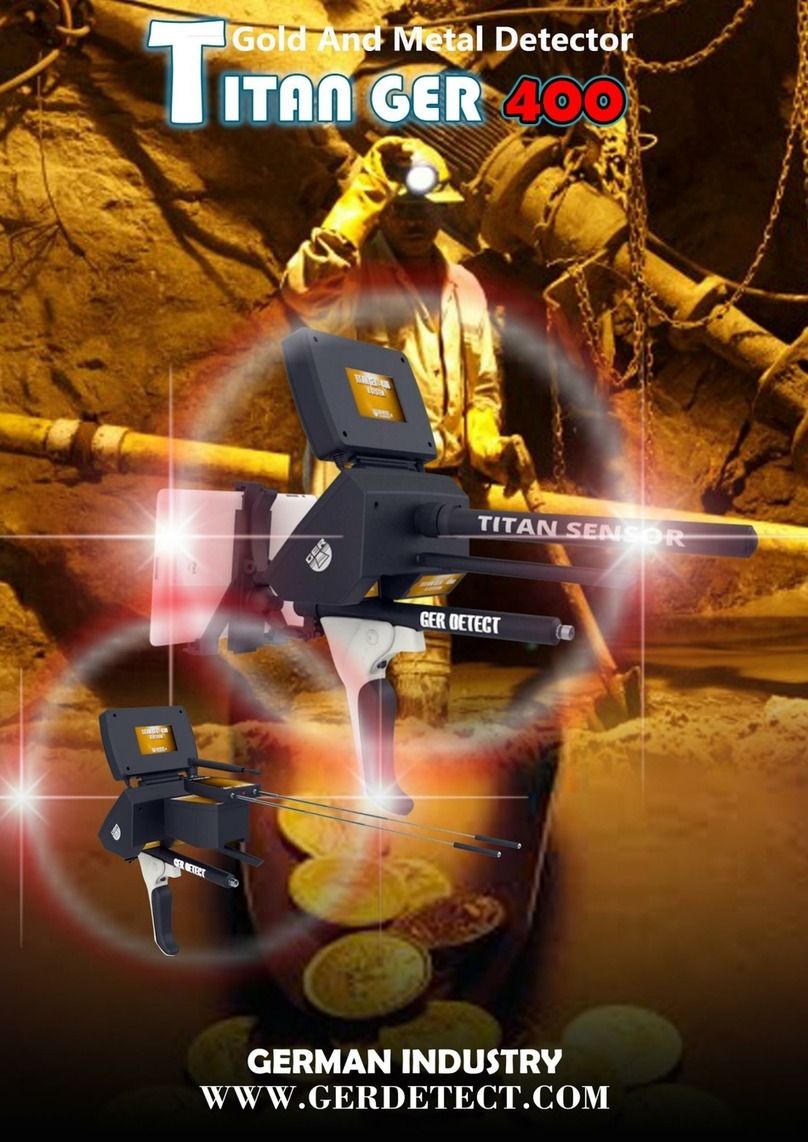
Ger Detect Titan 400 Smart User manual

INDEX
Section 1
Critical Warning
Section 2
Overview
Section 3
Functions of the main unit buttons
Section 4
The long-range system
Section 5
Long-range system parts connection
Section 6
Long -range system operation steps
Section 7
Ionic system
Section 8
Ionic system communication steps
Section 9
Ionic system operation steps
Section 10
VLF system
Section 11
VLF system communication steps
Section 12
VLF system operation steps
Section 13
The device parts and accessories

- Please be sure that all precautions are taken against risks.
- Do not use your device while it is raining.
- Turn on the device after you make sure that all parts are in place and connected.
- Make sure that the device battery is fully charged before you start the search.
- If the device starts to give a beep sound, close the device and recharge the battery.
- when the battery will almost die the device will close automatically.
- It is recommended to read the user manual before starting on the device to understand
everything and to avoid the mistakes through the search.
- After the device starts to make sound and turn off automatically, put the device on
charge and do not try to switch on the device without charging the battery.
- When the green indicator lights up at the charging port of the device, this means that
the battery is full, but if the light is red, this indicates that the battery needs to be
charged .
- Be aware of high voltage resources, and do not use any charger other than the original
charger that comes with the device.
- Main unit of the device is under warranty against all electronic breakdowns for two (2)
years, any damages caused by user errors (laying open the main unit, hits, harms etc.) are
not within this warranty.
- Battery, antennas are not under the warranty.
- You should follow the instructions in this user manual strictly to minimize the faults and
to use your device correctly.
We wish you all the best of luck in your search……
Section 1 (Critical warning)

Dear customer,
“Thank you for choosing TITAN 400 SMART”
✓The world's unique and only technology that combines three systems within
one device.
✓Specialized in prospecting and searching for gold, precious metals, burials,
caves and voids inside the ground, with confidentiality and ease.
✓TITAN 400 SMART is designed to operate in all kinds of terrain and in the
most difficult climatic conditions.
✓This device also has the advantage of automatically switching to search
systems once the parts for each system are installed.
✓The device depth is up to 25 meters underground.
✓The device works in 8 different languages.
✓Three search systems in one device.
Section 2 (Overview)

Ground balance:
to calibrate the ionic system with the ground.
Setting:
This allows you to access and adjust the sound, and display, the
information of the device.
Down-button :
to move down between the options.
Ok button:
use to comfirm the selected option and move to the next page.
Up-button:
to move up between the options.
Back button:
it takes you back to the previous page.
Power on / off: it turns ON / OFF the device.
Section 3 (Functions of the main unit buttons)
1
7
6
5
4
3
2

(1) Install the handle of the device.
(2) Install the long-range sensor. (The device will switch to the long-range system
automatically.)
(3) Install the transmitting and receiving antennas.
(4) Connect the antenna to the signal receiver, then attach the signal receiver to the device.
Section 5 (Long-range system parts connection)

(1) Enter the search systems.
(2) The device will switch to the long-range system automatically.
(3) Choose the target type to search for.
(4) After choosing the target, a search screen will appear, which contains:
- An indicator for determining the target's location.
-The front range of the device.
-Sensitivity level (adjustable).
-Choose the appropriate front range for the search area to be covered (from 100 meters to
500 - 1000 - 1500 - 2000 - 2500 - 3000 square meters) by pressing the (- +) button (positive
and negative).
You can control the sensitivity of the long-range system by pressing the (- +) button (positive
and negative).
Section 6 (Long -range system operation steps)
1
2
3
4

After selecting the target to be searched for, hold the
device at a 90-degree angle in order for better
performance and more accurate results.
It is essential to make sure that you are standing North to South.
The reason for that is that the ionic fields are radiations emanating
from gold and buried treasures that have been remaining under
the ground for a long time and have immersed and interacted
within the soil taking into account the nature of the Earth's
formation, and its alignment with magnetic lines north and south.
If no signal is obtained, change your direction from east to west,
from west to east, and from south to north.
When a signal is sensed, the antenna will turn towards the target
directly.
Follow the signal until the antenna turns back, this means that you
have walked past the target.
When this happens, confirm the location of the target from the four
directions (from south to north, from north to south, from west to
east, and from east to west).
Identify the search location by marking it as the focus of target
confirmation process.

NORTH TO SOUTH
SOUTH TO NORTH
EAST TO WEST
WEST TO EAST
Note: The target must be buried underground for many years so that by the time and
interaction with the soil’s composition, an ionic field will be formed which will help prospectors
to detect the target.
Therefore, testing the device on metals laid on the ground or newly buried under the ground
will not show the real capacity and functionality of this device to detect the target or to reach
larger depths.
The reason for that is that the ionic fields are radiations from gold and other metals that have
been in the ground for a long time and have intersected and interacted with the soil and the
nature of the earth as well as having been regulated with magnetic fields north and south –
These features do not actualize in gold and other metals when they exist on the ground or
newly buried.

(1) Enter the search systems.
(2) The device will switch to the Ionic system automatically.
(3) A search screen will appear, which contains:
-Sensitivity level (adjustable).
-Signal level.
- Calibration button: to make the ground balance after click on this button.
Section 9 (Ionic system operation steps)
1
2
3

1-Hold the device as in the chart
2-Start the search by moving the device left and right
Between 180 degrees.
3-When a target exists within your 180 degrees of search the indicator will
Start to show up, then you slow down the search to pinpoint the exact path
Towards the target.
4-When you determine the path towards the target start to move the device
up
And down until you locate the target..
It is essential to make sure that you are standing North to South.
The reason for that is that the ionic fields are radiations emanating
from gold and buried treasures that have been remaining under
the ground for a long time and have immersed and interacted
within the soil taking into account the nature of the Earth's
formation, and its alignment with magnetic lines north and south.
Note: The target must be buried underground for many years so that by the time and
interaction with the soil’s composition, an ionic field will be formed which will help prospectors
to detect the target.
Therefore, testing the device on metals laid on the ground or newly buried under the ground
will not show the real capacity and functionality of this device to detect the target or to reach
larger depths.
The reason for that is that the ionic fields are radiations from gold and other metals that have
been in the ground for a long time and have intersected and interacted with the soil and the
nature of the earth as well as having been regulated with magnetic fields north and south –
These features do not actualize in gold and other metals when they exist on the ground or
newly buried.

Section 10 (VLF system)
Armrest
The portable arm device
Search coil
The fastest and easiest system to detect gold nuggets, raw gold, and
underground gold, bronze, and silver coins.
This system is featured by a fully automatic operation system that is not
affected by soil types: humid, or rich in mineral salts or mineral rocks.

Section 11 (VLF system communication steps)
1- Install the main unit by attaching it to the handle of the arm.
2- Attach the plastic screw that attaches the lower shaft to the search coil,
then tighten it enough to hold the coil in place.
3- Extend the arm, wind the cable at arm's length and connect it into the main
unit.

(1) Enter the search systems.
(2) The device will switch to the VLF system automatically.
- The VLF system screen contains several indicators:
1- An indicator of the level of non-precious metals (ferrous).
2- An indicator of the level of precious metals (non-ferrous).
3- A positive (+) button and a negative (-) button to control the sensitivity
level of the search coil.
4-The (x) button to “ignore Iron”
Section 12 (VLF system operation steps)
1
2
3

How to connect the Bluetooth headset to the device.
Turn on the device by pressing the on/off button for two seconds.
- Turn on the Bluetooth headset by the ON / OFF button on the speaker.
- Turn on the Bluetooth in the device via the button
on the back of the main unit.
- Wait two seconds for a successfully connected headphone.
- You can also use the headphone cable after connecting it
to the designated part in the main unit.
Table of contents
Other Ger Detect Metal Detector manuals
Ger Detect
Ger Detect Titan Ger 1000 User manual

Ger Detect
Ger Detect GOLDEN WAY User manual

Ger Detect
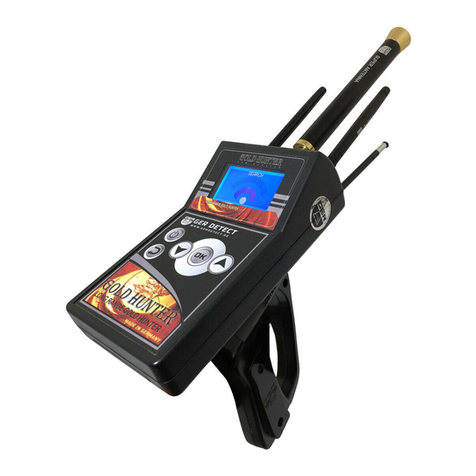
Ger Detect Gold Hunter User manual

Ger Detect
Ger Detect TITAN GER-400 User manual

Ger Detect
Ger Detect Titan Ger 1000 User manual

Ger Detect
Ger Detect EASY WAY SMART User manual

Ger Detect
Ger Detect Gold Hunter User manual
Ger Detect
Ger Detect TITAN GER-400 User manual
Ger Detect
Ger Detect Gold Hunter User manual