manuals.online logo
Brands
  1. Home
  2. •
  3. Brands
  4. •
  5. Gerber
  6. •
  7. Plumbing Product
  8. •
  9. Gerber 40-010 User manual

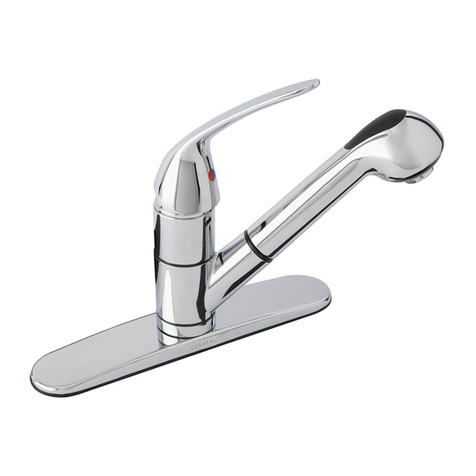
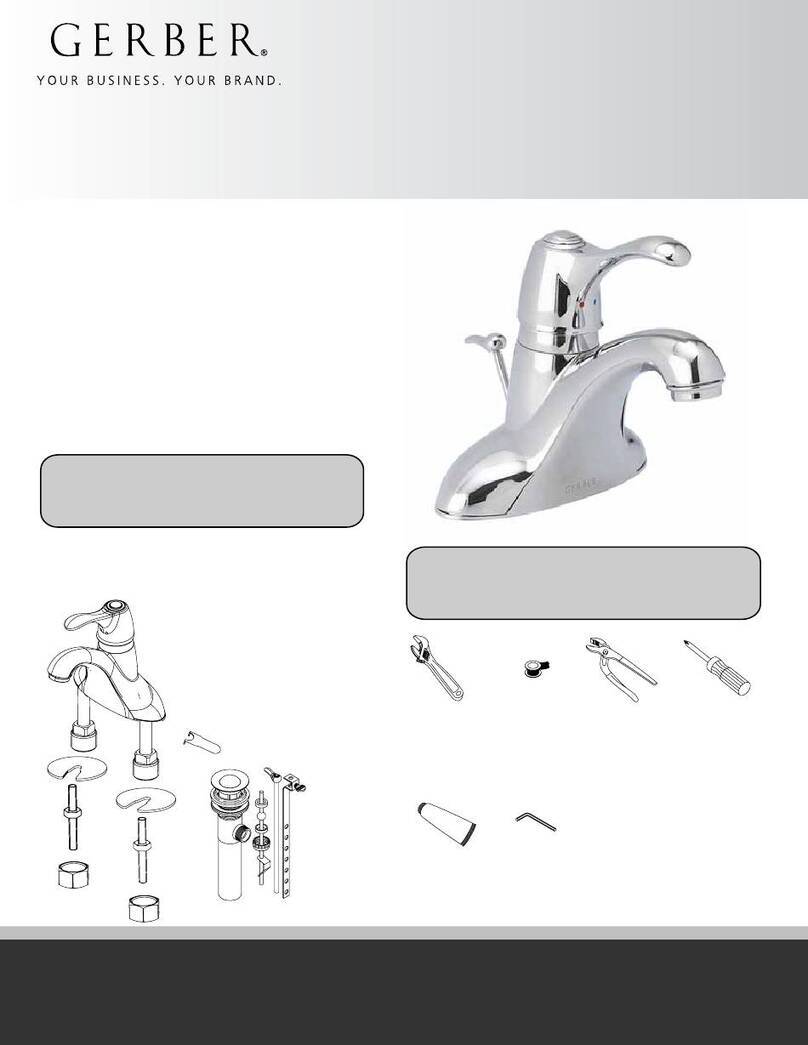
Gerber 40-010 User manual

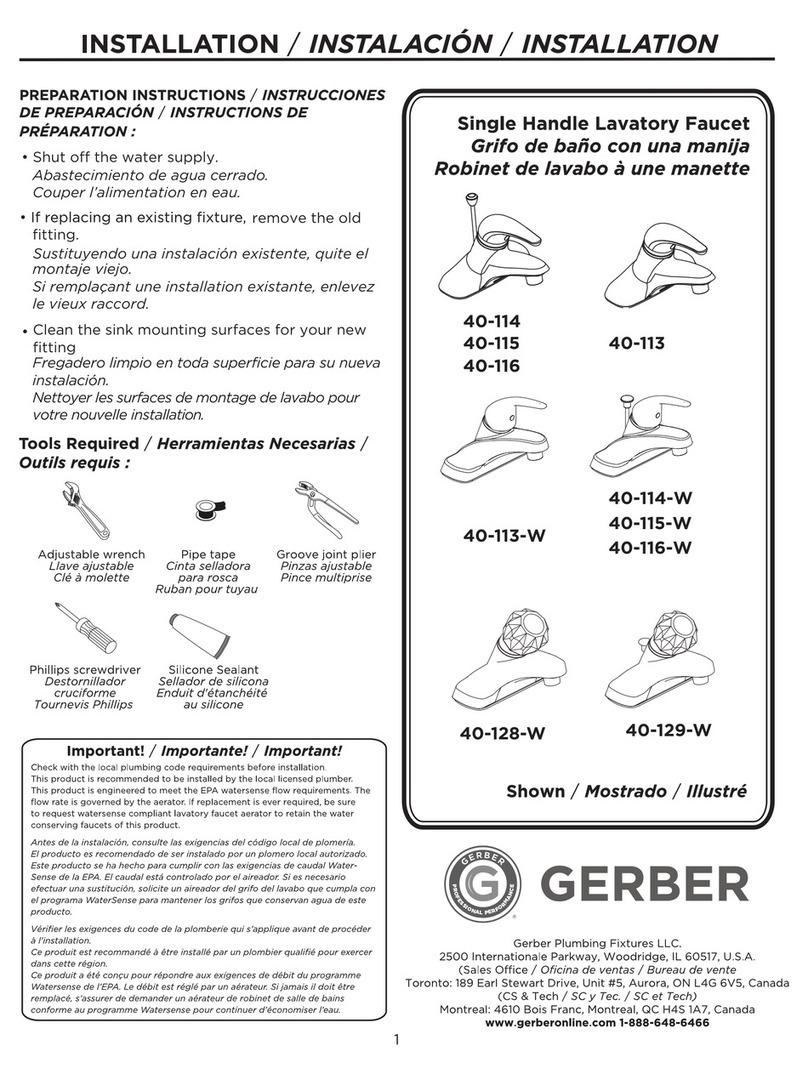
Tools Required / Herramientas Necesarias /
Outils requis :
Adjustable wrench
Llave ajustable
Clé à molette
Pipe tape
Cinta selladora
para rosca
Ruban pour tuyau
Groove joint plier
Pinzas ajustable
Pince multiprise
Phillips screwdriver
Destornillador
cruciforme
Tournevis Phillips
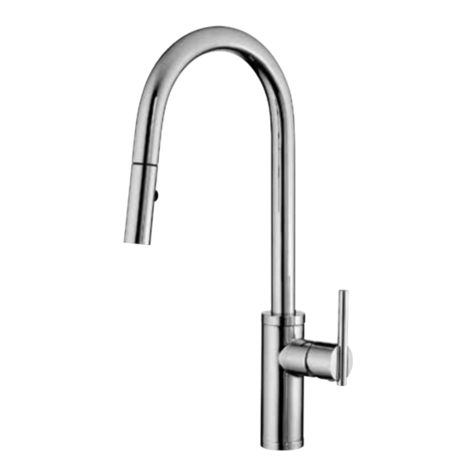
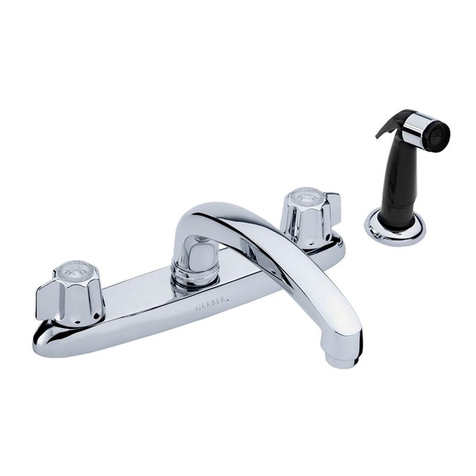
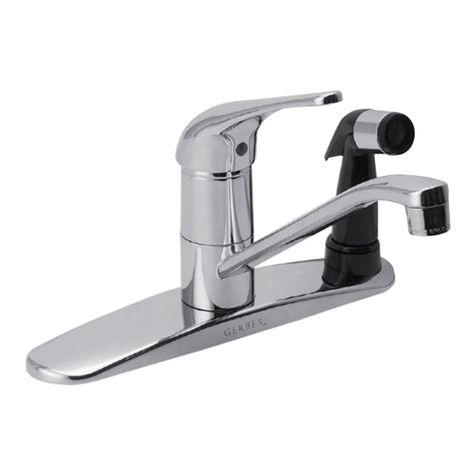
Single Handle Kitchen Faucet
Grifo de cocina de una manija
Robinet de cuisine à une manette
Silicone Sealant
Sellador de silicona
Enduit d'étanchéité
au silicone
Hex wrench
Llave hexagonal
Clé hexagonale
40-015
Shown / Mostrado / Illustré
1
INSTALLATION /INSTALACIÓN / INSTALLATION
Gerber Plumbing Fixtures LLC.
2500 Internationale Parkway, Woodridge, IL 60517, U.S.A.
(Sales Office / Oficina de ventas / Bureau de vente
Toronto: 189 Earl Stewart Drive, Unit #5, Aurora, ON L4G 6V5, Canada
(CS & Tech / SC y Tec. / SC et Tech)
Montreal: 4610 Bois Franc, Montreal, QC H4S 1A7, Canada
www.gerberonline.com 1-888-648-6466
®
P
R
O
F
E
S
S
I
O
N
A
L
P
E
R
F
O
R
M
A
N
C
E
GERBER
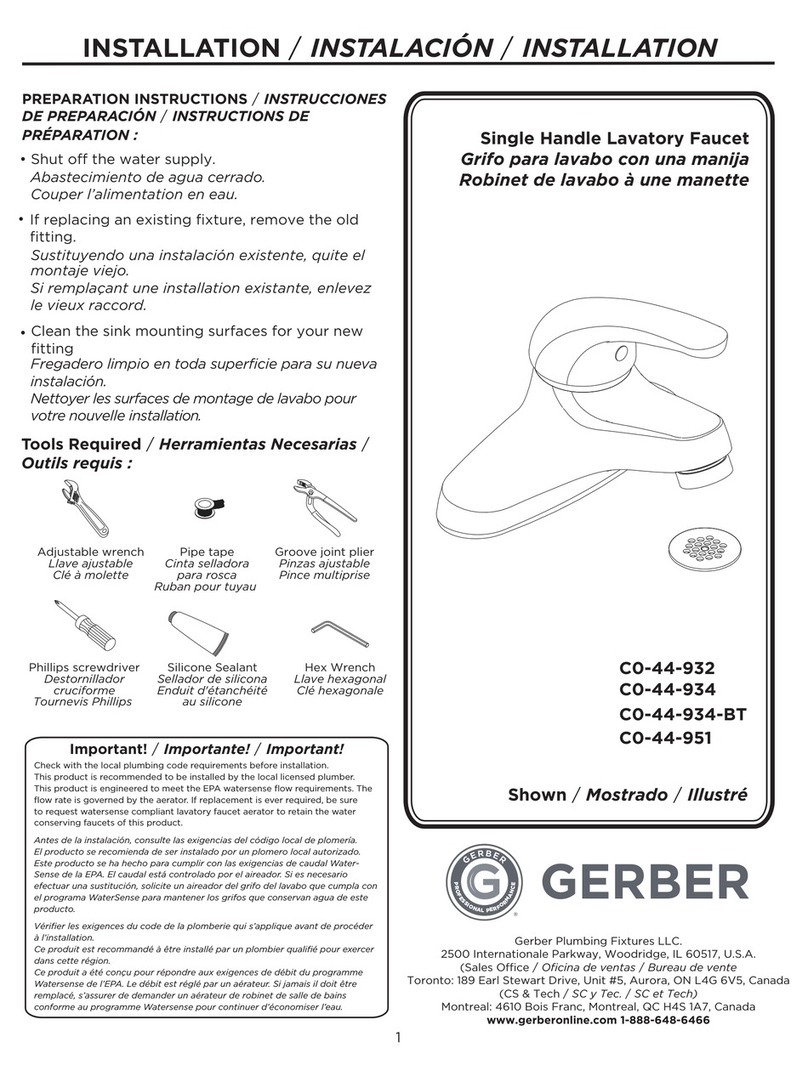
PREPARATION INSTRUCTIONS / INSTRUCCIONES
DE PREPARACIÓN / INSTRUCTIONS DE
PRÉPARATION :
Important! / Importante! / Important!
Check with the local plumbing code requirements before installation.
This product is recommended to be installed by the local licensed plumber.
Antes de la instalación, consulte las exigencias del código local de plomería.
El producto es recomendado de ser instalado por un plomero local autorizado.
Vérifier les exigences du code de la plomberie qui s’applique avant de procéder
à l’installation.
Ce produit est recommandé à être installé par un plombier qualifié pour exercer
dans cette région.
40-012
40-010
Abastecimiento de agua cerrado.
Couper l’alimentation en eau.
fitting.
Sustituyendo una instalación existente, quite el
montaje viejo.
Si remplaçant une installation existante, enlevez
le vieux raccord.
Fregadero limpio en toda superficie para su nueva
instalación.
Nettoyer les surfaces de montage de lavabo pour
votre nouvelle installation.
• Shut off the water supply.
remove the old
Clean the sink mounting surfaces for your new
fitting
•
Faucet Installation Procedures/Instalación del Grifo/Procédures d’installation du robinet
2
1.
Figure 1
Figure 2
Shut off the main water supply before installation.
Cierre el suministro de agua antes de instalar.
Couper l’alimentation d’eau principale avant l’installation.
Position the spout in the hole of sink. Secure
with rubber seal, metal washer, and tighten the
spout shank with the lock nut.
Posicione el cuello de goma, la arandela de
metal y la contratuerca de la rosca del cuello.
Placer le bec dans le deuxième orifice de l’évier.
Fixer à l’aide de la rondelle étanche et de la
rondelle de métal, puis serrer la tige du bec à
l’aide de l’écrou de blocage.
2. Insert the spray holder through the hole in the sink.
Screw the lock nut in shank.
Ponga el soporte del rociador en orificio del
fregadero. Atornille la contratuerca a la rosca.
Insérer le support d’arroseur dans orifice de l’évier.
Visser l’écrou de blocage sur la tige.
Figure 3
3. Insert the spray hose down through hole in the spray
holder. Attach lower end of the spray hose to the
supply tube in the spout tube. Screw the spray head
onto the spray hose.
Ponga la manguera del rociador por el orificio del
soporte del rociador. Sujete la parte baja de la
manguera al tubo de suministro del vertedor.
Atornille la cabeza del rociador a la manguera del
rociador.
Insérer le boyau d’arroseur dans l’orifice du
support d’arroseur en le dirigeant vers le bas. Fixer
l’extrémité inférieure du boyau d’arroseur au tube
d’alimentation du bec. Visser la tête d’arroseur sur
le boyau d’arroseur.
P
R
O
F
E
S
S
I
O
N
A
L
P
E
R
F
O
R
M
A
N
C
E
®
3
Figure 4
4. Apply the pipe tape. Tighten with a wrench and slip
coupling nut onto the inlet port.
Aplique cinta de teflón apriete la una llave y ponga
la tuerca de conexión en el poste de entrada.
Appliquer le ruban pour serrer de la clé et glisser
l’écrou de raccord sur l’orifice d’entrée.
P
R
O
F
E
S
S
I
O
N
A
L
P
E
R
F
O
R
M
A
N
C
E
®
5.
Figure 5
After installing the faucet, remove the aerator and
turn on the water to remove any left over debris.
Re-assemble the aerator.
Despues de instalar el grifo, quite el aereador y
abra el suministro del agua para remover cual-
quier desecho que haya quedado. Reemsamble
el aereador.
Lorsque l’installation du robinet est terminée,
ôter le brise-jet et faire couler l’eau pour enlever
tout débris pouvant se trouver à l’intérieur.
Remettre le brise-jet en place.
4
P
R
O
F
E
S
S
I
O
N
A
L
P
E
R
F
O
R
M
A
N
C
E
®
Trouble-Shooting/Guía de Solucionar Problemas/Dépannage
If you've followed the instructions carefully and your faucet still does not work properly, take these
corrective steps.
Si usted ha seguido las instrucciones cuidadosamente y su grifo todavía no funciona correctamente, sigue
estos pasos correctivos.
Si vous avez suivi attentivement les instructions et que votre robinet ne fonctionne toujours pas
correctement, apporter les correctifs suivants.
Problem/Problema/Problème Cause/Causa/Cause Action/Solución/Correctif
Leaks underneath handle.
Goteo debajo de la manija.
Fuites sous la manette.
Adjusting ring or cap has come loose.
El anillo de ajuste o la cubierta se han
suelto.
La bague de réglage ou le capuchon
est desserré.
Remove handle and tighten adjusting ring
or cap.
Quite la manija y apriete el anillo de ajuste
o tapón.
Enlever la manette et serrer la bague de
réglage ou le capuchon.
Aerator leaks or has an inconsistent
water flow pattern.
El aireador gotea o el chorro de agua
está irregular.
Le brise-jet fuit ou la diffusion des jets
qui s’en écoulent n’est pas uniforme.
Aerator is dirty or misfitted.
El aireador está sucio o mal puesto.
Le brise-jet est mal ajusté ou sale.
Unscrew the aerator to check rubber
packing or replace the aerator.
Destornille el aireador para chequear el empaque
de caucho. Vuelva a instalar el aireador.
Dévisser le brise-jet pour vérifier le joint en
caoutchouc ou remplacer le brise-jet.

This manual suits for next models

2

Other Gerber Plumbing Product manuals

Gerber D304134 User manual

Gerber

Gerber D304134 User manual

Gerber 49-730 User manual

Gerber

Gerber 49-730 User manual

Gerber 43-431 User manual

Gerber

Gerber 43-431 User manual

Gerber Viper G0040167 Assembly instructions

Gerber

Gerber Viper G0040167 Assembly instructions

Gerber D150557 User manual

Gerber

Gerber D150557 User manual

Gerber Sabre User manual

Gerber

Gerber Sabre User manual

Gerber Danze D454058 User manual

Gerber

Gerber Danze D454058 User manual
Gerber 43-040 User manual

Gerber

Gerber 43-040 User manual

Gerber danze D301115 User manual

Gerber

Gerber danze D301115 User manual

Gerber G0042116 User manual

Gerber

Gerber G0042116 User manual

Gerber 42-215 User manual

Gerber

Gerber 42-215 User manual

Gerber 43-016 User manual

Gerber

Gerber 43-016 User manual

Gerber D434437 User manual

Gerber

Gerber D434437 User manual

Gerber Safetemp G0049730 User manual

Gerber

Gerber Safetemp G0049730 User manual

Gerber G0044735 User manual

Gerber

Gerber G0044735 User manual

Gerber 40-584 User manual

Gerber

Gerber 40-584 User manual

Gerber 40-445-W User manual

Gerber

Gerber 40-445-W User manual

Gerber G0040500 User manual

Gerber

Gerber G0040500 User manual
Gerber 43-010 User manual

Gerber

Gerber 43-010 User manual
Gerber G9-183 User manual

Gerber

Gerber G9-183 User manual

Gerber D460134 User manual

Gerber

Gerber D460134 User manual
Gerber 49-274 User manual

Gerber

Gerber 49-274 User manual

Gerber 40-212 User manual

Gerber

Gerber 40-212 User manual
Gerber 40-188 User manual

Gerber

Gerber 40-188 User manual

Popular Plumbing Product manuals by other brands

Moen 8223 installation guide

Moen

Moen 8223 installation guide

Uspa UB-7035R Operating instructions manual

Uspa

Uspa UB-7035R Operating instructions manual

Alpha Industries Infra Wave RR-130 PENTAGON user guide

Alpha Industries

Alpha Industries Infra Wave RR-130 PENTAGON user guide

Flushmate 504 Series Pocket guide

Flushmate

Flushmate 504 Series Pocket guide

Hans Grohe AXOR Starck 10801000 Instructions for use/assembly instructions

Hans Grohe

Hans Grohe AXOR Starck 10801000 Instructions for use/assembly instructions

Hans Grohe Raindance E 120 AIR 3jet 28507000 Assembly instructions

Hans Grohe

Hans Grohe Raindance E 120 AIR 3jet 28507000 Assembly instructions

KWC Davos S.10.C3.02 Specifications

KWC

KWC Davos S.10.C3.02 Specifications

Clou FreddoCL/06.03.002.29 installation instructions

Clou

Clou FreddoCL/06.03.002.29 installation instructions

Waterstone HUNLEY Series manual

Waterstone

Waterstone HUNLEY Series manual

Olympia L-7220 Installation and maintenance instructions

Olympia

Olympia L-7220 Installation and maintenance instructions

Rehau RAUTHERMEX instruction manual

Rehau

Rehau RAUTHERMEX instruction manual

Isenberg 145.1000 installation manual

Isenberg

Isenberg 145.1000 installation manual

Clou Xo CL/06.04003.29 installation instructions

Clou

Clou Xo CL/06.04003.29 installation instructions

Hans Grohe Raindance 28507XX1 Installation instructions / warranty

Hans Grohe

Hans Grohe Raindance 28507XX1 Installation instructions / warranty

Grohe Grohtherm 1000 manual

Grohe

Grohe Grohtherm 1000 manual

Kohler Mira Azora nstallation and User Guide

Kohler

Kohler Mira Azora nstallation and User Guide

Hans Grohe Crometta S 240 1jet Showerpipe 27332000 manual

Hans Grohe

Hans Grohe Crometta S 240 1jet Showerpipe 27332000 manual

Hans Grohe M415-H160 Series Instructions for use/assembly instructions

Hans Grohe

Hans Grohe M415-H160 Series Instructions for use/assembly instructions

manuals.online logo
manuals.online logoBrands
  • About & Mission
  • Contact us
  • Privacy Policy
  • Terms and Conditions

Copyright 2025 Manuals.Online. All Rights Reserved.