manuals.online logo
Brands
  1. Home
  2. •
  3. Brands
  4. •
  5. Gespasa
  6. •
  7. Petrol Station Equipment
  8. •
  9. Gespasa PA-60 Guide

Gespasa PA-60 Guide

PA-60
CODE 47200G · DIESEL
AUTOMATIC NOZZLE
PISTOLA AUTOMÁTICA
INSTRUCTION MANUAL AND WARRANTY
MANUAL DE INSTRUCCIONES Y GARANTÍA
Nr. DESCRIPTION CODE Nr. DESCRIPTION CODE
DESCRIPCIÓN CÓDIGO DESCRIPCIÓN CÓDIGO
1 Black protection case 472002104 17 Retaining catch 472002103
Funda protección negra Pestillo retenedor
2-28-29 Joint body 472002107
18 13x69x0.85 mm catch spring 472002117
Cuerpo con junta manecilla Muelle pestillo 13x69x0,85 mm
3 Lock joint reversing seat 472002113 19 D.23x2.4 mm joint 472002122
Contraasiento junta cierre Junta tórica D.23x2,4 mm
4 Plain lock joint 472002120 19.1 D.25x2.4 mm joint 472002123
Junta plana cierre Junta tórica D.25x2,4 mm
5 Spring and lock joint seat 472002112 20-21-22-23-
24-25-26-27 Spout set 472002102
Asiento muelle y junta cierre Conjunto tubo salida
6 Main valve spring 472002119 30 Valve shaft 472002110
Muelle válvula principal Eje apertura válvula
7 D.33x2.5 mm joint 472002121 31-32-36-37 Handle with blocking device 472002101
Junta tórica D.33x2,5 mm Manecilla con bloqueo
8 M-36x1.5 mm lock valve plug 472002106 33-39-40 Handguard 472002105
Tapón válvula cierre M-36x1,5 mm Guardamanos
9.1 M-5x14 mm membrane fixation screw 472002127 34 Handguard fixation pin 472002111
Tornillo fijación membrana M-5x14 mm Pasador fijación guardamanos
9.2 D.5 mm washer 474002126 35 Handle fixation pin 472002115
Arandela D.5 mm Pasador fijación manecilla
10 17x26x0.75 mm membrane spring 472002118 38 Flexible handle pin washer 472002116
Muelle membrana 17x26x0,75 mm Arandela elástica pasador manecilla
11-12-13-14-15 Membrane 472002108 41 Glower D.4 mm washer 472002125
Membrana Arandela Glower D. 4 mm
16 D.6 mm steel ball 472002114 42 M-4x14 mm outlet fixation screw 472002124
Bola de acero Tornillo fijación salida M-4x14 mm
PA-60 Instruction Manual
Manual de instrucciones
1. TECHNICAL FEATURES 1. CARACTERÍSTICAS TÉCNICAS
- Automatic Nozzle with Aluminium body for diesel with plastic cover,
ergonomic design, 3-position flow regulation and automatic cut. - Pistola automática con cuerpo de aluminio para gasóleo con funda de
plástico, diseño ergonómico, regulación progresiva del caudal con 3
posiciones, provista de corte automático
- Flow: 60 l/min - Caudal: 60 l/min
- Connection F3/4” - Conexión H3/4”
- Trigger fixation - Fijación de gatillo
2. WARNINGS 2. ADVERTENCIAS
Please read all the instructions carefully before using the product. The
people who do not know the instruction must not use it. Leer atentamente todas las instrucciones antes de utilizar el producto.
Las personas que no conozcan las instrucciones para el uso, no
deben utilizarlo.
This manual describes how to use the nozzle according to the project
hypothesis, the technical features, the types of installation, the use, the
maintenance and the training regarding to possible dangers.
El presente manual describe el modo de utilizar la pistola según las
hipótesis del proyecto, las características técnicas, los tipos de instalación,
el uso, el mantenimiento y la formación relativa a los posibles riesgos.
The instruction manual must be considered as part of the nozzle and keep it
for future inquiries during all its working life. We suggest keeping it in a dry
and protected place.
El manual de instrucciones debe considerarse como una parte de la pistola
y conservarse para futuras consultas durante toda la vida útil de la misma.
Se aconseja conservarlo en un lugar seco y protegido.
The manual reflects the technical situation at the moment of the nozzle
sale and cannot be considered inadequate for the reason of being
updated afterwards according to the new experiences. The
manufacturer reserves the right to update the production and the
manuals without being forced to update the production and previous
manuals.
El manual refleja la situación técnica en el momento de la venta de la
pistola y no puede considerarse inadecuado por el hecho de ser
posteriormente actualizado según las nuevas experiencias. El
fabricante se reserva el derecho de actualizar la producción y los
manuales sin estar obligado a poner al día la producción y los
manuales anteriores.
3. INSTALLATION 3. INSTALACIÓN
The PA-60 automatic nozzles are ready to be installed to the hose with
adapters of the pumping kit. Other connections are not necessary. The
connection will be made to the hose with adapters by the F3/4” connection,
which is enclosed with this PA-60 automatic nozzle.
The PA-60 automatic nozzle is suitable for working pressures between 0.5
and 3.5 bar. The nozzle is automatically opened with an overpressure of
6 bar.
La pistola automática PA-60 ya viene preparada para ser instalada a
la manguera racorada del equipo de bombeo. No son necesarias
otras conexiones. La conexión se realizará a la manguera racorada
mediante la conexión H3/4”, la cual se adjunta con la pistola automática
PA-60.
La pistola automática PA-60 es apropiada para presiones de trabajo
comprendidas entre 0,5 y 3,5 bar. Con sobrepresión de 6 bar el boquerel se
abre automáticamente.
4. INSTRUCTIONS 4. INSTRUCCIONES
1. Connect the M3/4"x26PP adapter (fitted in the 3/4" hose through a
flange) to the F3/4” connection of the nozzle. 1. Conectar el racor M3/4”x26PP (instalado en la manguera de 3/4"
mediante una brida) a la conexión H3/4" de la pistola.
2. Connect the pump and slowly open the nozzle to allow the air outlet that
can be in the hose and/or the nozzle. 2. Conectar la bomba del equipo de bombeo e ir abriendo poco a poco y
paulatinamente la pistola para permitir la salida del posible aire que pueda
haber quedado en la manguera y/o pistola.
3. Check if the liquid to supply is going out correctly through the nozzle and
there is no fuel leak in the adapters or the unions. 3. Observar que el líquido a suministrar sale correctamente por la pistola y
que no hay ninguna fuga de combustible por los rácores o uniones.
4. The PA-60 automatic nozzle is already installed and ready to be used. 4. La pistola automática ya está instalada y lista para ser utilizada.
BEFORE AND DURING THE REFUELLING ANTES Y DURANTE EL REPOSTAJE
Turn off your engine before refuelling. Vehicle must remain off during the
entire fuelling procedure. Apague el motor antes del respostaje. El vehículo debe mantener el motor
apagado durante todo el proceso de carga.
Discharge your static electricity before refuelling. Descargue su electricidad estática antes de cargar combustible.
Before using the dispenser, touch any grounded metal on the car or
dispenser away from the nozzle and your vehicle's fuel pipe with bare
hands. This will discharge static electricity on your body. Failure to
discharge may ignite gasoline vapours.
Antes de usar el surtidor, toque con las manos descubiertas alguna pieza
metálica con descarga a tierra del vehículo o del surtidor que esté lejos de
la pistola y del tanque de su vehículo. De este modo, se descargará la
electricidad estática de su cuerpo. Si no se descarga, los vapores de la
gasolina pueden entrar en combustión.
Do not enter your vehicle while refuelling. This can recharge your body with
static electricity. In case of entering it, discharge static electricity again
before touching again the nozzle.
No entre en el vehículo durante el repostaje. Esto puede volver a cargar su
cuerpo de electricidad estática. Si debe entrar en el vehículo, descargue
nuevamente la electricidad estática antes de tocar la pistola nuevamente.
5. MAINTENANCE 5. MANTENIMIENTO
The PA-60 automatic nozzle does not need maintenance if it is used
correctly and with care.
Security control
Usually check the external nozzle state and also check the nozzle is well-
hung in its nozzle hanger.
La pistola automática PA-60 no necesita mantenimiento siempre que se
maneje razonablemente y con cuidado.
Control de seguridad:
Observar regularmente el estado exterior del boquerel, asegúrese que el
boquerel siempre esté bien colgado al portaboquerel.
6. REPAIR 6. REPARACIÓN
The authorized repair workshops are the only ones that can repair the
pieces in bad state. The nozzles have to be cleaned and drained before its
delivery.
Los talleres de reparación autorizados son los únicos que pueden reparar
las piezas en mal estado. Hay que limpiar las pistolas y drenarlas antes de
enviarlas.
PA-60 Instruction Manual
Manual de instrucciones
If a nozzle is used by mistake with fluids not derived from diesel, it has to be
thinned as many times as it is necessary and enclosed a note indicating the
chemical substances which have been pumped with this unit. The nozzles,
which do not contain these specifications, will be admitted neither in the
workshops nor in the factory.
Si una pistola se usa, por error, con fluidos no derivados del gasóleo, debe
aclararse tantas veces como sea necesario y adjuntar una nota que indique
las sustancias químicas que se han bombeado con dicha unidad. Las
pistolas que no contengan esas especificaciones no serán admitidas ni en
el taller de reparaciones ni en la fábrica.
When ordering spare parts, make sure that you give the number of the
spare part and its description. This will guarantee the correct supply of the
requested spare part.
Cuando se soliciten repuestos, asegúrese que da el código de la pieza de
recambio y su denominación. Esto garantizará el suministro correcto del
repuesto solicitado.
7. WARRANTY 7. GARANTÍA
1.
All the products manufactured by TOT COMERCIAL SA have a
WARRANTY of twelve (12) months from their purchase, against any
manufacturing defect.
1.
Todos los productos fabricados por TOT COMERCIAL SA tienen una
GARANTÍA de 12 meses desde su compra, contra cualquier defecto de
fabricación.
2.
TOT COMERCIAL SA guarantees in the warranty period, the change/the
devolution of the defective part or product. This material must be sent
with prepaid freight to our factory or any appointed technical service.
After our technical inspection it will be determined whether the
responsibility is from the manufacturer, the user, the installer or the
delivery transport.
2.
TOT COMERCIAL SA garantiza dentro del período de garantía, el canje
/ la reposición de la pieza o del producto defectuoso, siempre que el
material sea enviado a portes pagados a nuestra fábrica, o a cualquier
servicio técnico designado. Después de nuestra inspección técnica se
determinará si la responsabilidad es del fabricante, del usuario, del
instalador o del transporte.
3.
The warranty does not cover: Inadequate use, negligence, corrosion,
abuse, manipulation or the wrong installation of the products, a use of
non-original spare parts or not concerning to the specific pattern. All the
manufactured and/or commercialized equipment must be installed
according to the given instructions by the manufacturer.
3.
La garantía no cubre: El uso inadecuado, la negligencia, el abuso, la
corrosión, la manipulación o la incorrecta instalación de los productos, el
uso de repuestos no originales o no correspondientes al modelo
específico. Todos los equipos fabricados y/o comercializados por TOT
COMERCIAL SA deben ser instalados de acuerdo con las normas
facilitadas por el fabricante.
4.
The accessories and the products not manufactured by TOT
COMERCIAL SA are liable for their original manufacturer’s warranty.
4.
Los accesorios y productos no fabricados por TOT COMERCIAL SA
están sujetos a la garantía de su fabricante original.
5.
Because of the constant innovations and development, TOT
COMERCIAL SA reserves the right to modify the specifications of its
products and publicity, without prior notice.
5.
Por las constantes innovaciones y desarrollo, TOT COMERCIAL SA se
reserva el derecho de modificar las especificaciones de sus productos y
publicidad, sin previa notificación.
Balaguer (Lleida), May 2016 Balaguer (Lleida), mayo 2016

This manual suits for next models

1

Popular Petrol Station Equipment manuals by other brands

GILBARCO VEEDER-ROOT FlexPay IV Insite360 Encore Programming and Service Manual

GILBARCO VEEDER-ROOT

GILBARCO VEEDER-ROOT FlexPay IV Insite360 Encore Programming and Service Manual

GILBARCO VEEDER-ROOT Encore 300 Series installation manual

GILBARCO VEEDER-ROOT

GILBARCO VEEDER-ROOT Encore 300 Series installation manual

Elaflex ZV SW Installation and operating manual

Elaflex

Elaflex ZV SW Installation and operating manual

BANLAW ResTrack BFTAC Series manual

BANLAW

BANLAW ResTrack BFTAC Series manual

GILBARCO VEEDER-ROOT FlexPay IV CRIND Advantage Series installation instructions

GILBARCO VEEDER-ROOT

GILBARCO VEEDER-ROOT FlexPay IV CRIND Advantage Series installation instructions

Tokheim Quantium 310 Maintenance manual

Tokheim

Tokheim Quantium 310 Maintenance manual

BANLAW BRT33WSMA Product data sheet

BANLAW

BANLAW BRT33WSMA Product data sheet

Franklin Fueling Systems 600 Series Field Replacement Instructions

Franklin Fueling Systems

Franklin Fueling Systems 600 Series Field Replacement Instructions

Tokheim TQM manual

Tokheim

Tokheim TQM manual

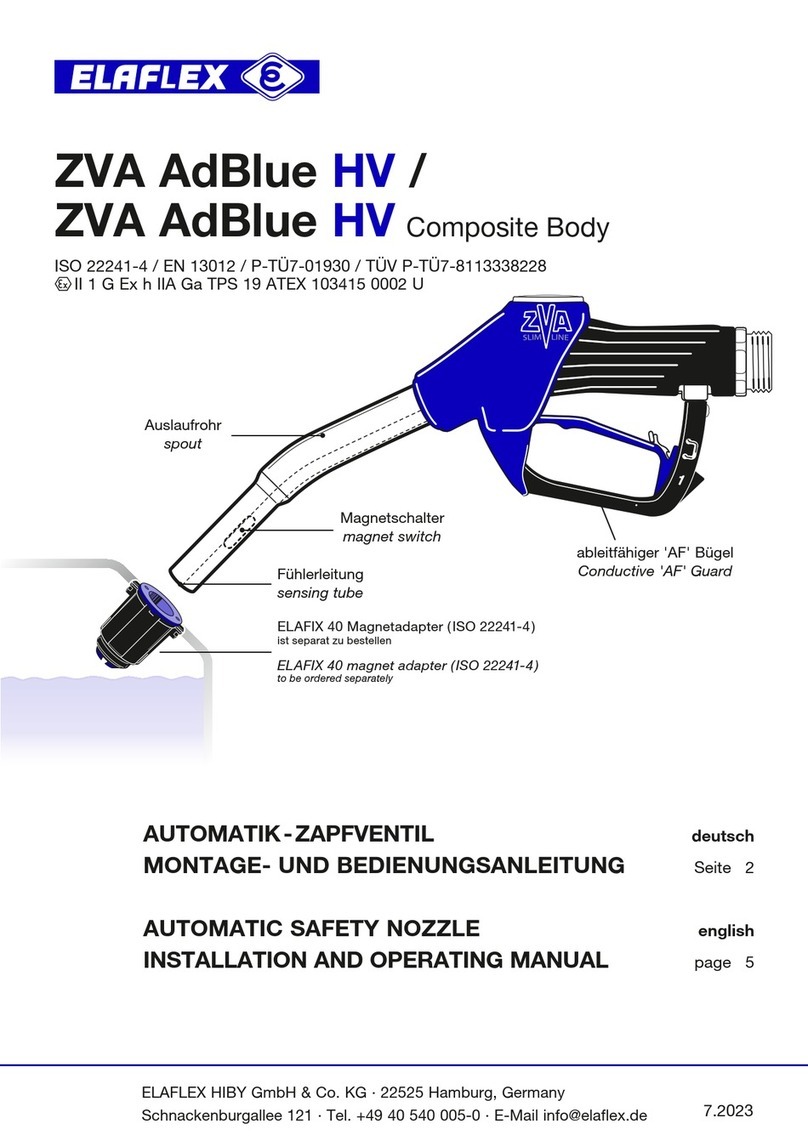
Elaflex ZVA AdBlue LV Installation and operating information

Elaflex

Elaflex ZVA AdBlue LV Installation and operating information

Weh TSF2 CNG operating instructions

Weh

Weh TSF2 CNG operating instructions

Elaflex ZVA AdBlue LV Installation and operating manual

Elaflex

Elaflex ZVA AdBlue LV Installation and operating manual

GILBARCO VEEDER-ROOT FlexPay EPK ECIM RF manual

GILBARCO VEEDER-ROOT

GILBARCO VEEDER-ROOT FlexPay EPK ECIM RF manual

GILBARCO VEEDER-ROOT Encore 700 S Start-up and service manual

GILBARCO VEEDER-ROOT

GILBARCO VEEDER-ROOT Encore 700 S Start-up and service manual

Elaflex SB-LNG Installation and operating manual

Elaflex

Elaflex SB-LNG Installation and operating manual

Dover OPW SiteSentinel Nano M2012 Operator's guide

Dover

Dover OPW SiteSentinel Nano M2012 Operator's guide

BANLAW 800 Series Product data sheet

BANLAW

BANLAW 800 Series Product data sheet

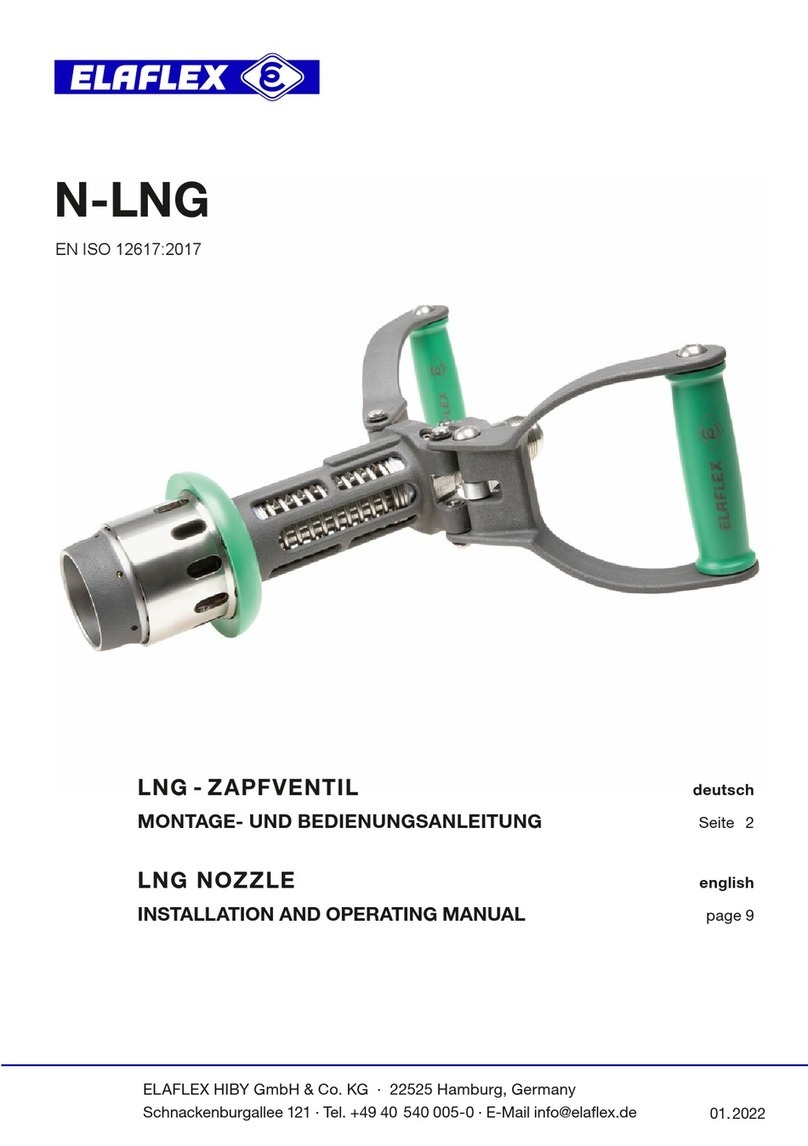
Elaflex N-LNG Installation and operating manual

Elaflex

Elaflex N-LNG Installation and operating manual

manuals.online logo
manuals.online logoBrands
  • About & Mission
  • Contact us
  • Privacy Policy
  • Terms and Conditions

Copyright 2025 Manuals.Online. All Rights Reserved.