manuals.online logo
Brands
  1. Home
  2. •
  3. Brands
  4. •
  5. Gestetner
  6. •
  7. Copier
  8. •
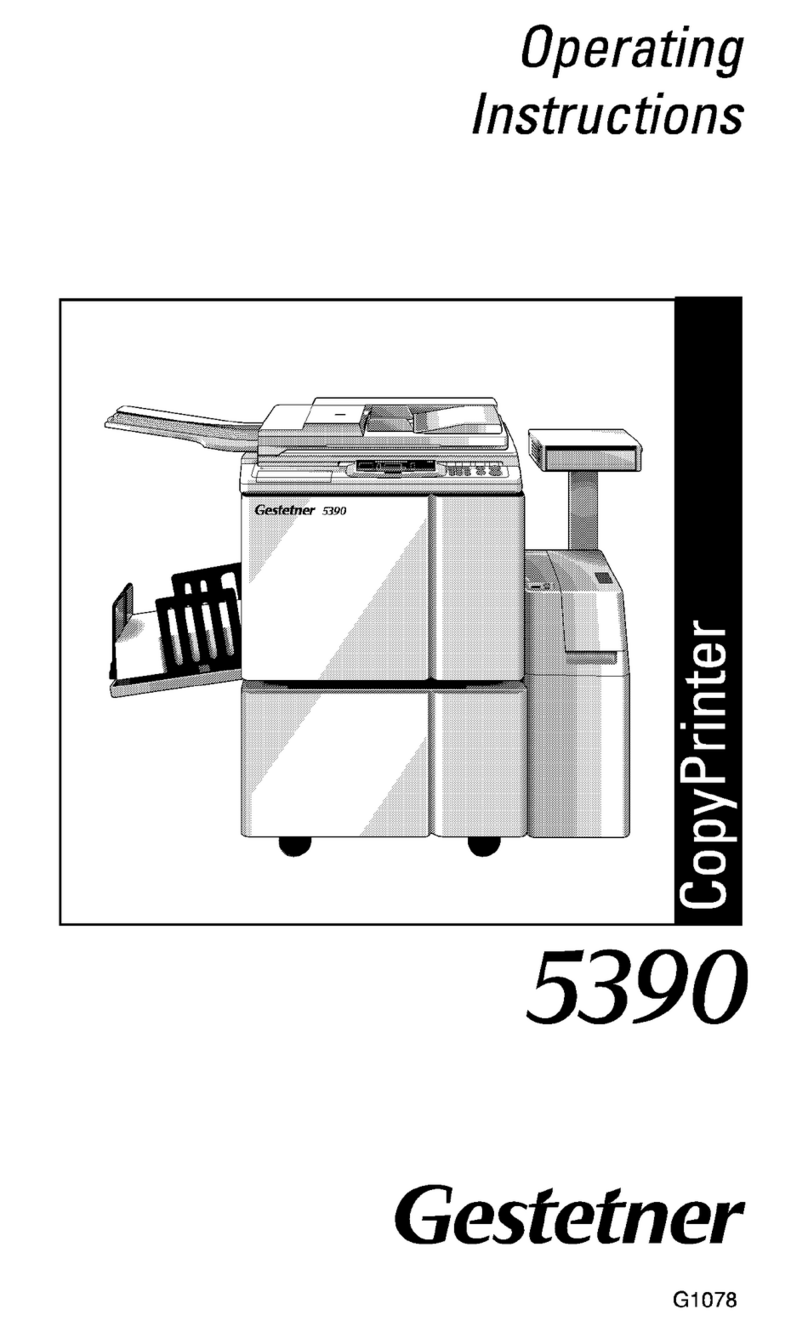
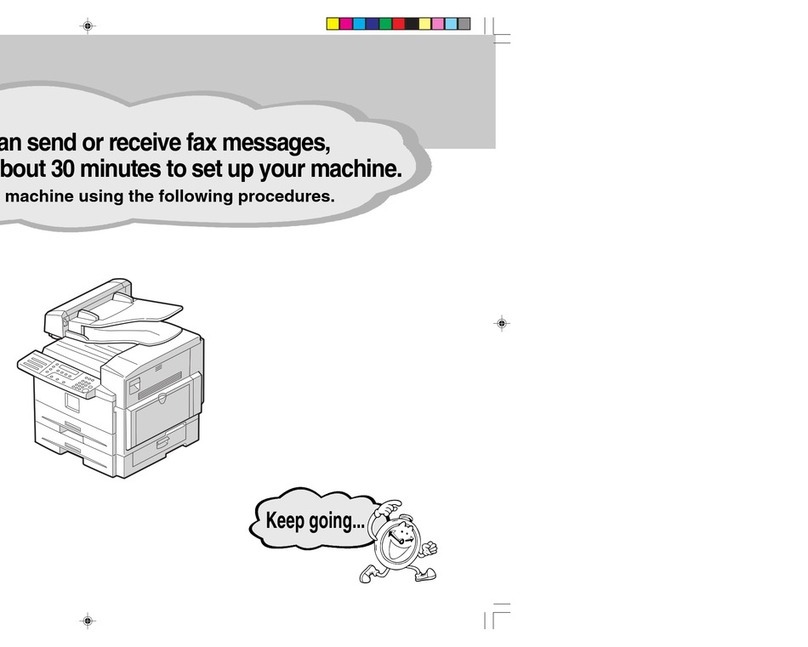
  9. Gestetner 1502 Owner's manual

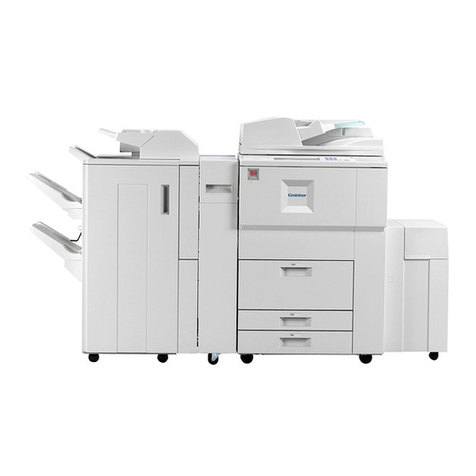
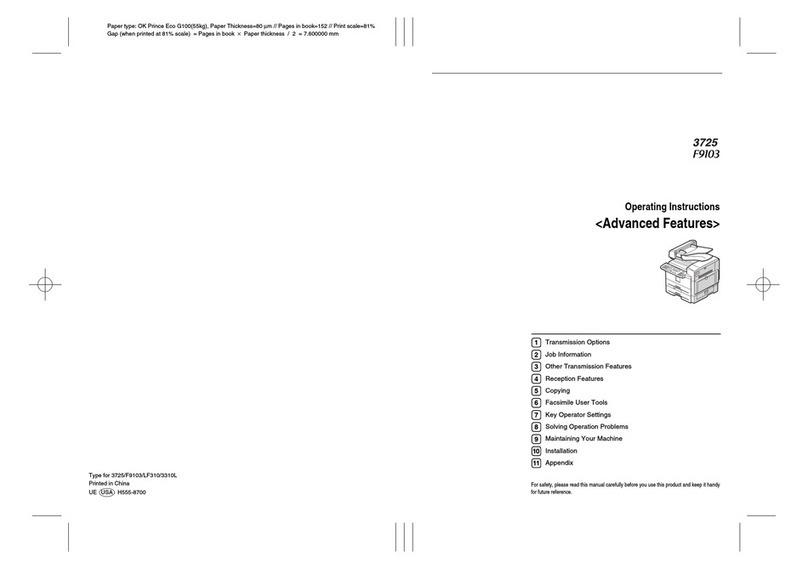
Gestetner 1502 Owner's manual

i
FUNCTION MAP
ii
iii
How to Read this Manual
Symbols
In this manual, the following symbols are used:
R
WARNING:
This symbol indicates a potentially hazardous situation that might result in
death or serious injury when you misuse the machine without following the in-
structions under this symbol. Be sure to read the instructions, all of which are de-
scribed in the Safety Information section in the Copy Reference manual.
R
CAUTION:
This symbol indicates a potentially hazardous situation that might result in mi-
nor or moderate injury or property damage that does not in ol e personal injury
when you misuse the machine without following the instructions under this
symbol. Be sure to read the instructions, all of which are described in the Safety
Information section in the Copy Reference manual.
* The statements abo e are notes for your safety.
Important
If this instruction is not followed, paper might be misfed, originals might be
damaged, or data might be lost. Be sure to read this.
Preparation
This symbol indicates the prior knowledge or preparations required before op-
erating.
Note
This symbol indicates precautions for operation, or actions to take after misop-
eration.
Limitation
This symbol indicates numerical limits, functions that cannot be used together,
or conditions in which a particular function cannot be used.
Reference
This symbol indicates a reference.
{}
Keys built into the machine's operation panel.
iv
TABLE OF CONTENTS
Manuals for This Machine 1
A vance Features (this manual) ................................................................. 1
Basic Features .............................................................................................. 1
1.Transmission Options
Overview 3
Sending at a Specific Time (Send Later) 4
Personal Code Transmission 6
Choosing the Area to be Scanned Yourself (Irregular Scan Area) 7
Fax Header Print 9
Label Insertion 10
Auto Reduction 11
Polling Reception 12
File Reserve Report .................................................................................... 12
Communication Result Report .................................................................... 12
Transfer Request 13
Specifying an En Receiver ........................................................................ 14
2.Job Information
Canceling Transmission or Reception 15
Checking the Transmission Result (TX File Status) 17
Checking the Reception Result (RX File Status) 18
Printing a List of Files in Memory (Print TX File List) 19
Printing a Stored Message 20
Printing the Journal 21
Displaying the Memory Status 22
v
3.Transmission Features
Handy Dialing Functions 23
Chain Dial.................................................................................................... 23
Telephone Directory.................................................................................... 23
Re ial .......................................................................................................... 24
On Hook Dial 25
Manual Dial 26
Transmission Features 27
Stamp.......................................................................................................... 27
SEP Co e ................................................................................................... 28
SUB Co e ................................................................................................... 29
More Transmission Functions 31
Auto Fax Reception Power-up .................................................................... 31
Dual Access ................................................................................................ 31
Transmission with Image Rotation .............................................................. 31
Checking the Transmission Result.............................................................. 31
Sen ing a Fax Message Imme iately ......................................................... 32
Automatic Re ial ......................................................................................... 32
Broa casting Sequence .............................................................................. 32
Checking the Transmission Progress ......................................................... 32
If Memory Runs Out While Storing an Original ........................................... 32
Batch Transmission..................................................................................... 32
ECM (Error Correction Mo e) ..................................................................... 33
Parallel Memory Transmission.................................................................... 33
Printed Report 34
File Reserve Report .................................................................................... 34
Communication Result Report .................................................................... 34
Communication Failure Report ................................................................... 34
Transmission Result Report (Imme iate Transmission) ............................. 35
4.Reception Features
Reception 37
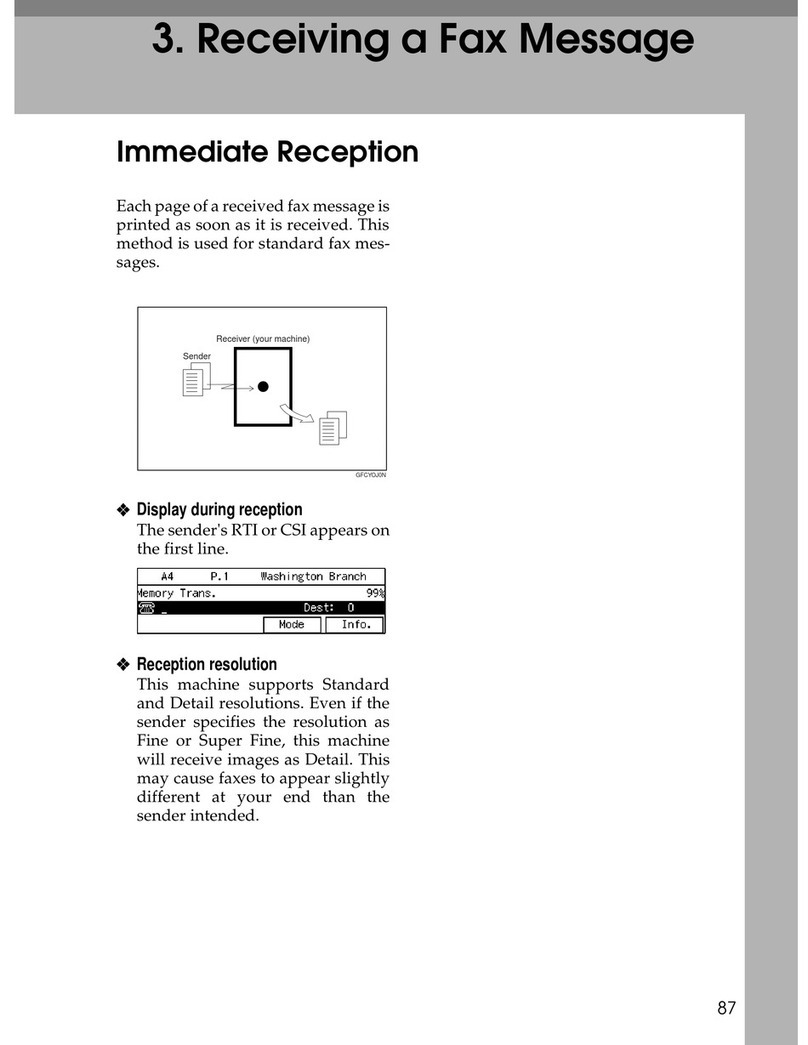
Imme iate Reception .................................................................................. 37
Memory Reception...................................................................................... 37
Substitute Reception ................................................................................... 38
Screening Out Messages from Anonymous Sen ers ................................. 38
Printing Functions 40
Print Completion Beep ................................................................................ 40
Checkere Mark.......................................................................................... 40
Center Mark ................................................................................................ 40
Reception Time........................................................................................... 41
Image Rotation............................................................................................ 41
Page Separation an Length Re uction (Not Available in Some Countries)
... 41
Page Re uction........................................................................................... 42
TSI Print ...................................................................................................... 42
When There is No Paper of the Correct Size.............................................. 42
vi
5.Facsimile User Tools
Accessing the User Tools 45
Exiting User Tool mo e............................................................................... 46
Assigning User Function Keys 47
Storing/E iting the Contents of a User Function Key.................................. 47
Utilizing a User Function Key ...................................................................... 48
Functions You Can Store in User Function Keys........................................ 48
Printing Reports/Lists 49
Setting the Date and Time 51
Summer Time / Daylight Saving Time 53
Changing the Initial Setup Transmission 54
Changing the Initial Setup Reception 56
6.Ke Operator Settings
Changing Key Operator Settings 59
Counters...................................................................................................... 59
Authorize Reception.................................................................................. 60
Forwar ing .................................................................................................. 65
User Parameters ......................................................................................... 72
Personal Co es........................................................................................... 77
Polling ID..................................................................................................... 81
Line Type .................................................................................................... 82
Select Line .................................................................................................. 83
PSTN Access Number ................................................................................ 84
Transfer Report ........................................................................................... 85
RDS (Remote Diagnostic System).............................................................. 86
7.Troubleshooting
When Toner Runs Out 87
When an Error Report is Printed 88
When Power is Turned off or Fails 89
8.Maintaining Your Machine
Replacing the Stamp Cartridge 91
vii
9.Appendix
Connecting the Machine to a Telephone Line and Telephone 93
Connecting the Telephone Line .................................................................. 93
Connecting The Optional External Telephone ............................................ 94
Selecting the Line Type............................................................................... 95
Specifications 96
Acceptable Types of Originals .................................................................... 97
Function List 99
A vance Transmission Features............................................................... 99
Communication Information ...................................................................... 100
User Tools................................................................................................. 101
INDEX 104
viii
1
Manuals for This Machine
Two Facsimile Reference manuals are pro ided, the Basic Features manual and
the Ad anced Features manual. Please refer to the manual that suits your needs.
Advanced Features (this manual)
The Ad anced Features manual describes more ad anced functions, and also
explains settings for key operators.
Basic Features
The Basic Features manual explains the most frequently used fax functions and
operations.
❖
❖❖
❖Chapter 1 Getting Started
Describes part names of the machine and operation panel.
❖
❖❖
❖Chapter 2 Faxing
Explains basic transmission. You can also find out about other types of trans-
missions.
❖
❖❖
❖Chapter 3 Setup
Explains how to make initial settings, such as the Own Name and Own Fax
Number settings. Also explains the Quick Dial, Speed Dial and Group keys.
These functions allow you to store numbers and sa e time when dialing. This
chapter also explains how to enter letters and symbols.
❖
❖❖
❖Chapter 4 Troubleshooting
Explains changing the olume of audible signals generated by the machine
and error messages. When the display or indicator lights show unusual infor-
mation, check the list and take appropriate action.
2
3
1. Transmission Options
Overview
This feature describes arious options that you can choose when sending a fax
message. The selections you make will only apply to the current fax message.
Note
❒If you frequently use a certain configuration of options, you can change their
default settings (on or off) with the User Parameters. See P.72 “User Parame-
ters”.
Transmission Options
4
1
Sending at a Specific Time (Send Later)
Using this feature, you can instruct
the machine to delay transmission of
your fax message until a later time
which you specify. This allows you to
take ad antage of off-peak telephone
charges without ha ing to be by the
machine at the time.
Note
❒You can not specify a time more
than 24 hours.
❒This feature is only a ailable with
Memory Transmission.
AMake sure that the machine is in
Facsimile mode and the standby
display is shown.
Bet your original and select any
scan settings you require.
CPress the {
{{
{Transmission Option}
}}
} key.
DConfirm that "1. end Later" is
displayed.
EPress the {
{{
{OK}
}}
} key.
FPress 0
00
0 or 1
11
1 to select "On" or
"Off".
GPress the {
{{
{OK}
}}
} key.
HPress 0
00
0 or 1
11
1 to select "AM" or
"PM".
IPress the {
{{
{OK}
}}
} key.
Transmitter
Sen Later
at 21:00 (9:00PM)
Receiver
ND1X01E4
Sending at a Specific Time (Send Later)
5
1
JEnter the time that you want to
send the fax message.
Note
❒When entering numbers small-
er than 10, add a leading zero.
❒If you make a mistake, press the
{Clear/Stop} key and try again.
❒If the current time shown on the
display is not correct, change it.
See P.51 “Setting the Date and
Time”.
KPress the {
{{
{OK}
}}
} key.
The specified time is set.
Lpecify the destination.
If you want to specify another des-
tination, press the {OK} key and re-
peat step J.
MPress the {
{{
{Start}
}}
} key.
Note
❒You can cancel a message trans-
mission set up for Send Later.
See P.15 “Cance ing Transmission
or Reception”.
Transmission Options
6
1
Personal Code Transmission
Personal Codes allow you to keep
track of machine usage (for example,
for billing purposes). If e erybody
uses a Personal Code when they use
the fax machine, the codes or the
names programmed for the codes will
be printed in the Journal and other re-
ports. This will help you to check up
on who has been using the machine
and how often.
Preparation
Before using this feature you must
register personal codes. See P.77
“Registering Persona Codes”.
Limitation
❒Personal codes may be any 8 digit
number except 00000000 (00000001
through 99999999). You can pro-
gram up to 20 personal codes. See
P.77 “Persona Codes”.
AMake sure that the machine is in
Facsimile mode and the standby
display is shown.
Bet your original and select any
scan settings you require.
CPress the {
{{
{Transmission Option}
}}
} key.
DPress 0
00
0 or 1
11
1 until "2. Personal
Code" is displayed.
EPress the {
{{
{OK}
}}
} key.
F
Press
0
00
0
or
1
11
1
to select "On" or "Off".
Note
❒You can cancel this feature by
selecting "Off".
GPress the {
{{
{OK}
}}
} key.
HEnter a personal code (up to 8 dig-
its) with the number keys.
Note
❒If you make a mistake, press the
{Clear/Stop} key and try again.
❒Personal codes may be any string
of 8-digit numbers (0 to 9). You can
register up to 20 personal codes.
IPress the {
{{
{OK}
}}
} key.
The personal code is set.
Jpecify the destination.
If you want to specify another des-
tination, press the {OK} key and re-
peat step J.
KPress the {
{{
{Start}
}}
} key.
Note
❒You can cancel transmission of
a message set up for Personal
Code Transmission.
Choosing the Area to be Scanned Yourself (Irregular Scan Area)
7
1
Choosing the Area to be Scanned Yourself
(Irregular Scan Area)
Usually the machine automatically
detects the size of an original when it
is scanned. Howe er, you may wish
to o erride this and choose the area to
be scanned yourself.
You can choose one of the standard
paper sizes (A4KL, A3L, B4L, 81/2
×11"KL, 81/2"×14"L, 11"×17"L, ) .
Although you can specify a different
scan area for each page when using
the exposure glass, only one size is al-
lowed when scanning from the Docu-
ment Feeder.
AMake sure that the machine is in
Facsimile mode and the standby
display is shown.
Bet your original and select any
scan settings you require.
CPress the {
{{
{Transmission Option}
}}
} key.
The Transmission Option menu
appears.
DPress 0
00
0 or 1
11
1 until "4. Irreg. can
Area" is displayed and press the
{
{{
{OK}
}}
} key.
EPress 0
00
0 or 1
11
1 to select "On" or
"Off".
Note
❒You can cancel this feature by
selecting "Off".
FPress the {
{{
{OK}
}}
} key.
Transmission Options
8
1
GPress 0
00
0 or 1
11
1 to select the paper
size.
Note
❒To see which paper sizes ha e
already been programmed,
press 0 or 1.
HPress the {
{{
{OK}
}}
} key.
Ipecify the destination.
If you want to specify another des-
tination, press the {OK} key and re-
peat step I.
JPress the {
{{
{Start}
}}
} key.
Fax Header Print
9
1
Fax Header Print
By default, the machine adds your
Fax Header to each message you send
so it appears on the printed fax at the
other end. See Chapter 3 “Own
Name/Fax Header/Own Fax
Number” in the Basic Features manu-
al.
Important
❒In the USA, this must contain the
telephone number of the line your
machine is connected to. It will be
printed on the header of e ery
page you send. Required in the
USA.
AMake sure that the machine is in
Facsimile mode and the standby
display is shown.
Bet your original and select any
scan settings you require.
CPress the {
{{
{Transmission Option}
}}
} key.
The Transmission Option menu
appears.
DPress 0
00
0 or 1
11
1 until "5. FaxHeader
Print" is displayed and press the
{
{{
{OK}
}}
} key.
EPress 0
00
0 or 1
11
1 to select "On" or
"Off".
FPress the {
{{
{OK}
}}
} key.
GPress the {
{{
{Transmission Option}
}}
} key.
Hpecify the destination.
If you want to specify another des-
tination, press the {OK} key and re-
peat step H.
IPress the {
{{
{Start}
}}
} key.
Transmission Options
10
1
Label Insertion
With this feature you can ha e the re-
cei er's name printed on the message
when it is recei ed at the other end.
The name will be printed at the top of
the page and will be preceded by
"To".
Note
❒If you select Label Insertion, the la-
bel might be printed o er a portion
of the image when recei ed at the
other end.
❒Program the recei er's name and
number in a Quick Dial or Speed
Dial then Label Insertion turned on
with the User Parameters. See P.72
“User Parameters” (Switch01, Bit0).
AMake sure that the machine is in
Facsimile mode and the standby
display is shown.
Bet your original and select any
scan settings you require.
CPress the {
{{
{Transmission Option}
}}
} key.
The Transmission Option menu
appears.
DPress 0
00
0 or 1
11
1 until "6. Label In-
sertion" is displayed and press
the {
{{
{OK}
}}
} key.
EPress 0
00
0 or 1
11
1 to select "Pro-
grammed Value".
FPress the {
{{
{OK}
}}
} key.
Gpecify the destination.
If you want to specify another des-
tination, press the {OK} key and re-
peat step G.
HPress the {
{{
{Start}
}}
} key.
Auto Reduction
11
1
Auto Reduction
By default, if the recei er's paper is
smaller than the paper you are send-
ing on, the message is automatically
reduced to fit onto the paper a ailable
at the other end.
Important
❒If you turn this feature off, the
scale of the original is maintained
and some parts of the image may
be deleted when printed at the oth-
er end.
Note
❒You can switch this feature on and
off with the User Parameters. The
default setting is on. See P.72 “User
Parameters” (Switch01, Bit2).
AMake sure that the machine is in
Facsimile mode and the standby
display is shown.
Bet your original and select any
scan settings you require.
CPress the {
{{
{Transmission Option}
}}
} key.
The Transmission Option menu
appears.
DPress 0
00
0 or 1
11
1 until "7. Auto Re-
duction" is displayed and press
the {
{{
{OK}
}}
} key.
EPress 0
00
0 or 1
11
1 to select "On" or
"Off".
FPress the {
{{
{OK}
}}
} key.
GPress the {
{{
{Transmission Option}
}}
} key.
Hpecify the destination.
If you want to specify another des-
tination, press the {OK} key and re-
peat step H.
IPress the {
{{
{Start}
}}
} key.
Transmitter
(This machine)
Receiver
Re uction
ND1X02E0
ND1X02E1
Transmission Options
12
1
Polling Reception
Use this function if you want to poll a
message from another terminal. You
can also poll documents from many
terminals with only one operation
(use Groups to fully exploit this fea-
ture).
Limitation
❒Polling Reception requires that the
other machine can perform Polling
Transmission.
AMake sure that the machine is in
Facsimile mode and the standby
display is shown.
BPress the {
{{
{Transmission Option}
}}
} key.
CPress 0
00
0 or 1
11
1 until "8. Polling RX"
is displayed.
DPress the {
{{
{OK}
}}
} key.
EPress 0
00
0 or 1
11
1 to select "On" or
"Off".
FPress the {
{{
{OK}
}}
} key.
Gpecify the other party's fax
number.
HPress the {
{{
{Start}
}}
} key.
File Reserve Report
This report is printed after Polling Re-
ception has been set up.
Note
❒By default, this report is turned off.
Turn it on with the User Parame-
ters. See P.72 “User Parameters”
(Switch03, Bit3).
Communication Result Report
This report is printed after a Polling Re-
ception has been completed and shows
the result of the Polling Reception.
Note
❒You can also check the result of a
Polling Reception with the Journal.
❒By default, this report is turned on.
Turn it off with the User Parame-
ters. See P.72 “User Parameters”
(Switch03, Bit4).
Transmission
Request
Receiver
(This machine) Sen er
ND1X01E8

Other manuals for 1502

1

This manual suits for next models

2

Other Gestetner Copier manuals

Gestetner 3532 User manual

Gestetner

Gestetner 3532 User manual

Gestetner CS555 User manual

Gestetner

Gestetner CS555 User manual

Gestetner 3220 User manual

Gestetner

Gestetner 3220 User manual

Gestetner 1302 User manual

Gestetner

Gestetner 1302 User manual

Gestetner 3222 User manual

Gestetner

Gestetner 3222 User manual

Gestetner 3225 User manual

Gestetner

Gestetner 3225 User manual

Gestetner DSc525 User manual

Gestetner

Gestetner DSc525 User manual

Gestetner 2135DP User manual

Gestetner

Gestetner 2135DP User manual

Gestetner 2045 Installation and maintenance instructions

Gestetner

Gestetner 2045 Installation and maintenance instructions

Gestetner AO70 User manual

Gestetner

Gestetner AO70 User manual

Gestetner DSc525 User manual

Gestetner

Gestetner DSc525 User manual

Gestetner 5499 User manual

Gestetner

Gestetner 5499 User manual

Gestetner 3355 User manual

Gestetner

Gestetner 3355 User manual

Gestetner P7245 Installation instructions

Gestetner

Gestetner P7245 Installation instructions

Gestetner 10502 User manual

Gestetner

Gestetner 10502 User manual

Gestetner 460 User manual

Gestetner

Gestetner 460 User manual

Gestetner 6002 User manual

Gestetner

Gestetner 6002 User manual

Gestetner CS331 User manual

Gestetner

Gestetner CS331 User manual

Gestetner DSc224 User manual

Gestetner

Gestetner DSc224 User manual

Gestetner 5309L Service manual

Gestetner

Gestetner 5309L Service manual

Gestetner 6002 User instructions

Gestetner

Gestetner 6002 User instructions

Gestetner 9980 Installation and maintenance instructions

Gestetner

Gestetner 9980 Installation and maintenance instructions

Gestetner F9103 Owner's manual

Gestetner

Gestetner F9103 Owner's manual

Gestetner 3532 Installation and maintenance instructions

Gestetner

Gestetner 3532 Installation and maintenance instructions

Popular Copier manuals by other brands

Xerox Copycentre C118 System administration guide

Xerox

Xerox Copycentre C118 System administration guide

Ricoh 920F operating instructions

Ricoh

Ricoh 920F operating instructions

Olivetti d-Copia 200D Service manual

Olivetti

Olivetti d-Copia 200D Service manual

Oki ES3640e MFP printing guide

Oki

Oki ES3640e MFP printing guide

Oki ES9465 troubleshooting guide

Oki

Oki ES9465 troubleshooting guide

Toshiba e-studio550 Operator's manual

Toshiba

Toshiba e-studio550 Operator's manual

Sharp AR-5420 Operation manual

Sharp

Sharp AR-5420 Operation manual

Sharp AR-121E Operation manual

Sharp

Sharp AR-121E Operation manual

Konica Minolta Di183 user manual

Konica Minolta

Konica Minolta Di183 user manual

Triumph Adler DC 2115 Instruction handbook

Triumph Adler

Triumph Adler DC 2115 Instruction handbook

Oce cm5520 user guide

Oce

Oce cm5520 user guide

Canon IMAGERUNNER 2020 Specifications

Canon

Canon IMAGERUNNER 2020 Specifications

Ricoh FW750 manual

Ricoh

Ricoh FW750 manual

Panasonic FP-7713 operating guide

Panasonic

Panasonic FP-7713 operating guide

Sharp SF-7400 Operation manual

Sharp

Sharp SF-7400 Operation manual

Konica Minolta 1312 user manual

Konica Minolta

Konica Minolta 1312 user manual

Toshiba e-STUDIO 550 Servicec support guide

Toshiba

Toshiba e-STUDIO 550 Servicec support guide

Konica Minolta Di5510 Advanced information

Konica Minolta

Konica Minolta Di5510 Advanced information

manuals.online logo
manuals.online logoBrands
  • About & Mission
  • Contact us
  • Privacy Policy
  • Terms and Conditions

Copyright 2025 Manuals.Online. All Rights Reserved.