manuals.online logo
Brands
  1. Home
  2. •
  3. Brands
  4. •
  5. Giant
  6. •
  7. Bicycle
  8. •
  9. Giant CLIP AND GO - FOLDING GUIDE 2009 User manual

Giant CLIP AND GO - FOLDING GUIDE 2009 User manual

This manual suits for next models

2

Other Giant Bicycle manuals

Giant HALFWAY Configuration guide

Giant

Giant HALFWAY Configuration guide

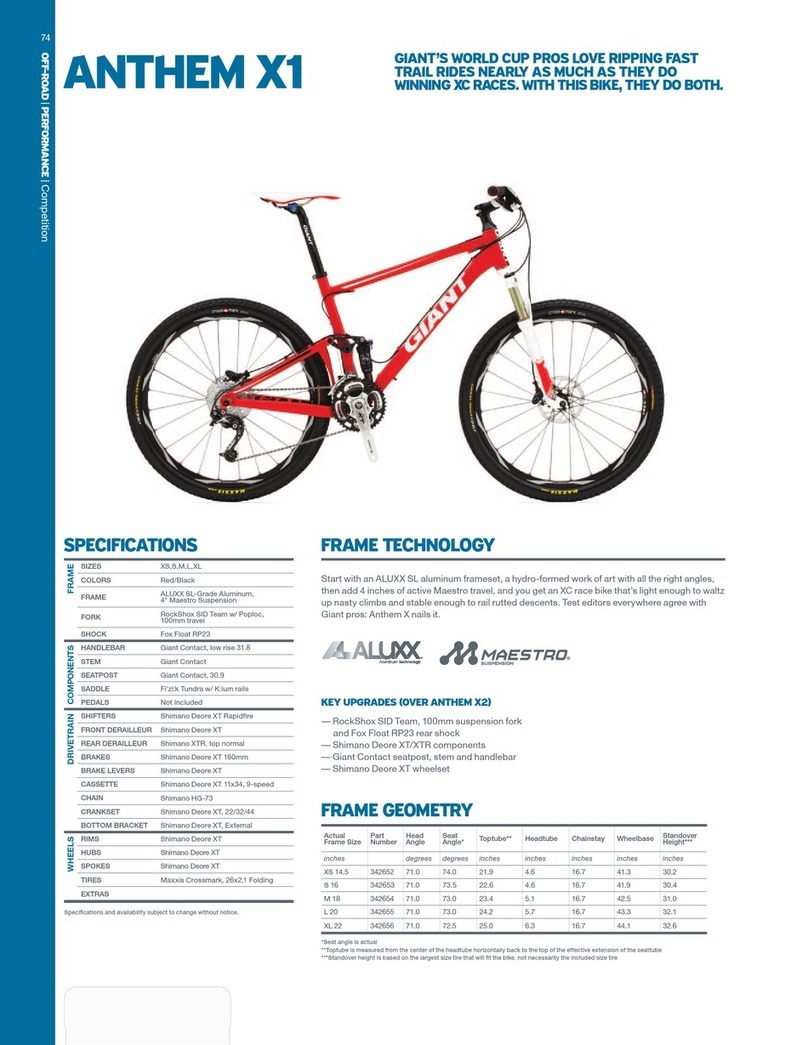
Giant ANTHEM X1 - DATASHEET 2 User manual

Giant

Giant ANTHEM X1 - DATASHEET 2 User manual

Giant ANTHEM X ADVANCED SL0 User manual

Giant

Giant ANTHEM X ADVANCED SL0 User manual

Giant YUKON FX - DATASHEET 2 User manual

Giant

Giant YUKON FX - DATASHEET 2 User manual

Giant SEDONA DX W User manual

Giant

Giant SEDONA DX W User manual

Giant DEFY 1 User manual

Giant

Giant DEFY 1 User manual

Giant GLORY 0 - DATASHEET 2 User manual

Giant

Giant GLORY 0 - DATASHEET 2 User manual

Giant TRANCE - SERVICE User manual

Giant

Giant TRANCE - SERVICE User manual

Giant TCR ADVANCED 1 W User manual

Giant

Giant TCR ADVANCED 1 W User manual

Giant METHOD 00 User manual

Giant

Giant METHOD 00 User manual

Giant ANTHEM X1 User manual

Giant

Giant ANTHEM X1 User manual

Giant STP 0 User manual

Giant

Giant STP 0 User manual

Giant Revive User manual

Giant

Giant Revive User manual

Giant AREVA 24 User manual

Giant

Giant AREVA 24 User manual

Giant GLORY DH User manual

Giant

Giant GLORY DH User manual

Giant GLORY - SERVICE  V2.0 User manual

Giant

Giant GLORY - SERVICE V2.0 User manual

Giant TWIST FREEDOM DX User manual

Giant

Giant TWIST FREEDOM DX User manual

Giant TRIPLE X CS 1 LDS User manual

Giant

Giant TRIPLE X CS 1 LDS User manual

Giant RAPID 0 User manual

Giant

Giant RAPID 0 User manual

Giant AVAIL ADVANCED 1 User manual

Giant

Giant AVAIL ADVANCED 1 User manual

Giant VIA 1 User manual

Giant

Giant VIA 1 User manual

Giant RAINIER User manual

Giant

Giant RAINIER User manual

Giant ANTHEM X1 W User manual

Giant

Giant ANTHEM X1 W User manual

Giant CYPHER 1 - DATASHEET 2 User manual

Giant

Giant CYPHER 1 - DATASHEET 2 User manual

Popular Bicycle manuals by other brands

Grace ONE manual

Grace

Grace ONE manual

Woosh Gran Camino manual

Woosh

Woosh Gran Camino manual

Razor FLASHRIDER 360 user manual

Razor

Razor FLASHRIDER 360 user manual

TAUBIK SOHO 2.0 user manual

TAUBIK

TAUBIK SOHO 2.0 user manual

Oxybul FREEbul 331067 manual

Oxybul

Oxybul FREEbul 331067 manual

Cycle Force Group BICYCLE BABY TRAILER & JOGGER Assembly instructions

Cycle Force Group

Cycle Force Group BICYCLE BABY TRAILER & JOGGER Assembly instructions

RAMBO R1000X2M-FF-BFD manual

RAMBO

RAMBO R1000X2M-FF-BFD manual

Vermeiren SAFARI Maintenance manual

Vermeiren

Vermeiren SAFARI Maintenance manual

Velec A2/36V owner's manual

Velec

Velec A2/36V owner's manual

Cervélo S3 2019 Assembly manual

Cervélo

Cervélo S3 2019 Assembly manual

Festo EGSC-BS-KF Instructions & Operating

Festo

Festo EGSC-BS-KF Instructions & Operating

Gio Electric H1 Volt owner's manual

Gio Electric

Gio Electric H1 Volt owner's manual

Huka orthros manual

Huka

Huka orthros manual

DAHON CIAO - 2009 manual

DAHON

DAHON CIAO - 2009 manual

Aprimatic ONDA 500 Installation, use and maintenance instructions

Aprimatic

Aprimatic ONDA 500 Installation, use and maintenance instructions

Greyp G6 Series user manual

Greyp

Greyp G6 Series user manual

Babboe Carve-E user manual

Babboe

Babboe Carve-E user manual

Xtracycle Stoker 2021 Assembly manual

Xtracycle

Xtracycle Stoker 2021 Assembly manual

manuals.online logo
manuals.online logoBrands
  • About & Mission
  • Contact us
  • Privacy Policy
  • Terms and Conditions

Copyright 2025 Manuals.Online. All Rights Reserved.

CLIP AND GO GUIDE
FOLDING INSTRUCTIONS (continued)
STEP 4
NOTE: MAKE SURE THE UPPER PART OF THE HANDLEBAR STEM LOCKS SECURELY
INTO THE PLASTIC HOLDER ON THE FRAME (FIG. 12 AND 13). CHECK TO BE CERTAIN
THAT CABLES ARE NOT HOOKED BEHIND OTHER PARTS OR BENT AND CRIMPED WHEN
FOLDING THE STEM.
STEP 5
Fold the pedals by pushing against the side of the pedals, so the platform moves inward. Then fold
the pedal by rotating the pedal surface 90 degrees up or down (FIG. 14 and 15).
NOTE: TO UNFOLD THE CLIP FOR RIDING,
REVERSE THE PROCEDURE. UNFOLD THE
PEDALS AND BE CERTAIN THE PLATFORMS ARE
LOCKED IN A FLAT POSITION. MAKE SURE ALL
QUICK RELEASES FOR THE HANDLEBAR STEM,
FRAME, AND SEAT POST ARE SECURELY FIXED.
WARRANTY
For complete details of the warranty, please refer to the Giant Owner’s Manual or visit our website:
www.giantbicycle.com
© Giant Bicycle, January 2009
FIG. 12
FIG. 14
FIG. 13
FIG. 15
Both frame quick releases have an adjustment nut that controls the clamping force. A
force of 11 – 17 lbf (5 – 8 kgf) is required to open and close each quick release. IF THE
CLAMPING FORCE IS INSUFFICIENT TO CLOSE AND LOCK EITHER QUICK RELEASE,
DO NOT RIDE THE BIKE! See your Authorized Giant Retailer for adjustment. MAKE
SURE THAT THE FUNCTION OF THE ADJUSTMENT NUT AND ALL QUICK RELEASES ARE
DEMONSTRATED BY THE BICYCLE DEALER BEFORE USING THE CLIP BICYCLE!
WARNING
FOLDING INSTRUCTIONS (continued)
STEP 2
Steady the bike frame and unlock the frame quick release on the top tube (FIG. 5). Next, unlock the
quick release on the down tube by pushing back on the spring-loaded safety lock and opening the
quick release (FIG. 6).
STEP 3
Fold the frame (FIG. 7).
NOTE: MAKE SURE THE CLIP ON THE FRONT WHEEL LOCKS SECURELY INTO THE PLASTIC
HOLDER ON THE REAR WHEEL (FIG. 8 AND 9).
STEP 4
Turn the knob of the handlebar stem quick release counter-clockwise (FIG. 10). After the handlebar
stem releases, it can be folded downward (FIG. 11).
FOLDING INSTRUCTIONS
STEP 1
In order to allow the CLIP to properly stand on a level surface after folding, open the seat post quick
release (FIG. 1) and kickstand quick release (FIG. 2) and then push the saddle down almost to the
bottom (FIG 3). The kickstand will extend and lock (FIG. 4). Then close both quick releases.
CLIP AND GO GUIDE
Thanks for purchasing the CLIP folding bicycle! This guide will help you properly fold and unfold your
CLIP. Please read it thoroughly!!
NOTE: BEFORE RIDING YOUR CLIP FOLDING BICYCLE FOR THE FIRST TIME, MAKE SURE
TO FAMILIARIZE YOURSELF WITH THE LOCATION AND OPERATION OF ALL THE QUICK
RELEASE LEVERS ON YOUR CLIP.
FIG. 1
FIG. 5
FIG. 8
FIG. 2
FIG. 6
FIG. 9
FIG. 11FIG. 10
FIG. 3 FIG. 4
seat post quick release
kickstand quick release
frame quick release
handlebar stem quick release
FIG. 7
1. Before each ride, check to make sure all latches and quick release levers are properly
secured. Make sure that the seat post and kickstand quick release levers are securely
fastened and that the seat post and kickstand do not slip.
2. Do not over-tighten the quick release levers. Always hand-tighten until clamping is
snug. Never use a tool or wrench to tighten the quick release levers.
3. Never ride the folding bicycle if the frame or quick release levers are damaged!!
1. Do not sit on the CLIP saddle when its kickstand is extended and locked in the parked
position!
2. Make sure that the kickstand is completely folded up and retracted into the frame so that
there is at least 7½ inches (20 cm) of clearance from the ground when riding the CLIP.
caution
CAUTION