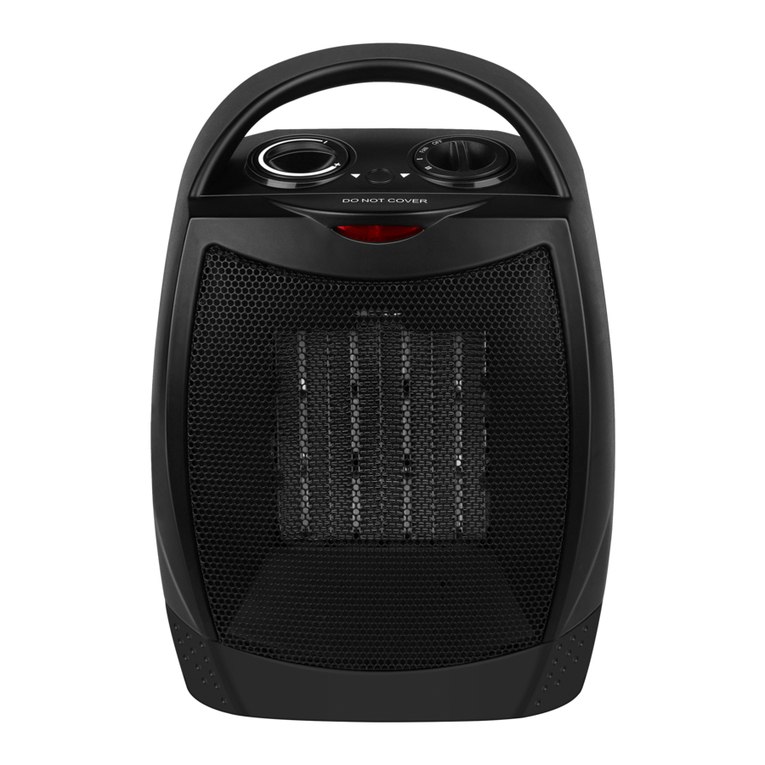
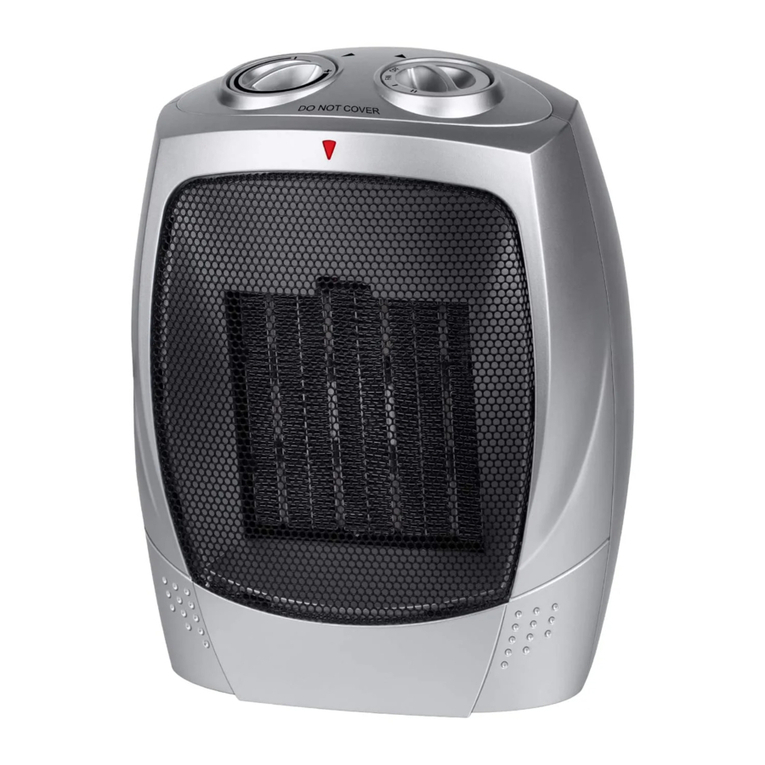
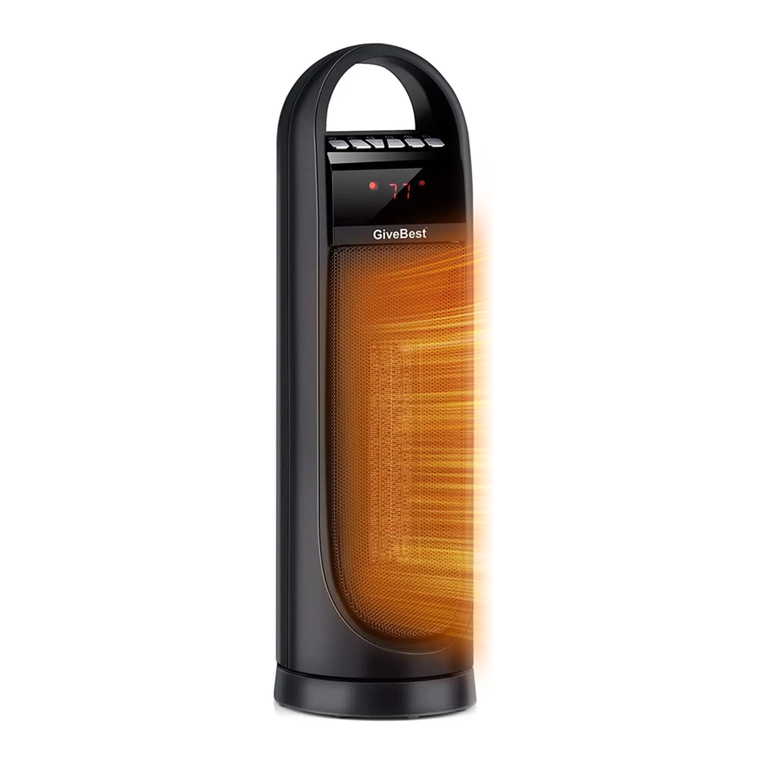
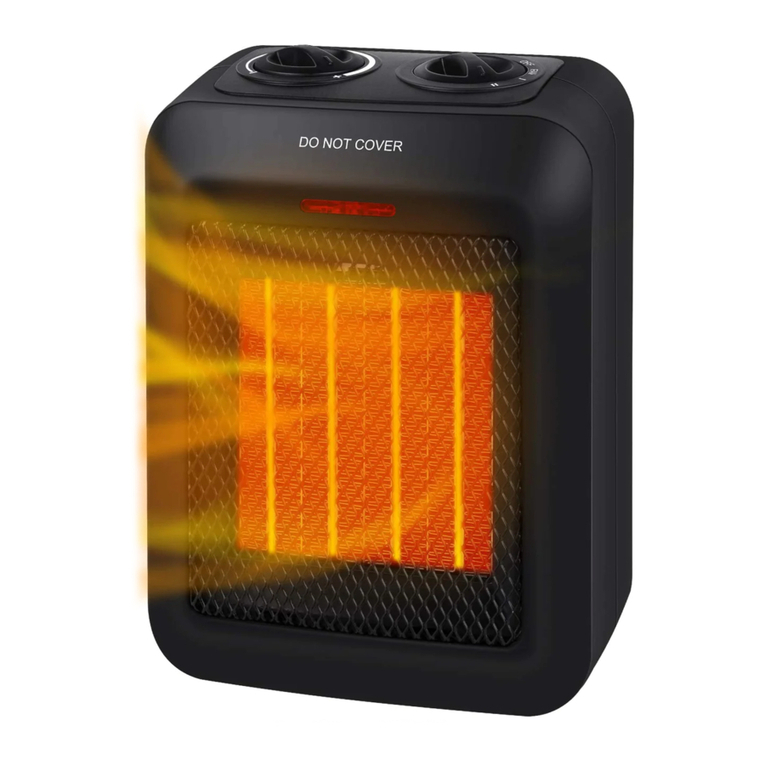
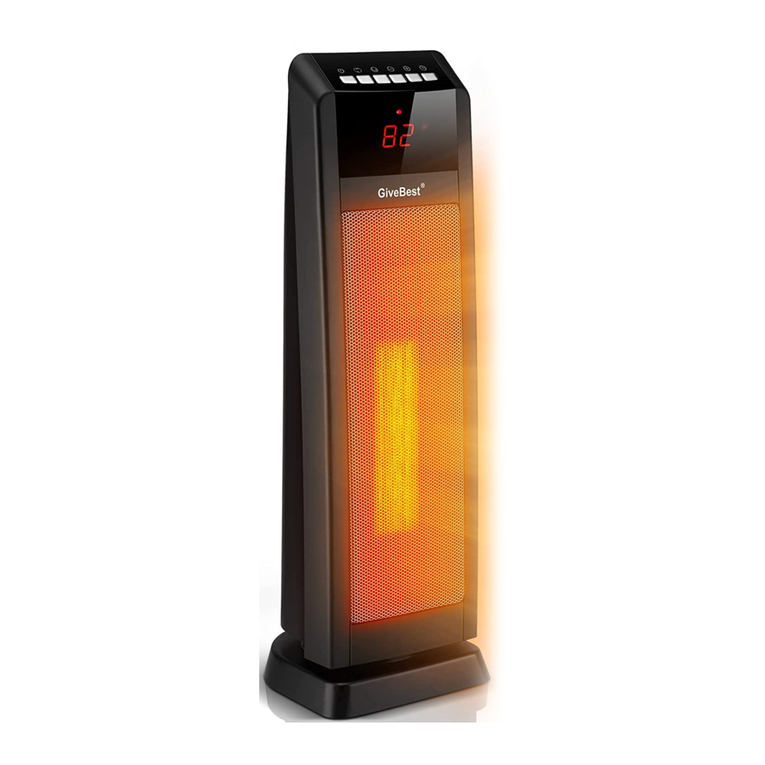
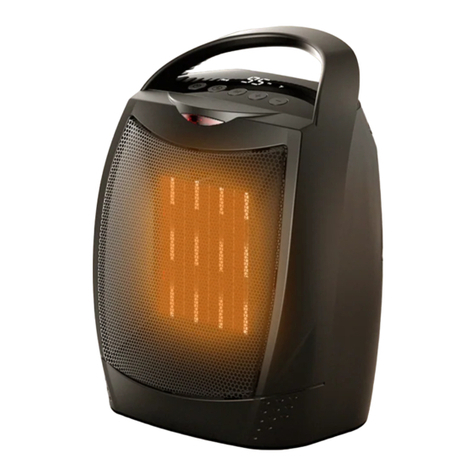
GiveBest MH-04 User manual

GiveBest
MINI
PLUG-IN
CERAMIC
HEATER
Model:
MH-04
INSTRUCTION
MANUAL
READ
AND
SAVE
THIS
INSTRUCTION
€.
sreo!
Intertek
Please
read
these
Instructions
carefully
and
keep
for
future
reference

FEATURES
Wall Plug
(Rear)
Temperature
LED
Display
Power
Timer
Power
Switch
(Side)
Heater
Front
OPERATING
INSTRUCTIONS
1.
Find
an
open
wall plug
that
is
clear
of
any
obstructions
such
as
curtains
or
hanging
wall
panels.
2.
Remove
your
heater
from
the
box
and
plug
into
the
wall
outlet.
3.
Flip
the
Power
switch
on
the
side
of
the
heater
to
turn
on
the
heater.
4.
The
heater
will
emit
heat
from
the
Heater
Front.
Ensure
there
are
no
obstructions
blocking
the
heat
flow
for
best
results.
5.
Press
the
Power
button
to
turn
off
the
heater.
NOTE:
Turning
off
the
heater
will
stop
the
heating
process
only.
The
fan
will
continue
to
work
for
1
minute
to
allow
for
the
internal
ceramic
heating
element
to
cool.
After
T
minute,
the
heater
will
shut
down
automatically.
CAUTION:
Do
NOT
plug
this
heater
into
a
surge
protector.
This
heater
must
be
plugged
in
upright.
Do
NOT
use
this
heater
plugged
in
lying
down.

CONTROL
PANEL
SYMBOL
FUNCTION
‘O
On/Standby
Increase
temperature
Decrease
temperature
Timer
On/
Standby
Ensure
your
heater
is
turned
on
by
flipping
the
Power
switch
located
on
the
side
of
your
heater.
Press
the
*
button
to
have
the
heater
remain
on.
Press
the
“®"
button
again
to
have
the
heater
switch
to
standby
mode.
In
standby
mode,
the
heater
will
not
operate
until
you
press
the
"("
button
again
to
activate
the
heater.
Temperature
Adjust
the
heater
to
your
desired
temperature
setting
by
pressing
the
"Temp
+
/
-"
buttons.
The
temperature
will
be
displayed
on the
LED
display.
Timer
-
Auto
Shut-off
To
use
this
heater's
auto
shut-off
timer,
ensure
your
heater
is
turned
on.
Press
the
“Timer"
button,
and
the
LED
display
show
the
number
of
hours
you
want
the
heater
to
run
before
turning
off
automatically.
Keep
pressing
the
“Timer”
button
until
you
reach
your
desired
set
time.
Once
the
LED
display
shows
the
desired
number
of
hours,
wait
3
seconds
without
pressing
any
buttons.
The
heater
will
set
a
timer,
and
shut
of
automatically
after
the
set
time.
Pressing
the
“Timer"
button
allows
you
to
scroll
through
1
and
12
hours,
in
1
hour
increments.
To
turn
off
the
auto
shut-off
timer,
press
the
"Timer”
button
until
the
LED
display
shows
“0."
Timer
-
Auto
Power-on
To
use
this
heater's
auto
power-on
timer,
ensure
your
heater
is
turned
off.
Press
the
"Timer”
button,
and
the
LED
display
show
the
number
of
hours
you
want
the
heater
to
wait
before
turning
on
automatically.
Keep pressing
the
“Timer”
button
until
you
reach
your
desired
set
time.
Once
the
LED
display
shows
the
desired
number
of
hours,
wait
3
seconds
without
pressing
any
buttons.
The
heater
will
set
a
timer,
and
shut
of
automatically
after
the
set
time.

CAUTION:
Do
NOT
use
the
Auto
Power-On
function
on
this
heater
if
you
are
not
at
home.
This
feature
should
not be
used
without
an
adult
present.
CLEANING
1.
Flip
the
Power
switch
to
turn
off
the
heater.
2.
Unplug
the unit
and
let
it
cool
completely
3.To
keep
the
heater
clean,
the
outer
shell
may
be
cleaned
with
a
soft,
damp
cloth.
You
may
use
a
mild
detergent
if
necessary.
After
cleaning,
dry
the
unit
with
a
soft
cloth.
CAUTION:
DO
NOT
let
liquid
enter
the
heater.
4.
DO
NOT
use alcohol,
gasoline,
abrasive
powders,
furniture
polish,
or
rough
brushes
to
clean
the
heater.
This
may
cause
damage
or
deterioration
to
the
surface
of
the
heater.
5.
D0
NOT
immerse
the
heater
in
water.
6.
Wait
until
the
unit
is
completely
dry
before
use.
OVERHEAT
SAFETY
FEATURE
This
heater
is
equipped
with
an
internal
overheat
safety
feature.
When
the
heater's
internal
components
reach
a
certain
temperature
that
may
cause
overheating
and
possible
fire,
the
heater
will
automatically
shut
off.
WARNING:
It
is
normal
for
the
rear
of
the
heater
to
feel
warm
to
the
touch;
however,
a
loose
fit
between
the
outlet
and
the
plug
may
cause
overheating
of
the
plug.
If
this
occurs,
try
inserting
the
plug
into
a
different
outlet.
Contact
a
qualified
electrician
to
inspect
the
original
outlet
for
damage.
STORAGE
Store
the
heater
in
a
cool,
dry
location
when
not
in
use.
To
prevent
dust
and
dirt
build-up,
use
the
original
packaging
to
repack
the
unit.
BASIC
TROUBLESHOOTING
If
the
heater
will
not
operate,
please
check
the
following
before
seeking
repair
advice:
1.
Check
if
the
plug
is
plugged
into
an
electrical
outlet,
if
not,
plug
in.
2.
Check
if
electricity
to
the
electrical
outlet
is
working.

SAFETY
INSTRUCTIONS
/\
WARNING
READ
ALL
INSTRUCTIONS
BEFORE
USING
THIS
FAN.
TO
REDUCE
THE
RISK
OF
FIRE,
ELECTRIC
SHOCK
OR
INJURY:
-
Read
ALL
instructions
before
using
this
unit,
-
CAUTION:
Risk
of
Electric
Shock.
DO
NOT
open
or
try
to
repair
the
heater
yourself
-
This
heater
may
get hot
when
in
use.
To
avoid
burns,
DO
NOT
let
bare
skin
touch
hot
surfaces.
If
provided,
use
handles
when
moving
this
heater.
-
Keep
combustible
materials,
such
as
furniture,
pillows,
bedding,
paper,
clothes,
and
curtains
at
least
3
ft
from
the
front
of
the
heater
and
keep
them away
from
the
sides,
top,
and
rear.
DO
NOT
place
towels
or
other
objects
on
the
heater.
-
Extreme
caution
is
necessary
when
any
heater
is
used
by
or
near
children
or
the
disabled,
or
when
the
heater
is
left
operating
and
unattended.
-
DO
NOT
operate
any
heater
with
a
damaged
cord
or
after
the
heater
malfunctions,
has
been
dropped
or
damaged
in
any
manner.
Return
heater
to
authorized
service
facility
for
examination,
electrical
or
mechanical
adjustment,
or
repair.
-
This
heater
is
not
intended
for
use
in
bathrooms,
laundry
areas
and
similar
indoor
locations.
NEVER
locate
heater
where
it
may
fallinto
a
bathtub
or
other
water
container.
To
protect
against
electrical
hazards,
DO
NOT
immerse
in
water
or
other
liquids.
-
DO
NOT
touch
the
power
button,
heater
front,
or
plug with
a
wet
hand.
DO
NOT
insert
or
allow
foreign
objects
to
enter
any
ventilation
or
exhaust opening
as
this
may
cause
an
electric
shock
or
fire,
or
damage
the
heater.
~To
prevent
a
possible
fire,
DO
NOT
block
the
air
intakes
or
exhaust
in
any
manner.
DO
NOT
use
on
soft
surfaces,
like
a
bed,
where
openings
may
become
blocked.
-
Aheater
has
hot
and
arcing
or
sparking
parts
inside.
DO
NOT
use
in
areas
where
gasoline,
paint,
explosive
and/or
flammable
liquids are
used
or
stored.
Keep
unit
away
from
heated
surfaces
and
open
flames.
-
Always
plug
heaters
directly
into
a
wall
outlet/receptacle.
Never
use with
an
extension
cord
or
relocatable
power
tap
(outlet/power
strip),
-
To
avoid
fire or
shock
hazard,
plug
the
unit
directly
into
a
220
V
AC
electrical
outlet.
-
To
disconnect
heater,
press
the
Power
button
to
turn
the
heater
off,
then
remove
plug
from
outlet
-
Always
unplug
the
unit
before
moving
or
cleaning,
or
whenever
the
heater
is
not
in
use.
-
Use
only
for
intended
household
use
as
described
in
this
manual.
Any
other
use
not
recommended
by
the
manufacturer
may
cause
fire,
electric
shock,
or
injury
to
persons.
The
use
of
attachments
not
recommended
or
sold
by
unauthorized
dealers
may
cause
hazards.
-
DO
NOT
use
outdoors.
WARNING:
To
reduce
the
risk
of fire
or
electric
shock,
DO
NOT
use
this
unit
with
any
solid-state
speed
control
device.
-
DO
NOT
attempt
to
repair
or
adjust
any
electrical
or
mechanical
functions
on
this
unit.
Doing
5o
will
void
your
warranty. The
inside
of
the
unit
contains
no
user
serviceable
parts.
Qualified
personnel
should
perform
all
servicing
only.
-
Connect
to
properly
grounded
outlets
only.
-
Save
these
instructions.

SERVICE
INSTRUCTIONS:
Do
NOT
attempt
to
repair
or
adjust
any
electrical
or
mechanical
functions
on
this
unit.
Doing
50
will
void
the
warranty.
If
you
have
any
questions
regarding
this
unit’s
operation
or
believe any
repair
is
necessary.
please
write
to us
at
If
you
have
any
other
question
or
comments,
feel
free
to
write
to
us:
For
customer
service
and
warranty,
contact
us
here
S
S,
Us
+1(888)550
1319
Mon-Fri
8AM-10PM(EST)
Brand
family:
Brightown,
Givebest

Table of contents
Other GiveBest Heater manuals
Popular Heater manuals by other brands

Calthermic
Calthermic MONTBLANC quick start

Polaris
Polaris PFH 2046 Manual instruction

Tylo
Tylo Sense Pure installation guide

Coonara
Coonara Grange Classic Operating information & installation instructions

Diamond
Diamond GLO-RAY GR series Installation and operating manual

Marley
Marley DH1021C Installation & maintenance instructions

Kampmann
Kampmann Wall HK Assembly, installation and operating instructions

Sundirect
Sundirect Stone600-Pro Installation & operation instructions

Radialight
Radialight LITHO Installation and operating manual

Goldair
Goldair Platinum GPPH610 operating instructions

Bliss
Bliss THD160 user manual

DeLonghi
DeLonghi EW7507EBM quick start guide