Globe GPC16 User manual

Instruction Manual for the
Globe Countertop Pasta Cooker
Model GPC16
For Service on Your Pasta Cooker:
1. Visit our website at www.globefoodequip.com
2. Or call the Globe Service Department at 937-299-8625 and ask for contact
information for your local service company.
Serial #:
GPC16
This manual contains important safety instructions which
must be strictly followed when using this equipment.
- IMPORTANT SAFETY NOTICE -
Visit our website for information on additional products available from Globe.
www.globefoodequip.com
Slicers, Mixers, Countertop Cooking Equipment, Meat Choppers & Scales
WARRANTY REGISTRATION
SCAN THE QR CODE WITH YOUR MOBILE DEVICE OR GO TO
WWW.GLOBEFOODEQUIP.COM
TO FILL OUT AND SUBMIT YOUR WARRANTY REGISTRATION.
WWW.GLOBEFOODEQUIP.COM/SUPPORT/WARRANTY-REGISTRATION-FORM

ATTENTION OWNERS AND OPERATORS................................................................................................................4
INSTALLATION ....................................................................................................................................................... 5-7
SAFEGUARDS & SAFETY INSTRUCTIONS .............................................................................................................8
OPERATING INSTRUCTIONS.............................................................................................................................. 9-10
CLEANING INSTRUCTIONS ....................................................................................................................................11
TROUBLESHOOTING ..............................................................................................................................................12
LIMITED WARRANTY...............................................................................................................................................14
GLOBE FOOD EQUIPMENT COMPANY
2153 DRYDEN RD
DAYTON, OH 45439
PHONE: 937-299-5493
TOLL FREE: 800-347-5423
FAX: 937-299-8623
WEBSITE: www.globefoodequip.com
© Globe Food Equipment Company, 2014 11282012
Printed in USA Ver. 1 Rev. 1_2014
Index
DAYTON, OH 45439
PHONE: 937-299-5493
TOLL FREE: 800-347-5423
FAX: 937-299-8623
WEBSITE: www.globefoodequip.com

Page 3
Globe equipment is designed to provide safe and productive processing, cooking and warming of food products as
long as the equipment is used in accordance with the instructions in this manual and is properly maintained. Unless
the operator is adequately trained and supervised there is a possibility of serious injury. Owners of this equipment bear
the responsibility to make certain that this equipment is used properly and safely, to strictly follow all of the instructions
contained in this manual, and adhere to the requirements of local, state, or federal law.
Owners should not permit anyone to touch this equipment unless they are over 18 years old, are adequately trained
and supervised, and have read and understood this manual. Owners should also ensure that no customers, visitors
or other unauthorized personnel come in contact with this equipment. Please remember that Globe cannot anticipate
every circumstance or environment in which its equipment will be operated. It is the responsibility of the owner and
the operator to remain alert to any hazards posed by the function of this equipment. If you are ever uncertain about a
particular task or the proper method of operating this equipment, ask your supervisor.
This manual contains a number of precautions to follow to help promote safe use of this equipment. Throughout the
manual you will see additional warnings to help alert you to potential hazards.
Warnings affecting your personal safety are indicated by:
Warnings related to possible damage to the equipment are indicated by:
If the warning labels or this manual are misplaced, damaged, or illegible, or if you require additional copies, please
contact your nearest representative or contact Globe directly to request these items at no charge.
Please remember that this manual and the warning label(s) do not replace the need to be alert, to properly train and
supervise operators, and to use common sense when using this equipment.
Attention Owners and Operators
or

Page 4
Installation
UNPACKING
Unpack the pasta cooker immediately after receipt. If the machine is found to be damaged, save the packaging
material and contact the carrier within fteen (15) days of delivery. Immediately contact Globe or your local dealer
of the equipment. You have no recourse to damage after fteen (15) days.
TO AVOID SERIOUS PERSONAL INJURY:
• ALWAYS install equipment in a work area with adequate light and space.
• ONLY operate on a solid, level, nonskid surface that is nonammable and away from sinks and water hazards.
• NEVER bypass, alter or modify this equipment in any way from its original condition. Doing so can create
hazards and will void warranty.
• NEVER operate pasta cooker without all warnings attached to it.
NOTICE: Local codes regarding installation vary greatly by area. The National Fire Protection Association, Inc,
states in its NFPA 96 latest edition that local codes are “authority having jurisdiction” when it comes to
requirements for installation of equipment. Therefore, installations must comply with all local codes. Once your
pasta cooker has been removed from the packaging, be certain that all protective plastic and residue are
removed from all surfaces.
PROPER GROUNDING
THIS MACHINE IS PROVIDED WITH A THREE-PRONG GROUNDING PLUG. THE OUTLET TO WHICH THIS
PLUG IS CONNECTED MUST BE PROPERLY GROUNDED. IF THE RECEPTACLE IS NOT THE PROPER
GROUNDING TYPE, CONTACT AN ELECTRICIAN. DO NOT, UNDER ANY CIRCUMSTANCES, CUT OR
REMOVE THE THIRD GROUND PRONG FROM THE POWER CORD OR USE ADAPTER PLUG.
1. Complete the warranty registration online at www.globefoodequip.com/support/warranty-registration-form.
2. Pasta cooker outside covering/containment unit, water and baskets will be HOT during and after use. Use
caution when approaching the unit.
Electrical
The Pasta Cooker is a 208/240V boiler wired to use a 6-20R receptacle. This unit requires 14.2/15.8 amps to
produce between 2900/3800 watts and must be used on a dedicated circuit.
The installation of the pasta cooker must conform to the NATIONAL ELECTRIC CODE AND ALL LOCAL
ELECTRIC CODES AND ORDINANCES AND ALL LOCAL ELECTRICAL COMPANY RULES AND
REGULATIONS. APPROVED FIRE SAFETY AND HOOD SYSTEMS MUST BE INSTALLED ACCORDING TO
NFPA 96 STANDARDS.
Fig. 4-1 Correct Fig. 4-2 Incorrect

Page 5
Installation
ASSEMBLY AND INSTALLATION OF THE PASTA COOKER
1. Read this manual thoroughly before installation and operation. DO NOT proceed with installation and
operation if you have questions or do not understand everything in this manual. Contact your local
representative or Globe rst.
2. Remove the parts that make up the pasta cooker from the box. Once the unit has been removed from the
packaging, be certain that all protective plastic and residue is removed from all surfaces.
3. Inspect the unit to make sure all parts have been provided. (Pasta cooker body and attached cooking pan,
element/control head, cooking element, baskets, attached drain valve, and adjustable feet).
4. Select a location for placement of pasta cooker which has a level, solid, nonskid surface that is nonammable,
away from water hazards or sinks, and is in a well-lighted work area away from visitors.
5. Install the unit in a location with at least 6'' between the appliance and walls or other objects.
6. Proper connection and power supply are necessary for satisfactory performance. (Do not plug the unit in yet).
7. Make sure that the pasta cooker is installed in a well ventilated area. Make sure to put pasta cooker in an area
that is open and not underneath a cabinet or other overhang other than a vent hood.
Pasta cooker, water, and contents get EXTREMELY HOT. Make sure all ammable/
combustible materials are set away from this equipment.
Feet
Install four (4) feet by screwing each foot into the threaded openings on bottom corners of the unit. Failure to use
feet will void warranty and could cause unsafe conditions.
Leveling
Level unit by adjusting four (4) feet and tighten securely. Check on feet regularly to make sure they are tight. Also,
make sure the work surface of the bench/table that pasta cooker sits on is kept clean and is maintained to avoid
any accidents. Make sure the bench/table is sufcient to hold the weight of your unit. Pasta Cooker weight (empty)
= 9 lbs. and about 41.2 lbs. with water. (This weight can vary slightly depending on the water level, basket type and
food added.)
COMMISSIONING:
Commissioning of your new pasta cooker is of the utmost importance. Commissioning is the thorough and
methodical testing of the equipment, sub systems, and systems to make sure that the nal product functions
correctly and safely at the work site. By identifying any potential problems (i.e. equipment location, ventilation, local
re/electrical codes, installation, operator training and certication) prior to equipment being placed into service,
costly outages and potential damages can be avoided.
SAFETY ALWAYS.

Page 6
Installation
IMPORTANT:
Use only the baskets provided and the pot attached to the unit. DO NOT replace the baskets or attempt to replace
the pot with other containers.
The pasta cooker electrical head has two locating buttons that need to be aligned to operate.
Lower the element into pot by following the two simple steps (Fig. 6-1 and Fig. 6-2). Point A cradles and guides the
head to unit’s body.
Push buttons are located on the operator right-side to lock and unlock; lift and lower heating element for cooking
or cleaning. Point A is the cradle pin guide. Point B determines the position of the head in either the working (Drip)
position or cleaning position (Access Pot position) (Fig 6-3).
Put control head into supporting cradle brackets. Put Point A into element cradle pin guide, then gently push the
electrical head forward to lock Point B into rst position.
Use Point B to keep control head in the raised (Drip or Access Pot) position. To
lower element into pan and operating position, hold insulated element handle and
push and/or depress button.
These steps can be repeated in reverse for cleaning purposes.
NOTE: Point B has two level options: Fully raised 90° (Access Pot position) allows
pot to be accessed for cleaning; raised to 75° (Drip position) allows for cleaning and
draining water from element.
Make sure pasta cooker is “Off”. It is now ready to be lled with the appropriate
amount of water.
NOTE: In the “Off” position, the pot can be lled with the heating element up or
down. Once the pot is full with appropriate amount of water, carefully lower the
heating element into the pot if heating element is in up position. Make sure the
element is always submerged. Once the element is submerged, pasta cooker
can be plugged in and can be turned “On”. See Operating Instruction section in
manual to correctly start and operate pasta cooker.
IMPORTANT: Continually observe and maintain water level in boiling pan. Water
level will decrease with each boil.
FIG. 6-3
FIG. 6-1
FIG. 6-2

Page 7
Safeguards & Safety Instructions
When using electrical appliances, basic safety precautions should always be followed. Follow all safeguards and
safety instructions including, but not limited to, the following:
TO AVOID SERIOUS PERSONAL INJURY: Do not attempt to fry with this unit. This unit is not a fryer.
During and after operation pasta cooker reaches very high temperatures. The
water, water pot, and all surfaces will be EXTREMELY HOT. Take extreme
caution when operating. Let water and pasta cooker cool before handling water or
equipment.
• DO NOT operate electric pasta cooker before reading the instruction manual.
• DO NOT touch pasta cooker or water during or after cooking. All parts become EXTREMELY HOT.
• ALWAYS disconnect or unplug electrical power before cleaning, servicing or adjusting parts or attachments.
• NEVER bypass, alter, modify or attach unauthorized parts to equipment. Doing so can create hazards
and will void warranty.
• NEVER operate unit with a damaged power cord or plug.
• NEVER leave pasta cooker on overnight or for prolonged periods of non-use.
• NEVER use pasta cooker as a heating source for your kitchen, space, or room.
• ALWAYS keep hands, hair and clothing away from heating elements.
• NEVER handle unit, pan and water during and directly after use. ALWAYS allow unit and water to cool
completely before handling equipment.
• DO NOT overload pasta cooker with water or food product. Water will splatter causing serious injuries
and burns.
• DO NOT pull/yank on cord to disconnect. Turn off all controls, then gently remove plug
from wall outlet.
• Before handling and cleaning – Switch “Off” the power and disconnect from the main power.
Unit must be unplugged and cool to touch. Allow time for water to cool as well. Unit will be too
hot to handle immediately after use.
When using electrical appliances, basic safety precautions must always be
followed. DO NOT operate electric pasta cooker if unit appears damaged or
malfunctions in any manner. Call Globe Customer Service for assistance.
• Close supervision is necessary when pasta cooker is being used. Operator must be properly trained
on all operational and safety procedures, especially when using near others.
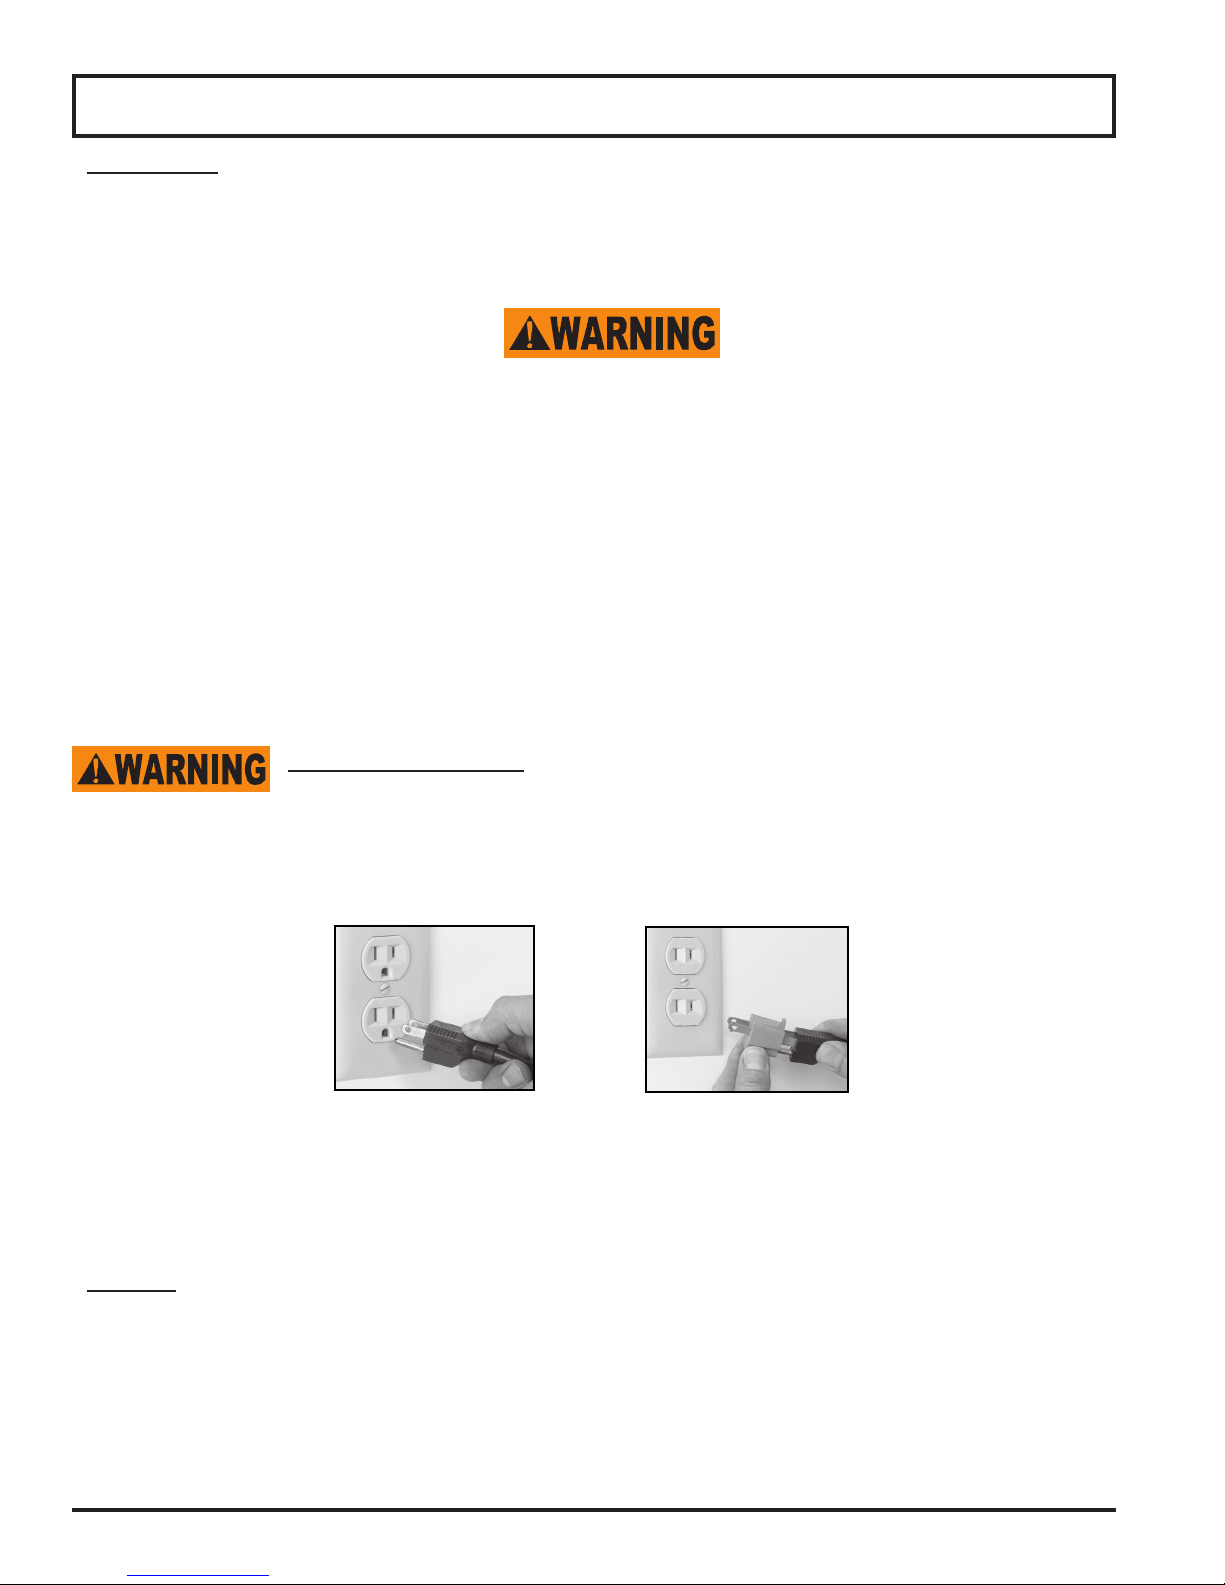
• To protect against electrical shock, do not immerse cord, plugs or appliance in water, liquid or dishmachine.
• Unplug unit when not in use and before cleaning. Allow unit and water to cool before moving or cleaning.
• Use of accessories or cooking pans that are not recommended by the manufacturer, can cause
re and/or injury.
• DO NOT use outdoors. For indoor use only.
• Do not allow power cord to hang over edge of table or counter, or to touch hot surfaces.
• Do not place pasta cooker in, on or near open ames, electric burners, heated ovens or other high
temperature equipment or surroundings.
• Do not use pasta cooker for anything other than boiling water for cooking. Use with provided basket(s) and
supervision.
• Do NOT pull/yank on cord to disconnect.
• Globe takes care to make sure that all products are safe. Steel cutting procedures used to manufacture
these items result in sharp edges. Take care when in contact with pasta cooker.
• Continually observe and maintain water level in boiling pan. Water level will decrease with each boil.
• ALWAYS BE PREPARED in case of a re, make sure to have the correctly rated re extinguisher nearby.
• DO NOT immerse pasta cooker in water, as this will cause permanent damage to unit.
The pasta cooker does not contain any user-serviceable parts. Globe dealers or recommended qualied technicians
must carry out repairs. Do not remove components or service panels on this product.

Page 8
Operating Instructions
OPERATING PASTA COOKER
Always make sure all parts are cleaned thoroughly before use. Detergent can be used to break down cooking
residue and make sure adequate cleaning. For cleaning instructions, refer to Cleaning Instructions section of this
manual.
NOTE: Always preheat and bring water to a boil before adding food product.
Once pasta cooker has been correctly positioned in the work space, it is ready for use.
1. Make sure that unit is “Off”. The temperature dial must be positioned “Off” and power rocker switch must
be in “Off” position ( o = Off and |= On).
2. Plug unit in. Unit now how has electric current owing to it.
3. Check to make sure drain tap on front of unit is in the closed and locked position. (The handle must be
turned, locked and hanging to the left of drain.)
4. Fill pot with water until it reaches level indicator line. Make sure to ll water above “Min” line, but not above
“Max” line. (Approximately 2.1 gallons/8 liters.)
• Do not operate this unit without water.
• Use only water (no oil, shortening, etc) in this unit.
• Do NOT raise the heating element while the unit is in use.
5. Turn power switch to “ON” position ( | ). The timer display will illuminate, unit will beep
and switch will illuminate indicating there is power.
6. Turn/adjust thermostat dial “ON” by setting it to the desired temperature. The heat indicator light,
located in the upper right of the control head, will illuminate indicating that unit is heating.
7. Allow the water to reach the set temperature. Whenever the water is being heated, heat indicator light
will be illuminated. When the water has reached the required temperature, the red light will switch off.
As the water temperature uctuates, the thermostat will operate to maintain the set temperature.
Note: Temperature for cooking pasta and other particular food types will vary. Cook according to individual
requirements.
8. Once the water has reached the desired temperature, add pasta/food product and basket(s) to the water.
• Be cautious of boiling water. Boiling water will scald skin and cause severe burns.
• DO NOT overload the pasta cooker with water or food product. Water will
splatter causing serious injuries and burns.
• Use caution when adding pasta into the baskets. The water is extremely hot!
• Always use extreme caution when lowering, lifting, and draining baskets.
• Do NOT attempt to remove inner pot. Water can be released through the
drain valve only after the water and the unit have cooled completely.
TIMER OPERATION:
Digital timer has four programmable times to make sure products are cooked consistently. Each program time is
adjustable from 1 second to 15 minutes.
Introduction of buttons.
1. START/STOP - Start and stop time/countdown
2. 1, 2, 3 & 4 - Program buttons, for time setup selection
3. s adjust time upward
4. tadjust time downward

Page 9
Operating Instructions
TIMER FUNCTION MODE
START/STOP:
Once a timer button has been selected, push the Start/Stop button. Start begins the timer count down.
To stop or pause timer, press Start/Stop button a second time. Display will blink once every second.
To continue timer, press Start/Stop button again to release it from paused/stopped function. The timer will begin to
count down the selected programed time to 0. Once timer has timed out, display will blink 00:00 and unit will beep ve
times.
To stop timer blinking 00:00, repeat the last selected time by pressing Start/Stop button one time OR select 1, 2, 3 or
4 to select a new preset time.
Select Start/Stop to begin timer again.
Program time setup buttons:
1. Select one of the program buttons, 1, 2, 3, or 4, once.
2. Display will show the Factory default value.
MENU 1 2 3 4
Factory default 00: 30 01: 00 01: 30 02: 00
Adjustable time 0: 01-15: 00 0: 01-15: 00 0: 01-15: 00 0: 01-15: 00
3. Select a preset and then press START/STOP button to begin timing the boil to selected time/preset .
Note: Once a program button has been selected and it begins countdown, all other buttons are inoperable except
Start/Stop button. Select Start/Stop button to pause/stop timer as needed.
If time needs to be added or a new time selected, press Start/Stop button to stop or pause timer, then press 1, 2, 3, or
4, to reset your time. Next, press Start/Stop button to continue cooking time.
RESET 1, 2, 3, OR 4 PRESET TIME:
To reset/adjust a preset time up or downward:
1. Make sure pasta cooker is on. If needed, use Start/Stop button to stop all functions.
2. Press one of the program buttons (1, 2, 3, or 4) one time.
3. Display will show preset time.
4. Press desired program button a second time. Display will begin to blink
5. Press sor t arrow button to the desired time. (Time accumulates by 5 seconds each time the sor t
button is pressed).
6. After 3 seconds of inactivity, timer will be set with the entered time.
Once time has expired or proper cooking time has elapsed, carefully lift baskets out of water and hold them over pot
to drain water from pasta before serving.
Note: If unit stops working or display is blank (not showing anything) press any button to display 00:00.
IMPORTANT: Continually monitor and maintain water level in boiling pan. Water level will decrease with each boil.
Note: In higher elevations above sea level, evaporation occurs more quickly.

Page 10
WARNING: Addition to warnings listed below, refer to all Safeguards and Safety Instructions section of this manual.
• ALWAYS unplug pasta cooker and allow water to cool before cleaning.
• DO NOT use cleaning uids that can be harmful to you, others around you, or to the environment.
• DO NOT hose down, immerse or pressure wash any part of electric pasta cooker.
• NEVER use a scrubber pad, steel wool or abrasive material to clean pasta cooker.
ALWAYS DISCONNECT OR UNPLUG ELECTRICAL POWER FROM PASTA COOKER BEFORE
CLEANING.
RECOMMENDED CLEANING
Cleaning & Maintenance
Pasta cooker was designed for easy disassembly and cleaning. Pasta cooker must be cleaned after each day’s
operation; however, it can require cleaning more often depending on the volume of production. A clean boiler
performs better and more safely, produces higher quality product and reduces maintenance costs. When cleaning,
always consider safety rst. Make sure all power is off and unit has been disconnected from power source.
Allow pasta cooker and water to completely cool before cleaning.
1. Turn thermostat to “OFF” position, switch pasta cooker to “OFF” position and disconnect
from power source.
2. Allow water to cool to a safe handling temperature.
3. Remove baskets and clean them, using standard dish-washing detergent. Be sure to rinse basket(s) thoroughly.
4. Using the handle on the element assembly, raise the heating element to the rst stop position.
5. With a bucket placed securely under the drain trap, lift and rotate the valve handle couterclockwise, allowing
the drain to open and the water to ow freely from the pot into the bucket.
6. Once the water has been completely drained from the unit, raise the heating element to the second raised stop
positon, fully raising the element and electric control head. Be sure that the latch has properly engaged.
7. Thoroughly clean and rinse the pot. Wipe/clean the pasta cooker body.
8. For detail cleaning, the electrical control head can be entirely removed from the boiler body.
9. During cleaning take care to avoid damage to the element or the switch on the electrical
control head.
NOTE: The baskets are dish machine washable or they can be submerged in water for cleaning. Make sure
baskets are dried fully before reassembling. The Pasta Cooker pan that holds the water is not designed to
disassemble from the pasta cooker body.
- Regularly check the power cord for damage.
- For assistance with disassembly or reassembly of the pasta cooker during and after cleaning, refer to the
Installation section of this manual.
NEVER submerge or run water over the unit.
An Authorized Servicer must perform servicing.
Cleaning Instructions

Page 11
Troubleshooting
ISSUE CAUSE SOLUTION
Pasta cooker not working Power supply Check power source
Power switch has not been turned
on
Check that the pasta cooker is
correctly plugged in and turned
on
Plug/cord damaged Call for service
Internal wiring fault Call for service
Food debris stuck on or between
heating element
Power off boiler, let the pasta
cooker cool and then clean on or
around elements removing food
debris
Thermostat dial has not been set Set the thermostat dial to the
desired temperature setting
Thermal cut off has activated Power off pasta cooker, let
unit cool. Clean on and around
elements, removing food debris.
Unscrew small, black cap on the
back of the control head exposing
the reset button. Press button to
reset. Re-cap the reset button
and start the unit normally
Call for service if problem
continues or if the pasta cooker
will not reset
Water is not heating up and
indicator light is ON
Thermostat or heating element
has failed
Call for service
Indicator light is Off but pasta
cooker is operating normally
Faulty indicator light Call for service
If problem persists and the assigned solution does not remedy the issue, please call Globe’s Service
Department at: 866-260-0522.

Page 12
Limited Warranty
Globe Food Equipment Company (“GFE”) warrants to the original purchaser of new equipment that said equipment,
when installed in accordance with our instructions within North America and subjected to normal use, is free from
defects in material or workmanship for a period of one (1) year. The labor warranty is one (1) year from original
installation or 18 months from actual factory shipment date, whichever date occurs rst. Unit must be sent prepaid
to GFE for repair. No mileage or travel time is paid.
THIS WARRANTY IS IN LIEU OF ALL OTHER WARRANTIES, WHETHER EXPRESSED OR IMPLIED. GFE
EXPRESSLY DISCLAIMS ANY IMPLIED WARRANTY OF MERCHANTABILITY OR EXPRESSED OR IMPLIED
WARRANTY OF FITNESS FOR A PARTICULAR PURPOSE.
GFE’S OBLIGATION AND LIABILITY UNDER THIS WARRANTY IS EXPRESSLY LIMITED TO REPAIRING
EQUIPMENT WHICH PROVES TO BE DEFECTIVE IN MATERIAL OR WORKMANSHIP WITHIN THEAPPLICABLE
WARRANTY PERIOD. All repairs pursuant to this Warranty will be performed by GFE Service during normal working
hours. IN NO EVENT SHALL GFE BE LIABLE FOR INCIDENTAL OR CONSEQUENTIAL DAMAGES TO BUYER
OR ANY THIRD PARTY, INCLUDING, WITHOUT LIMITATION, LOSS OF PROPERTY, PERSONAL INJURY, LOSS
OF BUSINESS OR PROFITS OR OTHER ECONOMIC LOSSES, OR STATUTORY OR EXEMPLARY DAMAGES,
WHETHER IN NEGLIGENCE, WARRANTY, STRICT LIABILITY, OR OTHERWISE.
This warranty is given only to the rst purchaser from a retail dealer. No warranty is given to subsequent transferees.
This warranty does not cover product failures caused by: failure to maintain, neglect, abuse, damage due to excess
water, re, normal wear, improper set up and use. Periodic maintenance is not covered.
This warranty is not in force until such time as a properly completed, digitally signed and Installation/Warranty
Registration has been received by GFE within 30 days from the date of installation. Complete the online warranty
registration at: www.globesfoodequip.com/support/warranty-registration.form.
Proof of purchase is required if extended more than one (1) year from date of shipment from the factory
THE FOREGOING WARRANTY PROVISIONS ARE A COMPLETE AND EXCLUSIVE STATEMENT BETWEEN
THE BUYER AND SELLER. GFE NEITHER ASSUMES NOR AUTHORIZES ANY PERSONS TO ASSUME FOR
IT ANY OTHER OBLIGATION OR LIABILITY IN CONNECTION WITH SAID EQUIPMENT.
Example of items not covered under warranty, but not limited to just these items:
1. Acts of God, re, water damage, burglary, accident, theft.
2. Freight damage.
3. Improper installation or alteration of equipment.
4. Use of generic or after market parts.
5. Repairs made by anyone other than a GFE designated servicer.
6. Lubrication.
7. Expendable wear parts, adjustable feet, blown fuses, lamps, etc.
8. Cleaning of equipment.
9. Misuse or abuse.
WARRANTY REGISTRATION
SCAN THE QR CODE WITH YOUR MOBILE DEVICE OR GO TO
WWW.GLOBESFOODEQUIP.COM
TO FILL OUT AND SUBMIT YOUR WARRANTY REGISTRATION.
www.globefoodequip.com/support/warranty-registration.form
Table of contents
Other Globe Kitchen Appliance manuals

Globe
Globe S13 User manual

Globe
Globe ARBY'S 4913N Specifications

Globe
Globe 3600P User manual

Globe
Globe GPG10 User manual

Globe
Globe Protech 4500 Specifications

Globe
Globe 4600N User manual

Globe
Globe PP4 User manual

Globe
Globe G10 User manual

Globe
Globe Chefmate C9 User manual

Globe
Globe 3600N User manual

Globe
Globe 3600N User manual

Globe
Globe GSO12 User manual

Globe
Globe 4600P Instruction Manual

Globe
Globe S13A User manual

Globe
Globe GL12 Specifications

Globe
Globe 3500 Specifications

Globe
Globe 4600P User manual

Globe
Globe SG13A User manual

Globe
Globe 3600, 3850, 3975 Assembly instructions

Globe
Globe 4913 User manual