Page 10
Cleaning & Sanitizing
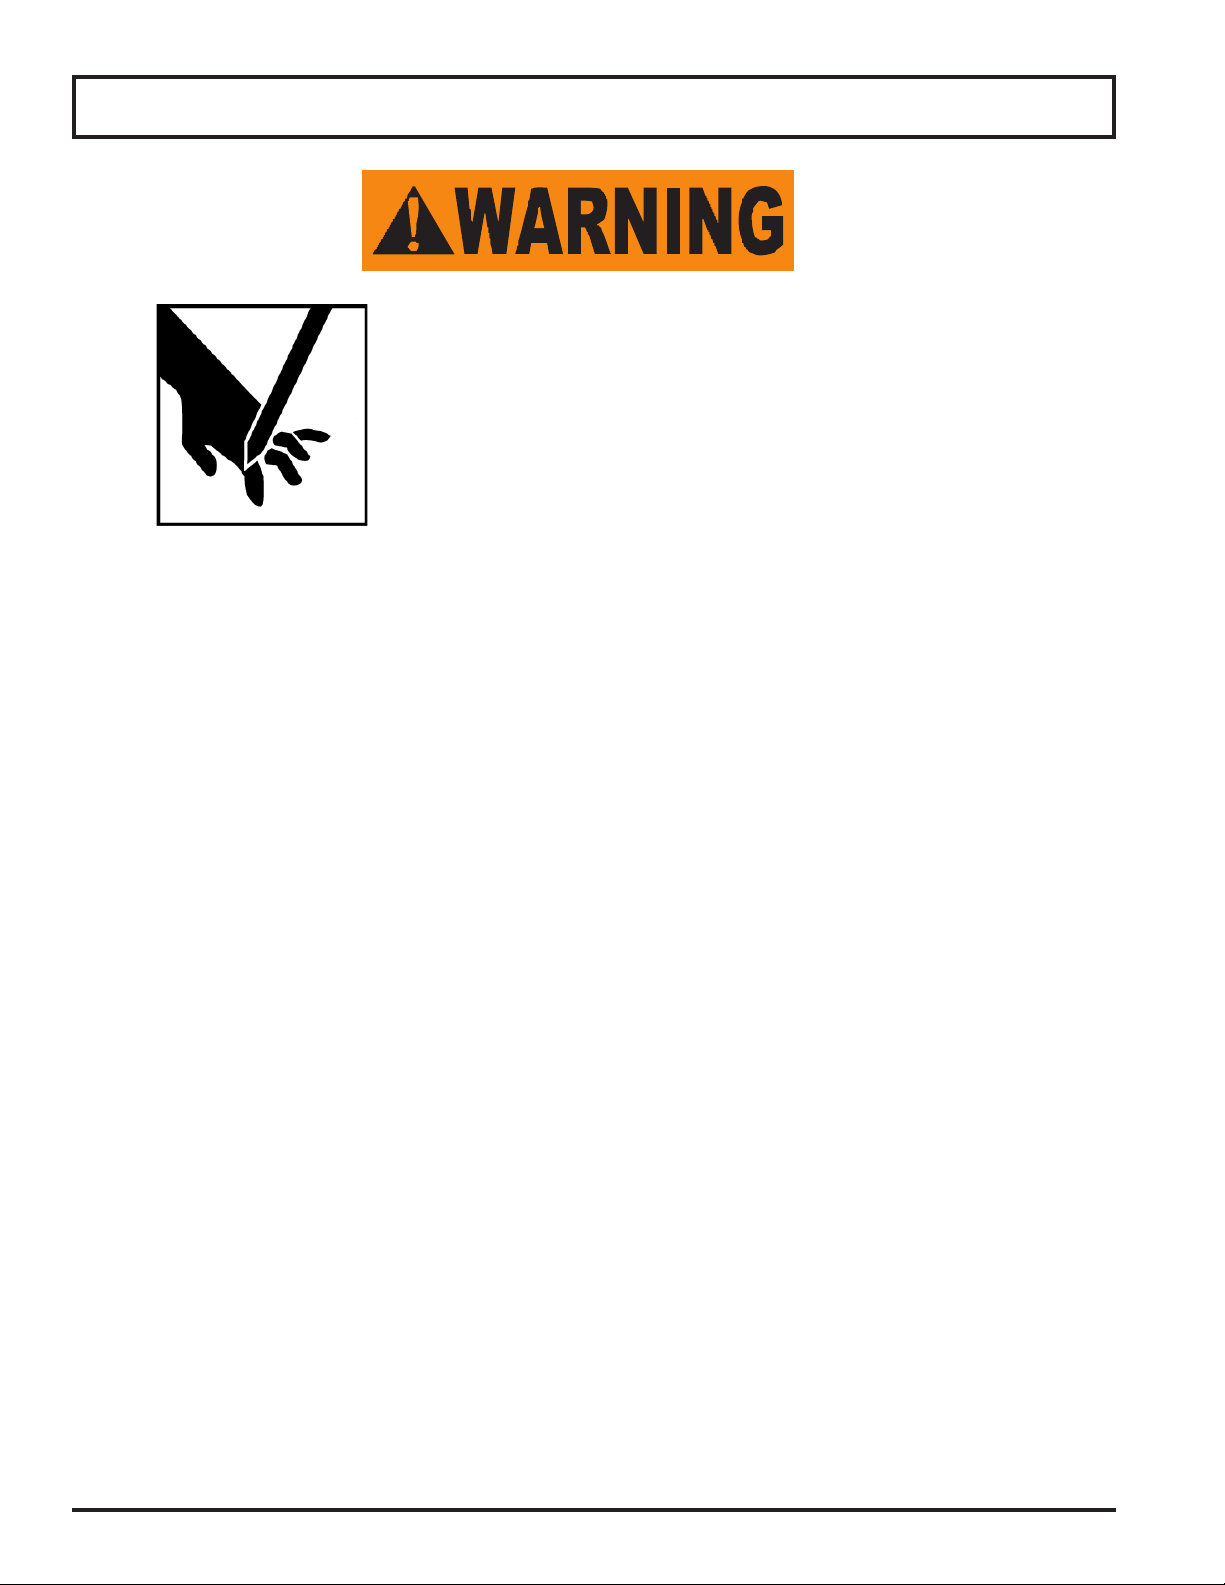
SHARP KNIFE BLADE
TO AVOID SERIOUS PERSONAL INJURY TO THE SLICER OPERATOR AND CUSTOMERS:
• NEVER touch slicer before reading and completely understanding everything in this instruction manual.
You must be at least 18 years old and have had proper training and authorization from your supervisor.
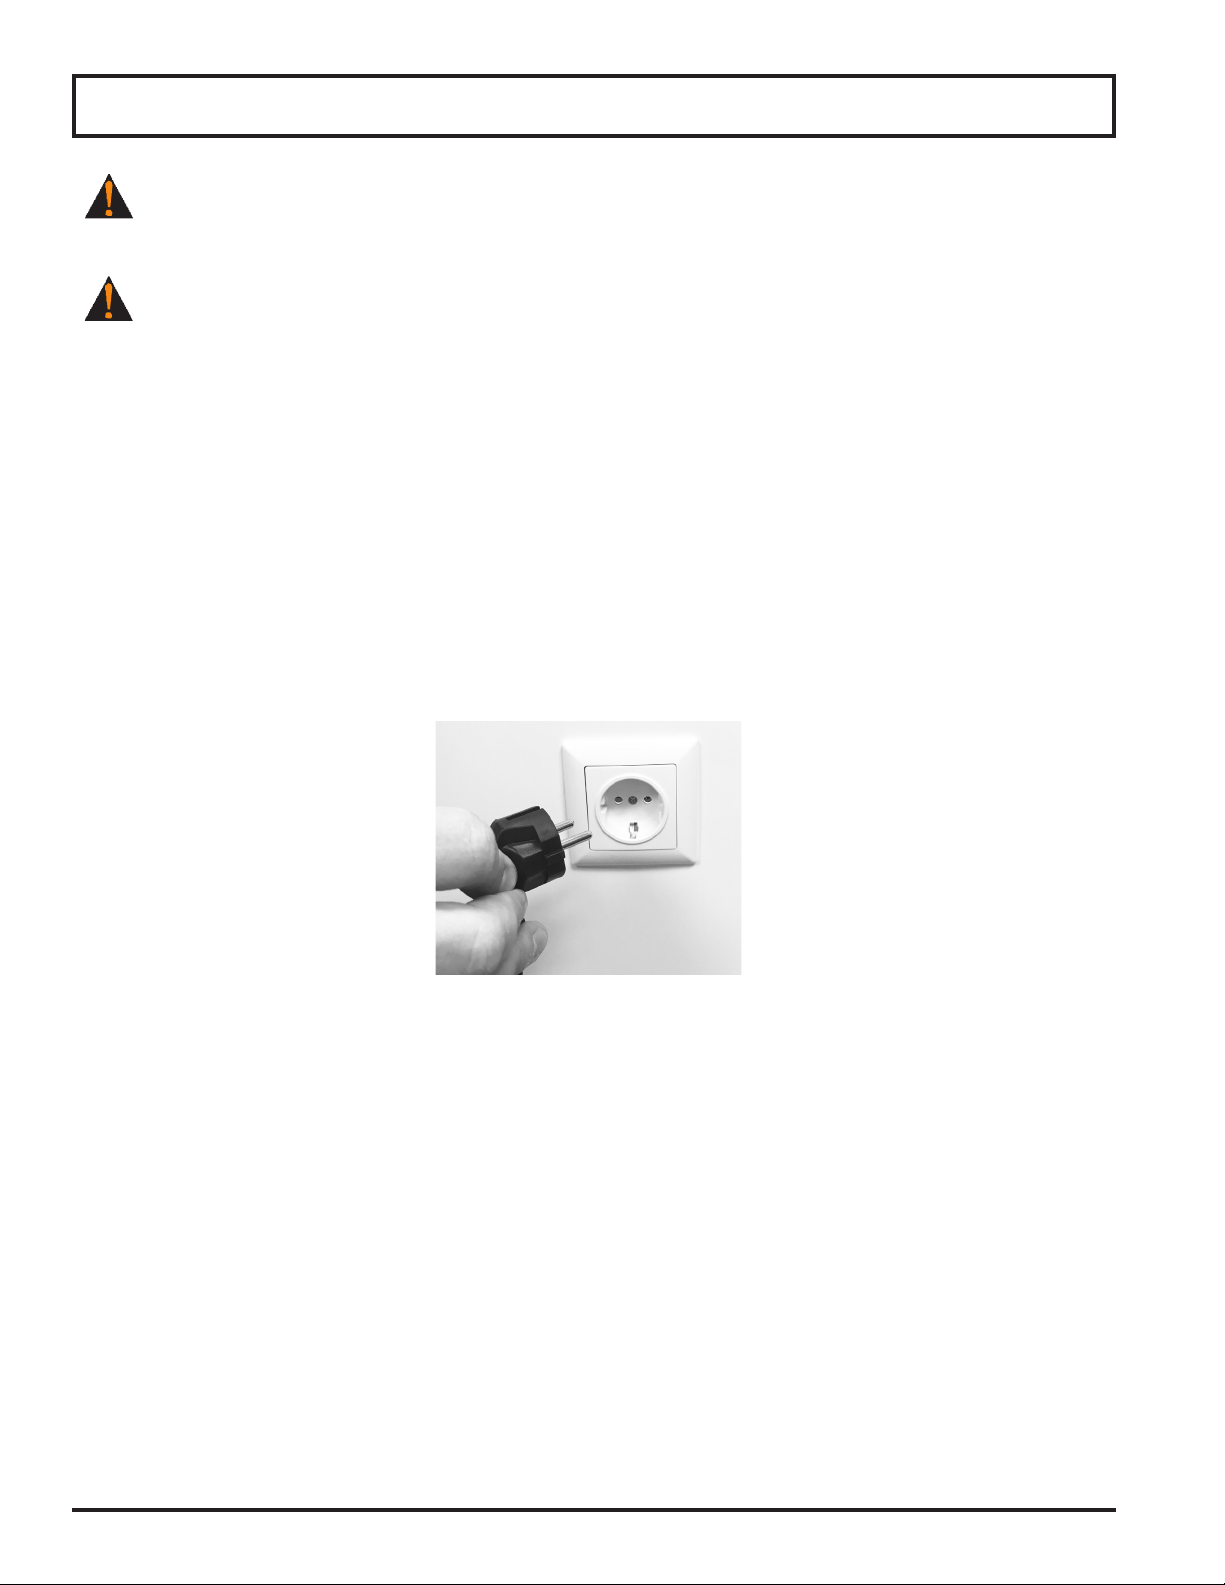
• BEFORE CLEANING, SERVICING OR REMOVING ANY PARTS always turn knife motor OFF, turn slice
thickness dial clockwise until it stops and unplug power cord.
• NEVER attempt to clean slicer with knife running.
• NEVER attempt to remove knife or knife ring guard from slicer. They must remain on slicer for proper
operation, sharpening and cleaning.
To prevent illness or death caused by the spread of food-borne pathogens, it is important to
properly clean and sanitize the entire slicer as any surface of the slicer can become contaminated.
It is the responsibility of the slicer owner/operator to follow all guidelines, instructions and laws
as established by your local and state health departments and the manufacturers of chemical
sanitizers.
Once your slicer makes contact with food product, the entire slicer, including removable parts, must
be thoroughly cleaned and sanitized. This process is to be repeated at least every 4 hours using the
Cleaning and Sanitizing procedures and information that follows; and must comply with additional
laws from your state and local health departments.
As with all food contact surfaces, it is extremely important to properly sanitize the entire slicer and to closely
follow the instructions on your quaternary sanitizer container to make sure proper sanitation is
achieved to kill potentially harmful bacteria.
Note: It may be desirable to wear cut proof safety gloves during the cleaning operation.
IMPORTANT: If a chemical sanitizer other than chlorine, iodine or quaternary ammonium is used, it must be
applied in accordance with the EPA-registered label use instructions. Excessive amounts of sanitizer and use
of products not formulated for stainless steel or aluminum may VOID your warranty.
Sanitizer concentration must comply with section 4-501.114, Manual and Mechanical Warewashing Equipment,
Chemical Sanitization - Temperature, pH, Concentration, and Hardness of the FDA Food Code.
For more information on proper kitchen and equipment sanitation, visit www.servsafe.com provided by the
National Restaurant Association (NRA).
• DO NOT hose down, pressure wash or pour water on slicer.
• NEVER use a scrubber pad, steel wool or abrasive material to clean slicer.
• ALWAYS turn slicer OFF and unplug power cord BEFORE cleaning.
• It is extremely important to follow the instructions on the sanitizer container to make sure proper
sanitation is achieved. Allow the parts to air dry before placing them back on slicer!
DO NOT use bleach, products containing sodium hypochlorite or other caustic/strong detergents on slicer base or
removable parts. These products will discolor and destroy the parts.
Slicer components are easily disassembled without the use of special tools. It may be desirable to wear cut proof
safety gloves during the cleaning operation.