Page 11
AUTOMATIC SLICER OPERATION
1. Make sure the slicer is turned off (power indicator light not illuminated). Make sure auto engage lever is in
“Manual” position and the food chute moves freely.
2. Pull the food chute completely towards you and place the food product onto the food chute. Slice only
boneless, unfrozen product with the slicer. Swing the end weight into position to secure food product.
3. If the food product is too long, place the end weight on top of the food product and use the end weight prongs
to hold the food product in place.
4. Rotate the slice thickness dial counterclockwise to the desired setting. If you happen to go past the desired
setting you must first rotate the slice thickness dial clockwise past zero “0” and then rotate the dial back to the
desired slice thickness setting. After slicing is complete, always turn the slice thickness dial clockwise past
zero “0” until it stops to close the slicer table.
5. Press the start button. The power indicator light will illuminate.
NOTE: If the slicer does not start and there is a flashing 1, the auto engage lever is not in the “Manual”
position. Lower the lever to the manual position and restart the slicer.
NOTE: If the slicer does not start and there is a flashing 4, the food chute is not in the home position.
Pull the food chute completely towards you and restart the slicer.
BE ALERT. The next step will cause the food chute to move automatically and it can move either
direction on start up.
NEVER attempt to adjust, load or unload food chute when slicer is in automatic operation.
NEVER put hand into the chute arm opening on the right side of the slicer.
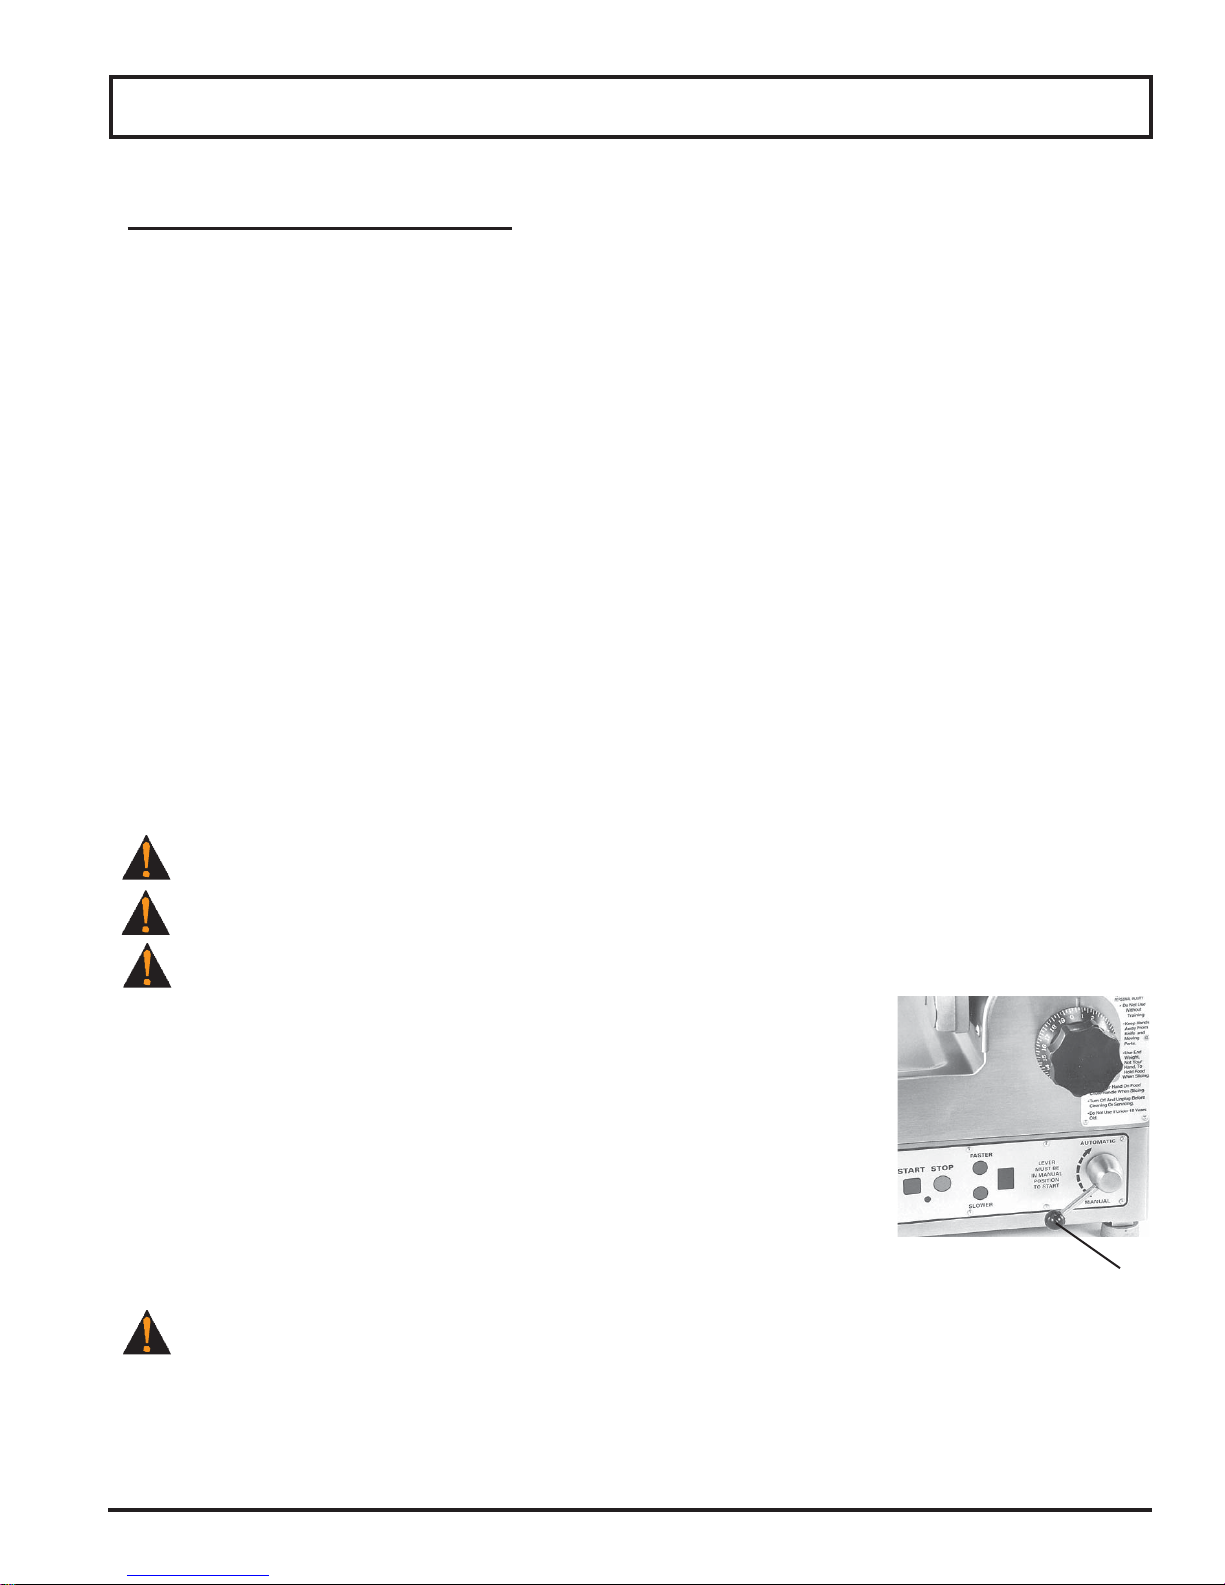
6. To make the food chute move automatically, pull up or raise the auto
engage lever into the “Automatic” position (Fig. 11-1).
7. To adjust the chute speed press the slower or faster buttons. The slicer defaults
to speed 5 when the power cord is unplugged and plugged back in. If the slicer
is turned off but not unplugged, it will return to the last speed used.
NOTE: Chute speed can be adjusted prior to or after auto engagement.
8. To stop the automatic movement of the food chute, push down or lower the
auto engage lever to the “Manual” position.
The knife is still rotating even though the chute has stopped.
9. To turn the slicer completely off and stop the knife, press the stop button. If the auto engage lever has not
already been returned to the “Manual” position, push down or lower the lever to the “Manual” position.
Operating Instructions
Figure 11-1
Auto Engage Lever