Globo PA001.BI User manual

ISTRUZIONI DI MONTAGGIO / ASSEMBLY INSTRUCTIONS
INSTRUCTIONS DE MANTAGE / INSTRUCCIONES PARA EL
MONTAJE / MONTAGEANLEITUNG
VASI DISTANZIATI DA PARETE / WALL SPACED PANS
WC LOIN DU MUR / WC SEPARADO DE LA PARED
NICHT WANDBÜNDIGES WC
A
B
A
B
Scarico parete
“P” trap
Scarico pavimento
“S” trap
D
Scarico pavimento
“S” trap
Scarico pavimento
“S” trap
C
Scarico parete
“P” Trap
Tubo di scarico
Draining connection
1_Predisporre gli scarichi secondo le quote
riportate sulle schede tecniche e bloccare i
due fissaggi al pavimento secondo le misure
riportate nell’illustrazione.
Prepare the draining systems and the hydraulic
connections according to the technical sche-
mes and then block the two xings on the oor
in accordance with the measures in the picture.
codice
code
quote fissaggi e raccordi
xing and connection measures
A B C D
PA001.BI 245 190 - - - 140
PA002.BI 290 200 100 140
GR001.BI 265 115 - - - 100
GR007.BI 270 115 - - - 100
GR002.BI 265 115 90 100
A5001.BI 355 165 - - - 140
A5002.BI 355 165 140 140
DS026.BI 305
445 215 330 250
DA004.BI 240 145 100
A5N01.BI 330 140 - - - 140
A
B
A
B
Scarico parete
“P” trap
Scarico pavimento
“S” trap
D
Scarico pavimento
“S” trap
Scarico pavimento
“S” trap
C
Scarico parete
“P” Trap
Tubo di scarico
Draining connection
2_Predisporre il raccordo per lo scarico del-
la cassetta secondo la misura nel particolare
ingrandito. Nel caso di installazione con sca-
rico a parete posizionare il raccordo di sca-
rico sulla parete secondo la misura riportata
nell’illustrazione. A questo punto posiziona-
re il pezzo sopra i due fissaggi tenendolo
distaccato da parete almeno 5 cm e farlo
scivolare fino alla parete facendo attenzio-
ne che i due raccordi si innestino perfetta-
mente (attenzione: per agevolare l’innesto
si consiglia di lubrificare entrambe le parti).
Prepare the connection for the cistern draining
according to the dimensions shown in the pic-
ture. In case of “P” trap installation you must
place the draining connection on the wc and
cut it according to the dimension shown in the
picture. Then place on the two xings the pie-
ce which must be kept detached almost 5 cm
from the wall, let it slide to the wall taking care
of the two connections which must perfectly
engage to each other (Attention: to make the
clutching easier we suggest to lubricate both
sides).
3_Bloccare il vaso con le apposite viti di fis-
saggio facenti parte del kit ed applicare so-
pra le due borchiette di copertura cromate.
Block the wc with the appropriate xing kit
and then apply the two cover chrome rings.
A
B
A
B
Scarico parete
“P” trap
Scarico pavimento
“S” trap
D
Scarico pavimento
“S” trap
Scarico pavimento
“S” trap
C
Scarico parete
“P” Trap
Tubo di scarico
Draining connection
A
B
A
B
Scarico parete
“P” trap
Scarico pavimento
“S” trap
D
Scarico pavimento
“S” trap
Scarico pavimento
“S” trap
C
Scarico parete
“P” Trap
Tubo di scarico
Draining connection
3

1_Prédisposer les évacuations en respectant les
dimensions indiquées dans les ches techniques.
Bloquer les deux xations au sol selon les dimen-
sions indiquées sur le dessin.
1_Preparar los desagües respetando las medidas
indicadas en las chas técnicas y bloquear las dos
jaciones al pavimento respetando las medidas
indicadas en la gura.
1_Bereiten Sie die Abüsse gemäß den auf den
Datenblättern angegebenen Abmessungen vor
und blockieren Sie die beiden Befestigungen auf
dem Boden gemäß den in der Zeichnung wieder-
gegebenen Maßen.
2_Prédisposer le raccord pour l’évacuation du
réservoir selon la dimension indiquée dans la -
gure. Dans le cas d’une installation avec sortie
murale, placer le raccord d’évacuation sur le mur
en suivant la dimension indiquée dans le dessin.
Maintenant, placer la pièce au-dessus des deux
xations en la détachant du mur d’au moins 5 cm
et la faire glisser jusqu’au mur en faisant attention
à ce que les deux raccords s’encastrent parfaite-
ment (attention : pour faciliter l’encastrement,
nous conseillons de lubrier les deux pièces).
2_Preparar el racor para el desagüe de la cisterna
según las medidas indicadas en la gura de detal-
le ampliada. En caso de instalación con desagüe a
pared, colocar el racor de desagüe a la pared respe-
tando las medidas indicadas en la gura. Colocar
ahora la pieza sobre las dos jaciones mantenién-
dola separada de la pared 5 cm aproximadamente
y hacerla deslizar hasta la pared teniendo cuidado
de que los dos racores se empalmen perfectamen-
te (atención: para facilitar el empalme, se aconseja
lubricar ambas partes).
2_Bereiten Sie den Anschluss für den Abuss des
Spülkastens gemäß den Abmessungen in der
vergrößerten Abbildung vor. Positionieren Sie bei
einer Installation mit Wandabuss den Abussan-
schluss gemäß den in der Zeichnung wiedergege-
benen Abmessungen an der Wand. Positionieren
Sie nun das Teil oberhalb der beiden Befestigun-
gen. Halten Sie dabei einen Mindestabstand von 5
cm von der Wand ein und schieben Sie es bis zur
Wand. Achten Sie dabei darauf, dass die Anschlüs-
se perfekt ineinander greifen (Achtung, um den
Anschluss zu erleichtern, wird empfohlen, beide
Teile zu schmieren).
3_Bloquer la cuvette à l’aide des vis de xation
prévues à cet eet et fournies dans le kit puis appli-
quer dessus les deux caches chromés.
3_Bloquear el inodoro usando los apropiados
tornillos de jación suministrados con el juego
y aplicar por encima las dos placas de cobertura
cromadas.
3_Blockieren Sie das WC mit den entsprechen-
den Befestigungsschrauben, die Teil des Sets sind
und bringen Sie dann die beiden Abdeckringe aus
Chrom an. .
ISTRUZIONI DI MONTAGGIO / ASSEMBLY INSTRUCTIONS
INSTRUCTIONS DE MANTAGE / INSTRUCCIONES PARA EL
MONTAJE / MONTAGEANLEITUNG
VASI DISTANZIATI DA PARETE / WALL SPACED PANS
WC LOIN DU MUR / WC SEPARADO DE LA PARED
NICHT WANDBÜNDIGES WC

ISTRUZIONI DI MONTAGGIO / ASSEMBLY INSTRUCTIONS
COPRIVASI IN TERMOINDURENTE
THERMO-SETTING SEAT-COVER
1_Inserire i due piantoni nei fori di
fissaggio sul sanitario allineando i due
bloccaggi “Orizon” alla vite filettata in modo
da poter passare all’interno del foro.
Insert the two posts into the holes on the toilet
aligning the two “Orizon” locks with the bolt so
that they pass through the hole.
4_Abbassare il coprivaso e
centrarlo sul sanitario.
Lower the seat and centre it on
the toilet.
5_Con il sedile ben fermo e centrato segnare con una matita la parte
posteriore delle due rondelle cromate in modo da avere un riferimento
per il bloccaggio definitivo.
Holding the seat rmly and keeping it well centred mark the rear part of the
two chrome-plated washers with a pencil as a reference for permanent xing.
2_Avvitare i piantoni tenendoli sollevati in modo che
il bloccaggio “Orizon” sia in battuta con la ceramica.
Stringere senza bloccare completamente, il piantone
si deve poter muovere sul piano del sanitario.
Screw in the posts, keeping them raised so that the “Ori-
zon” lock is flush with the toilet. Tighten without locking
completely as it is important for the post to be able to
move on the surface of the toilet.hole.
1 2
ISTRUZIONIPER L'INSTALLAZIONEDEL COPRIVASO ART. AL019 - SS019
H OW TO INSTALL TOILET SEAT ART. AL019 - SS019
KIT DI FISSAGGIO / ASSEMBLY KIT
Cerniera completa
Complete hinge
Charnière complète
n˚2 guarnizioni in gomma
n˚2 rubber washers
n˚ 2 joints en caoutchouc
n˚2 rondelle cromate
n˚2 chromed-plated washers
n˚ 2 rondelles chromes
n˚ 2 piantoni ancoraggio
n˚ 2 hinges posts
n˚ 2 goujons d' ancrage
n˚ 2 bloccaggi " Orizon"
n˚ 2 " Orizon" locks
n˚ 2 blocages " Orizon"
n˚ 2 dadi filettati
n˚ 2 bolts
n˚ 2 crous filets
A E
F
D
B
D
C
1_Inserire i due piantoni nei fori di
fissaggio sul sanitario allineando i
due bloccaggi "Orizon" alla vite
filettata in modo da poter passare
all'interno del foro.
Insert the two posts into the holes on
the toilet aligning the two "Orizon"
locks with the bolt so that they pass
through the hole.
Introduire les deux goujons dans les
trous de fixage sur l'appareil sanitaire
en alignant les d eux blocages
"orizon" à la vis filetée de façon à
pouvoir passer à l'intérieur du trou.
2_Avvitare manualmente i piantoni
tenendoli sollevati in modo che il
bloccaggio "Orizon" sia in battuta
con la ceramica e quindi bloccato.
Stringere senzabloccare
completamente, il piantone si deve
poter muovere sul piano del
sanitario.
Screw in the posts manually,
keeping them raised so that
the "Orizon" lock is flush with
the toilet and t herefore firmly
fixed. T ighten without locking
completely as it is important for
the post to be able to m ove
on the surface of the toilet.
Visser manuellement les goujons
en les tenant soulevés de façon que le blocage
"orizon" soit en b utée avec la céramique et d onc
bloqué. Serrer sans bloquer complètament, les goujons
doivent pouvoir bouger sur le plan del'appareil
sanitaire.
3_Innestare le due spine filettate sui
due piantoni e fori sedile
stringendoli con un cacciavite.
Connect the two threaded pins
to the pivots and to the seat
holes. T hen screw it by means
of a screwdriver.
Reliez les deux fiches filetées
aux deux pivots et aux
trous de l'abattant par un
tournevis.
4_Abbassare il coprivaso e centrarlo
sul sanitario.
Lower the seat and centre it on the toilet.
Baisserl'abbattant etle centrersur
l'appareil sanitaire
5_Con il sedile ben
fermo e centrato
segnare con una
matitalaparte
posteriore delle due
rondelle cromate in
modo da avere un
riferimento per il
bloccaggio
definitivo.
Holdingthe seat
firmly and keeping it
well centred mark the rear part of the two chrome-plated
washers with a pencil as a reference for permanent fixing.
Quand le siège est bien stable et centré marquer avec un
crayon la partie postérieure des deux rondelles chromées de
façon à avoir une référence définitive.
6_Sfilare il sedile e bloccare definitivamente i piantoni con un
cacciavite mantenendo la rondella cromata allineata al segno
tracciato precedentemente a matita.
Remove the seat and stop the pivots by the screwdriver keeping
the chrome ring into line with a sign previously traced.
Enlevez l'abattant et bloquez définitivement les pivots en
utilisant le tournevis et maintenat la rondelle chrome alignée
avec la marque au crayon que vous avez tracée précedemment.
7_Bloccare i due piantoni facendo in modo che i due fori
filettati siano in asse fra loro.
Stop the two pivots so that the two threaded holes may be
aligned.
Bloquez les deux pivots de facopn que les deux trous filetés
soient en axe.
8_ Innestare nuovamente le spine ai piantoni ormai bloccati
al sanitario e con l'aiuto di un cacciavite stringerle
completamente.
Connect again the pins to the pivots that have been
stopped to the pans and screw it completely by means of
a screwdriver.
Reliez à nouveau les deux fiches aux pivots desormais fixés au
sanitaire et serrez-les à fond par moyen d'un tournevis.
43
5
6
3_Innestare le cerniere già montate sul
coprivaso sui due piantoni installati sul
sanitario.
Fit the hinges ready-mounted on the seat onto
the two posts installed on the toilet.
6_Sfilare il sedile e bloccare definitivamente i piantoni con l’apposita chiave fornita nel kit mantenendo la rondella
cromata allineata al segno tracciato precedentemente a matita. Per un corretto bloccaggio dei 2 piantoni effettuare 2 giri
completi con la chiave.
Slip o the seat and x the posts permanently using the spanner provided in the kit and keeping the chrome-plated washer
aligned with the pencil marks. For a correct blocking of the 2 guards carry out 2 complete turns with the key.
7_Innestare nuovamente le cerniere ai piantoni ormai bloccati al sanitario, alzare il coprivaso e con l’aiuto dell’apposita
chiave stringere bene i due grani posti sulle cerniere. Qualora i 2 blocchi cerniera non entrino nei 2 piantoni bloccati sulla
ceramica, allentare questi ultimi ed eseguire nuovamente i passaggi da 2 a 7.
Fit the hinges onto the posts now rmly xed to the toilet, open the seat cover and tighten the two grub-screws rmly on the hinge
using the spanner provided. Should the 2 hinges blocks not enter the 2 guards blocked on the ceramic, loosen the latter and carry
out passages from 2 to 7 again.
7

INSTRUCTIONS DE MONTAGE / INSTRUCCIONES PARA EL
MONTAJE / MONTAGEANLEITUNG
ABATTANT THERMODUR / TAPAS INODORO DE THERMODUR
TOILETTENSITZABDECKUNG AUS THERMOUR
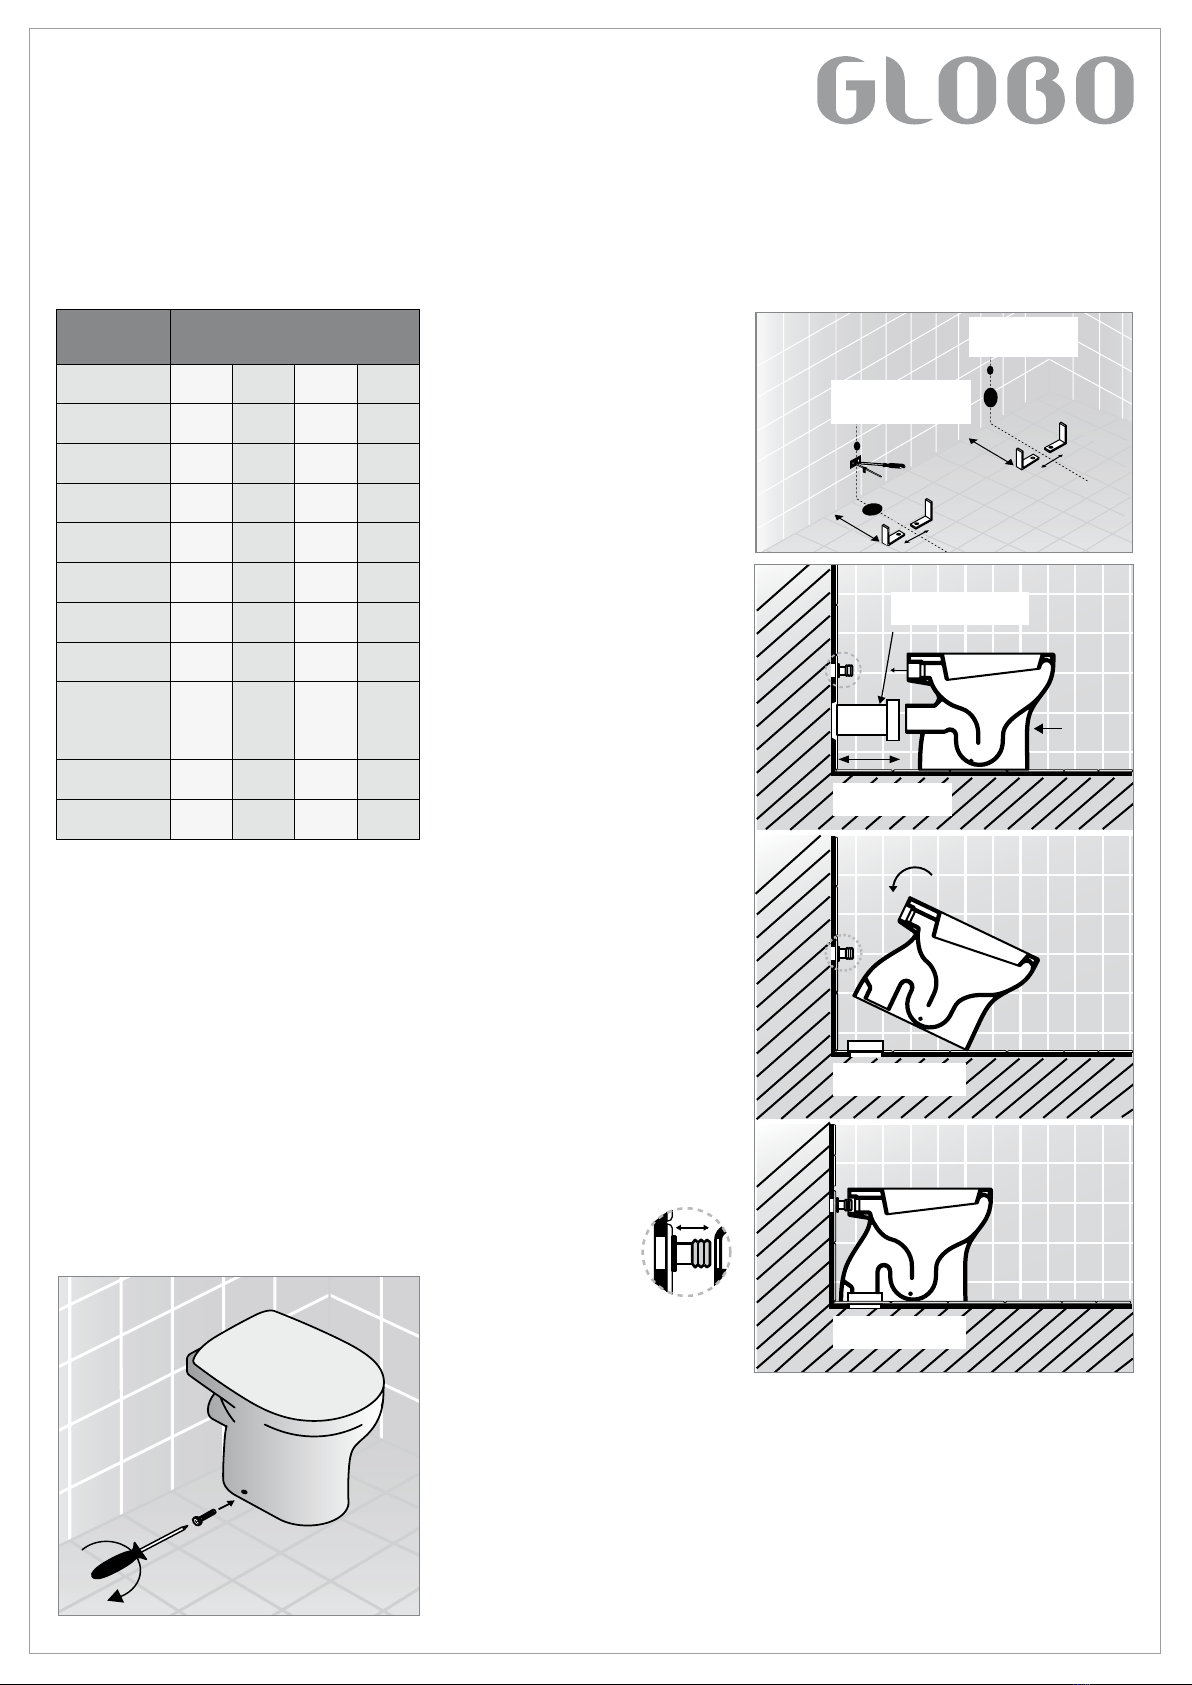
1_Insérer les deux vis dans les trous de xation sur
le sanitaire en alignant les deux dispositifs de
blocage“Orizon” à la vis letée an de pouvoir pas-
ser à l’intérieur du trou.
1_IIntroducir los dos vástagos en los oricios de
jación que están sobre el sanitario, alineando los
dos dispositivos de bloqueo “Orizon” al tornillo ro-
scado para poder atravesar el oricio.
1_Setzen Sie die beiden Halterungsbolzen in die
Befestigungsbohrungen auf der Sanitärkeramik
und richten die beiden Blockierungen “Orizon”
nach der Gewindeschraube aus, so dass sie das
Innere der Bohrung passieren.
5_Avec l’assise bien bloquée et centrée, marquer
à l’aide d’un crayon la partie arrière des deux ron-
delles chromées an d’avoir une référence pour le
blocage nal.
5_Con el asiento bien rme y centrado, marcar
con un lápiz la parte posterior de las dos arandelas
cromadas para tener una referencia durante las
operaciones de bloqueo denitivo.
5_Kennzeichnen Sie bei gut befestigtem und zen-
triertem Sitz mit einem Bleistift den hinteren Teil
der beiden Unterlegscheiben aus Chrom, um einen
Bezug für die endgültige Befestigung zu erhalten.
6_Enlever l’abattant et bloquer dénitivement les
vis à l’aide de la clé fournie dans le kit en mainte-
nant la rondelle chromée alignée avec la marque
tracée auparavant au crayon. Pour un blocage
correct des deux vis, eectuer deux tours complets
à l’aide de la clé.
6_Quitar el asiento y bloquear denitivamente los
vástagos con la llave apropiada que se ha sumi-
nistrado con el juego, manteniendo la arandela
cromada alineada a la marca dibujada preceden-
temente con el lápiz. Para un bloqueo correcto de
los dos vástagos, realizar 2 vueltas completas con
la llave.
6_Entfernen Sie den Sitz und blockieren endgül-
tig die Halterungsbolzen mit einem mit dem Set
gelieferten Schlüssel. Richten Sie dabei die Unter-
legscheibe aus Chrom nach der zuvor mit Bleistift
gemachten Markierung aus. Für eine richtige Blo-
ckierung der 2 Halterungsbolzen müssen Sie 2 voll-
ständige Drehungen mit dem Schlüssel ausführen.
7_Encastrer de nouveau les charnières sur les vis
qui sont désormais bloquées sur le sanitaire. Lever
l’abattant et, à l’aide de la clé prévue à cet eet,
bien serrer les deux goujons placés sur les char-
nières.
7_Enganchar de nuevo las bisagras a los vástagos
nalmente bloqueados al sanitario, levantar la
tapa del inodoro y, con la ayuda de una apropia-
da llave, apretar bien los dos tornillos prisioneros
situados sobre las bisagras. En caso de que las 2
bisagras no entren en los 2 vástagos bloqueados
sobre la cerámica, aojar estos últimos y volver a
realizar los pasos de 2 a 7.
7_Schieben Sie erneut die Scharniere auf die
nunmehr auf der Sanitärkeramik befestigten
Halterungsbolzen. Heben Sie die Toilettensitzab-
deckung an und ziehen Sie mit Hilfe des entspre-
chenden Schlüssels die beiden Stiftschrauben auf
den Scharnieren gut fest. Fall die 2 Scharnierblöcke
nicht in die 2 auf der Sanitärkeramik befestigten
Halterungsbolzen treten, lösen Sie letztere und
führen Sie erneut die Schritte 2 bis 7 aus.
2_Visser les vis en les soulevant an que le dispositif
de blocage “Orizon” touche la céramique. Serrer
sans bloquer complètement, la vis doit pouvoir se
déplacer sur le plan du sanitaire.
2_Atornillar los dos vástagos manteniéndolos le-
vantados de manera que el dispositivo de bloqueo
“Orizon” esté en contacto con la cerámica. Apretar
sin bloquear completamente; el vástago tiene que
poderse mover sobre el plano del sanitario.
2_Verschrauben Sie die Halterungsbolzen. Halten
Sie sie dabei angehoben, so dass die Blockierung
“Orizon” am Anschlag mit der Sanitärkeramik ist.
Ziehen Sie die Halterungsbolzen fest, ohne sie voll-
ständig zu blockieren. Man muss sie noch auf der
Sanitärkeramik bewegen können.
3_Encastrer les deux ches letées sur les deux vis
et les trous de l’abattant en les serrant à l’aide d’un
tournevis.
3_Enganchar las bisagras ya montadas sobre la
tapa del inodoro, a los dos vástagos que están in-
stalados en el sanitario.
3_Schieben Sie die gelösten, bereits auf der Toilet-
tensitzabdeckung montierten Scharnieren auf die
beiden Halterungsbolzen, die auf der Sanitärkera-
mik installiert sind.
4_Abaisser l’abattant et le centrer sur le sanitaire. 4_Bajar la tapa del inodoro y centrarla sobre el
sanitario.
4_Senken Sie die Toilettensitzabdeckung ab und
zentrieren Sie sie auf der Sanitärkeramik.
This manual suits for next models
9
Other Globo Toilet manuals
Popular Toilet manuals by other brands

Toto
Toto C971 Series installation manual

Kohler
Kohler K-4917 Homeowner's guide

Kohler
Kohler K-19796 installation guide

Franke
Franke CAMPUS CMPX592 Installation and operating instructions

Silverdale
Silverdale Victorian High Level Toilet installation instructions

Mirabelle
Mirabelle BRADENTON MIRBD241 installation instructions