EN
EN - 3
Warning: This digital video disc player employs a laser system.
Use of controls, adjustments, or the performance of procedures other than those specied
herein may result in hazardous radiation Exposure.
Warning: To prevent direct exposure to laser beam,do not open the enclosure.
Visible laser radiation when open.
Warning: Never stare directly into the laser beam.
Caution: Do not install this product in a conned space such as a book case or similar
unit.
Warning: when the unit using by child, parents must make sure to let the child understand all
contents in Instruction book how battery using to guarantee using battery correctly all the
time.
Warning: when nd battery overheat, swell or dour, please stop using battery and contact
service centre for getting replacement.
Warning: do not charging battery on the place of insufcient ventilation such as: mattress,
sofa, cushion, soft mat...
Warning: we will not take any responsibility if user incorrectly use battery, not following our
warning instruction label on the battery case.
Warning: more than 250 mm USB extension cord is prohibited to use for USB port.
WARNING:
Do not ingest the battery, Chemical Burn Hazard (The remote control supplied with).
This product contains a coin/button cell battery. If the coin/button cell battery is swallowed, it can
cause severe internal burns in just 2 hours and can lead to death. Keep new and used batteries
away from children. If the battery compartment does not close securely, stop using the product
and keep it away from children. If you think batteries might have been swallowed or placed
inside any part of the body, seek immediate medical attention.
NOTES ON COPYRIGHTS:
• It is forbidden by law to copy, broadcast, show,broadcast via cable, play in public, or rent
copyrighted material without permission.
• This product features the copy protection function developed by Macrovision.Copy
protection signals are recorded on some discs. When recording and playing the pictures
of these discs picture noise will appear.This product incorporates copyright protection
technology that is protected by method claims of certain U.S. Patents and other intellectual
property rights owned by Macrovision Corporation and other rights owners.Use of this
copyright protection technology must be authorized by Macrovision Corporation,
and is intended for home and other limited viewing uses only unless otherwise authorized
by macrovision Corporation. Reverse engineering or disassembly is prohibited.
• SERIAL NUMBER:
You can nd the serial number on the back of the unit.
This number is unique to this unit and not available to others.
You should record requested information here and retain this guide
as a permanent record of your purchase.
Model No. ____________________
Serial No. ____________________
Date of Purchase_______________
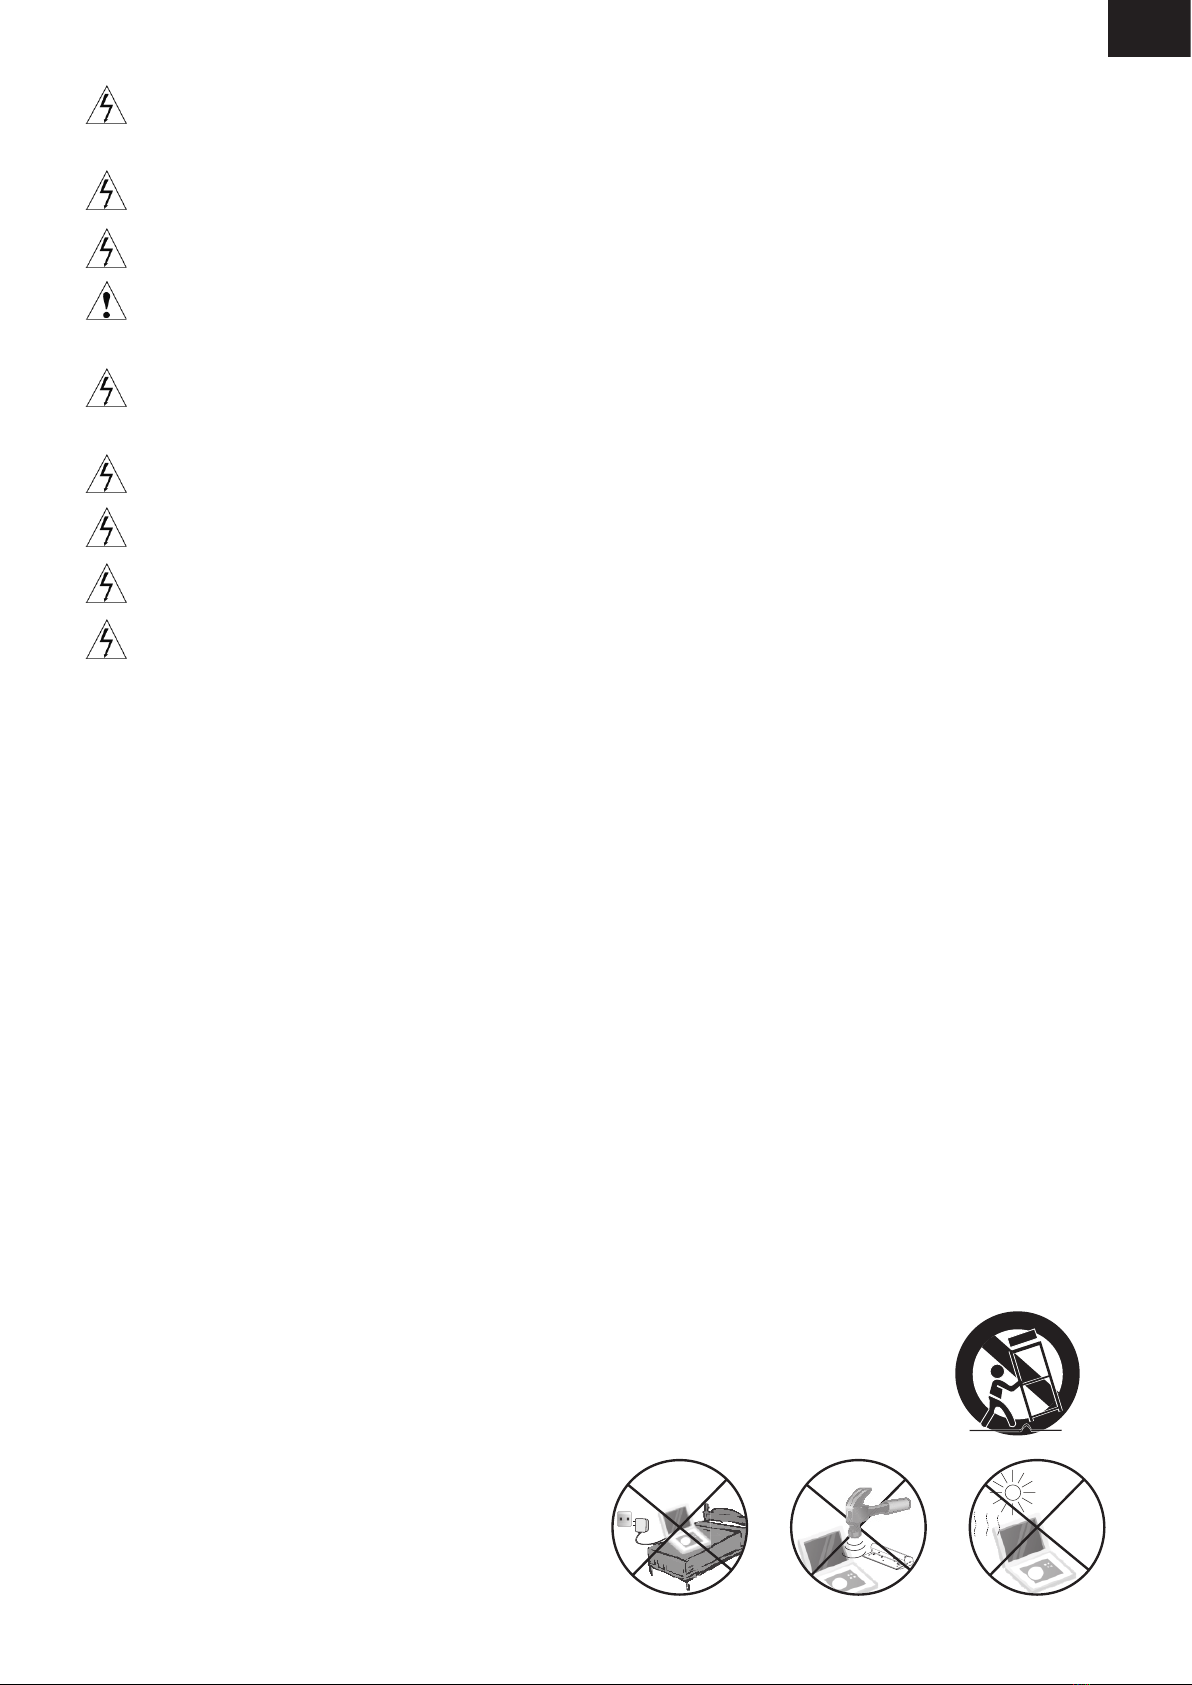
CHARGE STRONG
IMPACT
OVER
HEAT 40 °C