Golf Buddy aim L20 User manual

User Guide

Microfiber Cloth(For the Lens)Magnetic Leather CaseCarabinerUser GuideUSB C-Type Cable(※ Charger not included)aim L20 User GuidePACKAGE INCLUDESAPPERANCE6X Monocular EyepiecePower / Measurement / Shot tracking (2) ButtonShot tracking (1) ButtonLED light(States of slope On/Off & Charging)Cable connector/Protection coverDiopter AdjustmentMode ButtonObjective LensProduct Label and Serial NumberLaser Aperture

Focus Circle (Blinks when searching the target; stops when the target is captured)Displays when shot location is transmittedHeight of the Target (Uphill: No indication, Downhill: -)※ aim L20 features a OLED that allows brighter and clearer display.12345678910Viewfinder(OLED) Description53796124810Displays when pin mode is activatedDisplays when scan mode is activatedSlope-adjusted distanceDistance unit (Meter / Yard)Targeting Crosshair Measured DistanceBattery Indicator

▶ Checking the Charging Status Through LEDGETTING STARTED▶ How To Charge• Open the protection cover located below the Eyepiece• Plug in the charging cable to start charging(5V, 2A charger recommended, cable not included) • It will charge normally without pushing the charging cable all the way into the terminal.※ It may be damaged if excessive force is applied.• Charging: Green color LED always on.• Fully charged: Green color LED always on.※ Up to 4,000 times measurement available after fullcharging.▶ How To Operate1. Click the Power / Measurement button2. Select the Mode(Standard ↔ Scan) 3. Place the target on the targeting crosshair 4. Click the Power / Measurement button to display the distance ▶ How to change distance unit• Press and hold Mode button for 3 seconds

[Slope ON][Slope OFF]• Press the mode button for 5 seconds to turn ON/OFF slope. When the slope is ON, the distance adjusted for the elevation difference is displayed at the top, and the straight line distance and the elevation difference are displayed at the bottom. When the slope is OFF, only the straight line distance is displayed at the top.※ The Focus Circle is activated when the Power/ Measurement button is clicked. Deactivate the focus square before changing the mode. slope-adjusteddistanceStraight DistanceStraight DistanceHeight of the Target ▶ How to turn ON / OFF Slope▶ Setting Focus (adjusting diopter dial)• Use the viewfinder to aim and turn the diopter dial until you can see the target clearly. • With the click of Mode Button, the mode changes in the following order : Standard → Scan → Standard. • When measuring, Slope ON: Green LED ON / Slope OFF: Red LED ON• Mode can be changed only when the targeting crosshair is on display. (Mode change unavailable when the focus square is active). ▶ Mode Setting [2 Modes]

[Standard Mode and Pin Finder Mode]Press and hold Power/Measurement button to activate Pin finder Mode• Press the Power / Measurement button to display the distance along with vibration. ※ Press the Power /Measurement button once against an object behind the pin (tree), then move towards the pin. Once the pin is found the distance will be displayed and you will feel a slight vibration• Press and hold the Power / Measurement button for 2~3 seconds to activate Pin finder mode.• Pin finder mode is used to display the closest target when two or more targets are found, even if there are any other objects such as tree or rocks behind the pin.[Scan Mode]• Useful when acquiring distances of various targets.※ In Scan Mode, the device will start measuring the distance once the Power / Measurement button is clicked.※ The button does not need to be clicked more than once.• Press the Power / Measurement Button once to continuously scan for 5 seconds to show the distance to varying targets(1-CLICK SCAN).

▶ Overview of Shot trackingThe shot tracking feature is for recording the current position by pressing ‘SHOT or Power/Measurement button’The current location is transmitted to the smartphone through Bluetooth, so the shot location and route can be reviewed after the round.▶ Mode description of Shot tracking▶ Mode selection of Shot tracking• Shot mode 1: Transmits the current position when the ‘SHOT button’ located on the side is pressed• Press and hold the ‘SHOT button’ located on the side for more than 3 seconds to display shot mode 1 or 2 flashing for 5 seconds in the viewfinder, Press the SHOT button once more to switch between shot tracking modes 1 and 2. After selecting the shot tracking mode, click the Power/Measurement button to complete the selection.※ To record and analyze only the shot position• Shot Mode 2: Transmits the current position when the ‘Power/Measure button’ is pressed (for every measurement)※ To analyze shots and movement paths throughout the round•The current location is recorded with the location of the smartphone, so it is recommended to carry the smartphone during the round.•

※ In shot tracking mode 1, the power can be turned on with the shot tracking button.▶ How to use shot tracking• When the shot tracking button is pressed at the desired location, the shot tracking icon blinks for 3 seconds and the location data is transmitted.• When the power/Measurement button is pressed at the desired position, the shot tracking icon blinks for 3 seconds at the same time as power is turned on or measurement, and the location data is transmitted.[Shot tracking mode 2][Shot tracking mode 1]

Please read the manual guide carefully before using the device.WARNING- Do NOT aim directly at the sun or an eye(as it may cause eyesight loss).- Do NOT turn the device on while looking into the laser aperture or objective lens(as it may cause eyesignt loss).- Keep the device away from children.- Do not leave the device in direct sunlight for a long period of time, as it may cause damage on the unit.- If any type of liquid of substance gets on the device, use the cloth in the package to remove it immediately.- Do NOT disassemble the device arbitrarily as this will void the warranty.- Please be aware of that the pouch can cause discoloration to other textiles (Clothes, belt, etc.)- Golf Rangefinders may fail to measure the distance when the target is measured through glass. - Keep the device away from heavy rain or water as the device only features basic water resistance level.GOLFBUDDY is not liable for damages caused by user misuse. (Warranty is void even if it is still in effect.)SAFETY WARNING, CARE AND MAINTENANCE!
- Any defect caused by the customer is not eligible for free repair service.

TROUBLESHOOTING ▶ The unit does not turn on.• Press the Power / Measurement button.• When the power doesn’t turn on after pressing the button, check the battery charging level. • Check the mode setting (Standard / Scan)• Check if there is any object that is blocking the lens.• Lack of light, target movement, non-reflective object, object size, backlit object, and the weather may affect the display of the unit. • Distance under 1m (1yd) or over 800m (880 yd) cannot be measured.• Make adjustments to the display using the diopter dial • Check the battery charging level※ For more information, visit our website at www.golfbuddy.com▶ The distance is not shown on the display.▶ The display view is not clear.

Slope-adjustedYesWater ResistanceIPX4Pin finder with vibrationYesUSB Cable TypeUSB Type-CBattery lifeNo. of measurements(Fully charged)Min 500 actuations4,000timesBattery typeRechargeable (Li-ion)Eye Relief15.5 mmObjective lens diameter20 mmAccuracy +/- 1 yardRange2~880Y / 2~800MMeasuring Speed0.15secondsWeight170gPhysical size102.8 X 58.7 X 34.7 mmMagnification6XItemSpec.SPECIFICATION


FCC Warning Statement
Changes or modifications not expressly approved by the party responsible for
compliance could void the user’s authority to operate the equipment. This equipment
has been tested and found to comply with the limits for a Class B digital device,
pursuant to Part 15 of the FCC Rules. These limits are designed to provide reasonable
protection against harmful interference in a residential installation. This equipment
generates uses and can radiate radio frequency energy and, if not installed and used in
accordance with the instructions, may cause harmful interference to radio
communications. However, there is no guarantee that interference will not occur in a
particular installation. If this equipment does cause harmful interference to radio or
television reception, which can be determined by turning the equipment off and on, the
user is encouraged to try to correct the interference by one or more of the following
measures:
-- Reorient or relocate the receiving antenna.
-- Increase the separation between the equipment and receiver.
-- Connect the equipment into an outlet on a circuit different from that to which the
receiver is connected.
-- Consult the dealer or an experienced radio/TV technician for help.
FCC Radiation Exposure Statement
The device has been evaluated to meet general RF exposure requirement. The device
can be used in portable exposure condition without restriction.
※ For more information, visit our website at www.golfbuddy.com

Table of contents
Other Golf Buddy Measuring Instrument manuals

Golf Buddy
Golf Buddy PRO User manual

Golf Buddy
Golf Buddy LASERlite 2 User manual

Golf Buddy
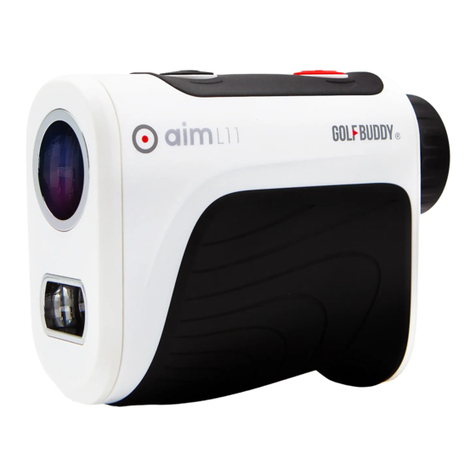
Golf Buddy AIM L11 User manual

Golf Buddy
Golf Buddy aim L10 User manual

Golf Buddy
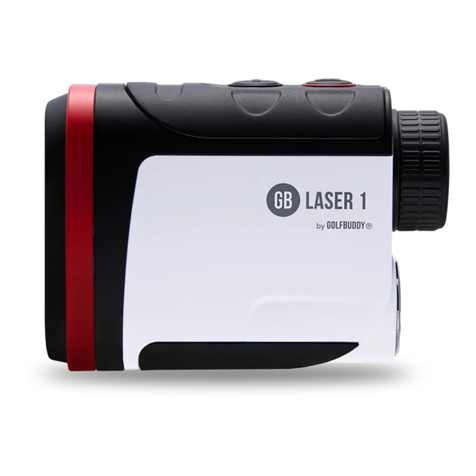
Golf Buddy LASER 1 User manual

Golf Buddy
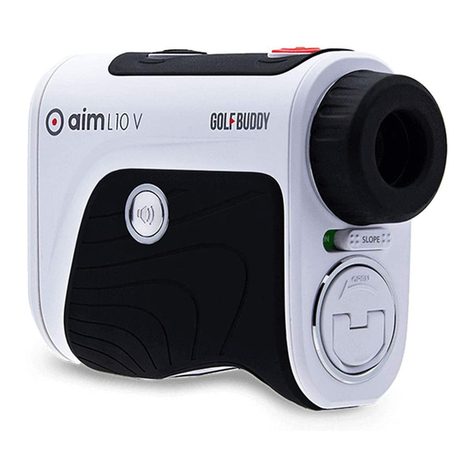
Golf Buddy aim L10V User manual

Golf Buddy
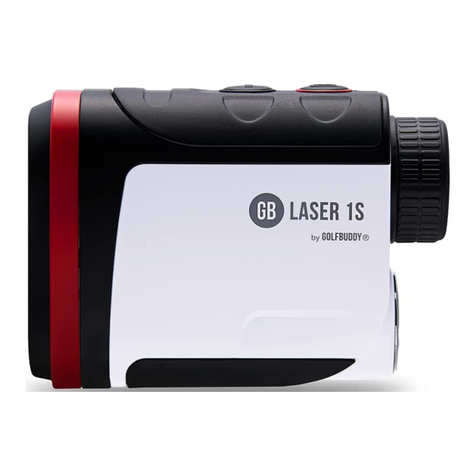
Golf Buddy LASER 1S User manual

Golf Buddy
Golf Buddy LR4 User manual
Popular Measuring Instrument manuals by other brands

Accutech
Accutech LC1400 installation manual

PCB Piezotronics
PCB Piezotronics IMI Sensors 603 Series Installation and operating manual

Agilent Technologies
Agilent Technologies E5500A user guide

Perfect Prime
Perfect Prime CO2512 instruction manual

Delfin
Delfin VapoMeter SWL5 user manual

Craftsman
Craftsman CMHT77637 user manual