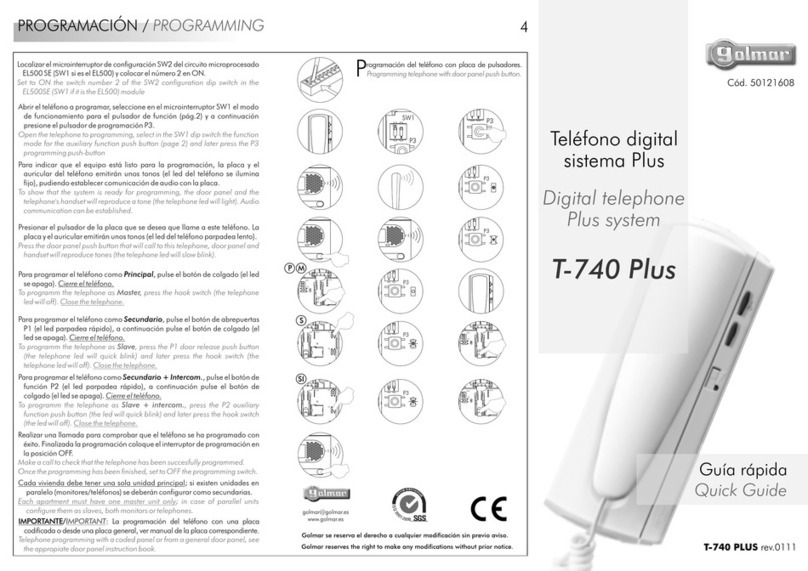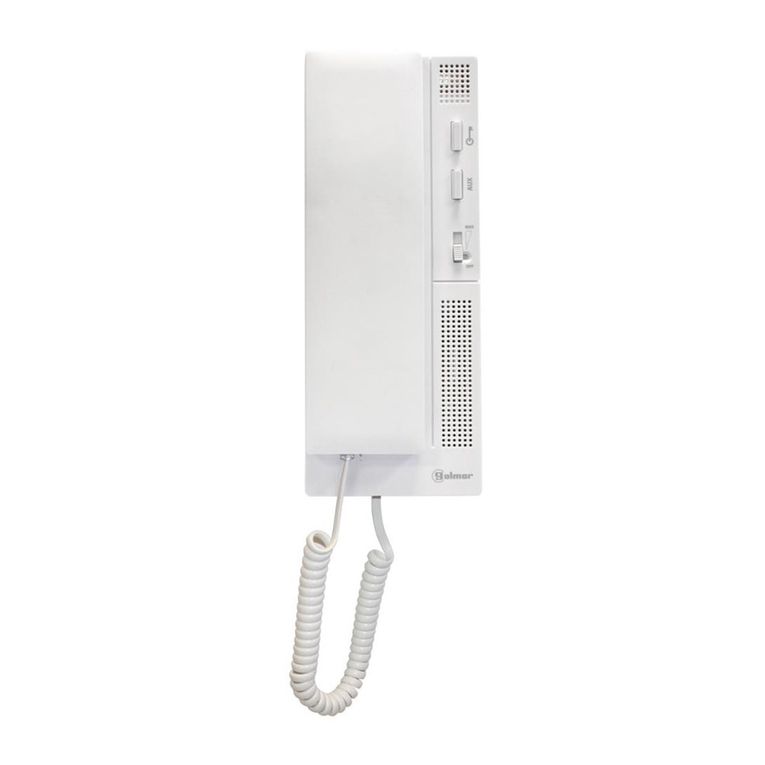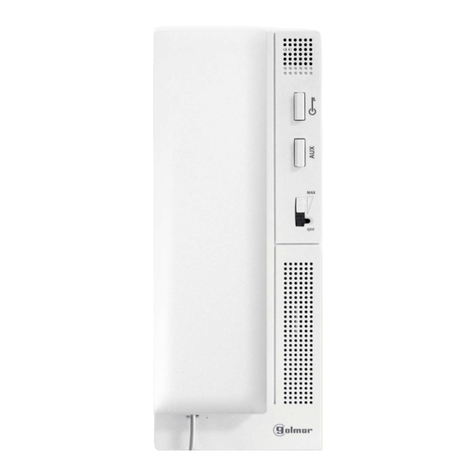
escripción del teléfono T-790VD.
DDescription T-790VD telephone.
a
d
c
e
b
g
e
a.
b.
c.
d.
e.
f.
g.
h.
i.
.
.
.
.
.
.
.
.
Brazo auricular /
Rejilla difusión sonido /
Orificio micrófono /
Hueco de sujeción /
Conectores para cordón telefónico /
Pulsador de abrepuertas /
Pulsador de colgado /
Pulsador de función auxiliar /
Regulación de volumen /
Telephone handset.
Speaker grille.
Microphone hole.
Subjection hole.
Telephone cord connectors.
Door release push button.
Hook switch.
Auxiliary function push button.
Volume control.
.
.
.
.
.
.
.
.
.
escripción de los bornes de conexión.
DTerminal connector description.
f
h
i
Positivo / Positive.
Auxiliary call device output SAV-90.
.
.
.
.
.
Negativo / Ground.
Micrófono /
Altavoz /
Conexión a timbre de puerta /
Microphone.
Door bell push button input.
Speaker.
Conexión a sonería SAV-90 /
+:
- :
.
.
.
.
.
:
:
SA :
HZ :
+ SA
_ _
HZ+
egulación de volumen.
RCall volume control.
El teléfono permite regular el volumen de llamada
con un valor máximo, medio o desconexión.
The telephone allows to regulate the call volume
with a maximum, medium and off value.
odificación de los teléfonos.
CTelephone(s) coding.
ulsadores de función.
PFunction push buttons.
Con el auricular descolgado, realiza una llamada
normal a la central principal. Durante un proceso de
recepción de llamada o comunicación, activa el abrepuertas.
With handset off the cradle, allows to call to the master porter's
exchange. During call reception and communication progresses
allows the lock release activation.
Con el auricular descolgado, permite establecer comunicación con la
placa que tiene activada la función de autoencendido.
With the handset off the cradle, allows to stablish communication with the
door panel that has been configured with the autoswitch-on function.
El microinterruptor de configuración Sw2 está ubicado
en la parte superior izquierda del circuito, accesible
abriendo el teléfono. The Sw2 configuration dip switch is
located in the top part left of the circuit, it is acccessed by
opening the telephone.
DESCRIPCIÓN / DESCRIPTION DESCRIPCIÓN / DESCRIPTION
1 2 3
Teléfono para reposición del T-840 (Serie 90).
Telephone for replacement of T-840 (90 Series).
Función 'Autoencendido' (sólo instalaciones de chalet).
Si en la placa está activada la función auto-
encendido, poner en la posición ON el interruptor 1
de los teléfonos que deseen utilizar esta función. Si
no, dejarlo en OFF.
'Autoswitch-on' function (only in chalet installations).
If the door panel has been activated with the autoswitch-on function, set in
ON position the switch number 1 on the telephones that wants to activate this
function. If not, let it in the OFF position.
Configurar los teléfonos como principal o secundario.
En cada vivienda debe existir un sólo teléfono
principal, que deberá tener el interruptor 2 en OFF.
Caso de existir teléfonos en paralelo (secundarios),
éstos deberán tener el interruptor 2 en ON. El nº. máx.
de teléfonos en la misma vivienda será de 5.
Set the telephones as master or slave.
Each apartment must have only one master telephone: set its switch number 2
to OFF position. In case of telephones in parallel (slaves), set their switch
number 2 in ON position. The max. number of telephones in the same
apartment are five.
Colocar el código de llamada al teléfono(s).
La suma de los valores asignados a los interruptores 3 al 10 determina el
cód. del teléfono, siendo cero el valor asignado cuando se encuentra en la
posición OFF.
Continúa/Continue
Interruptor nº:
Valor en ON: 4
64 5
32 6
16 7
88
49
210
1
3
128
Ejemplo: 0+64+0+16+0+4+2+1=87
PRECAUCIONES DE SEGURIDAD /
SAFETY PRECAUTIONS
Recepción de llamadas: Durante la ejecución de la llamada, descolgar el
auricular del teléfono, para establecer comunicación de audio durante un
minuto y medio o hasta colgar el auricular.
Abrepuertas: Durante los procesos de llamada o comunicación, presionar
el pulsador de abrepuertas , para permitir el acceso del visitante a la
finca.
Llamada a Central de conserjería: Descolgar el teléfono y pulsar el botón
de abrepuertas . Se producirá una llamada a la central, si transcurridos
30 segundos no se ha descolgado el auricular de la central; el equipo
pasará al estado de reposo. Una vez descolgado el auricular de la central
hay un tiempo máximo de comunicación de un minuto y medio, o hasta
que se cuelgue uno de los auriculares.
Receiving calls: While the call is in progress, pick up the telephone handset
to stablish audio communication for one and a half minutes or until the
handset is replaced.
Door release: During call or communication progresses, press the door
release push button to allow the visitor acces to the building.
Call to the porter exchange: Pick up the telephone and press the door
release button . A call will be made at the porter
's 's exchange, if the call is
not answered after 30 seconds; the channel will be freed. When the porter's
exchange picks up there is a maximum communication time of one and a
half minutes, or until one of the handsets is replaced.
FUNCIONAMIENTO/ OPERATION
O
O
O
O
O
O
O
O
Cuando se instale o modifique los equipos, hacerlo sin alimentación.
La instalación y manipulación de estos equipos deben ser realizadas por
personal autorizado.
Toda la instalación debe viajar alejada al menos a 40 cm. de cualquier
otra instalación.
No apretar excesivamente los tornillos o de la regleta.
Instale los equipos en un lugar seco y protegido sin riesgo de goteo o
proyecciones de agua.
Evite emplazamientos cercanos a fuentes de calor, húmedos, polvorientos
o con mucho humo.
No bloquee las ranuras de ventilación para que pueda circular el aire
libremente.
Siga en todo momento las instrucciones de este manual.
OInstall or modify the equipment without the power connected.
OThe installation and handling of these equipments must be performed by
authorised personnel.
OThe entire installation must be at least 40 cm. away from any other
installation.
ODo not use excessive force when tightening the connector screws.
OInstall the equipments in a dry and protected place without risk of drip or
water projections.
OAvoid to place it near to heating sources, in dusty locations or smoky
enviroments.
ODo not block ventilation holes of the equipments so that air can circulate
freely.
ODo always follow the enclosed information.
