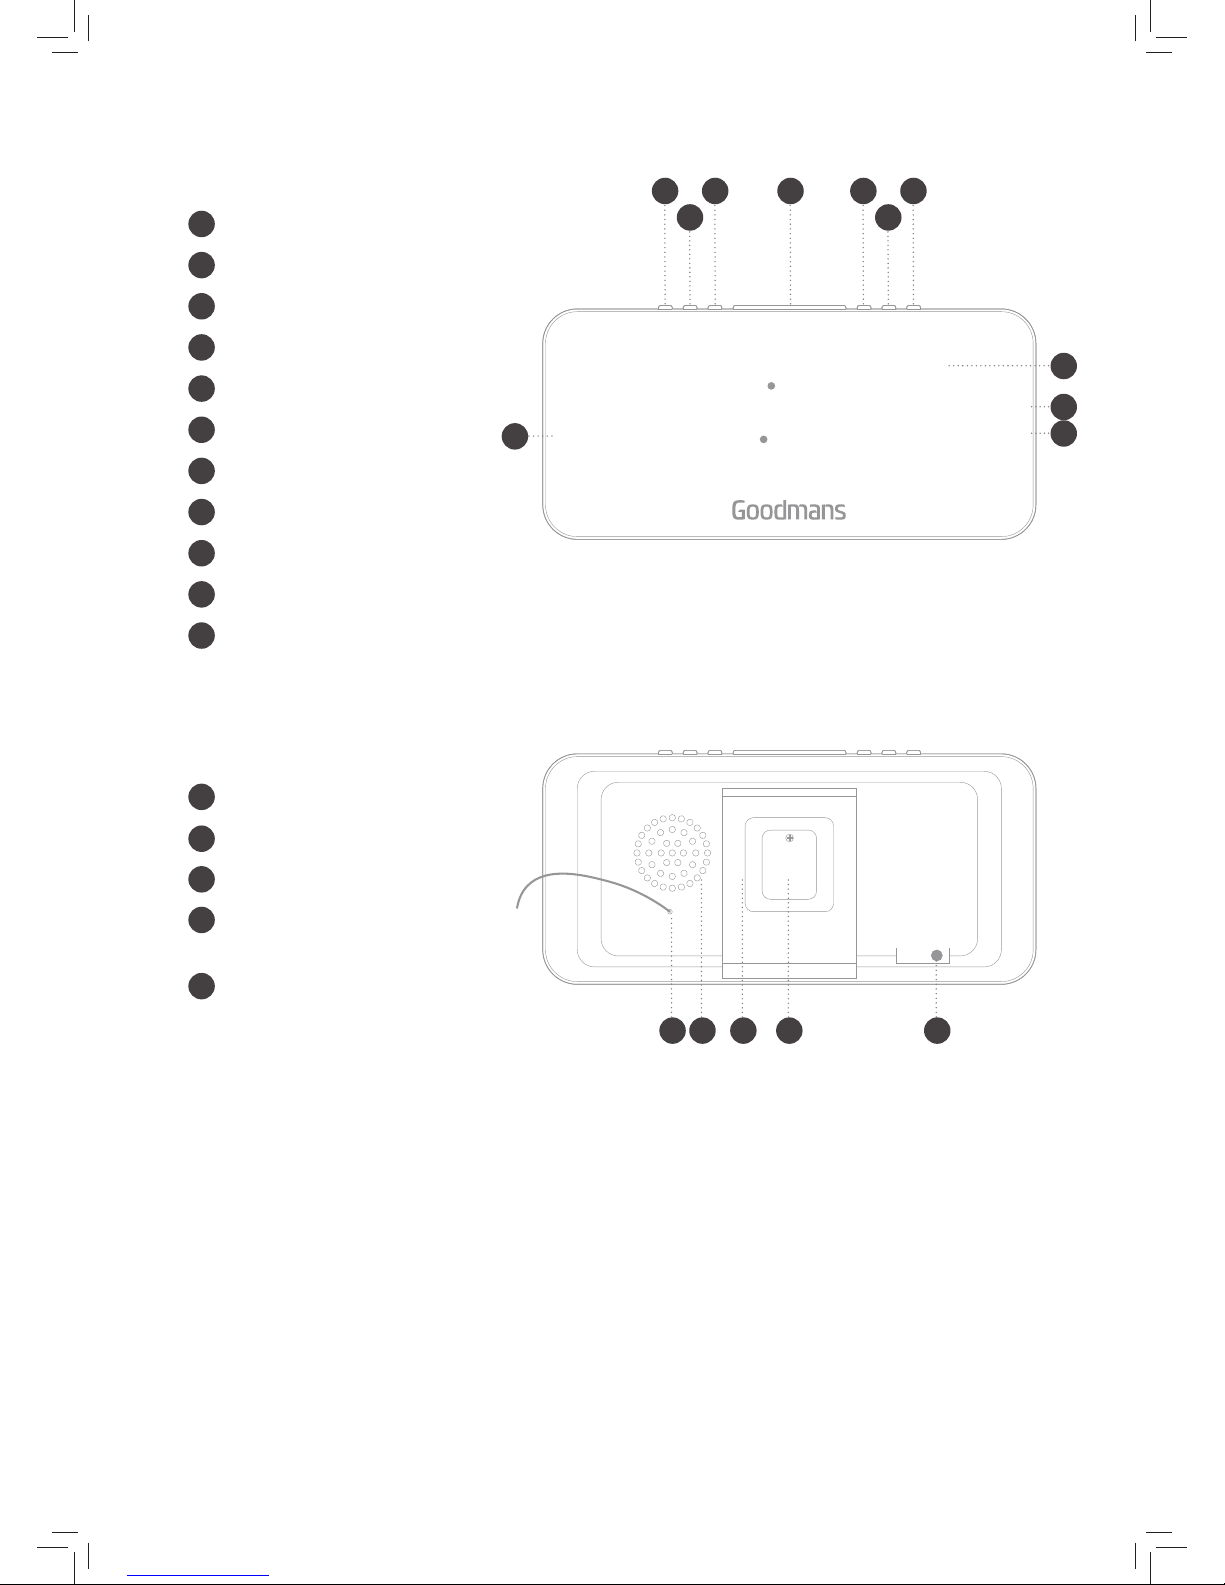
Turning The Alarm On/O
To turn the alarm on (after both alarms have been set),
determine which alarm you want to activate (alarm 1 or
alarm 2) and ensure that the alarm clock radio is in normal
mode (i.e The radio is not on). Note: when the radio is on,
the alarm 1 and alarm 2 buttons will function as volume
increase/decrease buttons.
1. The alarm can be set to sound as a buzzer or as the last
radio station played. If you set the alarm to buzzer, the alarm
will sound as a series of beeps when it is activated. If it is
set to the last radio station played, when the alarm sounds,
it will simply turn on the radio to the last radio station
played.
4.3
To Set The Alarm To Buzzer
1. The ‘-’ button is the Alarm 1 button. To activate Alarm 1,
press the ‘-’ button repeatedly until ‘bb’ is displayed on
screen. Wait a few seconds until the clock reverts back to
the current time and you will notice that the Alarm 1 LED
indicator is illuminated, this indicates that Alarm 1 is on.
2. The ‘+’ button is the Alarm 2 button. To activate Alarm 2,
press the ‘+’ button repeatedly until ‘bb’ is displayed on
screen. Wait a few seconds until the clock reverts back to
the current time and you will notice that the Alarm 2 LED
indicator is illuminated, this indicates that Alarm 2 is on.
4.4
Set The Alarm To Last Radio Station Played
1. The ‘-’ button is the Alarm 1 button. To activate Alarm 1,
press the ‘-’ button repeatedly until the frequency of the last
radio station played is displayed on screen. Wait a few
seconds until the clock reverts back to the current time and
you will notice that the Alarm 1 LED indicator is illuminated,
this indicates that Alarm 1 is on.
2. The ‘+’ button is the Alarm 2 button. To activate Alarm 2,
press the ‘+’ button repeatedly until the frequency of the last
radio station played is displayed on screen. Wait a few
seconds until the clock reverts back to the current time and
you will notice that the Alarm 2 LED indicator is illuminated,
this indicates that Alarm 2 is on.
3. Choose which alarm you want to turn OFF (Alarm 1 or
Alarm 2) and ensure that the Alarm is in normal mode (i.e.
the radio is NOT on). Press either the ‘-’ button (for Alarm 1)
or the ‘+’ button (for Alarm 2) repeatedly until ‘OFF’ is
displayed on screen. Wait a few seconds until the clock
reverts back to the current time. You will notice that the
relevant Alarm LED indicator will no longer illuminated which
indicates that the relevant Alarm is OFF.
4.5